
Closing the hole is one of the last steps when you make a round amigurumi. Done neatly, it leaves your piece looking smooth and well-finished. This guide walks you through closing the hole and hiding the yarn tail.
How to close an amigurumi piece
Watch the lesson
The heart of it
You go through the FRONT loop only of each stitch in the last round, all the way around, then pull tight. Front loops only is what makes the hole close flat and neat.
Step-by-step instructions
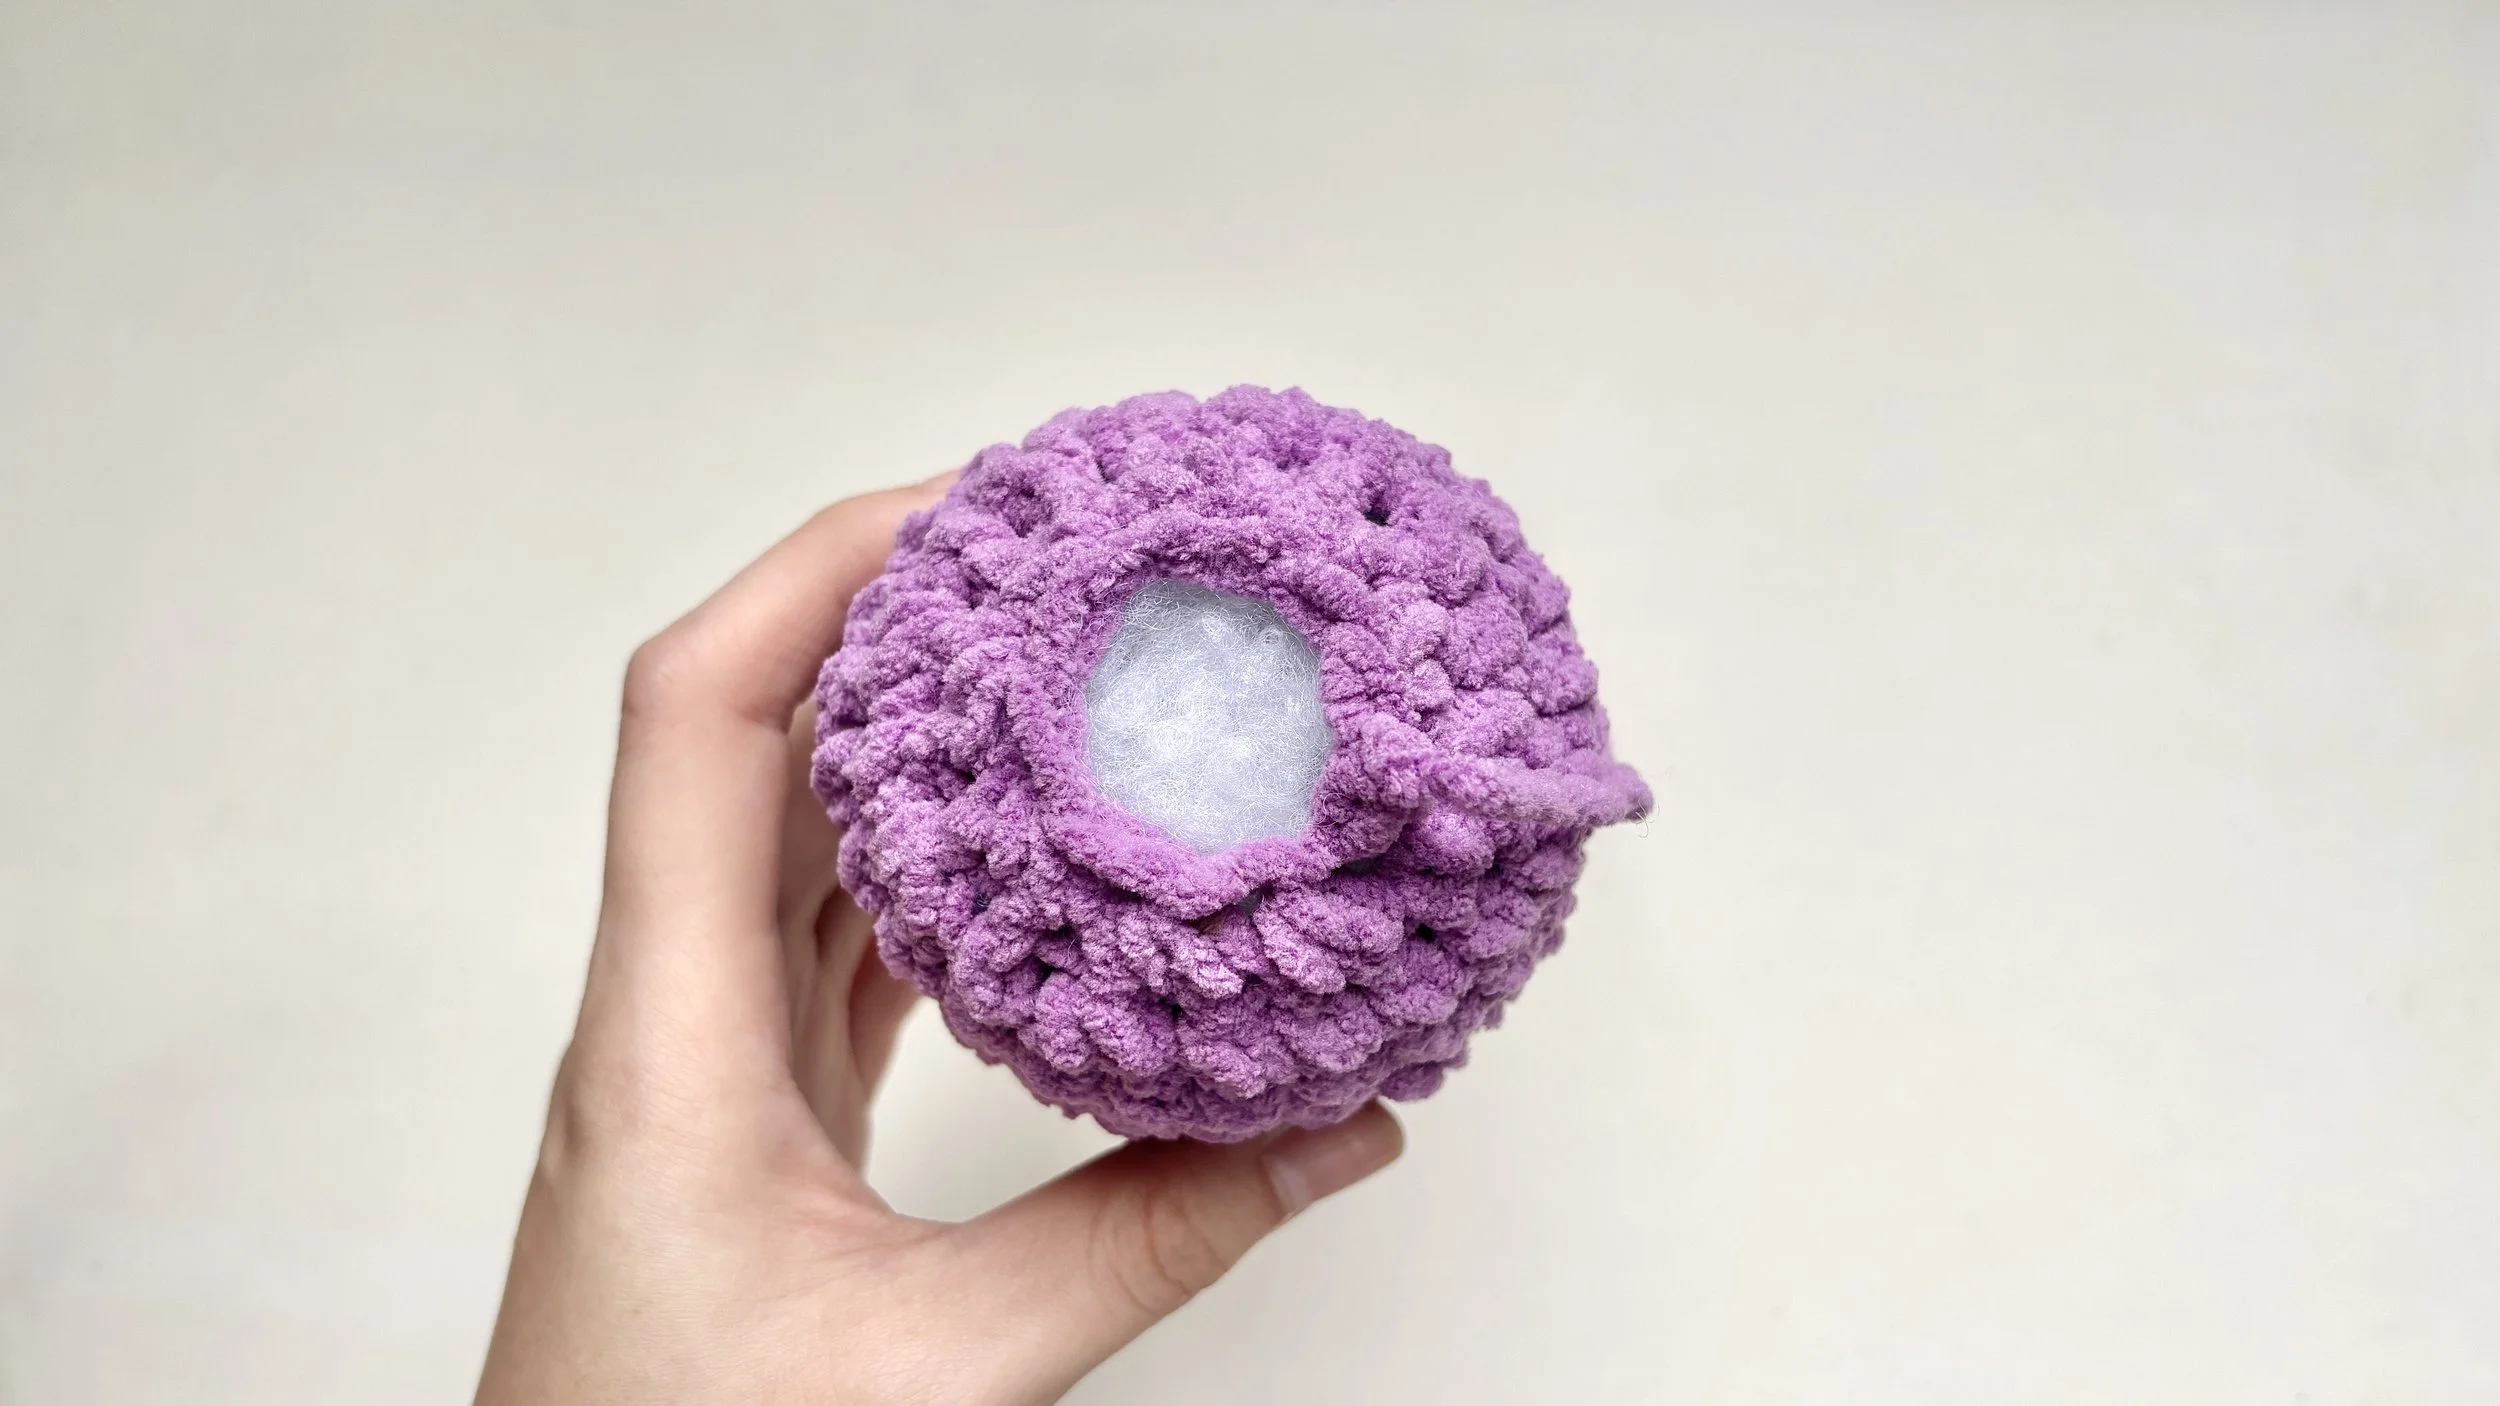
Step 1:
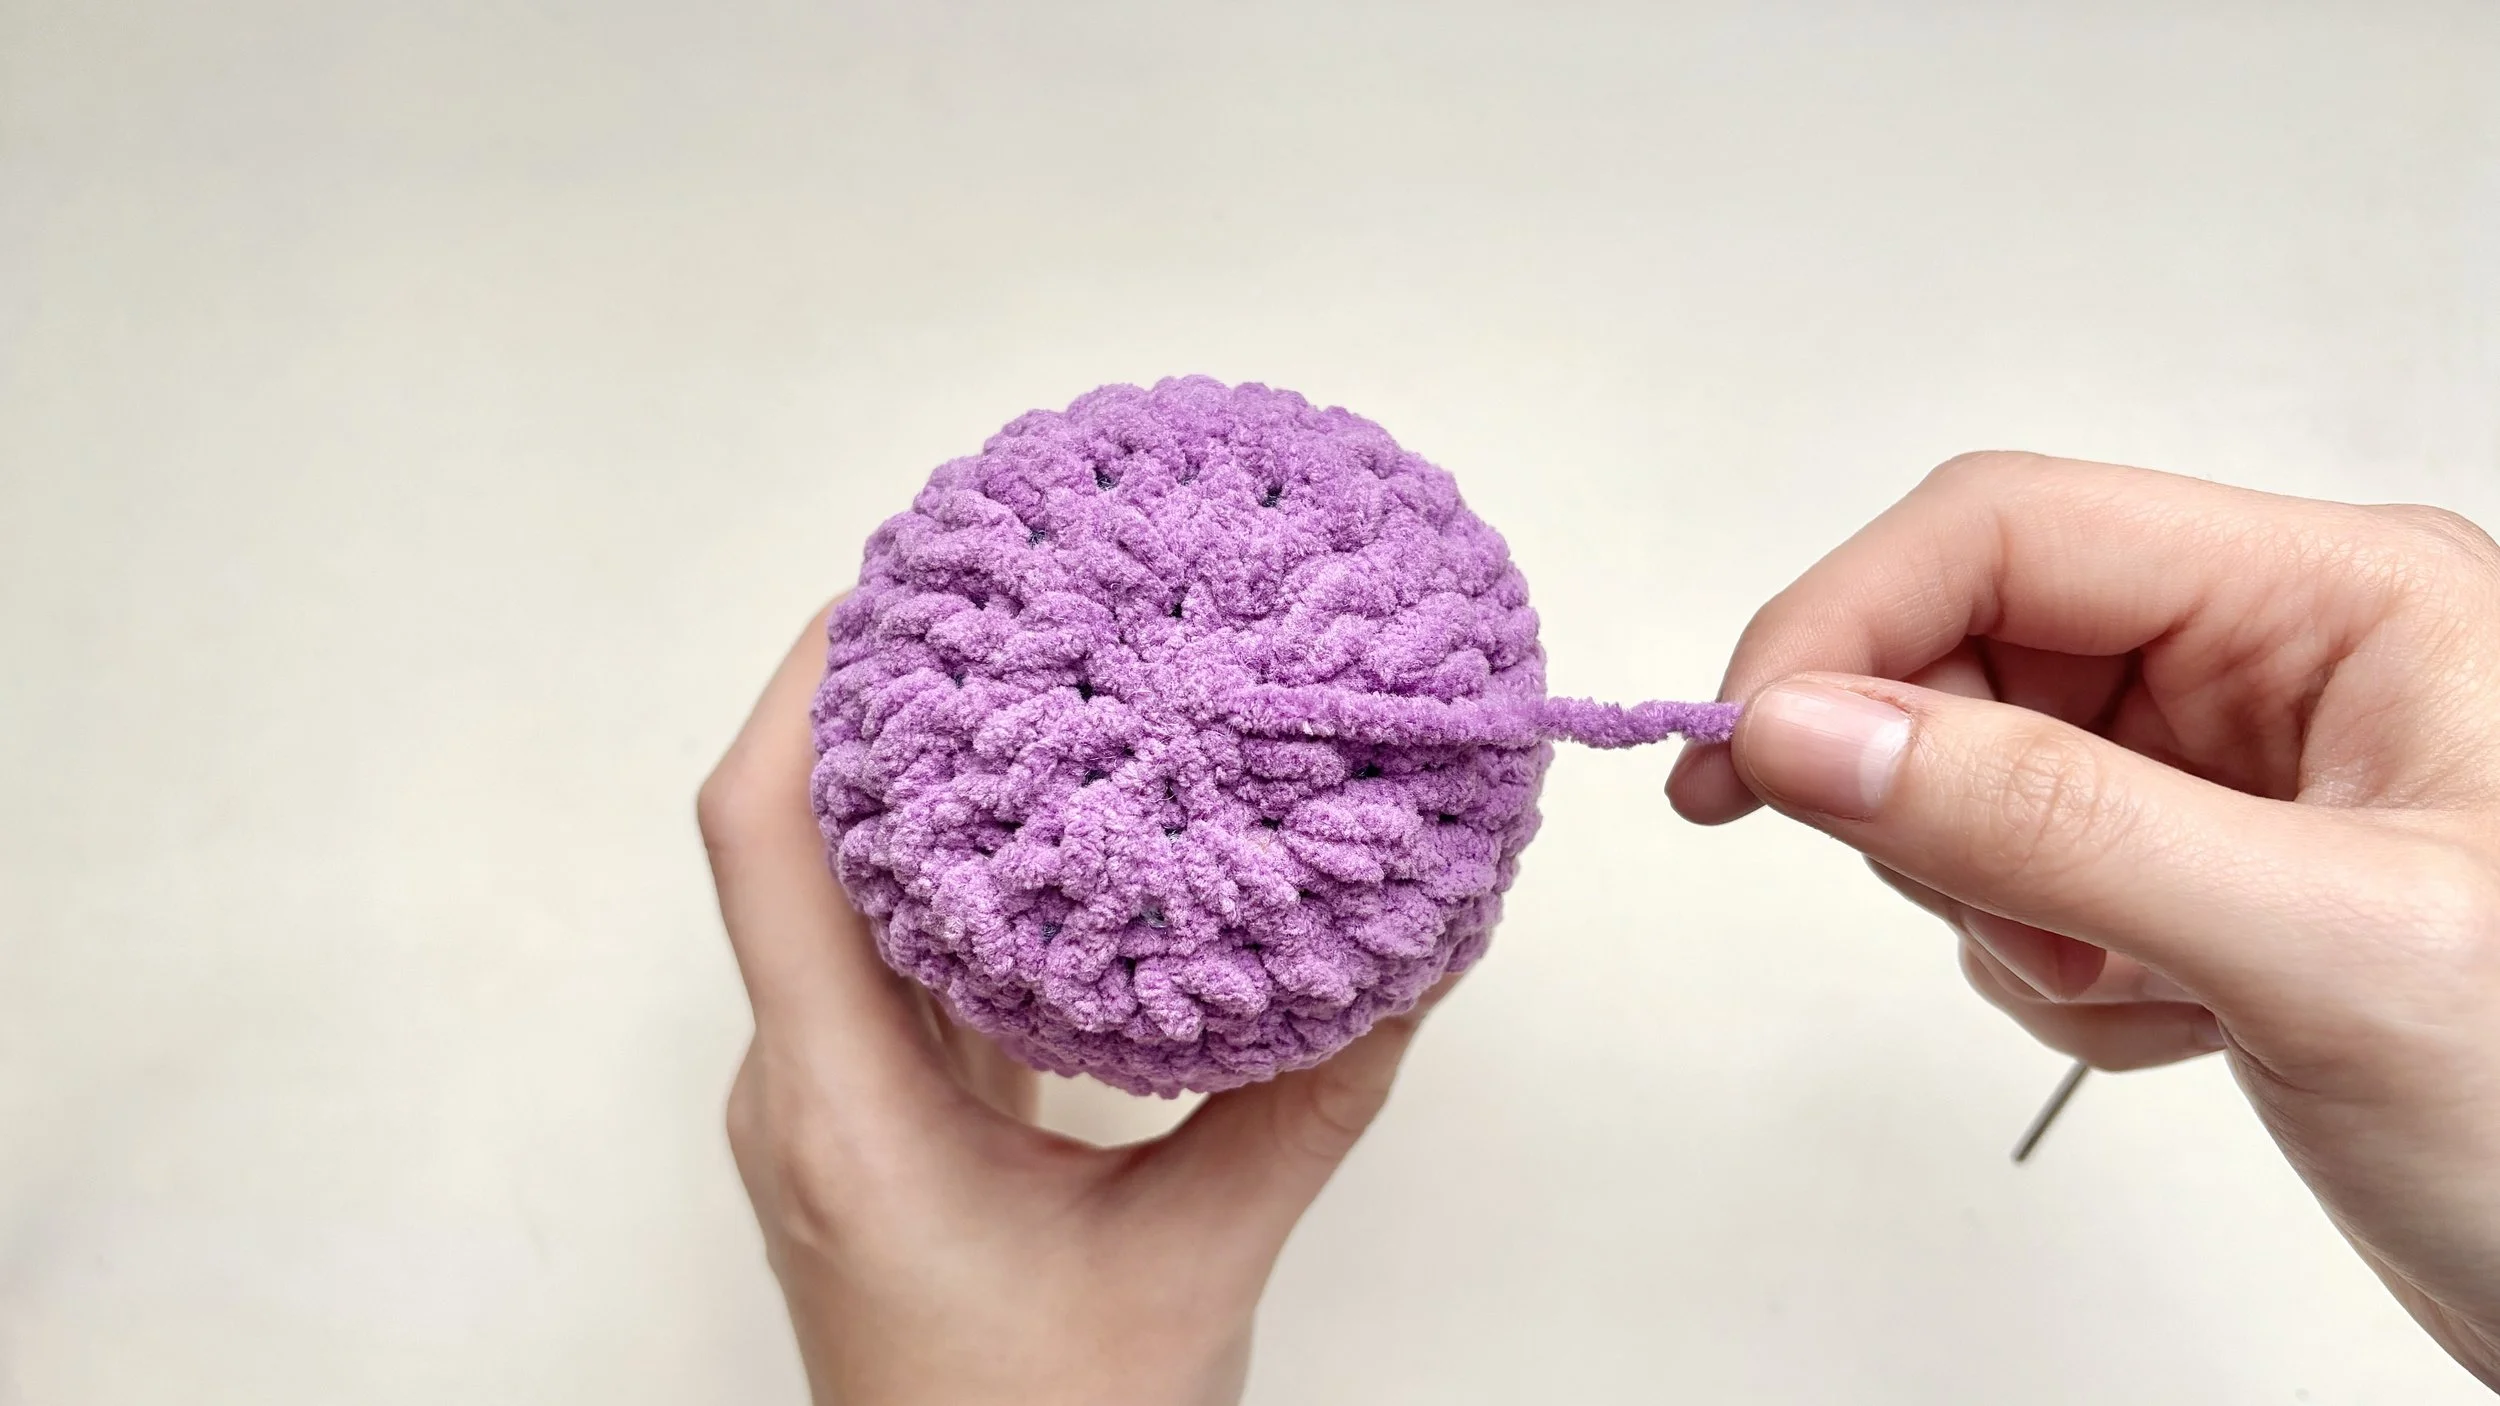
Thread the needle

After fastening off (FO), leave a long yarn tail and thread it onto a yarn needle, ready to sew.
Step 2:
Count the last round
Look at the last round and count how many stitches it has.
That’s exactly how many stitches you’ll go through.
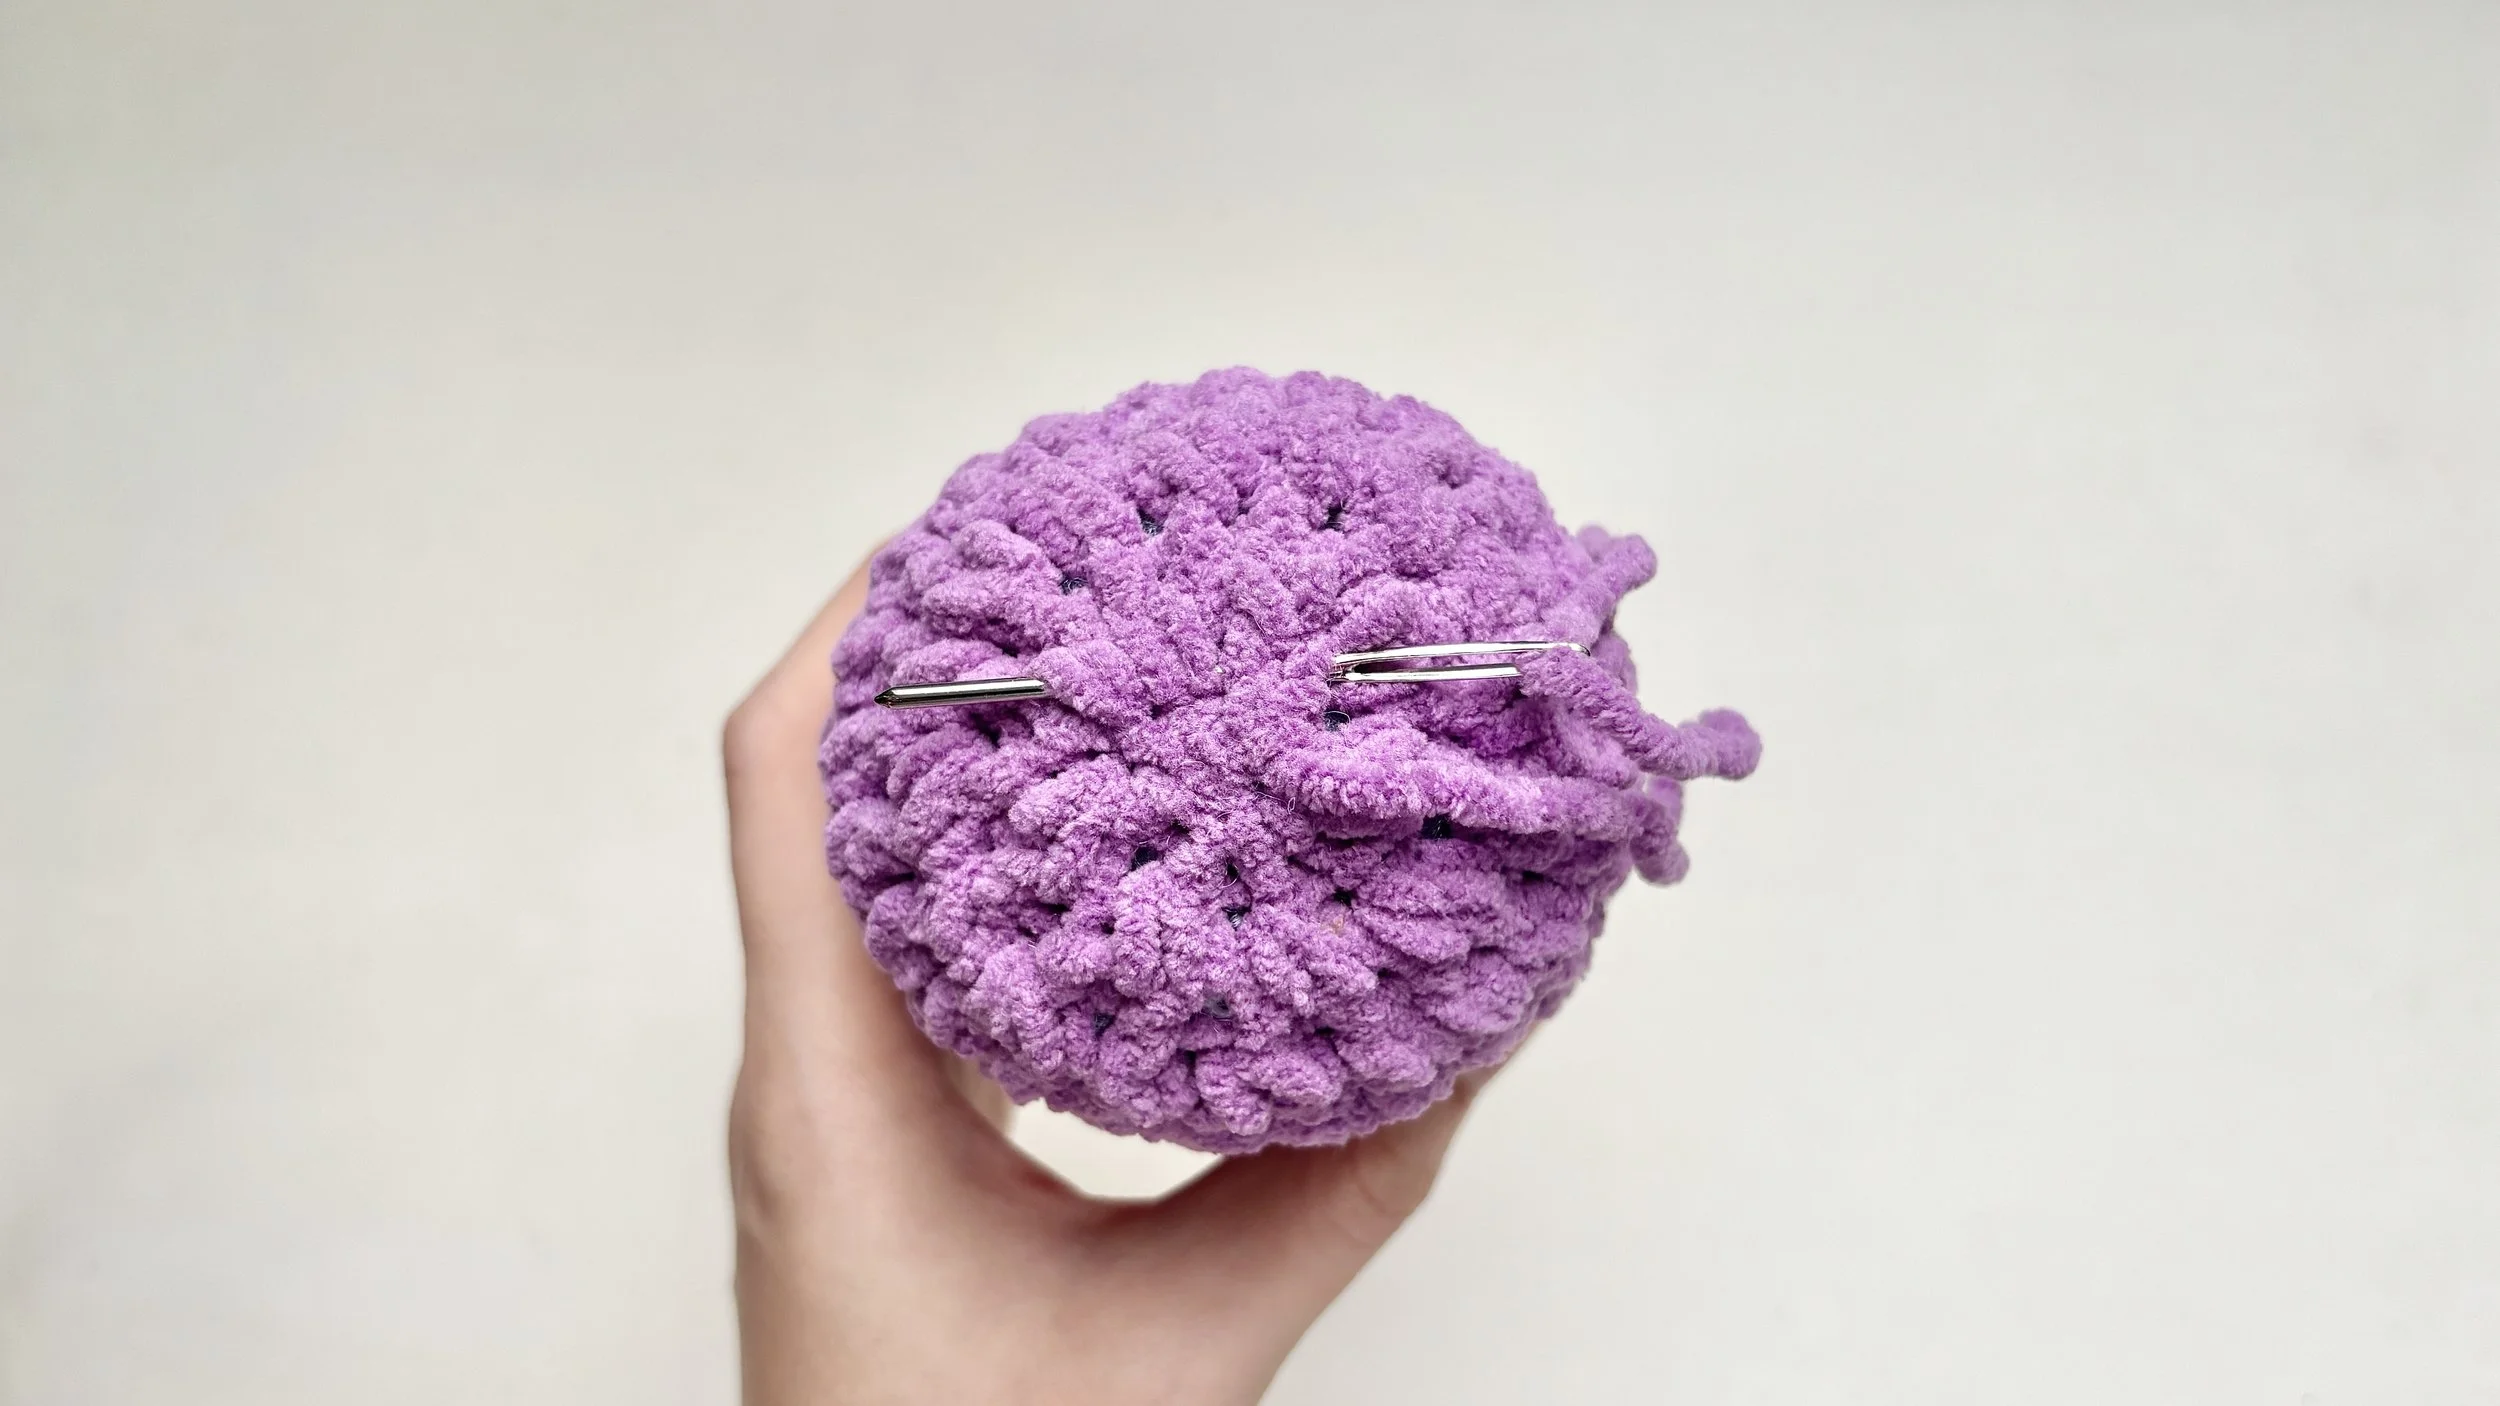
Step 3:
Front loop only, all the way around
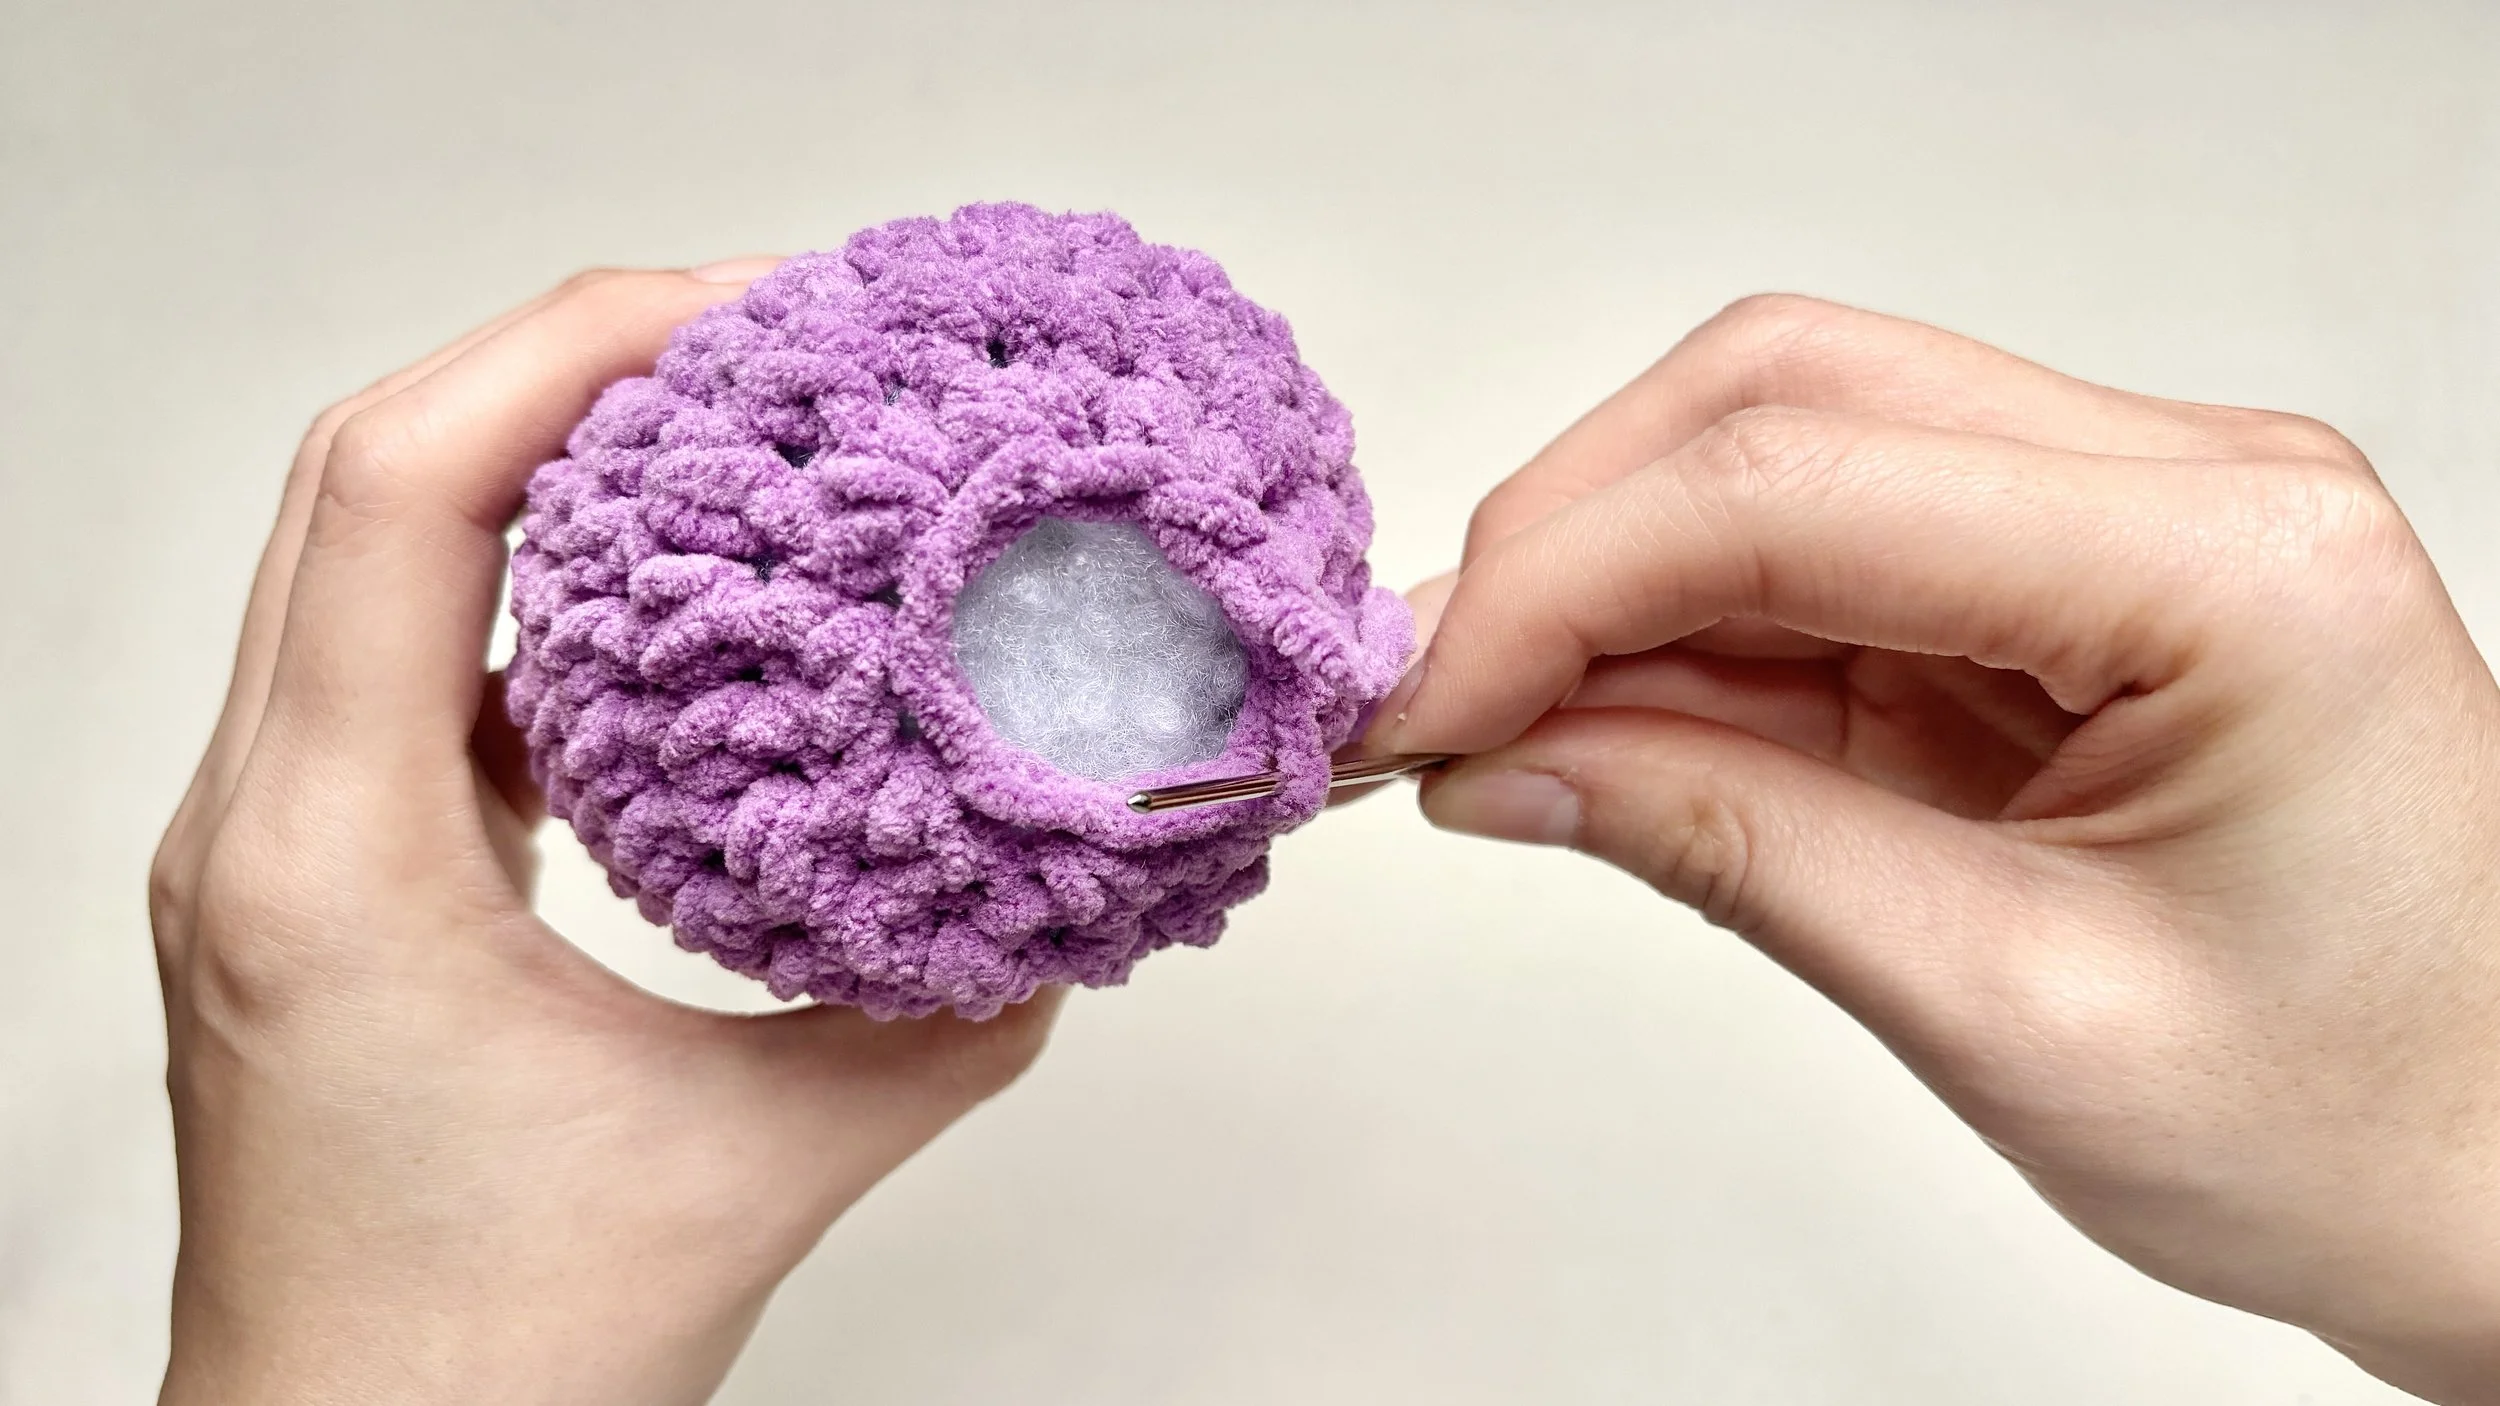
Each stitch looks like a small V.
Insert the needle through the front loop only - the loop closer to you - not both loops.
Work around the whole round in one direction.
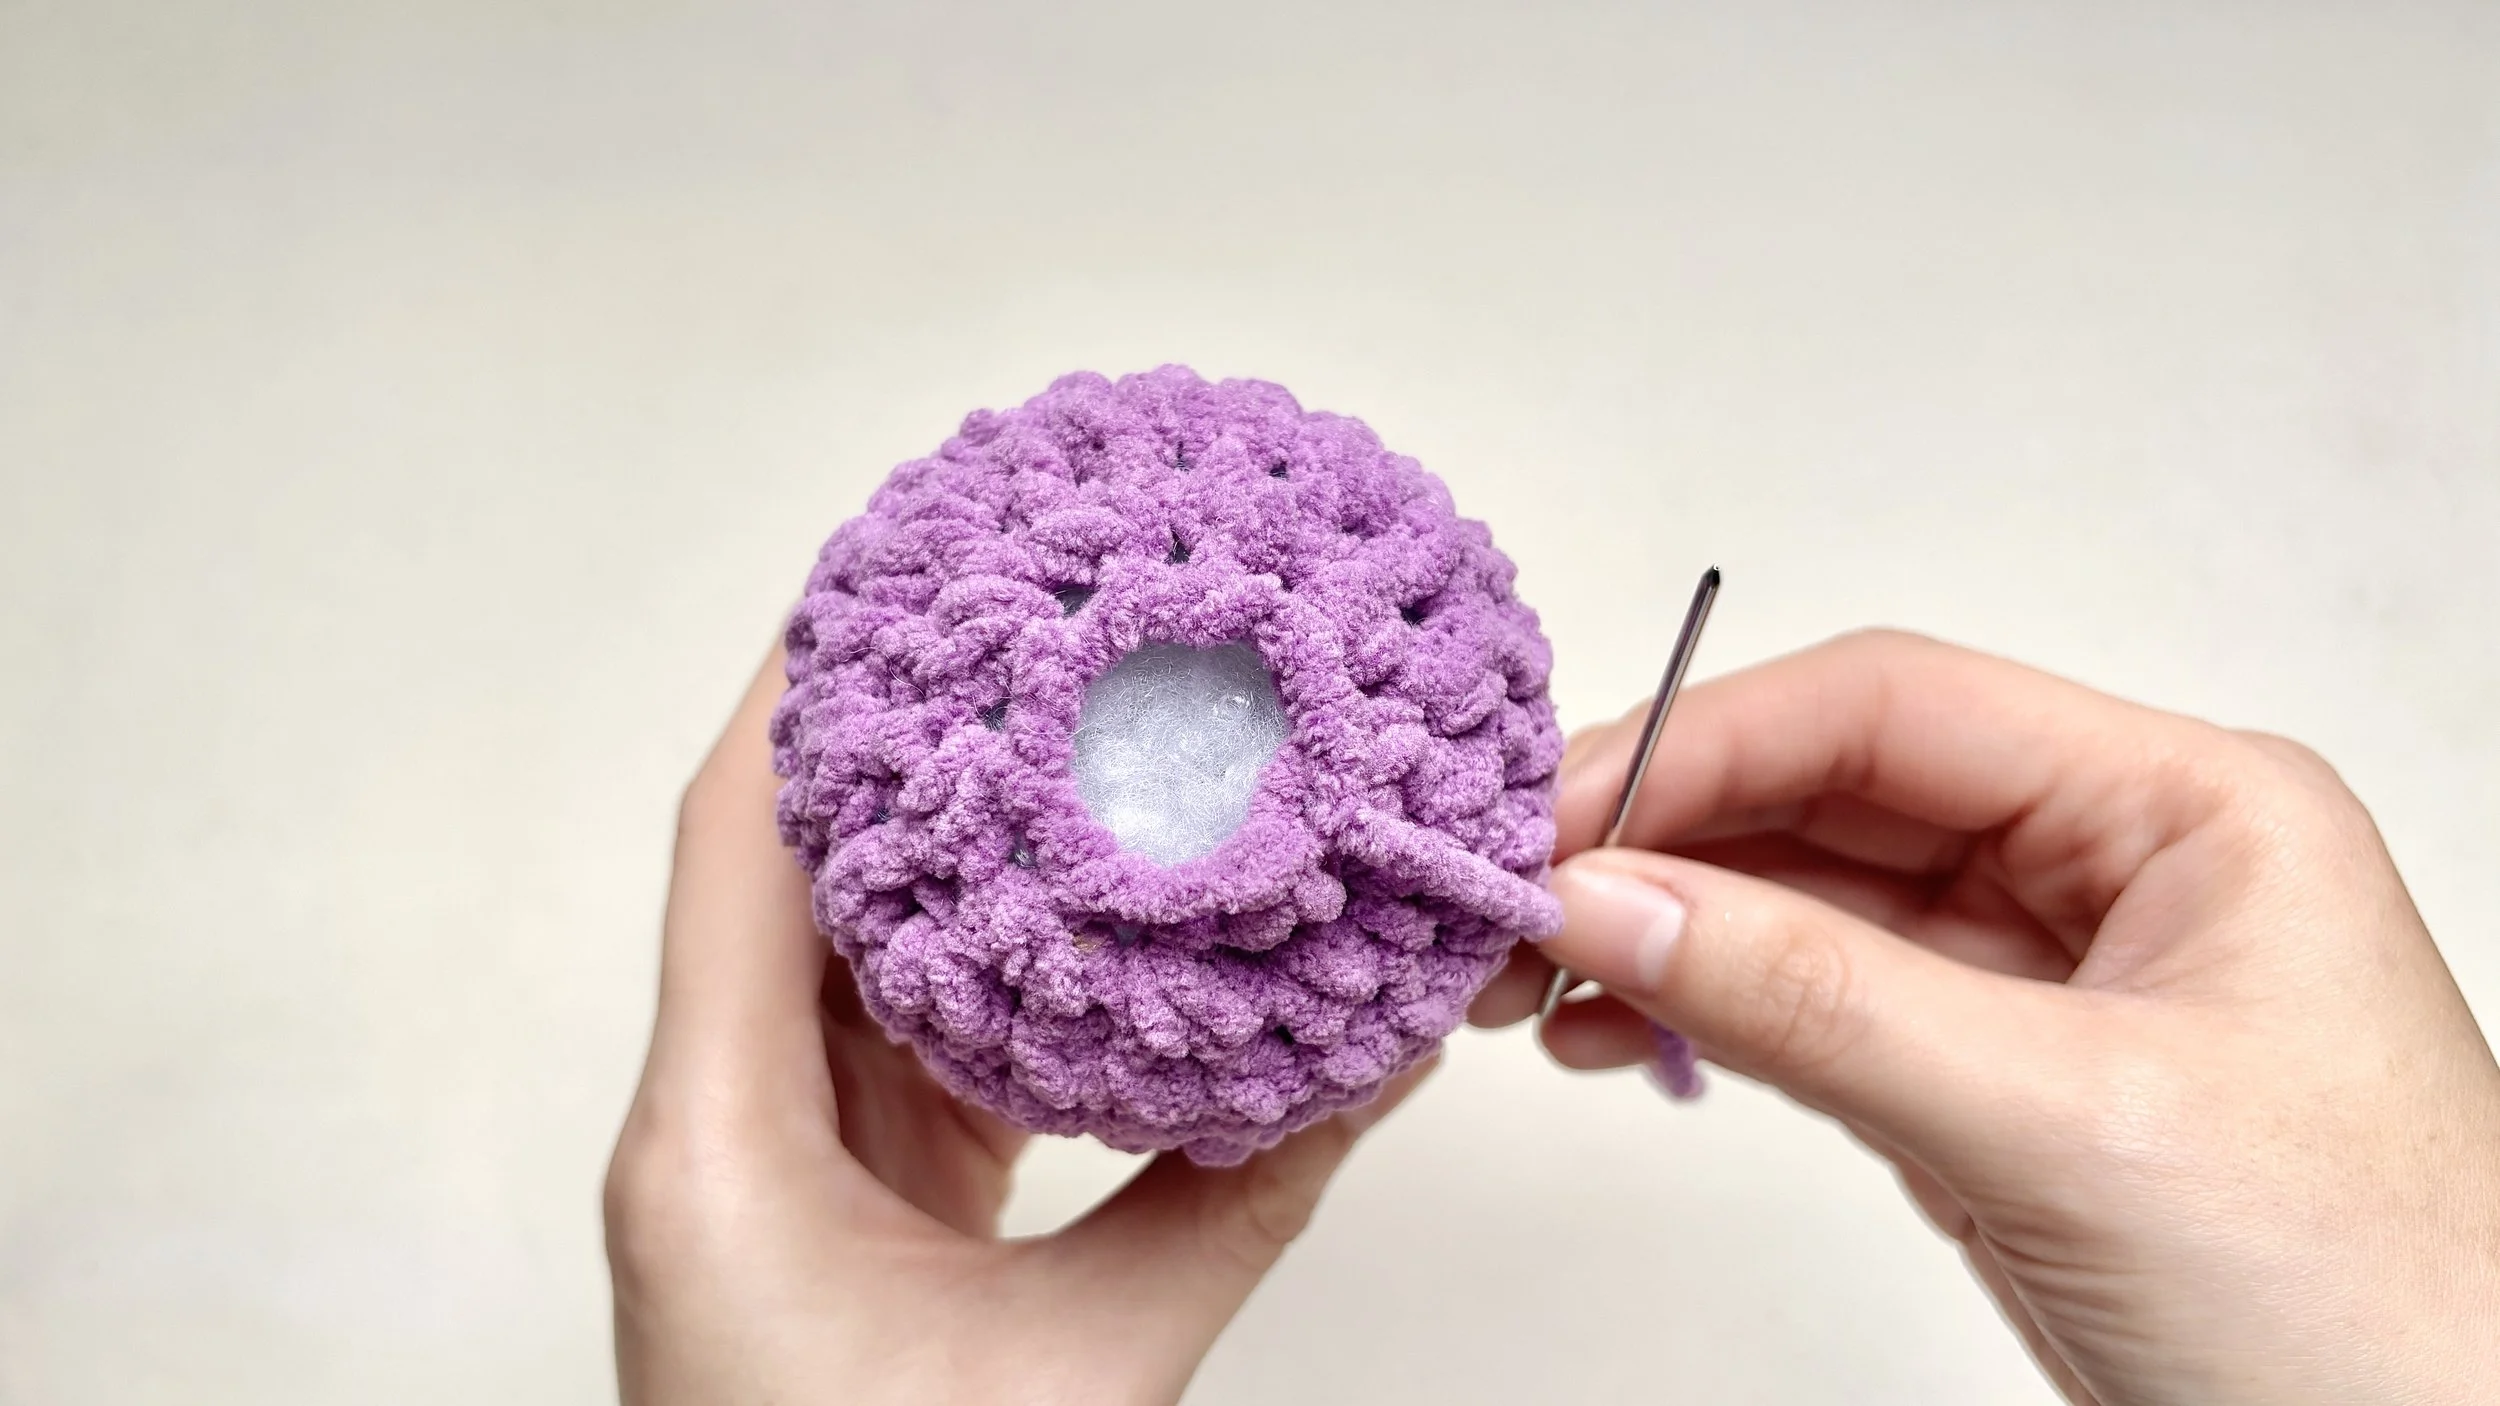
Step 4:
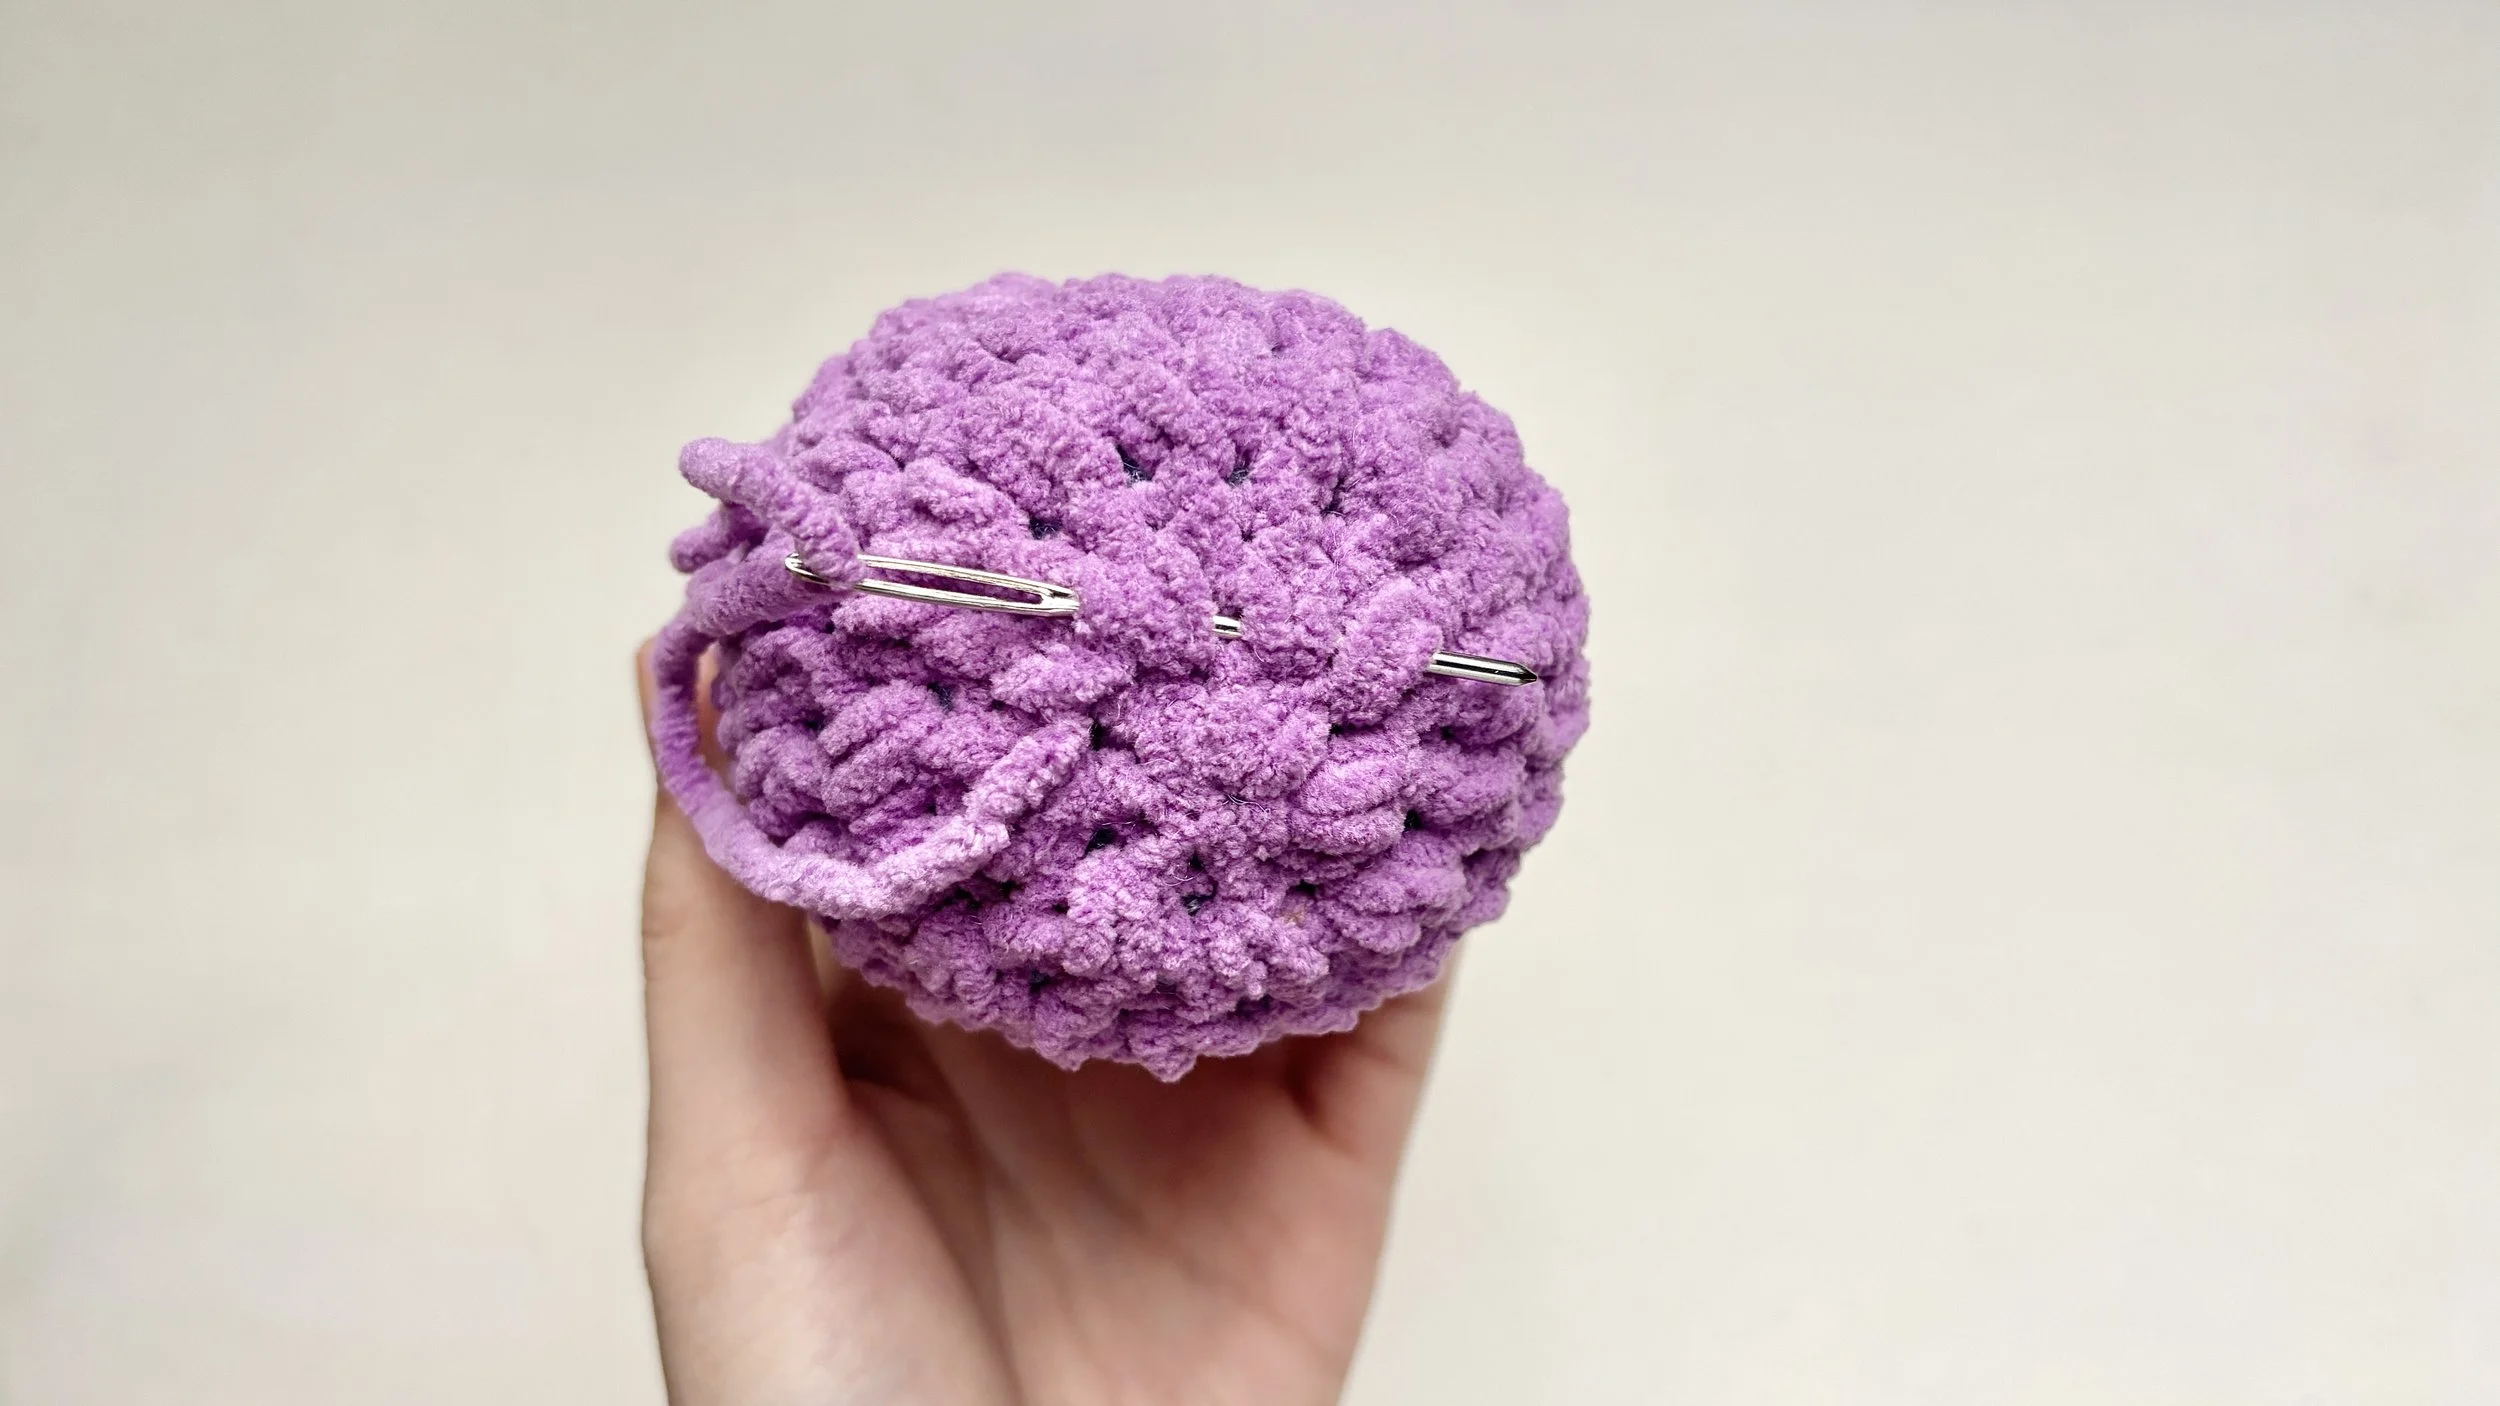
Pull tight to close
Once you’ve been through every front loop, gently pull the yarn.
Keep pulling until the opening draws closed and the stitches gather together neatly.
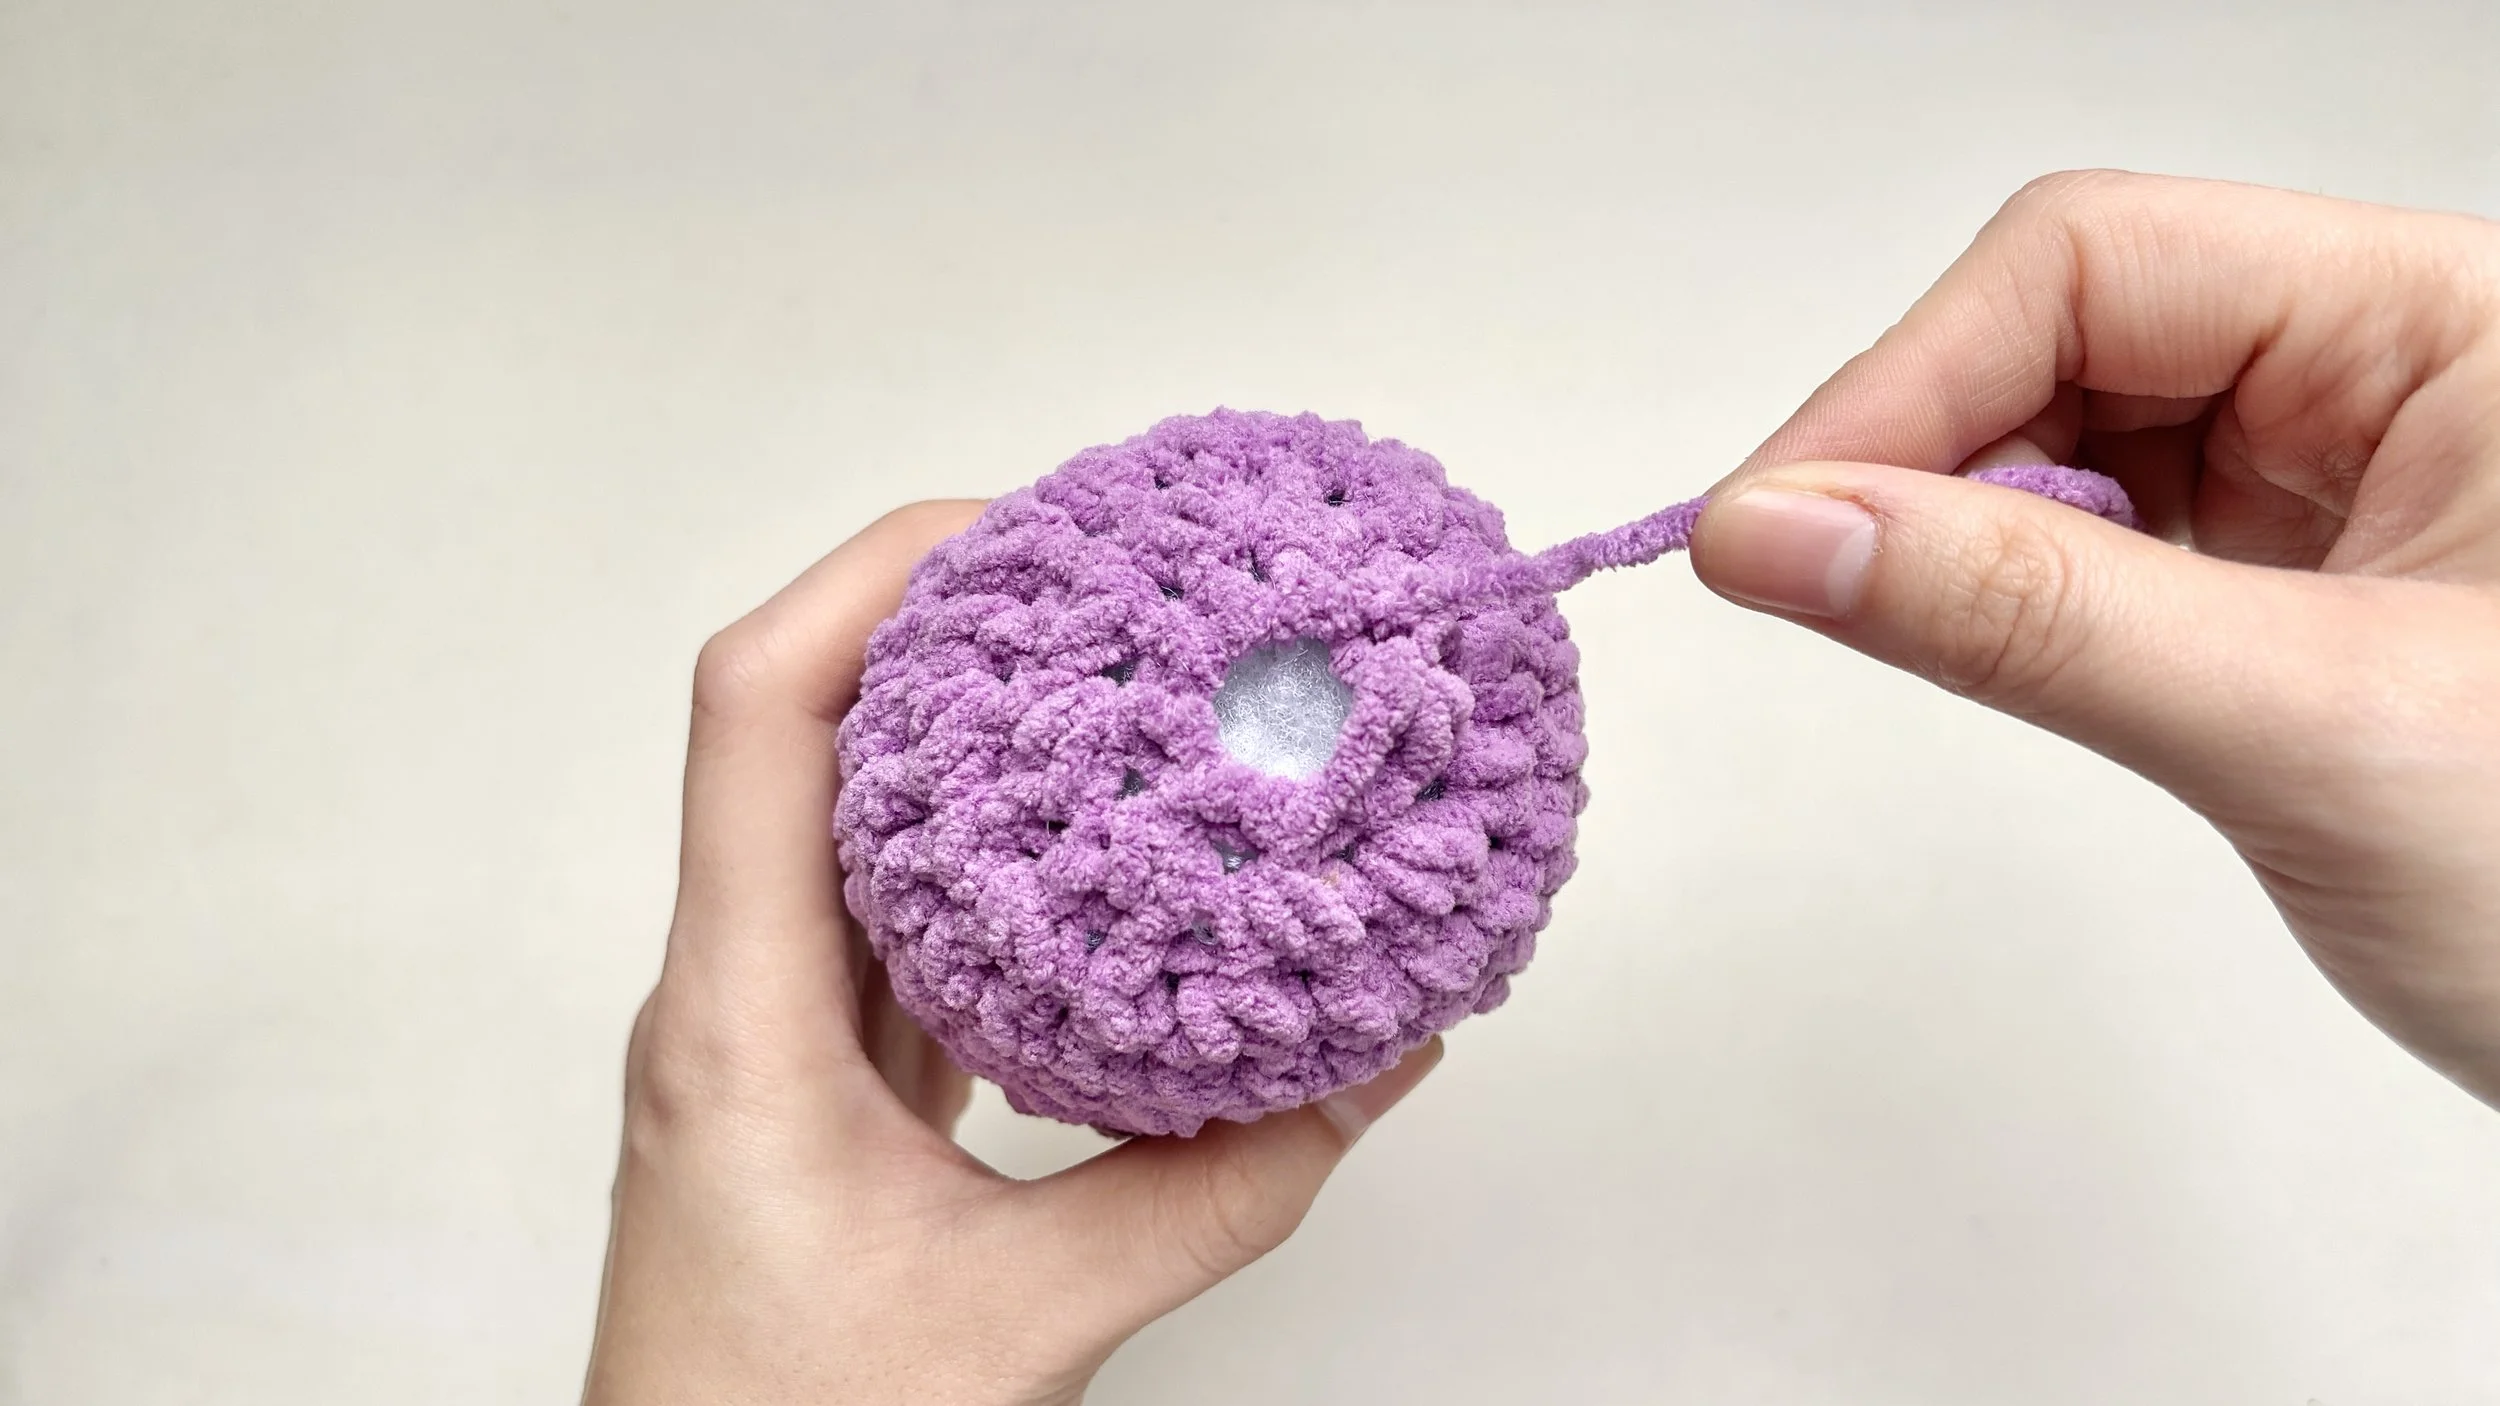
Step 5:
Weave in and trim

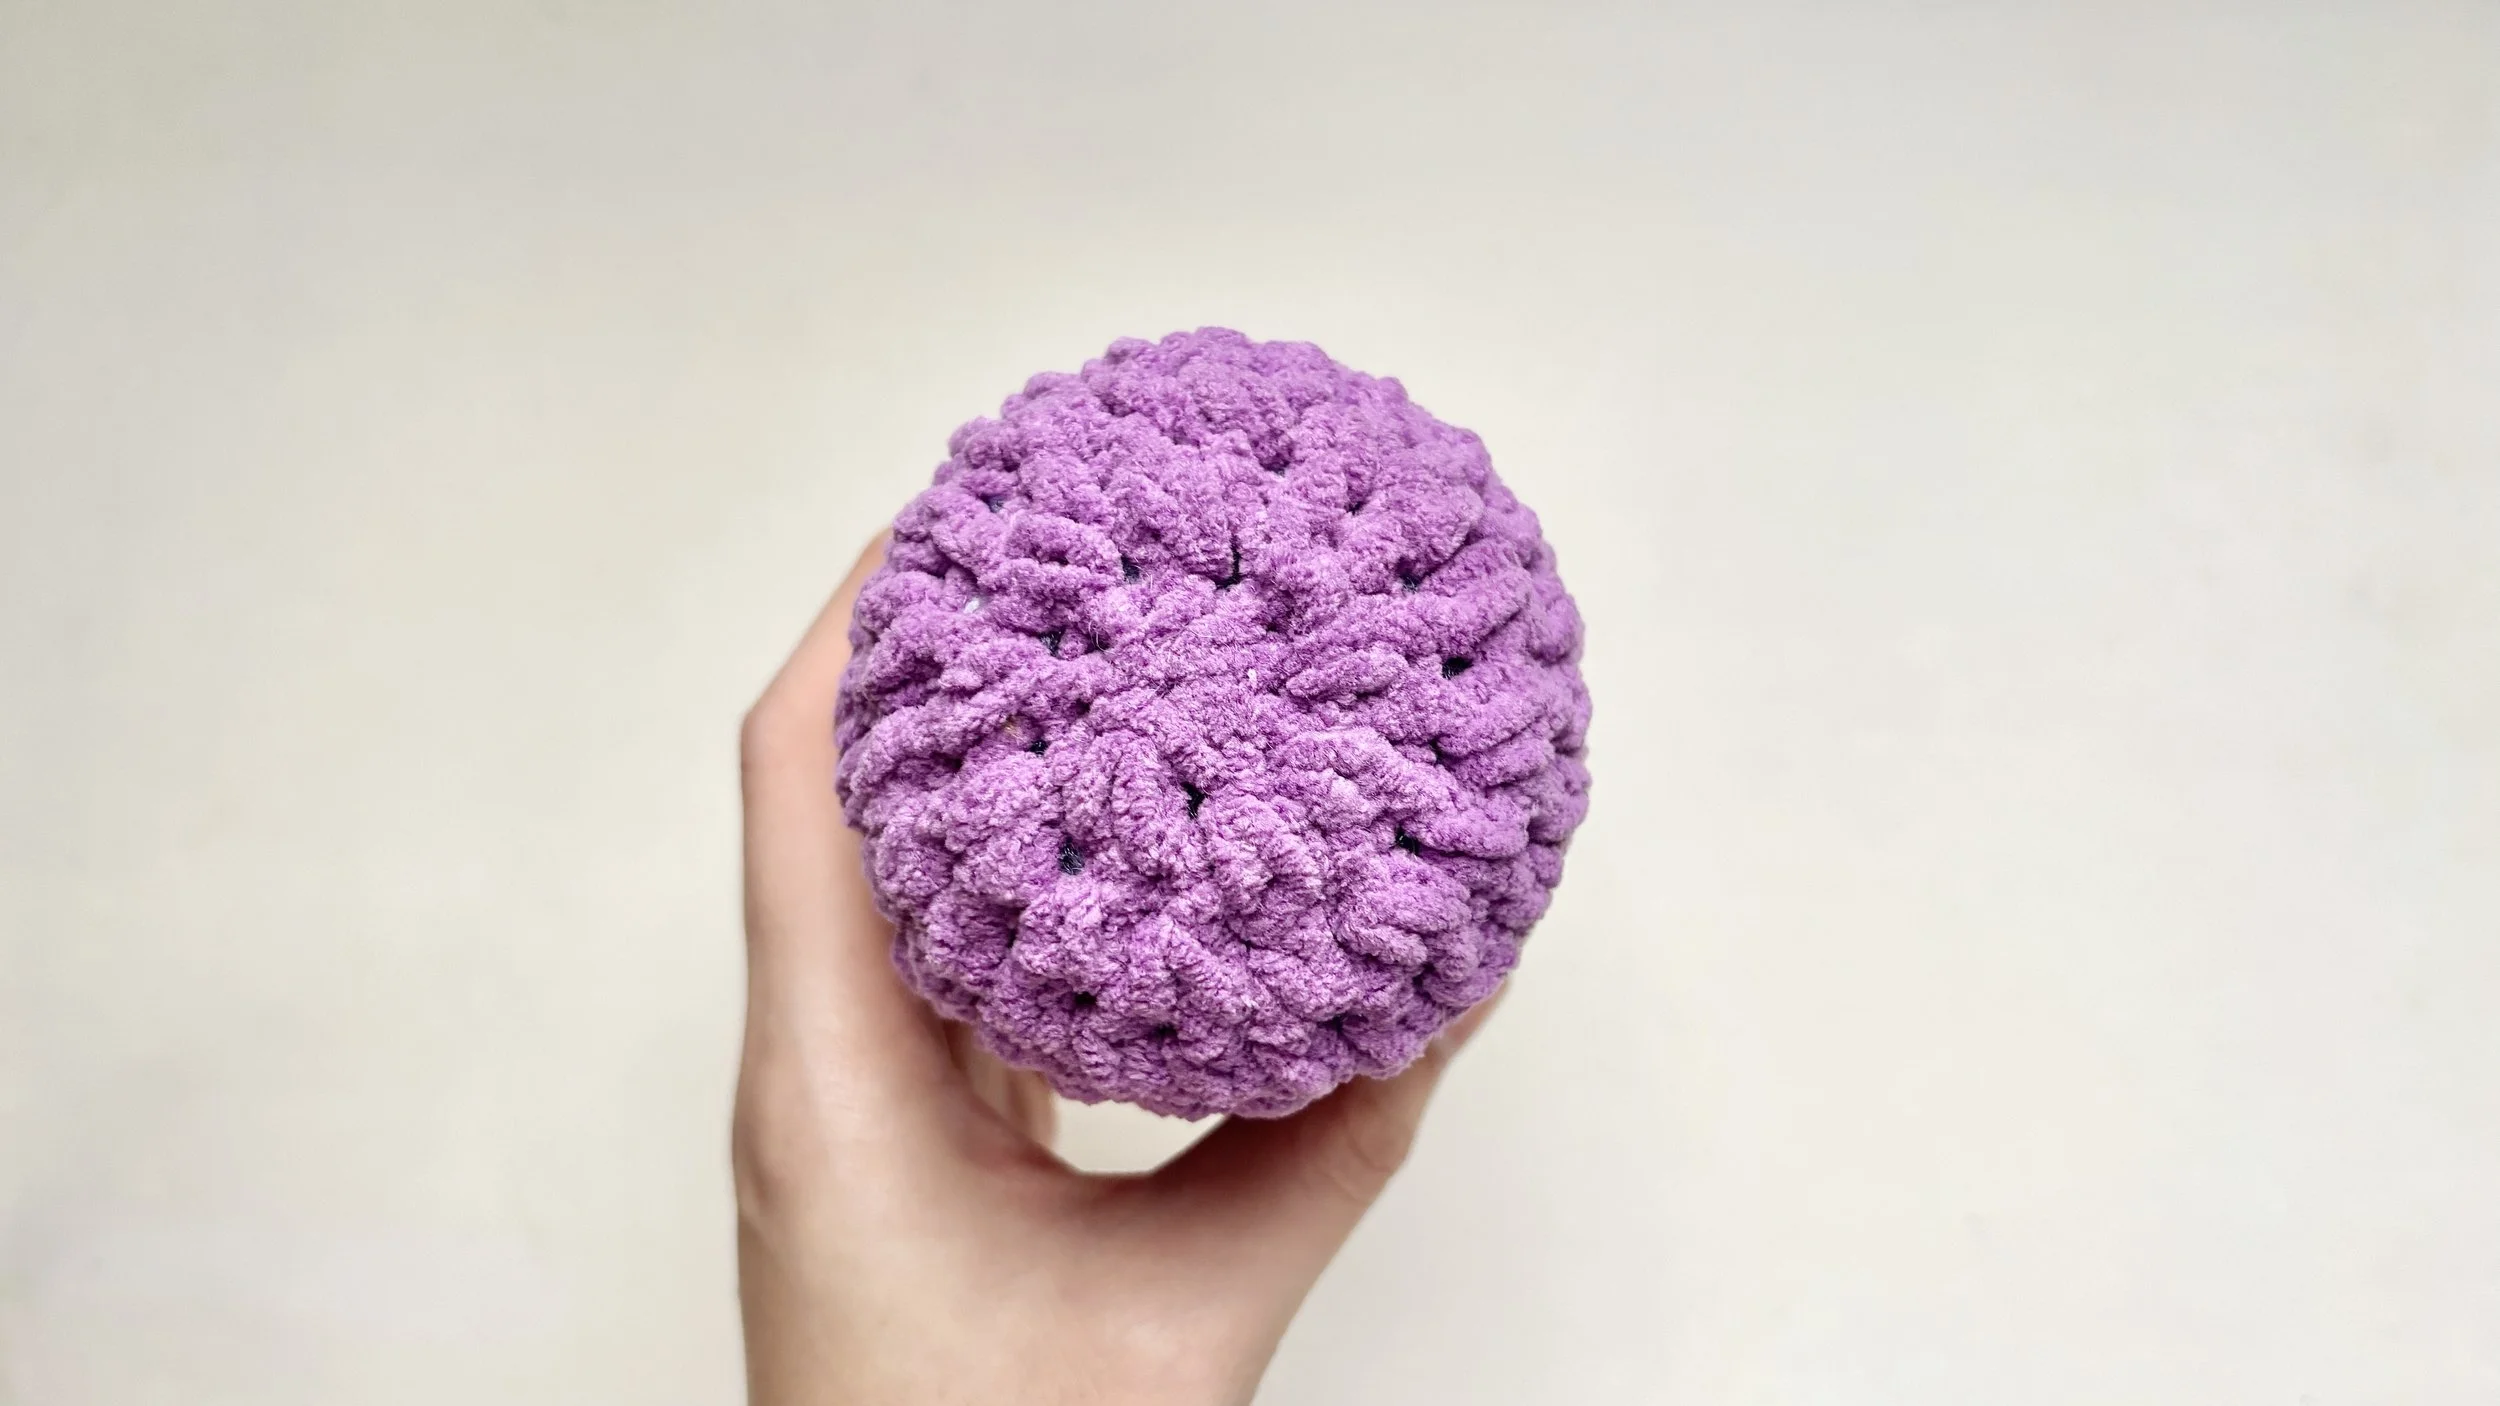
Push the needle into the inside of the piece, through a few stitches, and pull through.
Skip the last strand, come back through the same stitches, then trim the tail close to the surface so it disappears inside.
That’s the hole closed and the tail tucked away — your piece is whole and tidy.
This is often the very last step, so take a moment to enjoy your finished make.
We’re right here with you every step of the way.