
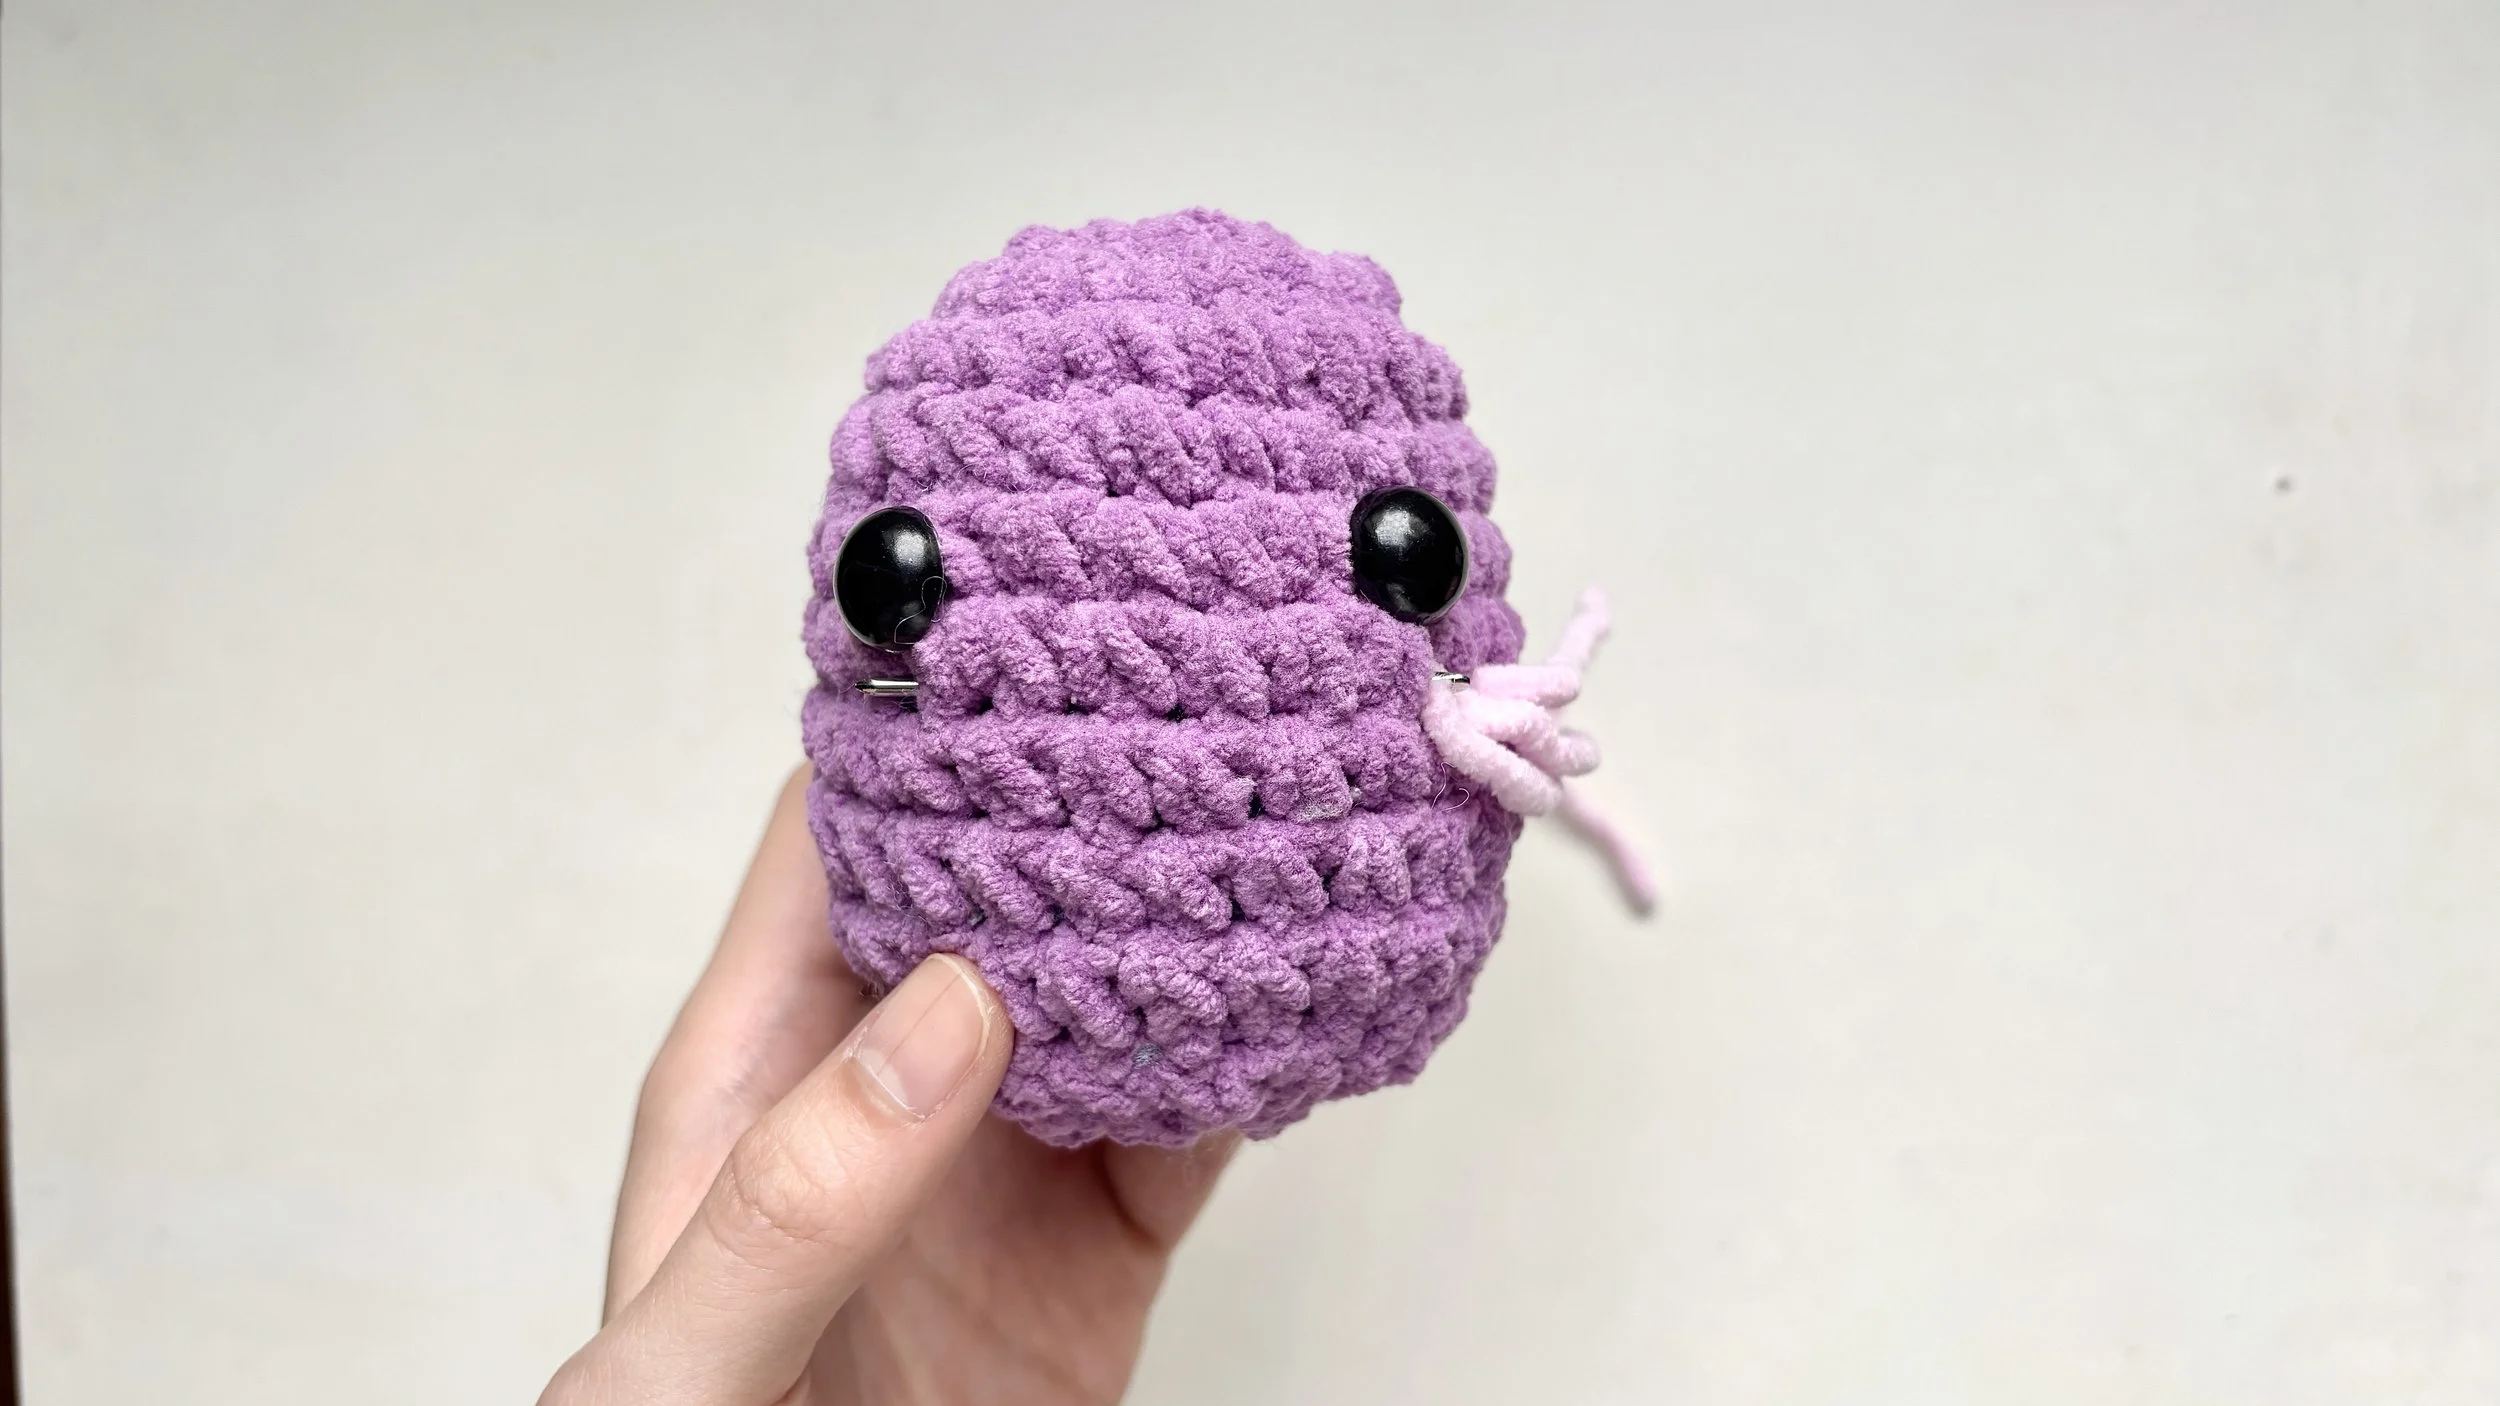
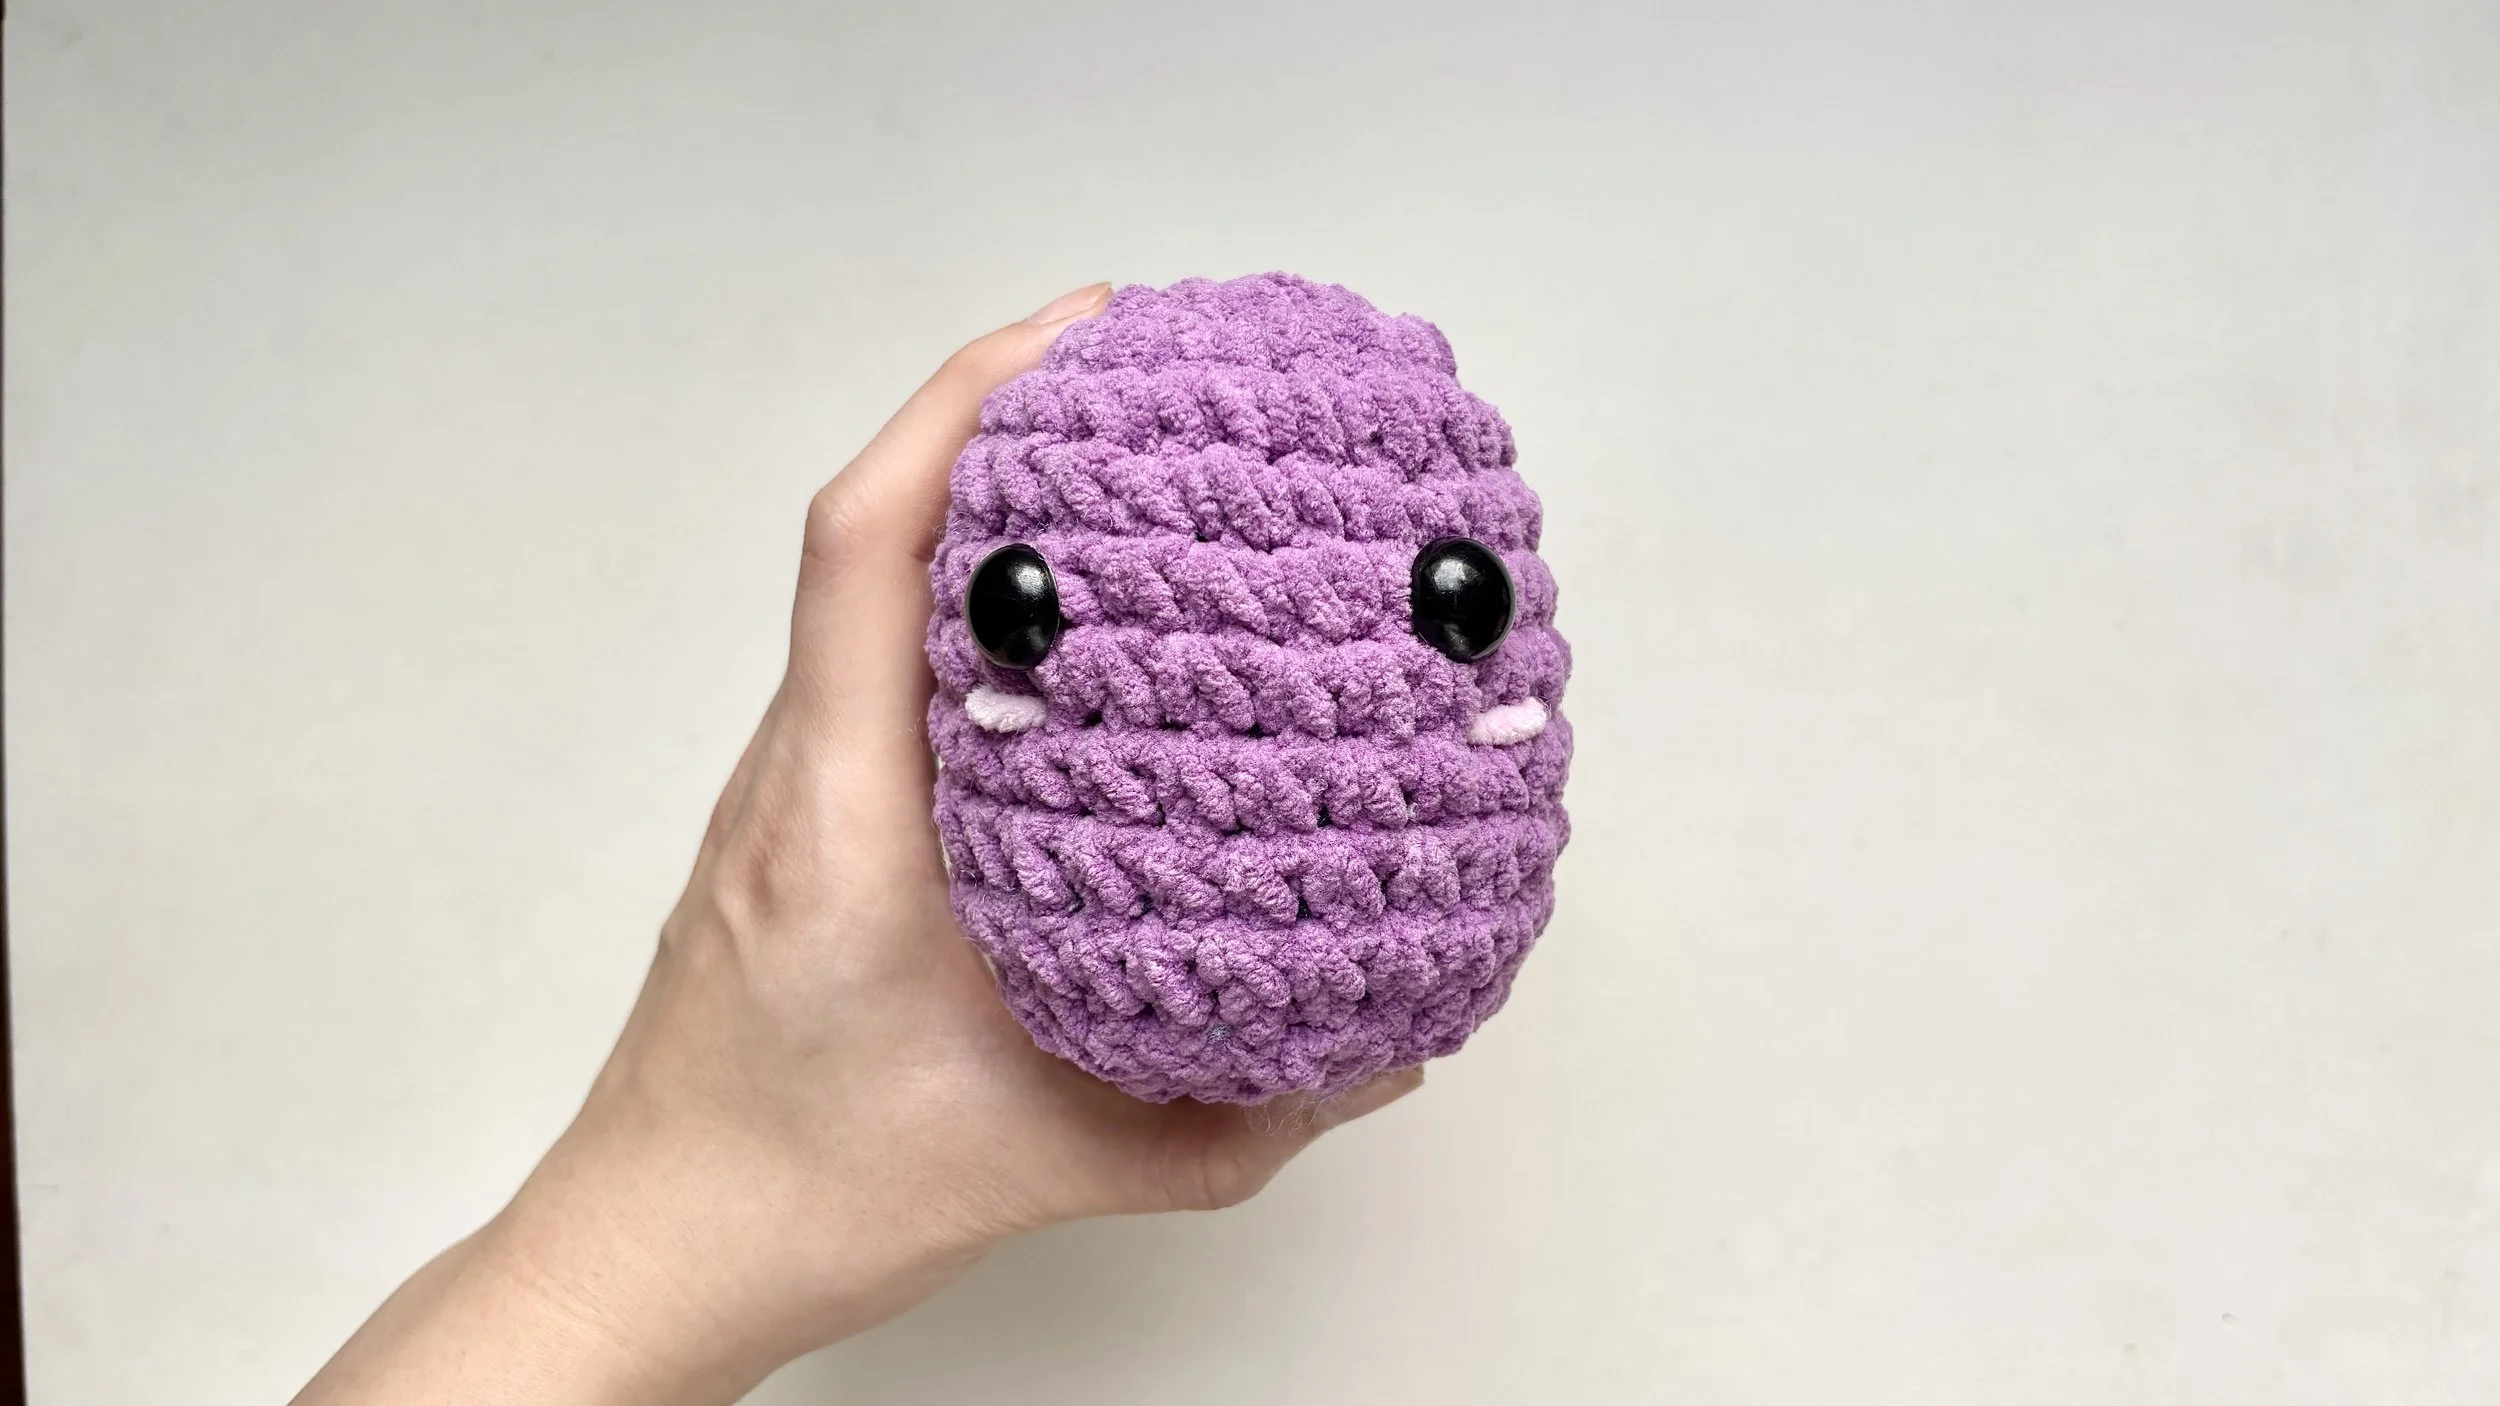
A little embroidered blush gives your make a cute, expressive face. Here you’ll add it right under the eye, one stitch wide. Take your time — it’s a small detail that brings a lot of character.
How to add embroidery details
Watch the lesson
The heart of it
A blush is just a couple of small straight stitches, each one stitch wide. Hide the starting knot inside the stuffing, and don’t pull too tight.
Step-by-step instructions
Step 1:
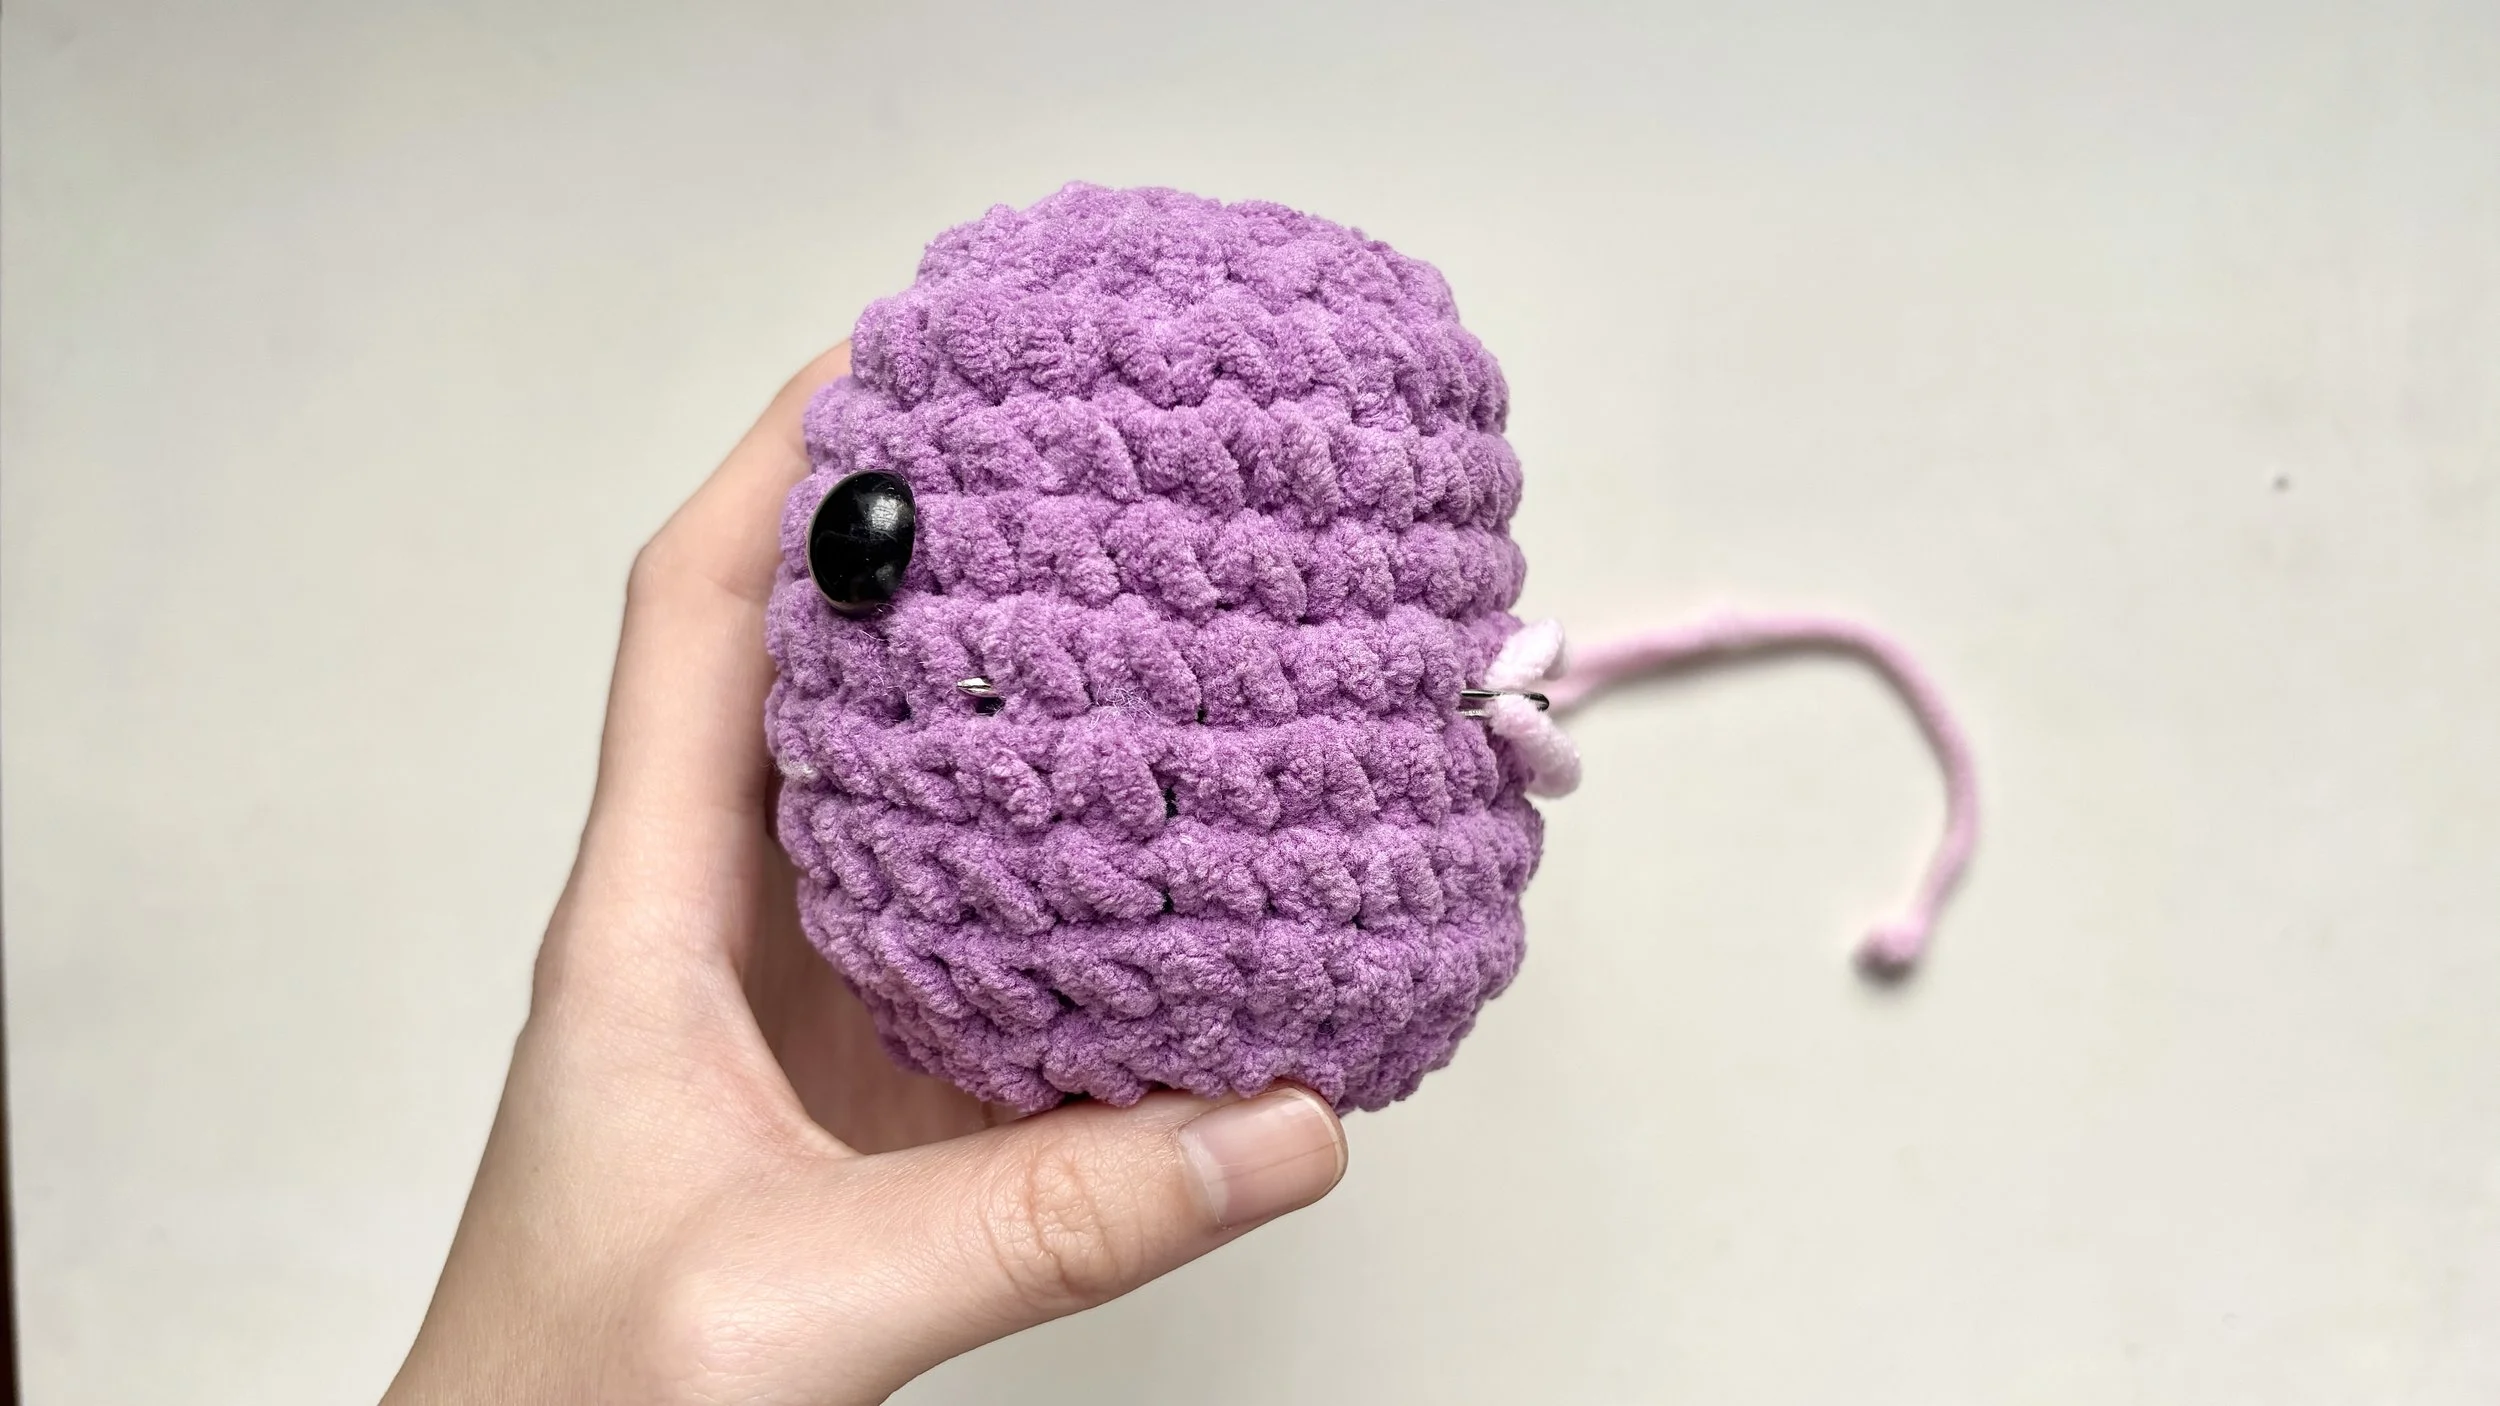
Choose the spot
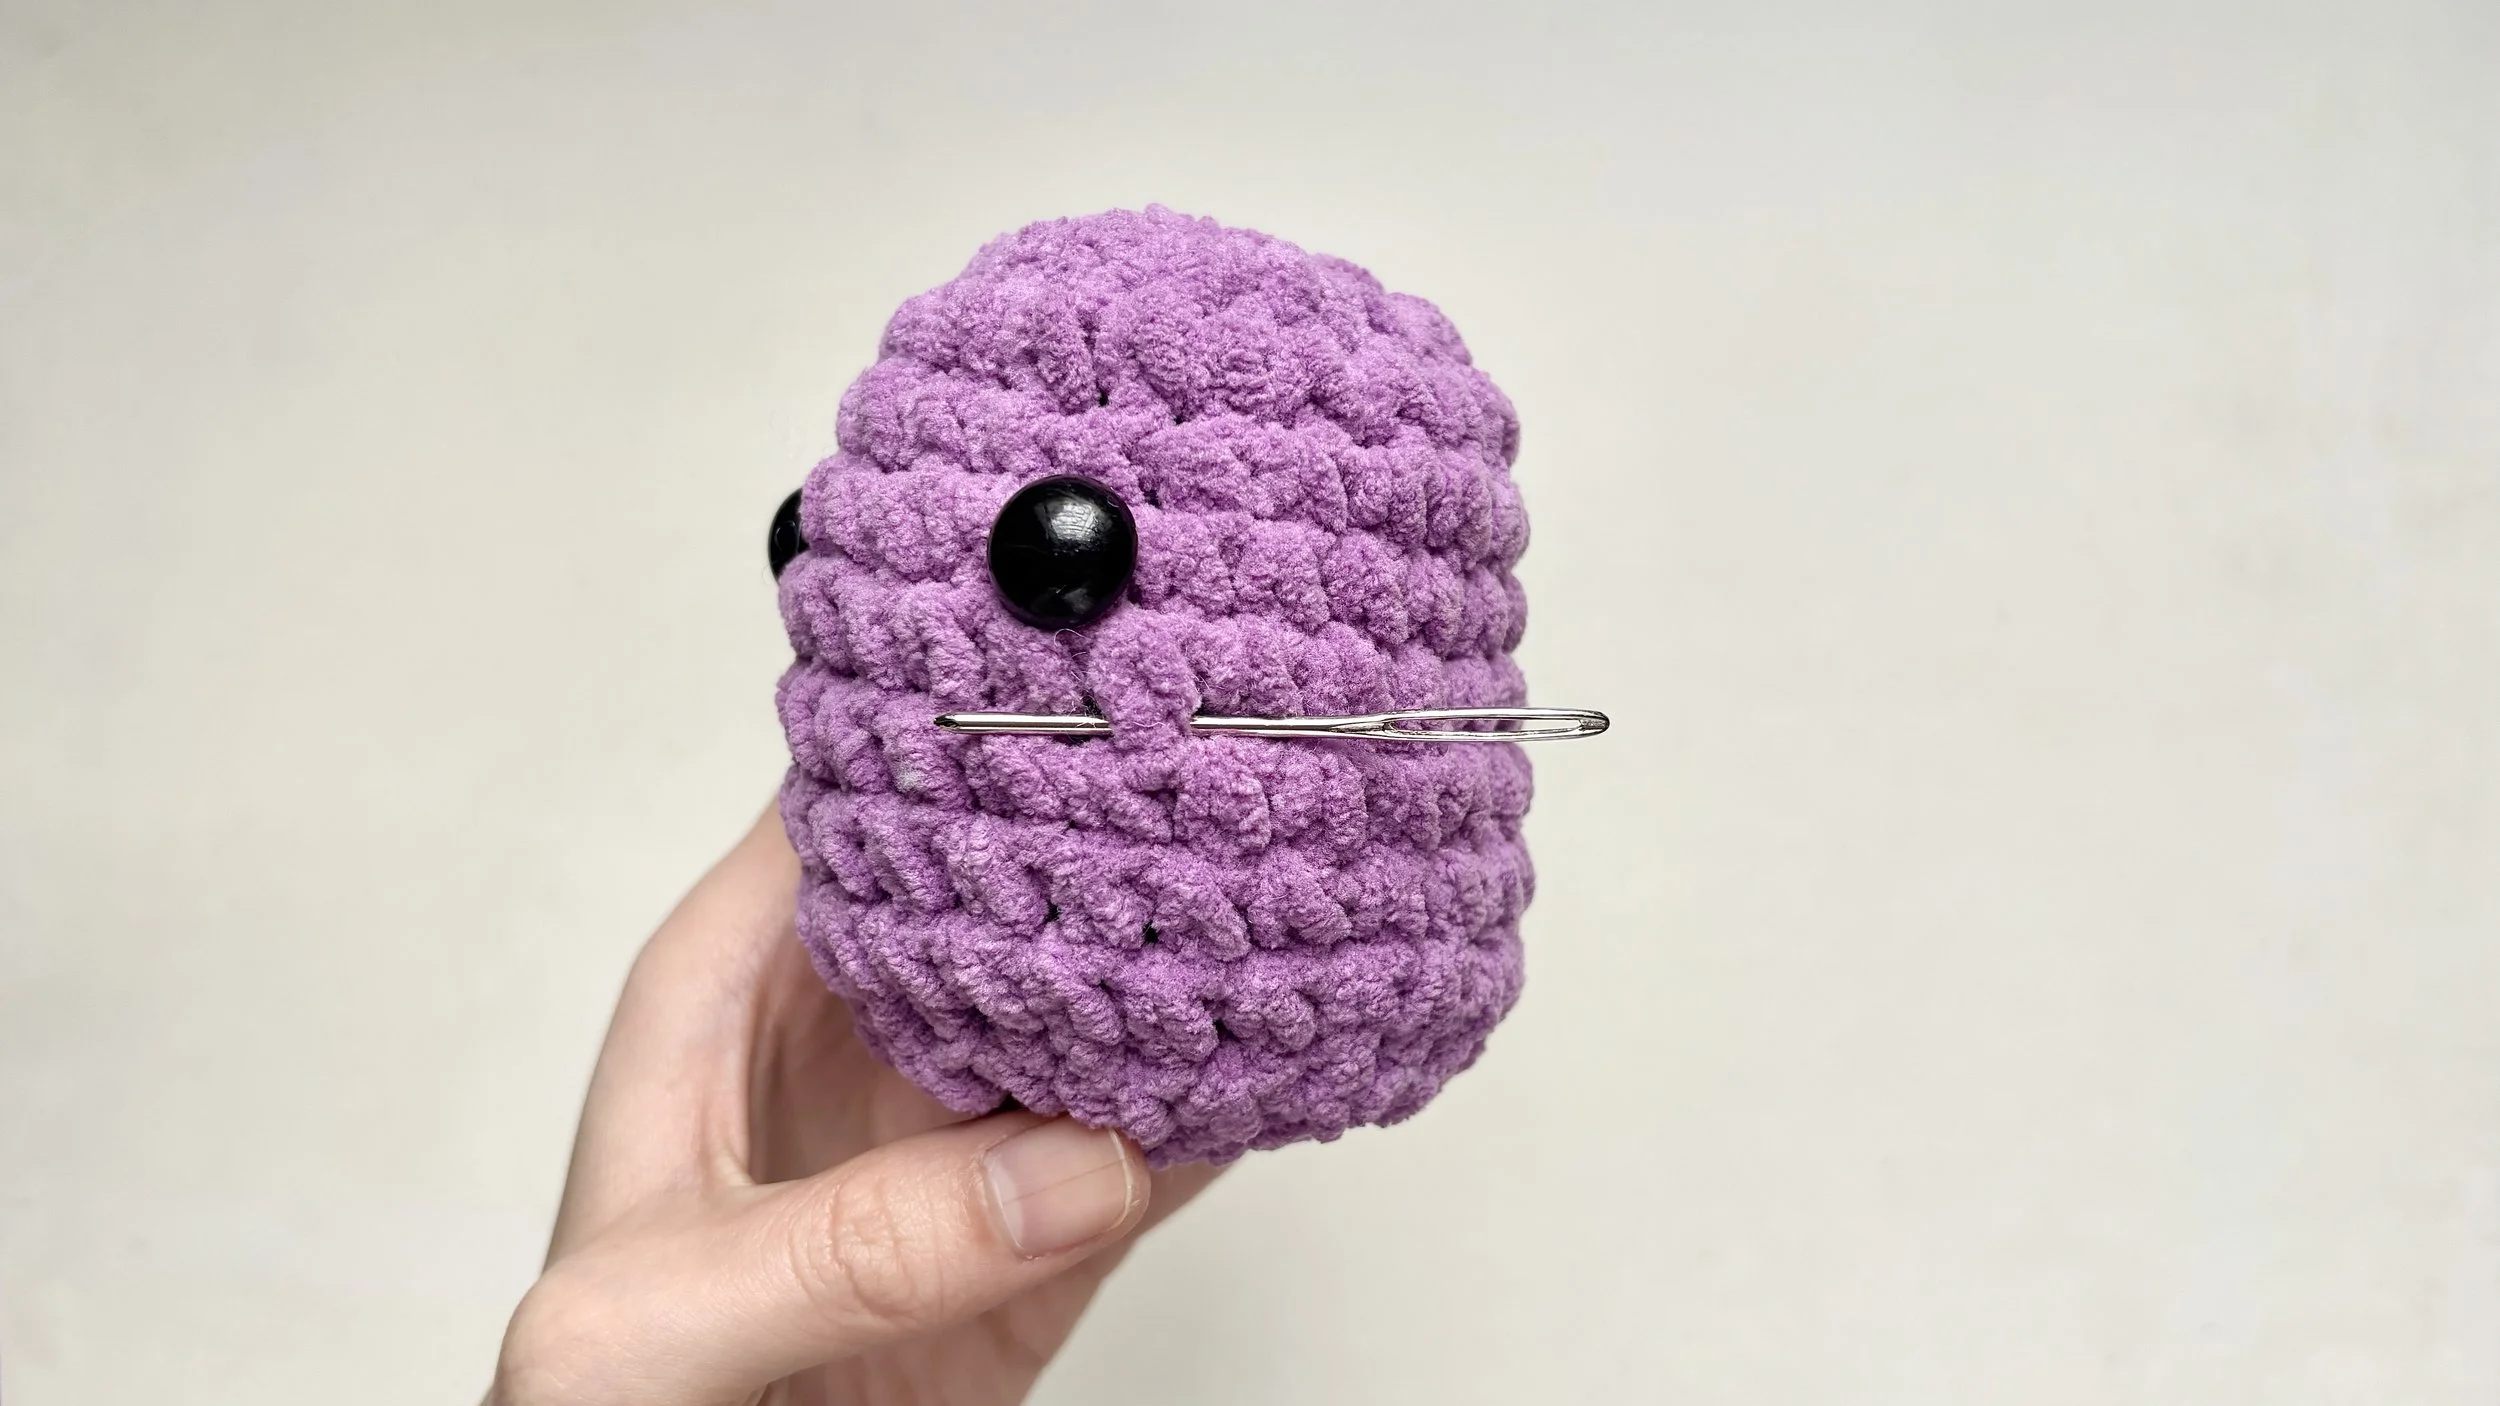
Decide where the blush will sit.
In this example it’s right under the eye, and each blush is one stitch wide.
Step 2:
Thread and knot
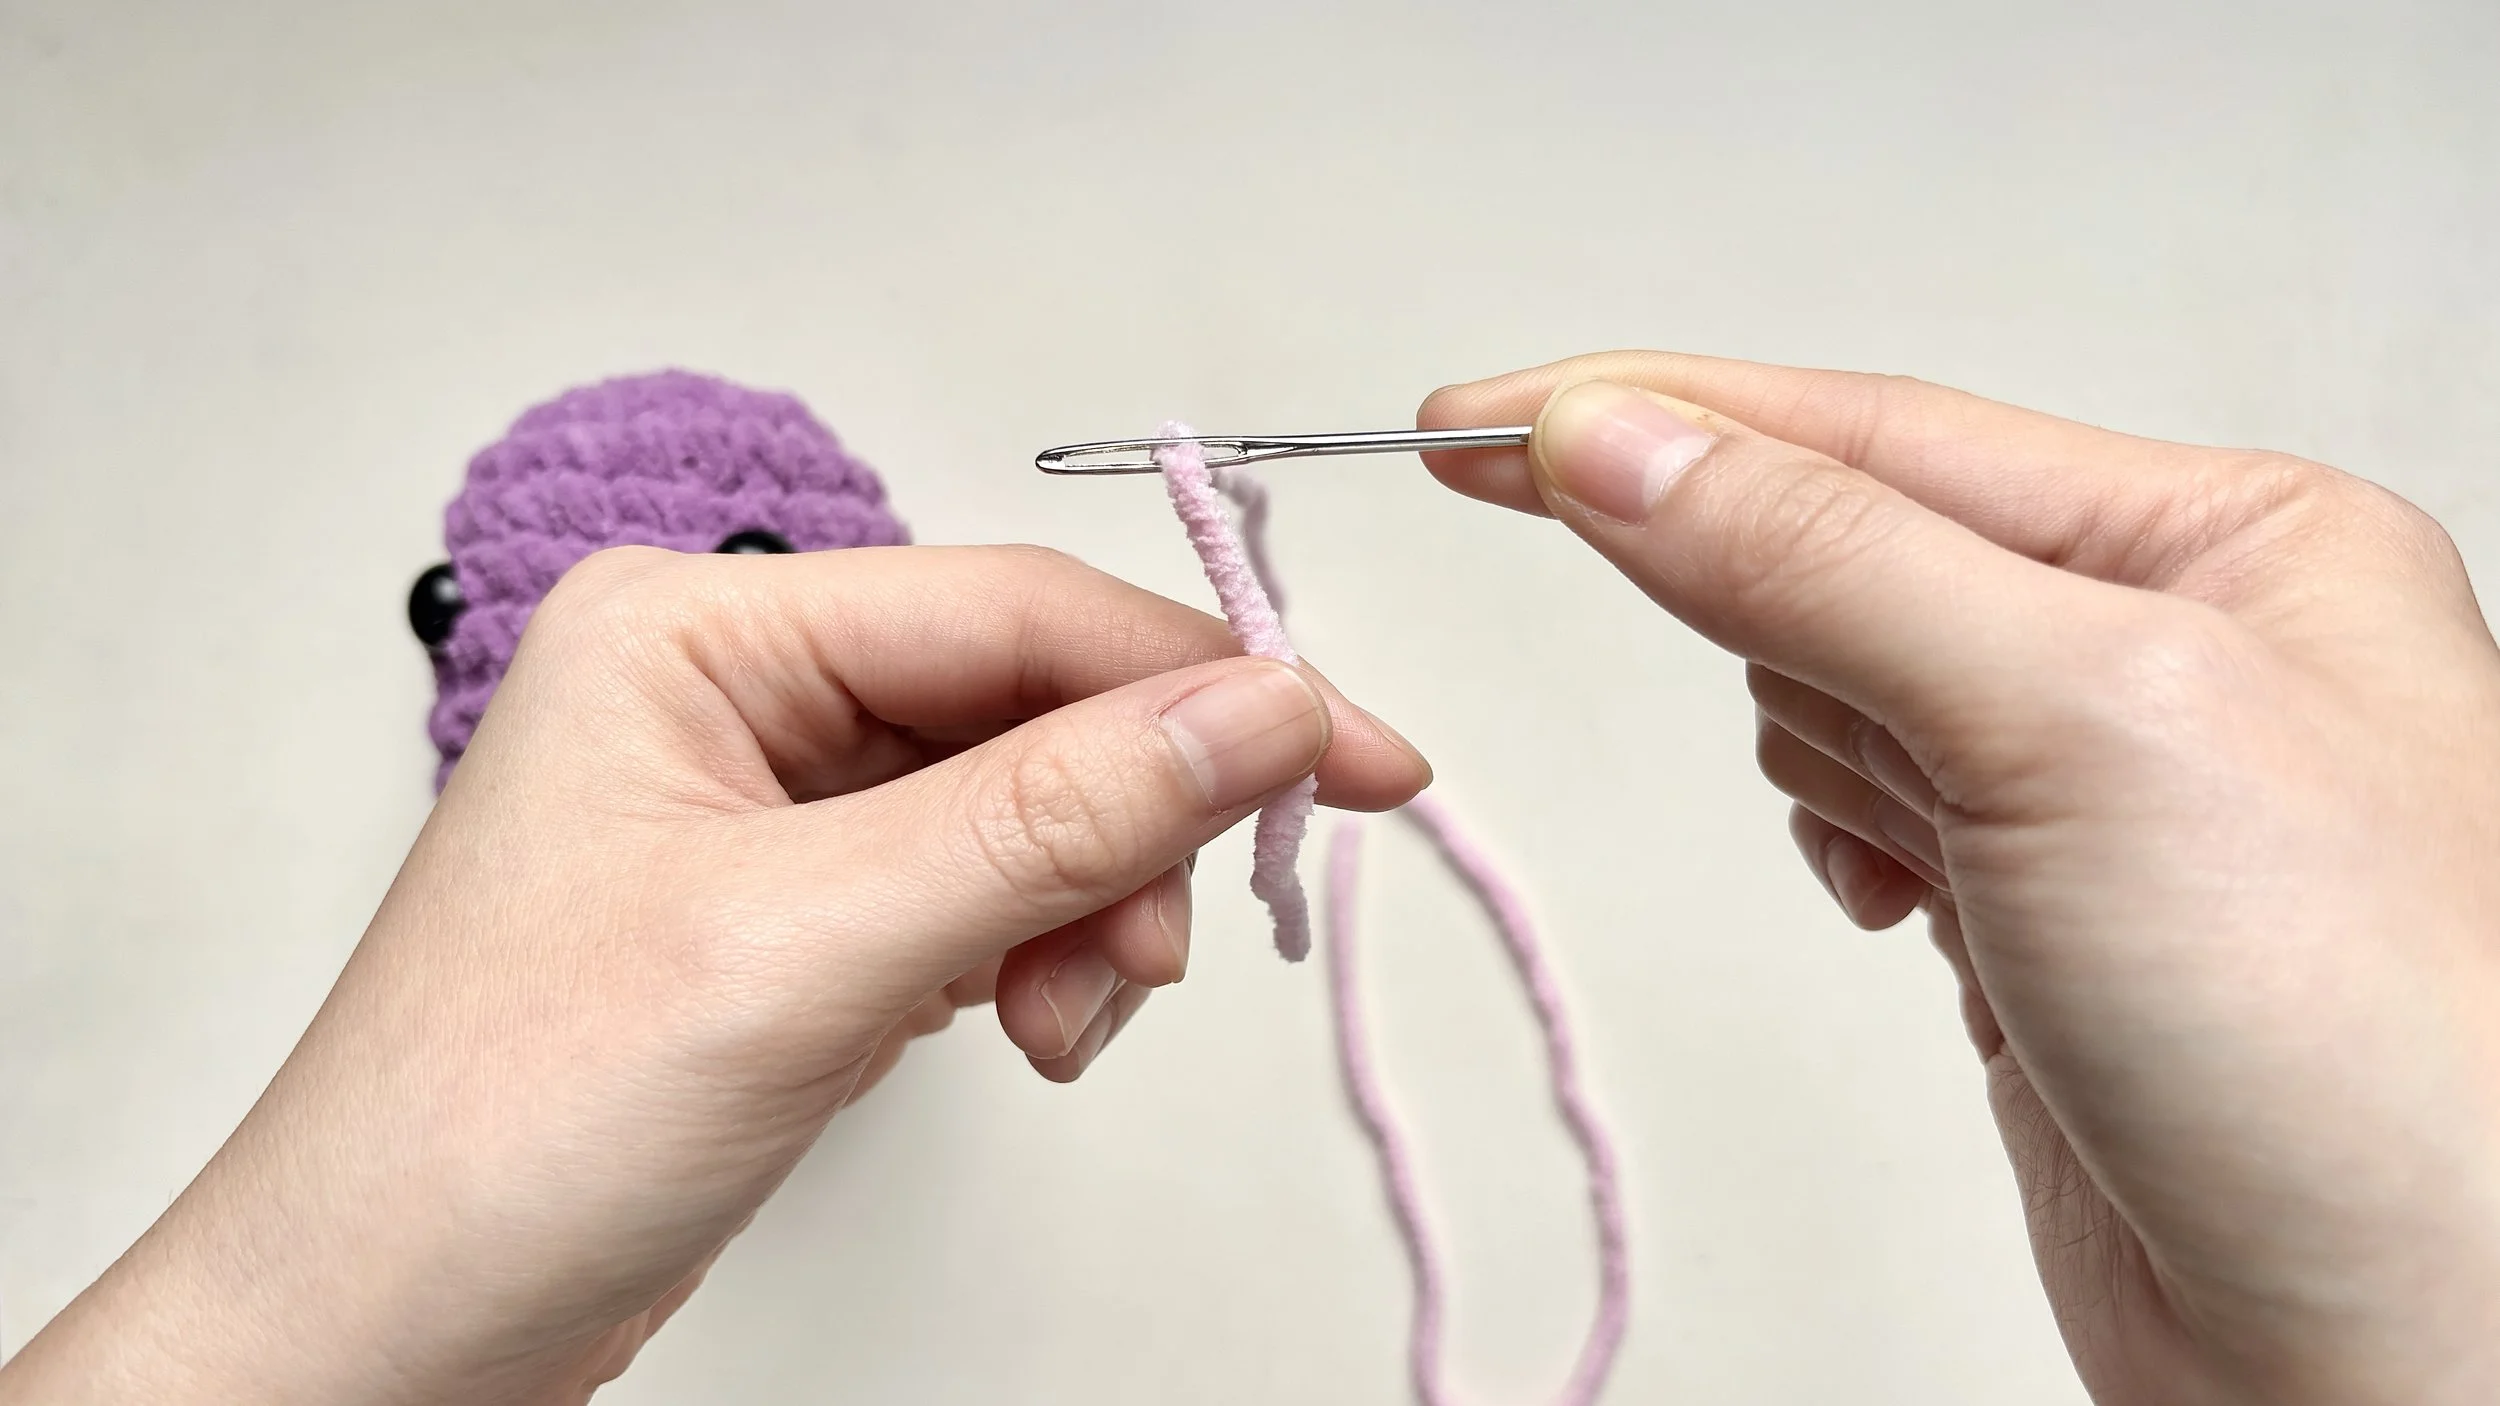
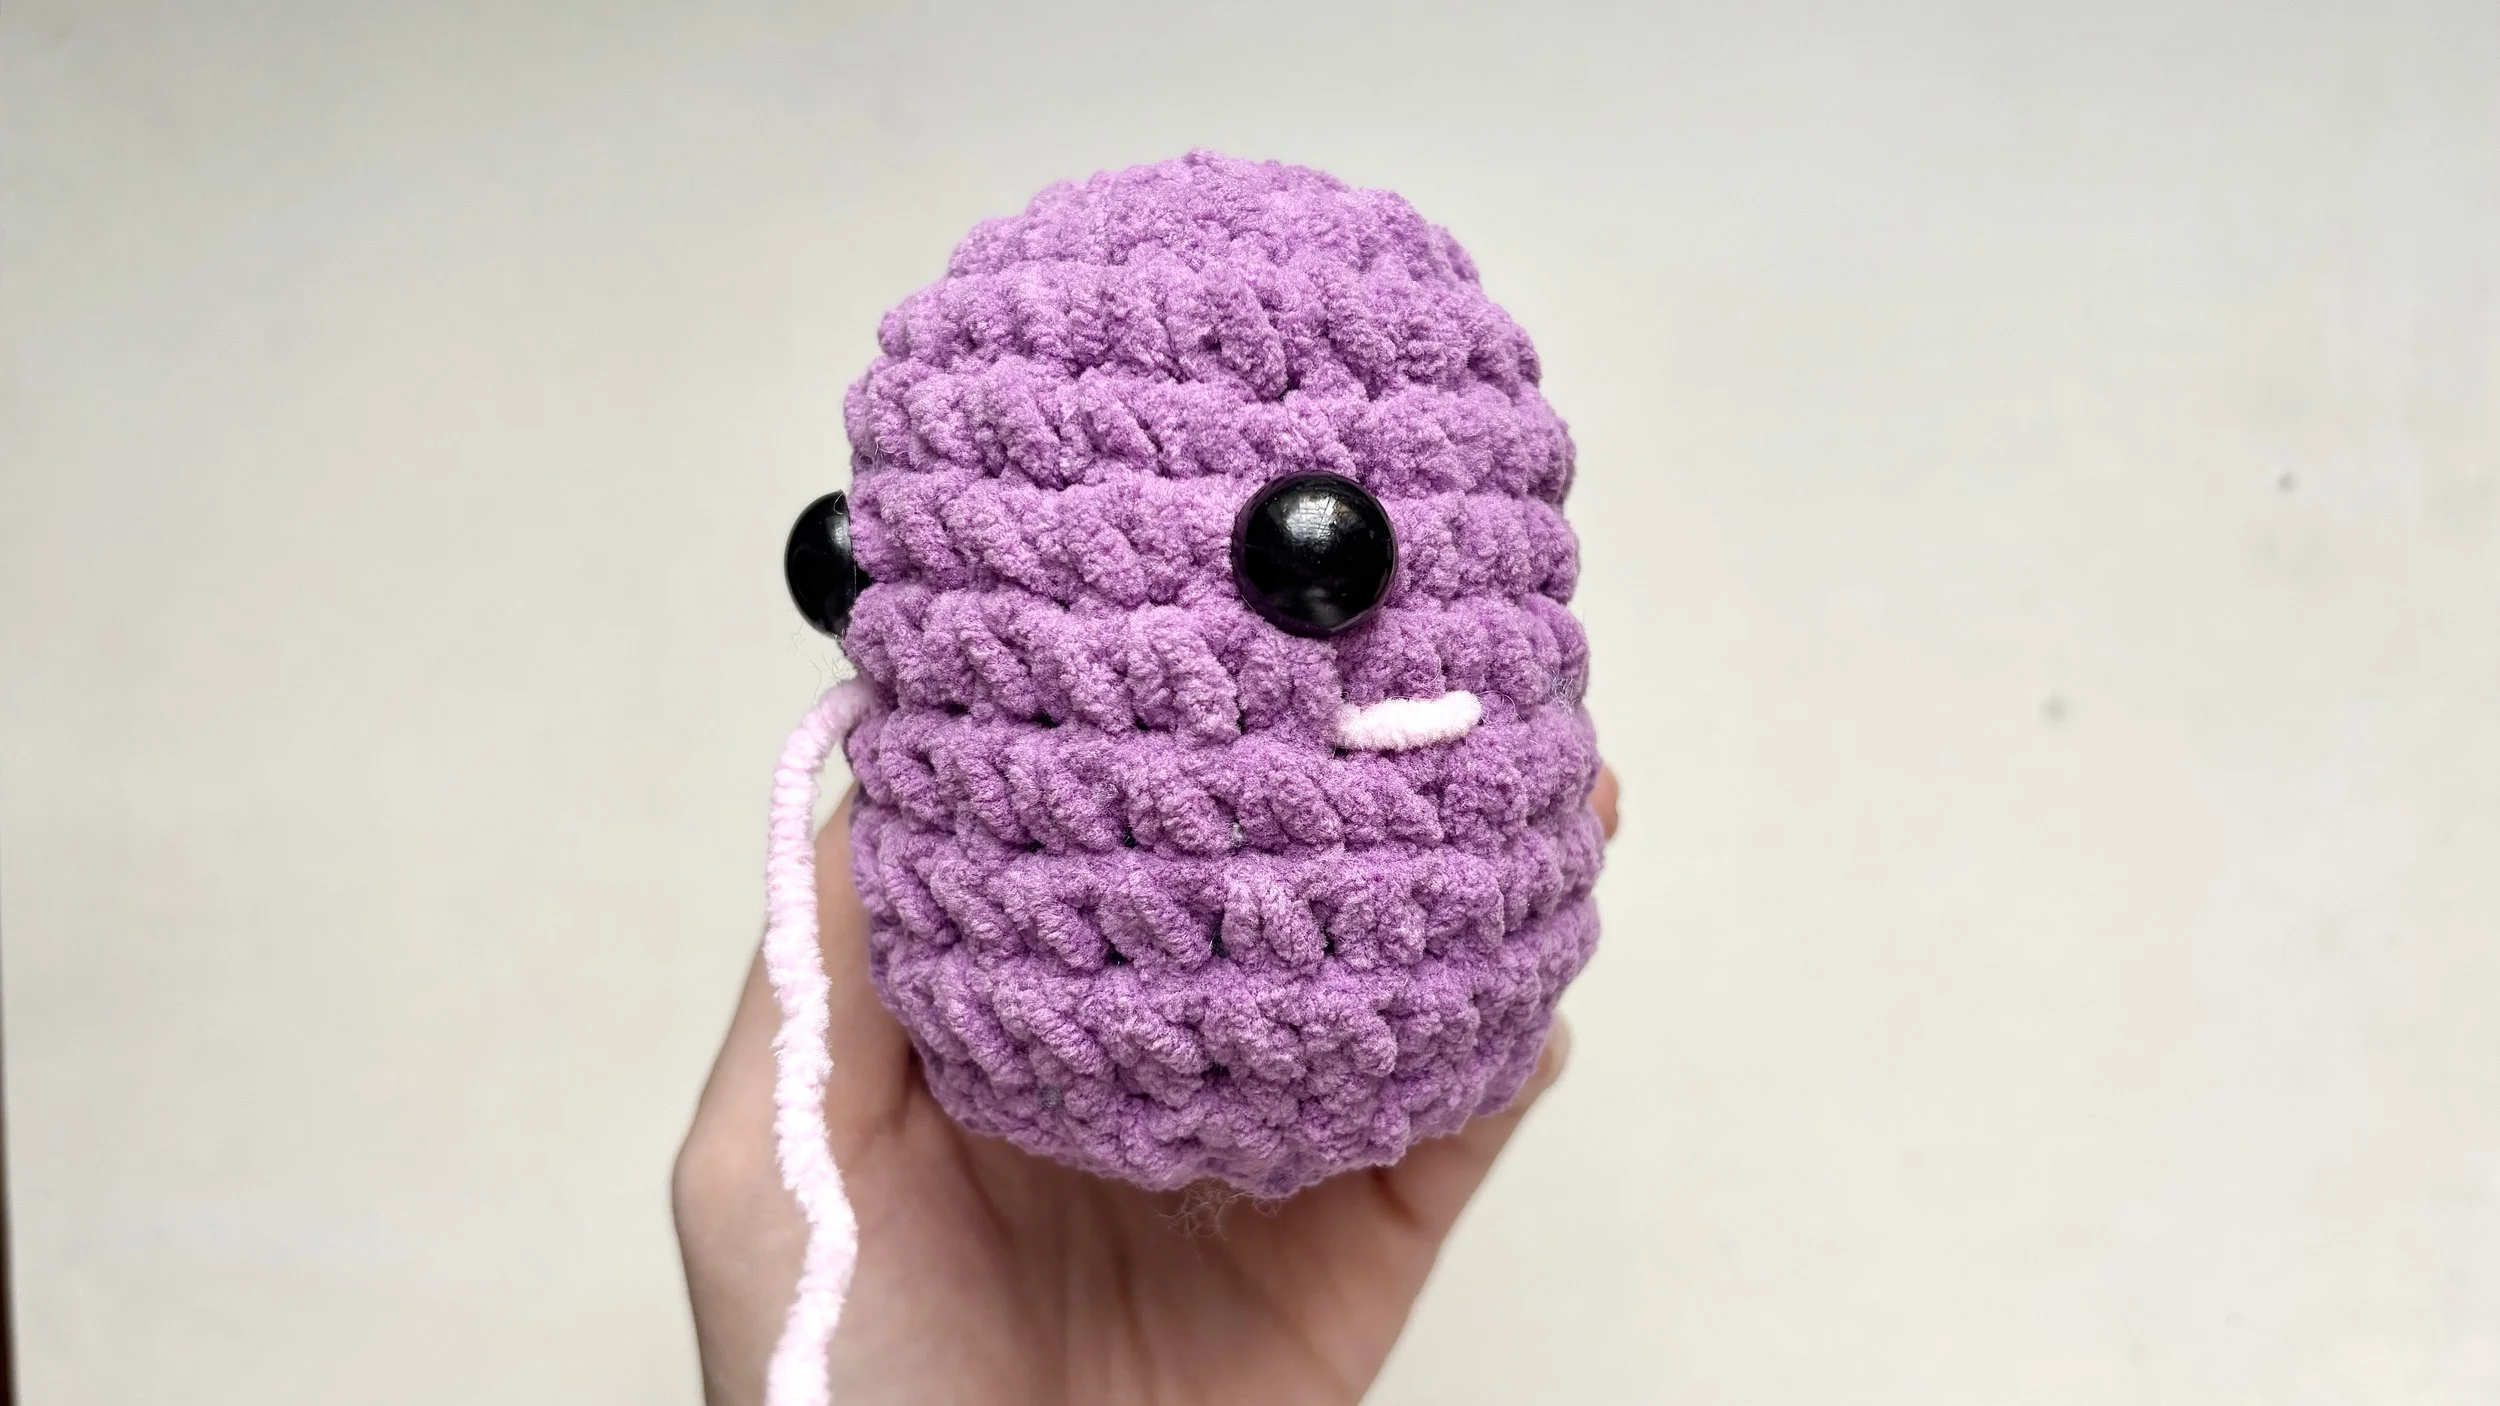
Thread the blush-colored yarn onto the yarn needle and tie a knot at one end.
Step 3:
Bury the knot
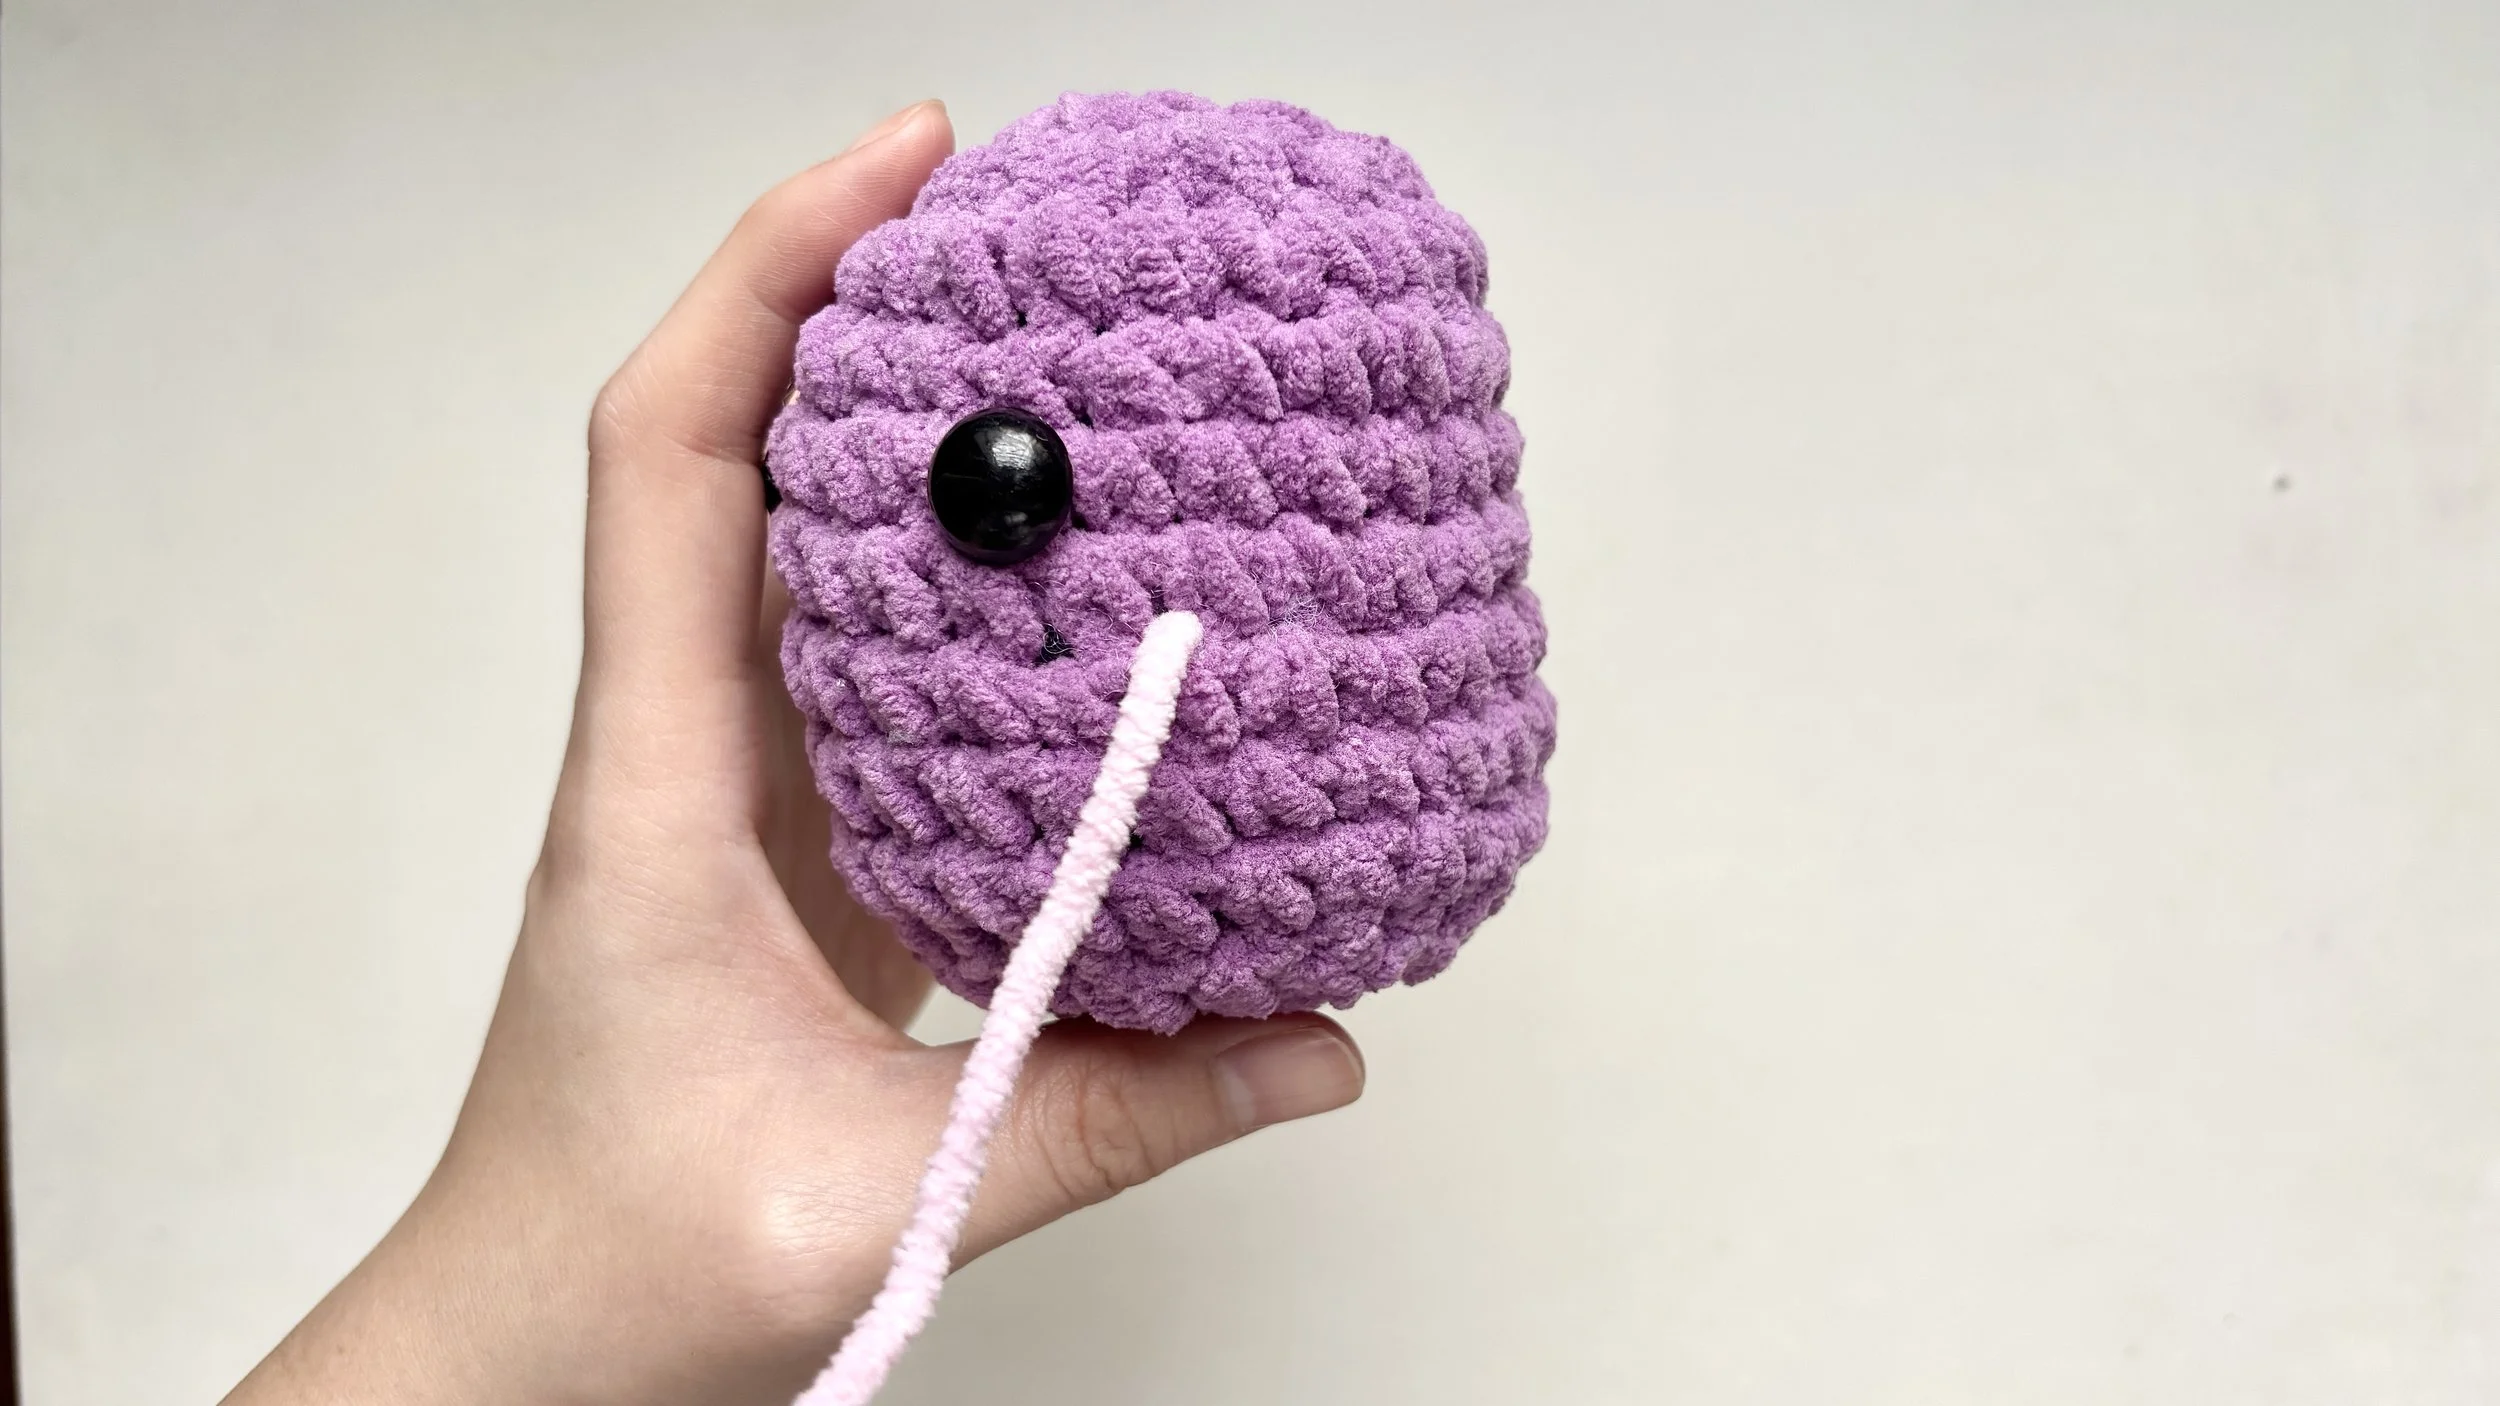
Insert the needle a few stitches away from the blush area and bring it up at the blush spot.
Pull the yarn all the way through so the knot sinks inside and catches in the stuffing.
Step 4:
Make the first stitch
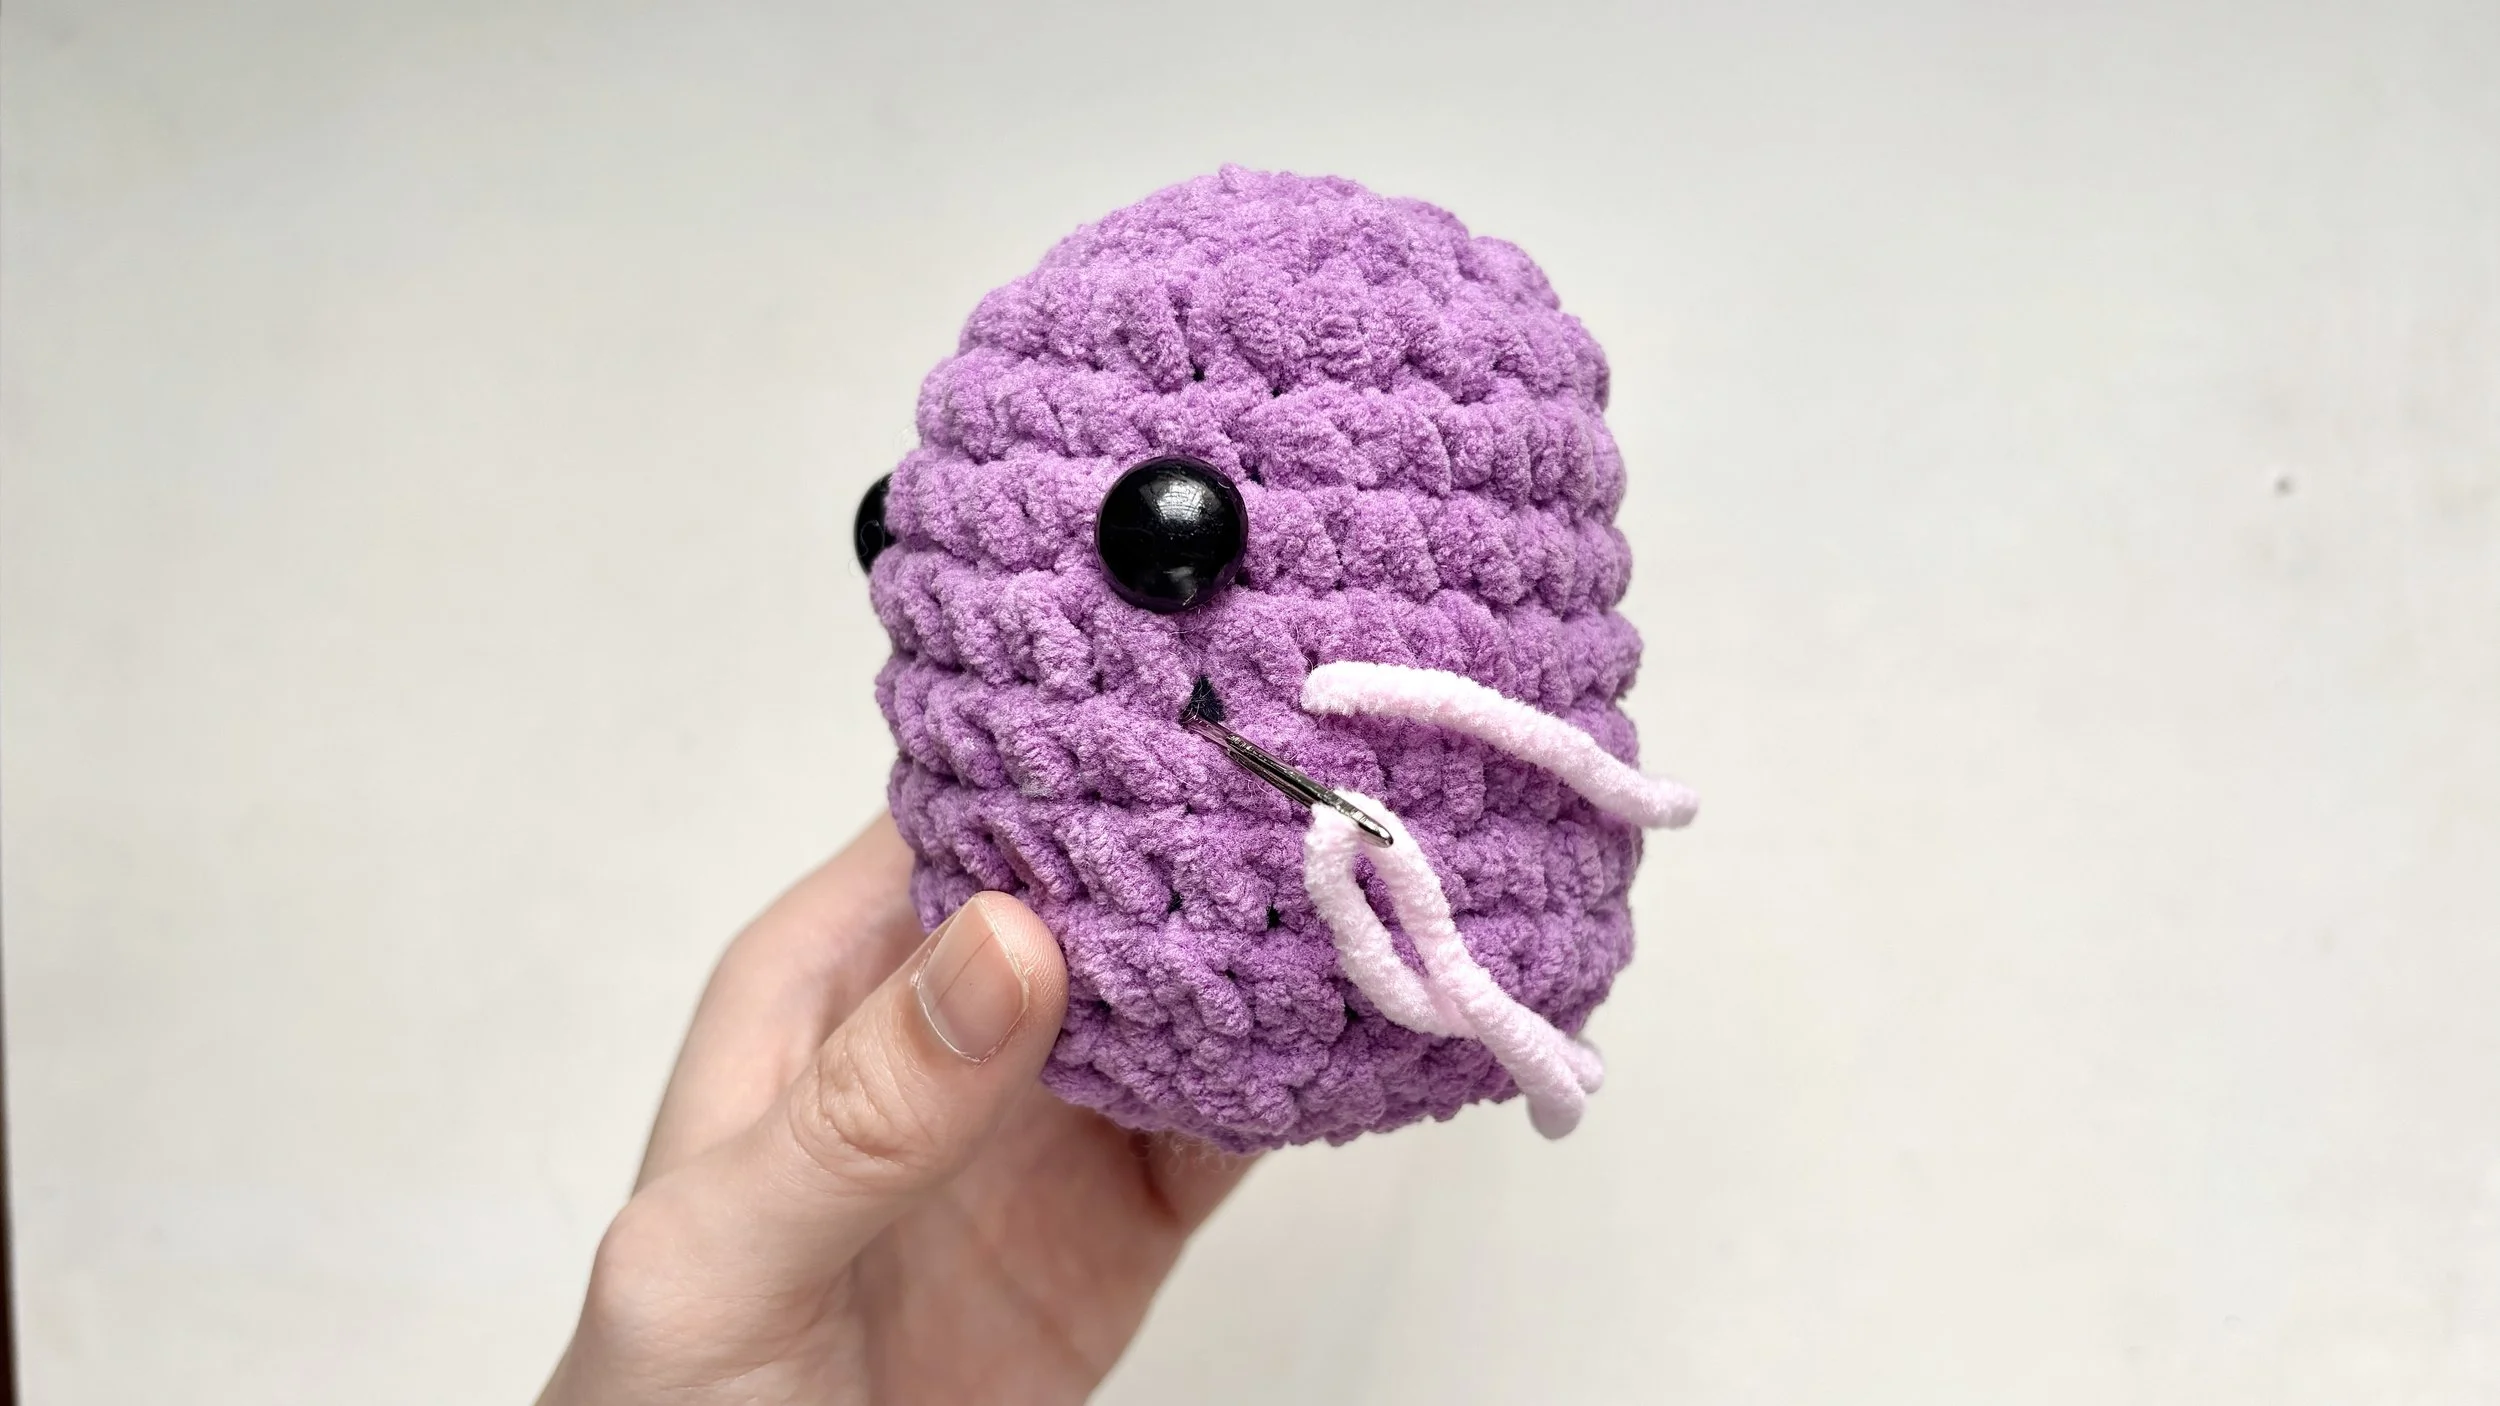
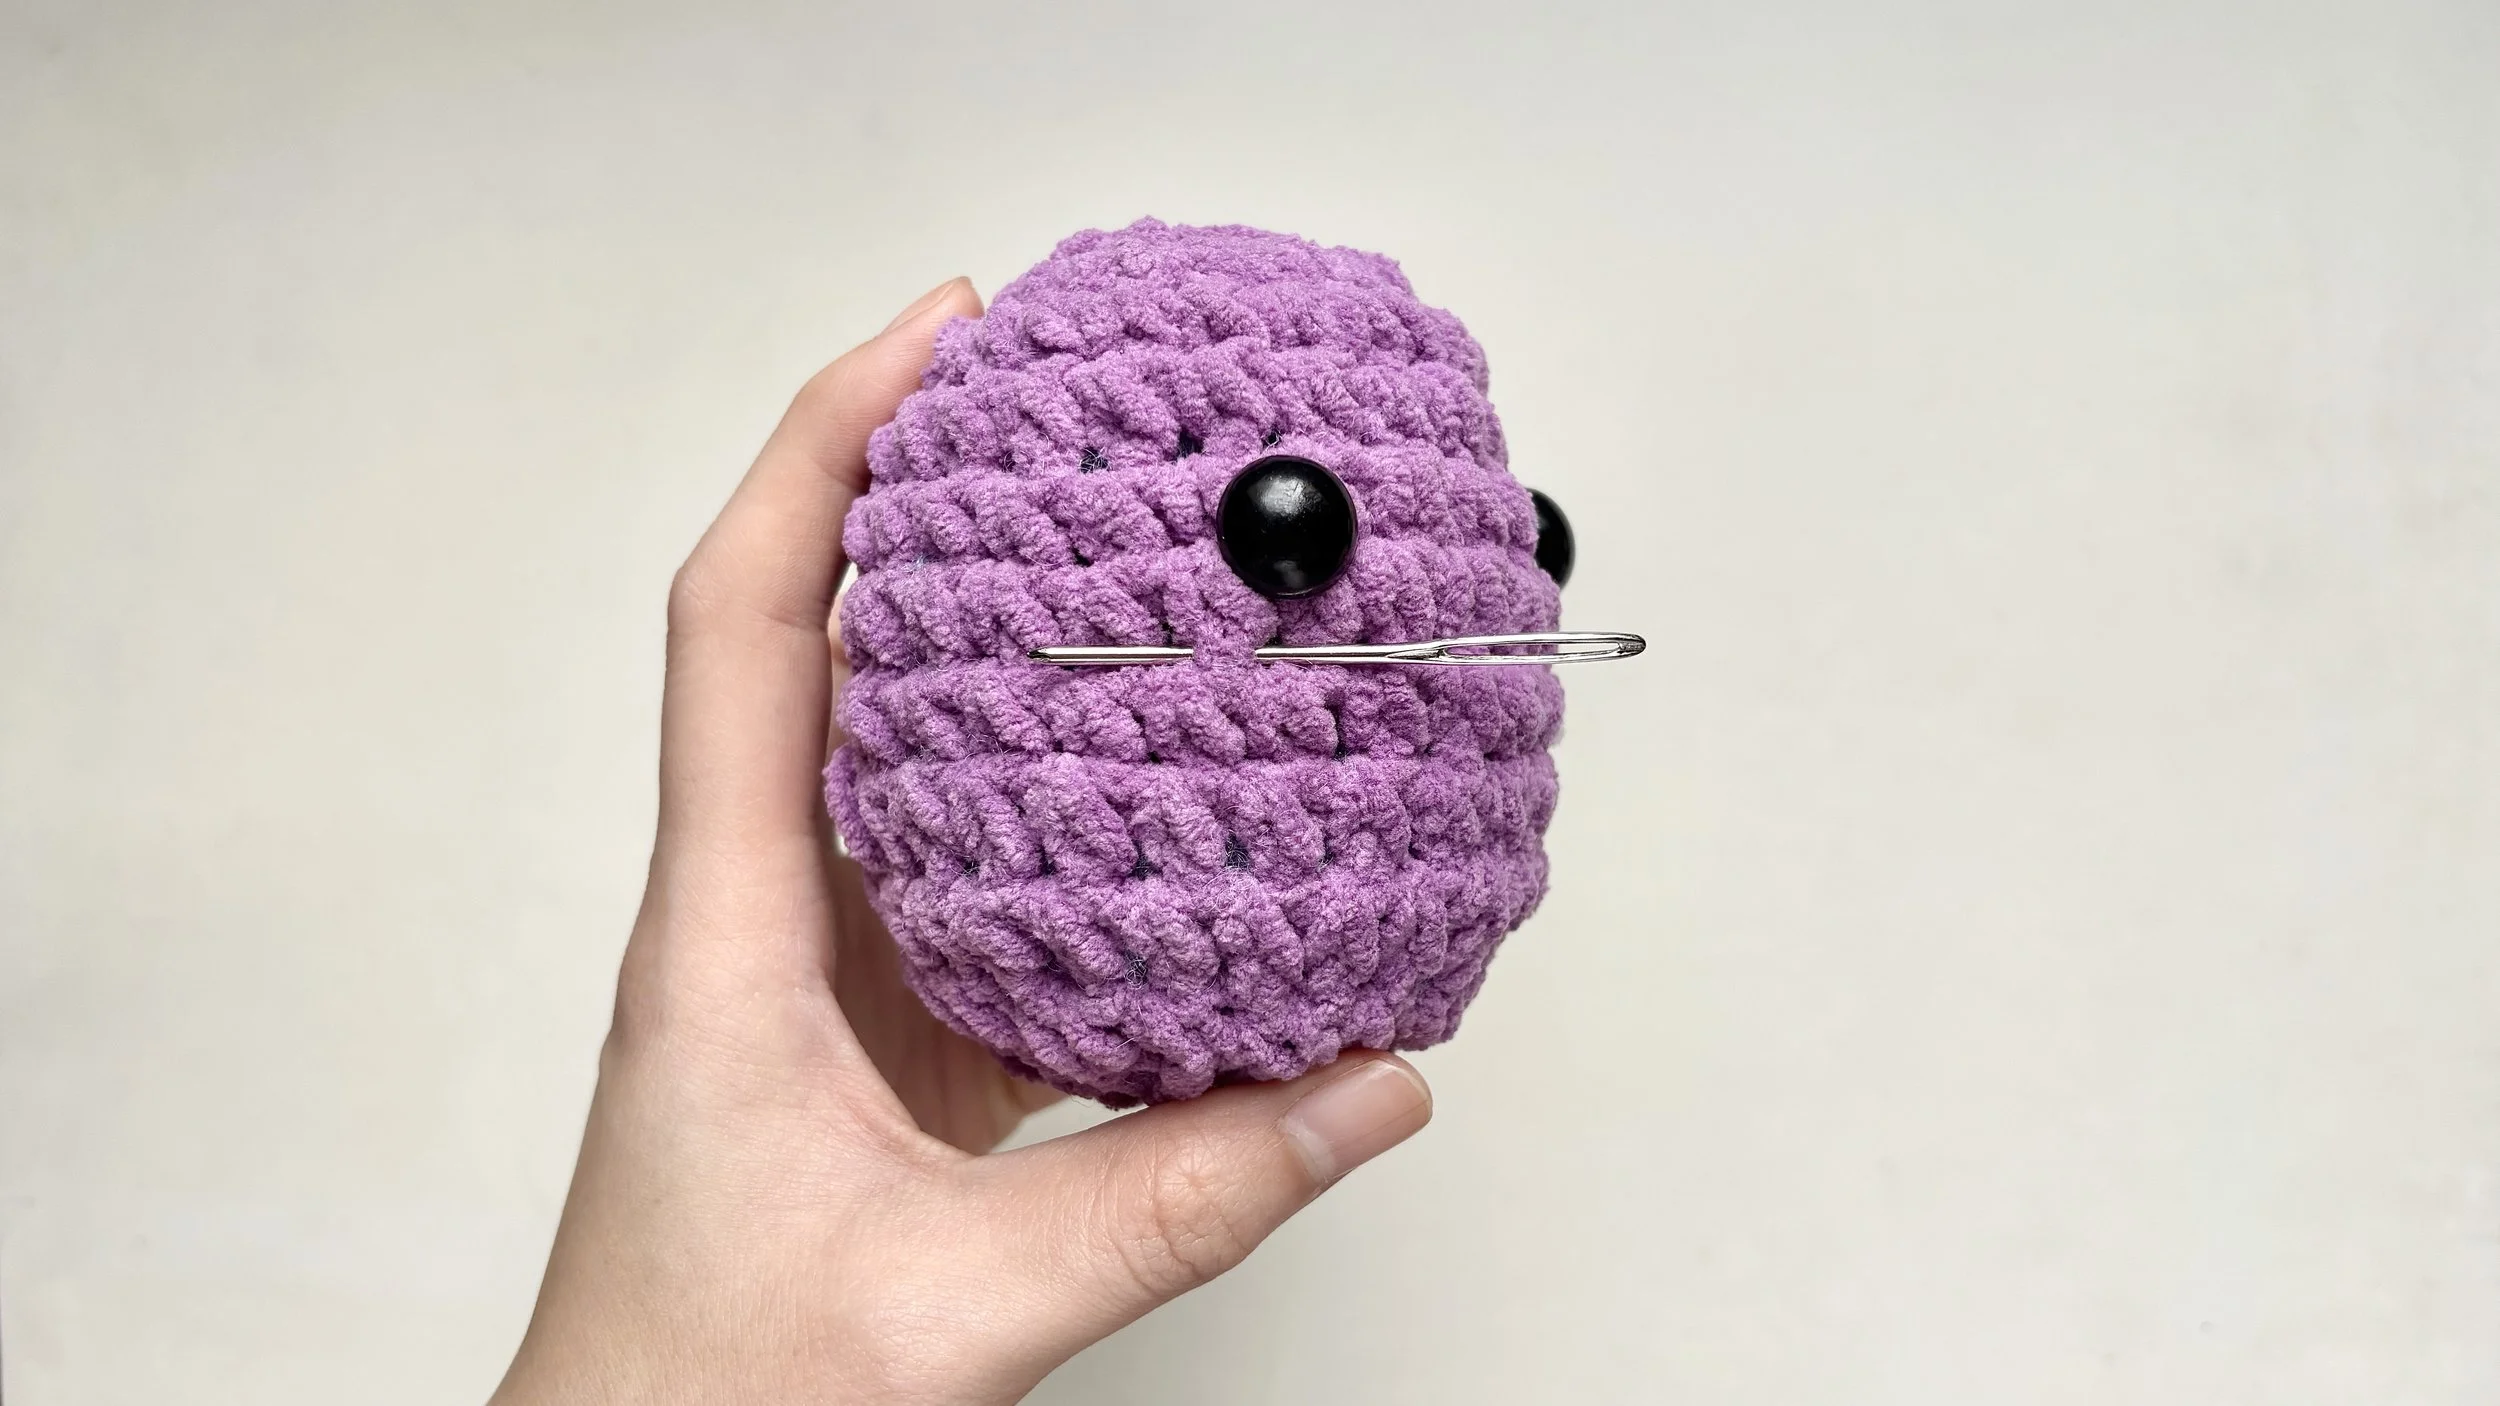
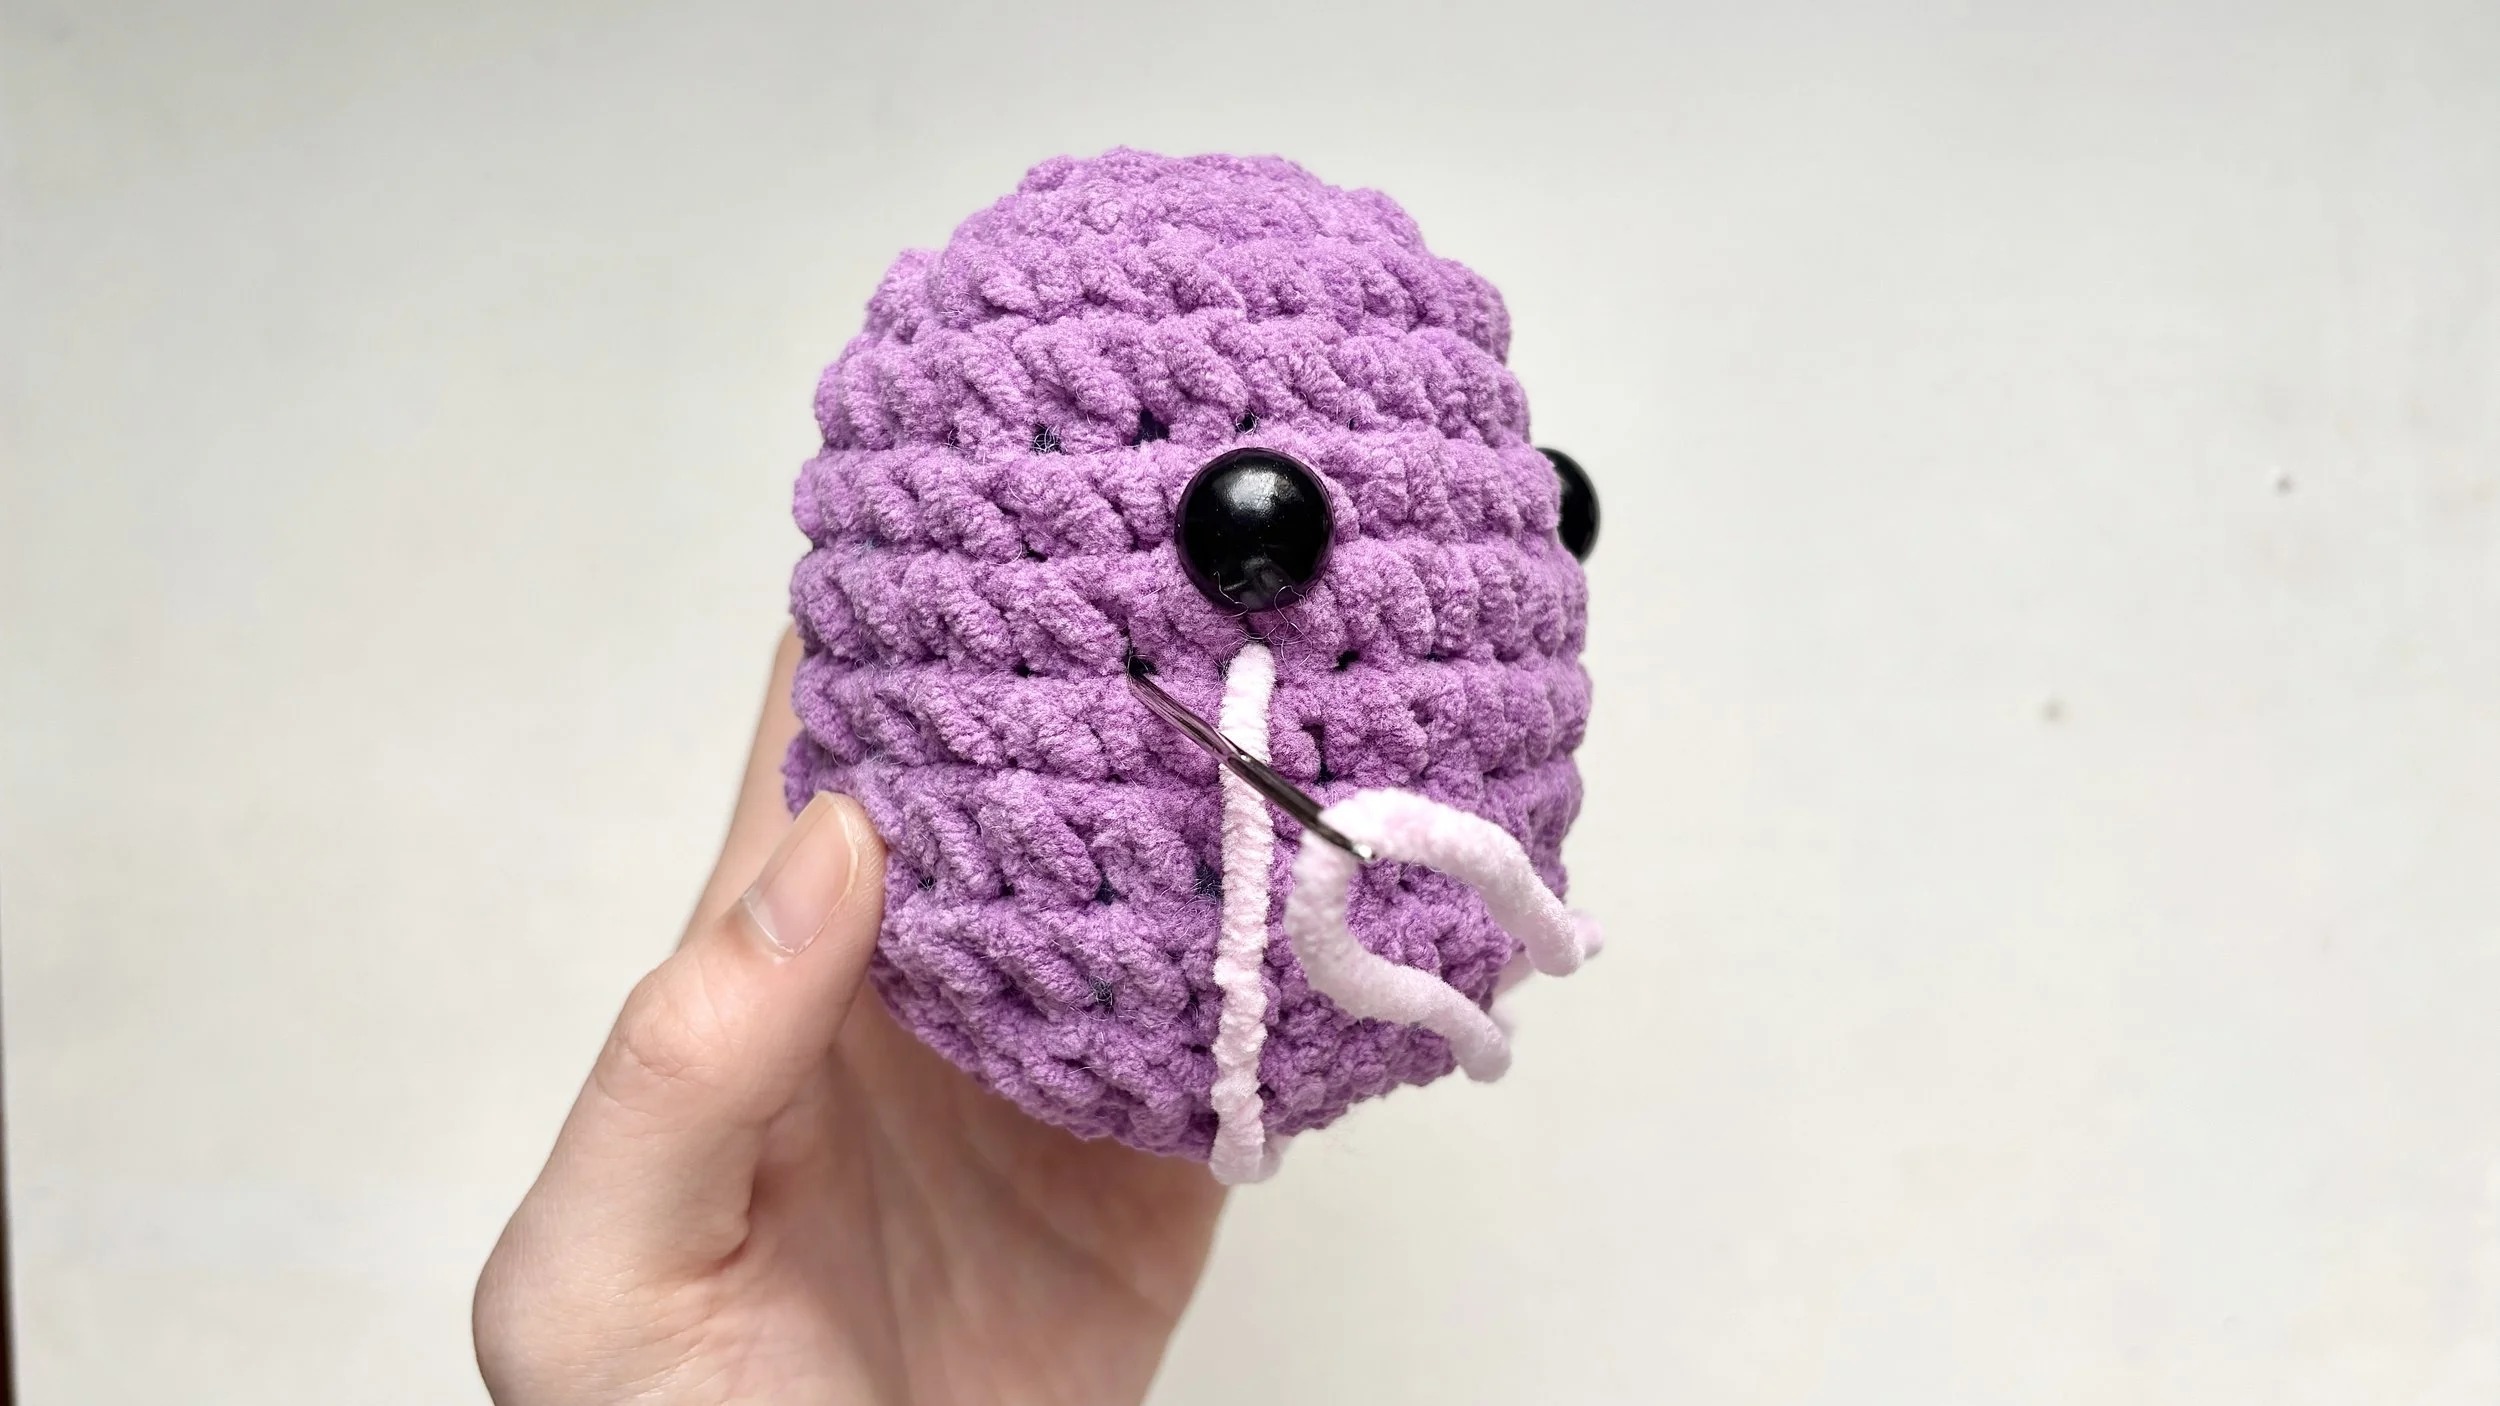
Insert the needle back down one stitch across to make the blush, keeping it one stitch wide.
Bring it up at the next blush point and pull through gently - not too tight.
Step 5:
Secure inside
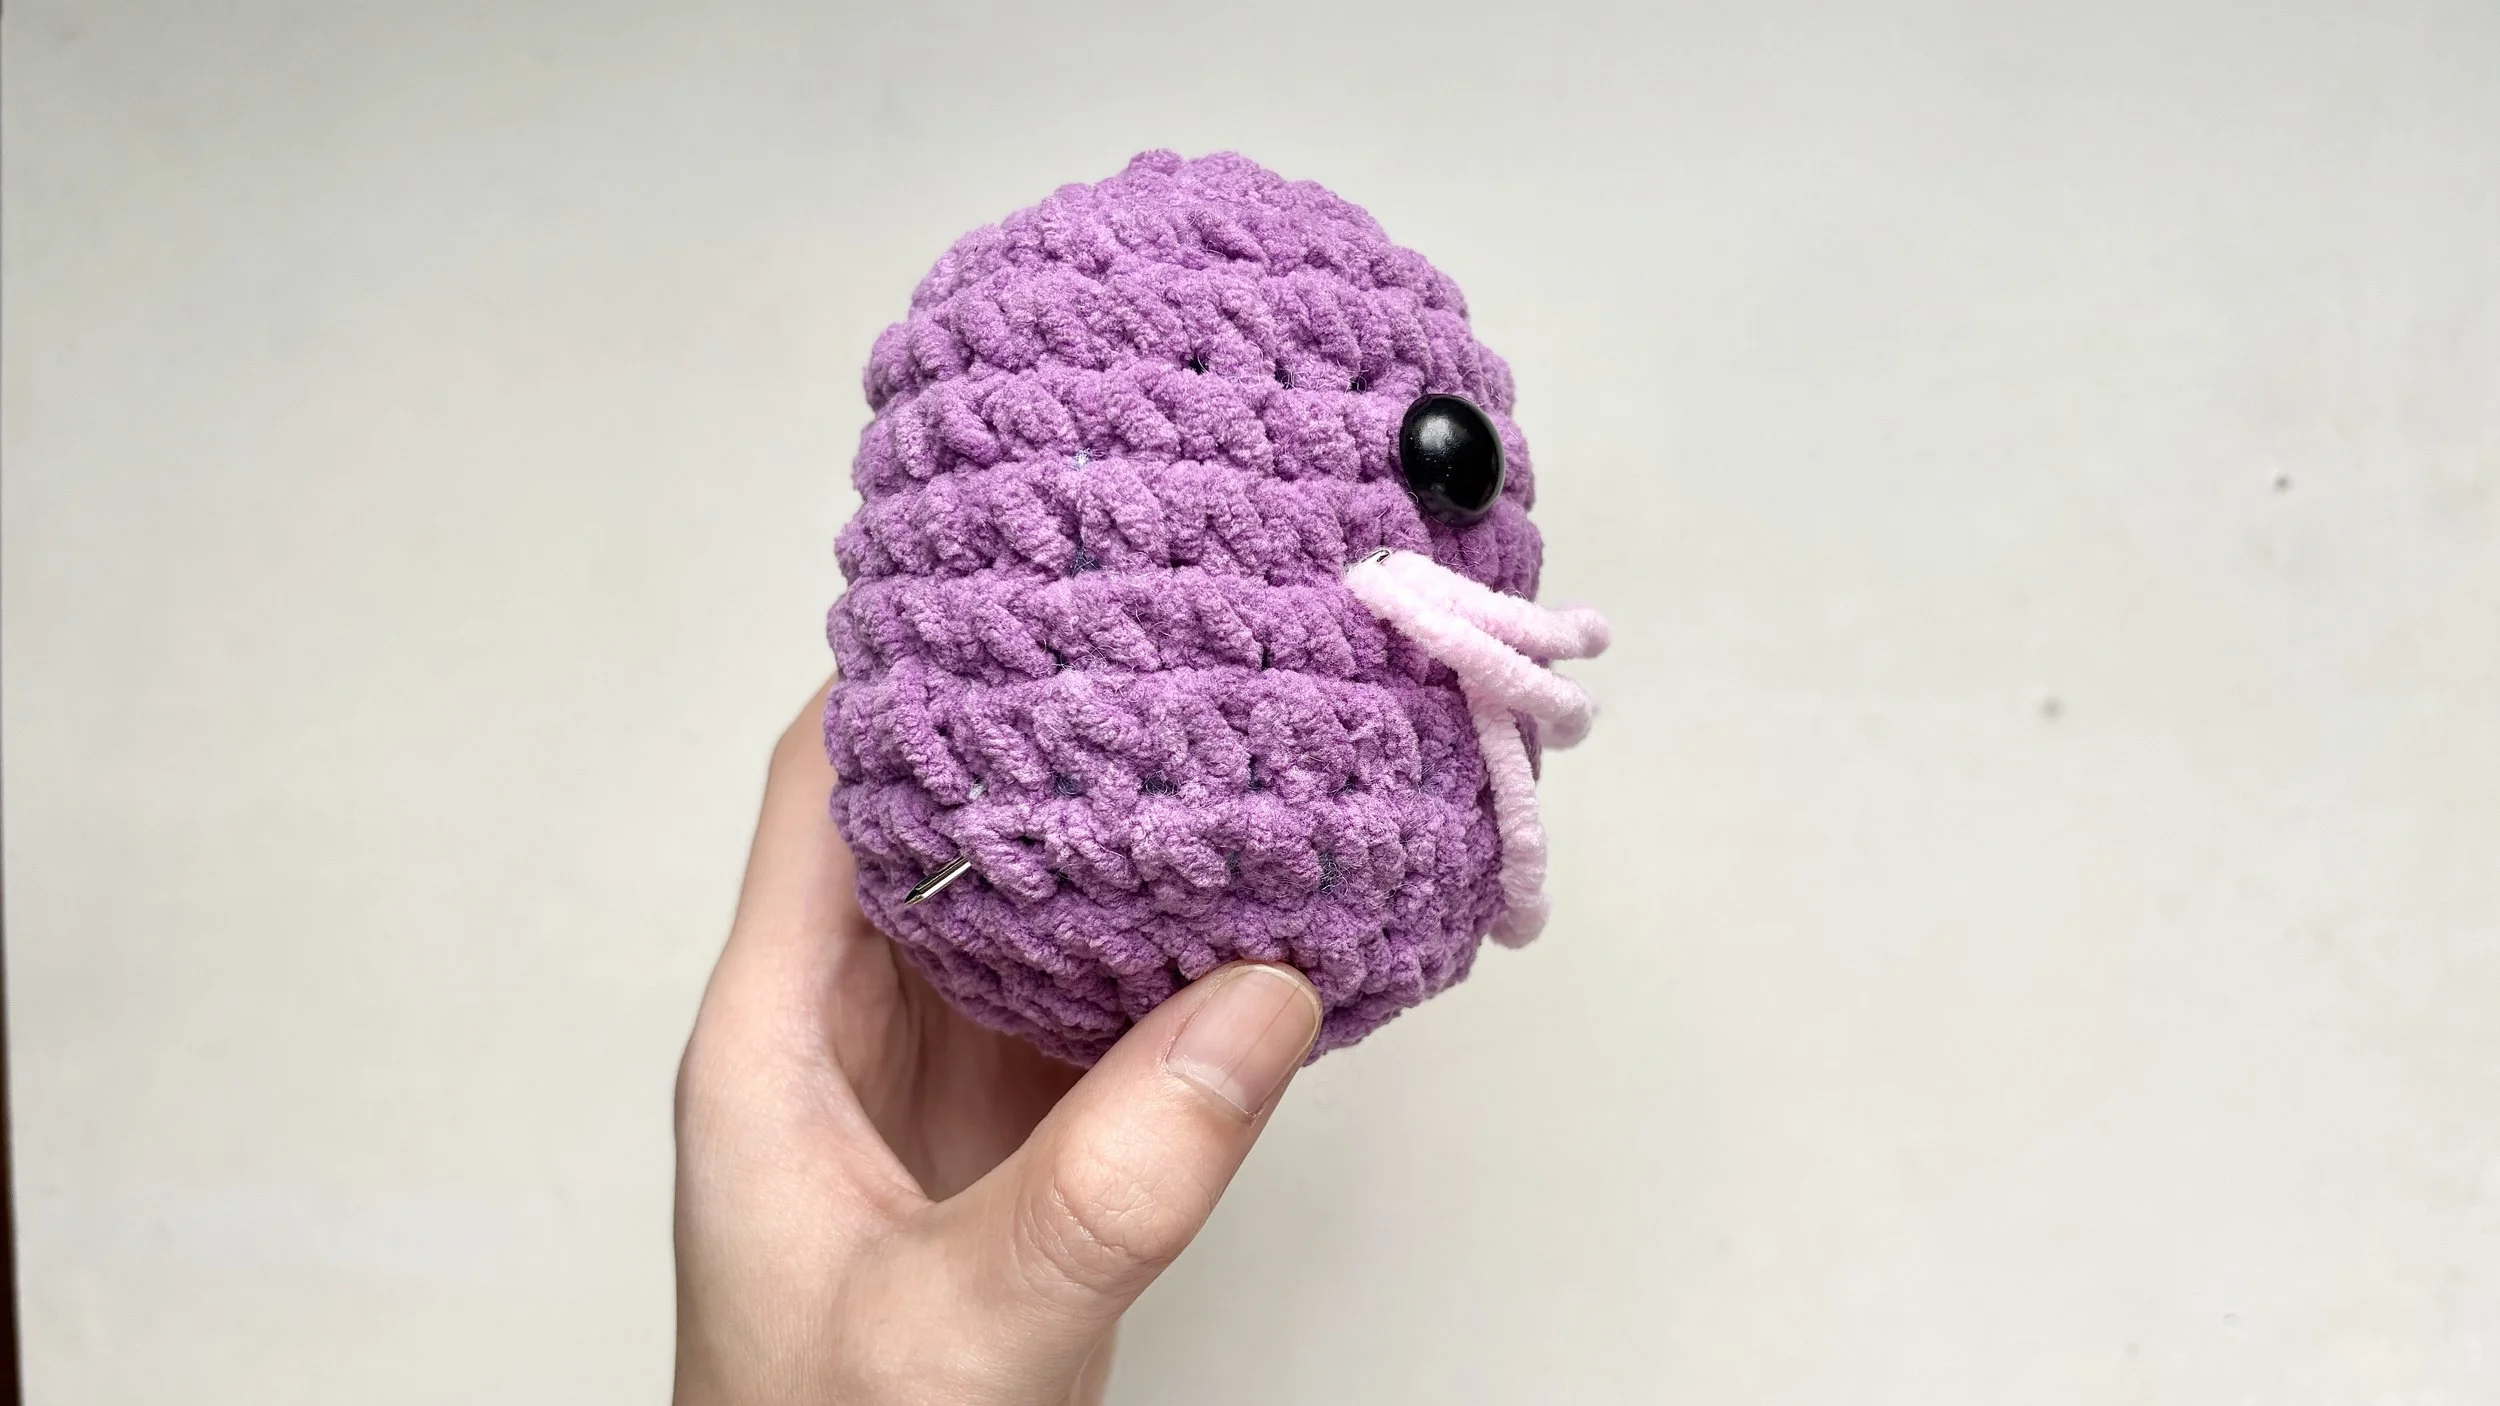
Insert the needle down again, one stitch wide, then run it through the body.
Pull gently to secure.
Step 6:
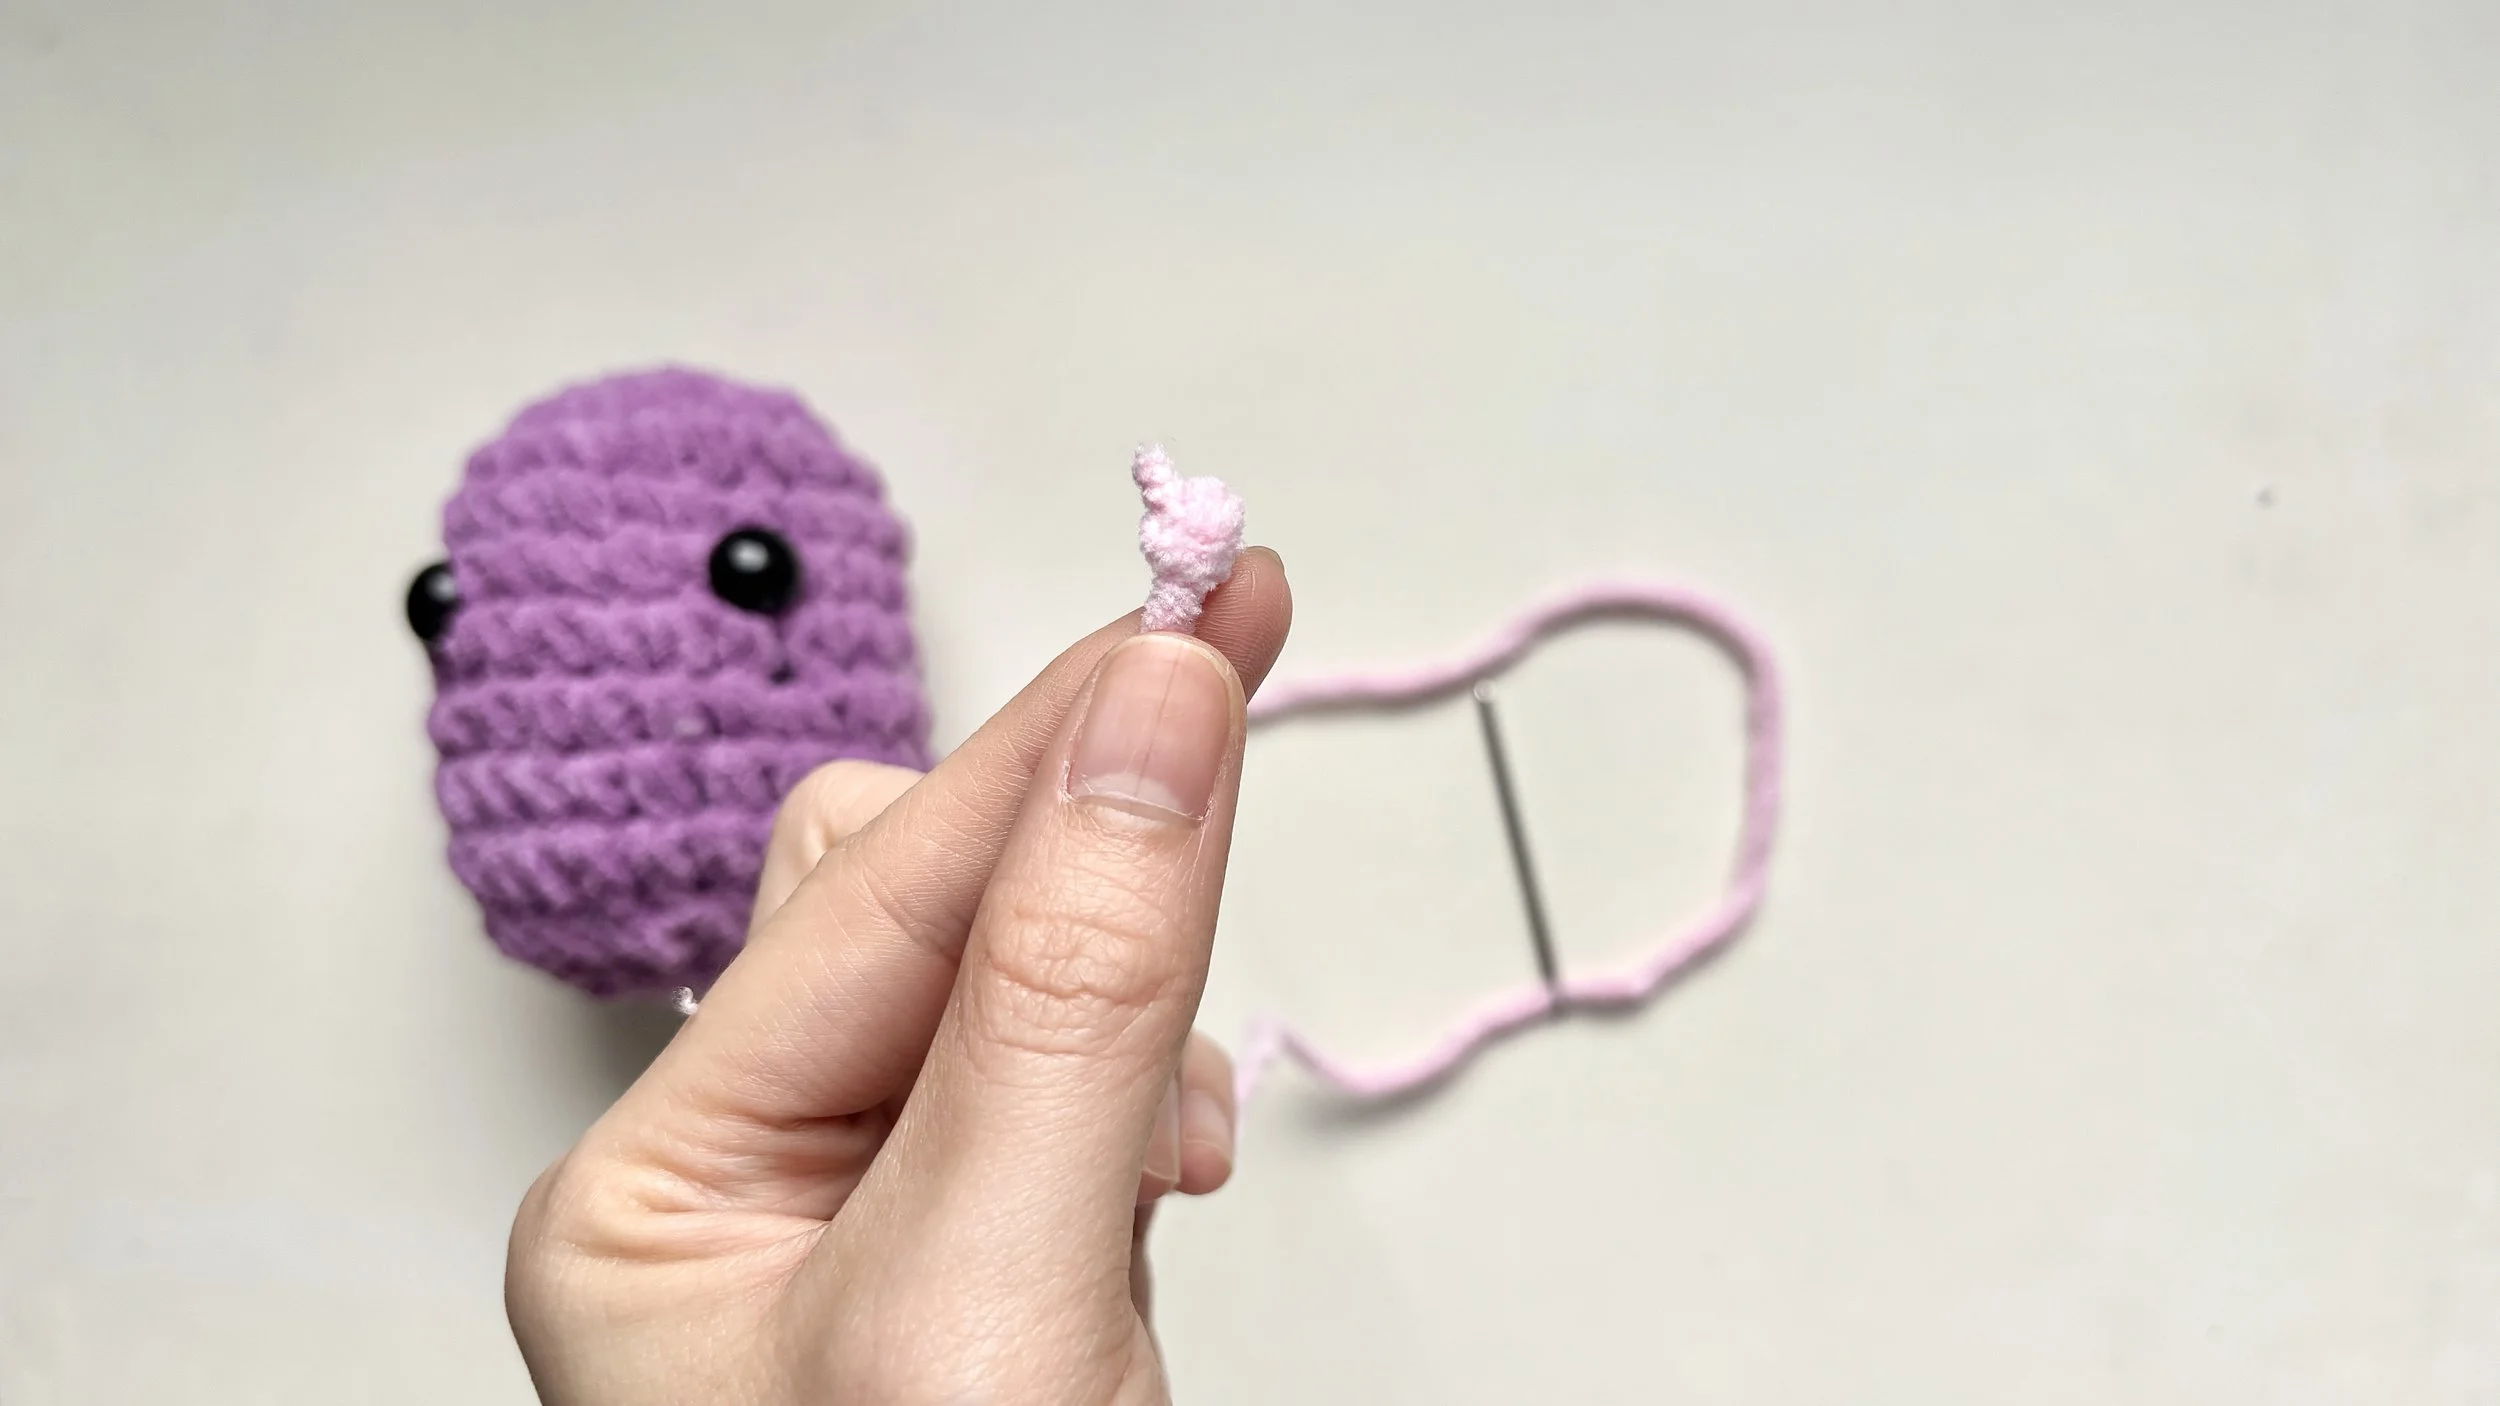
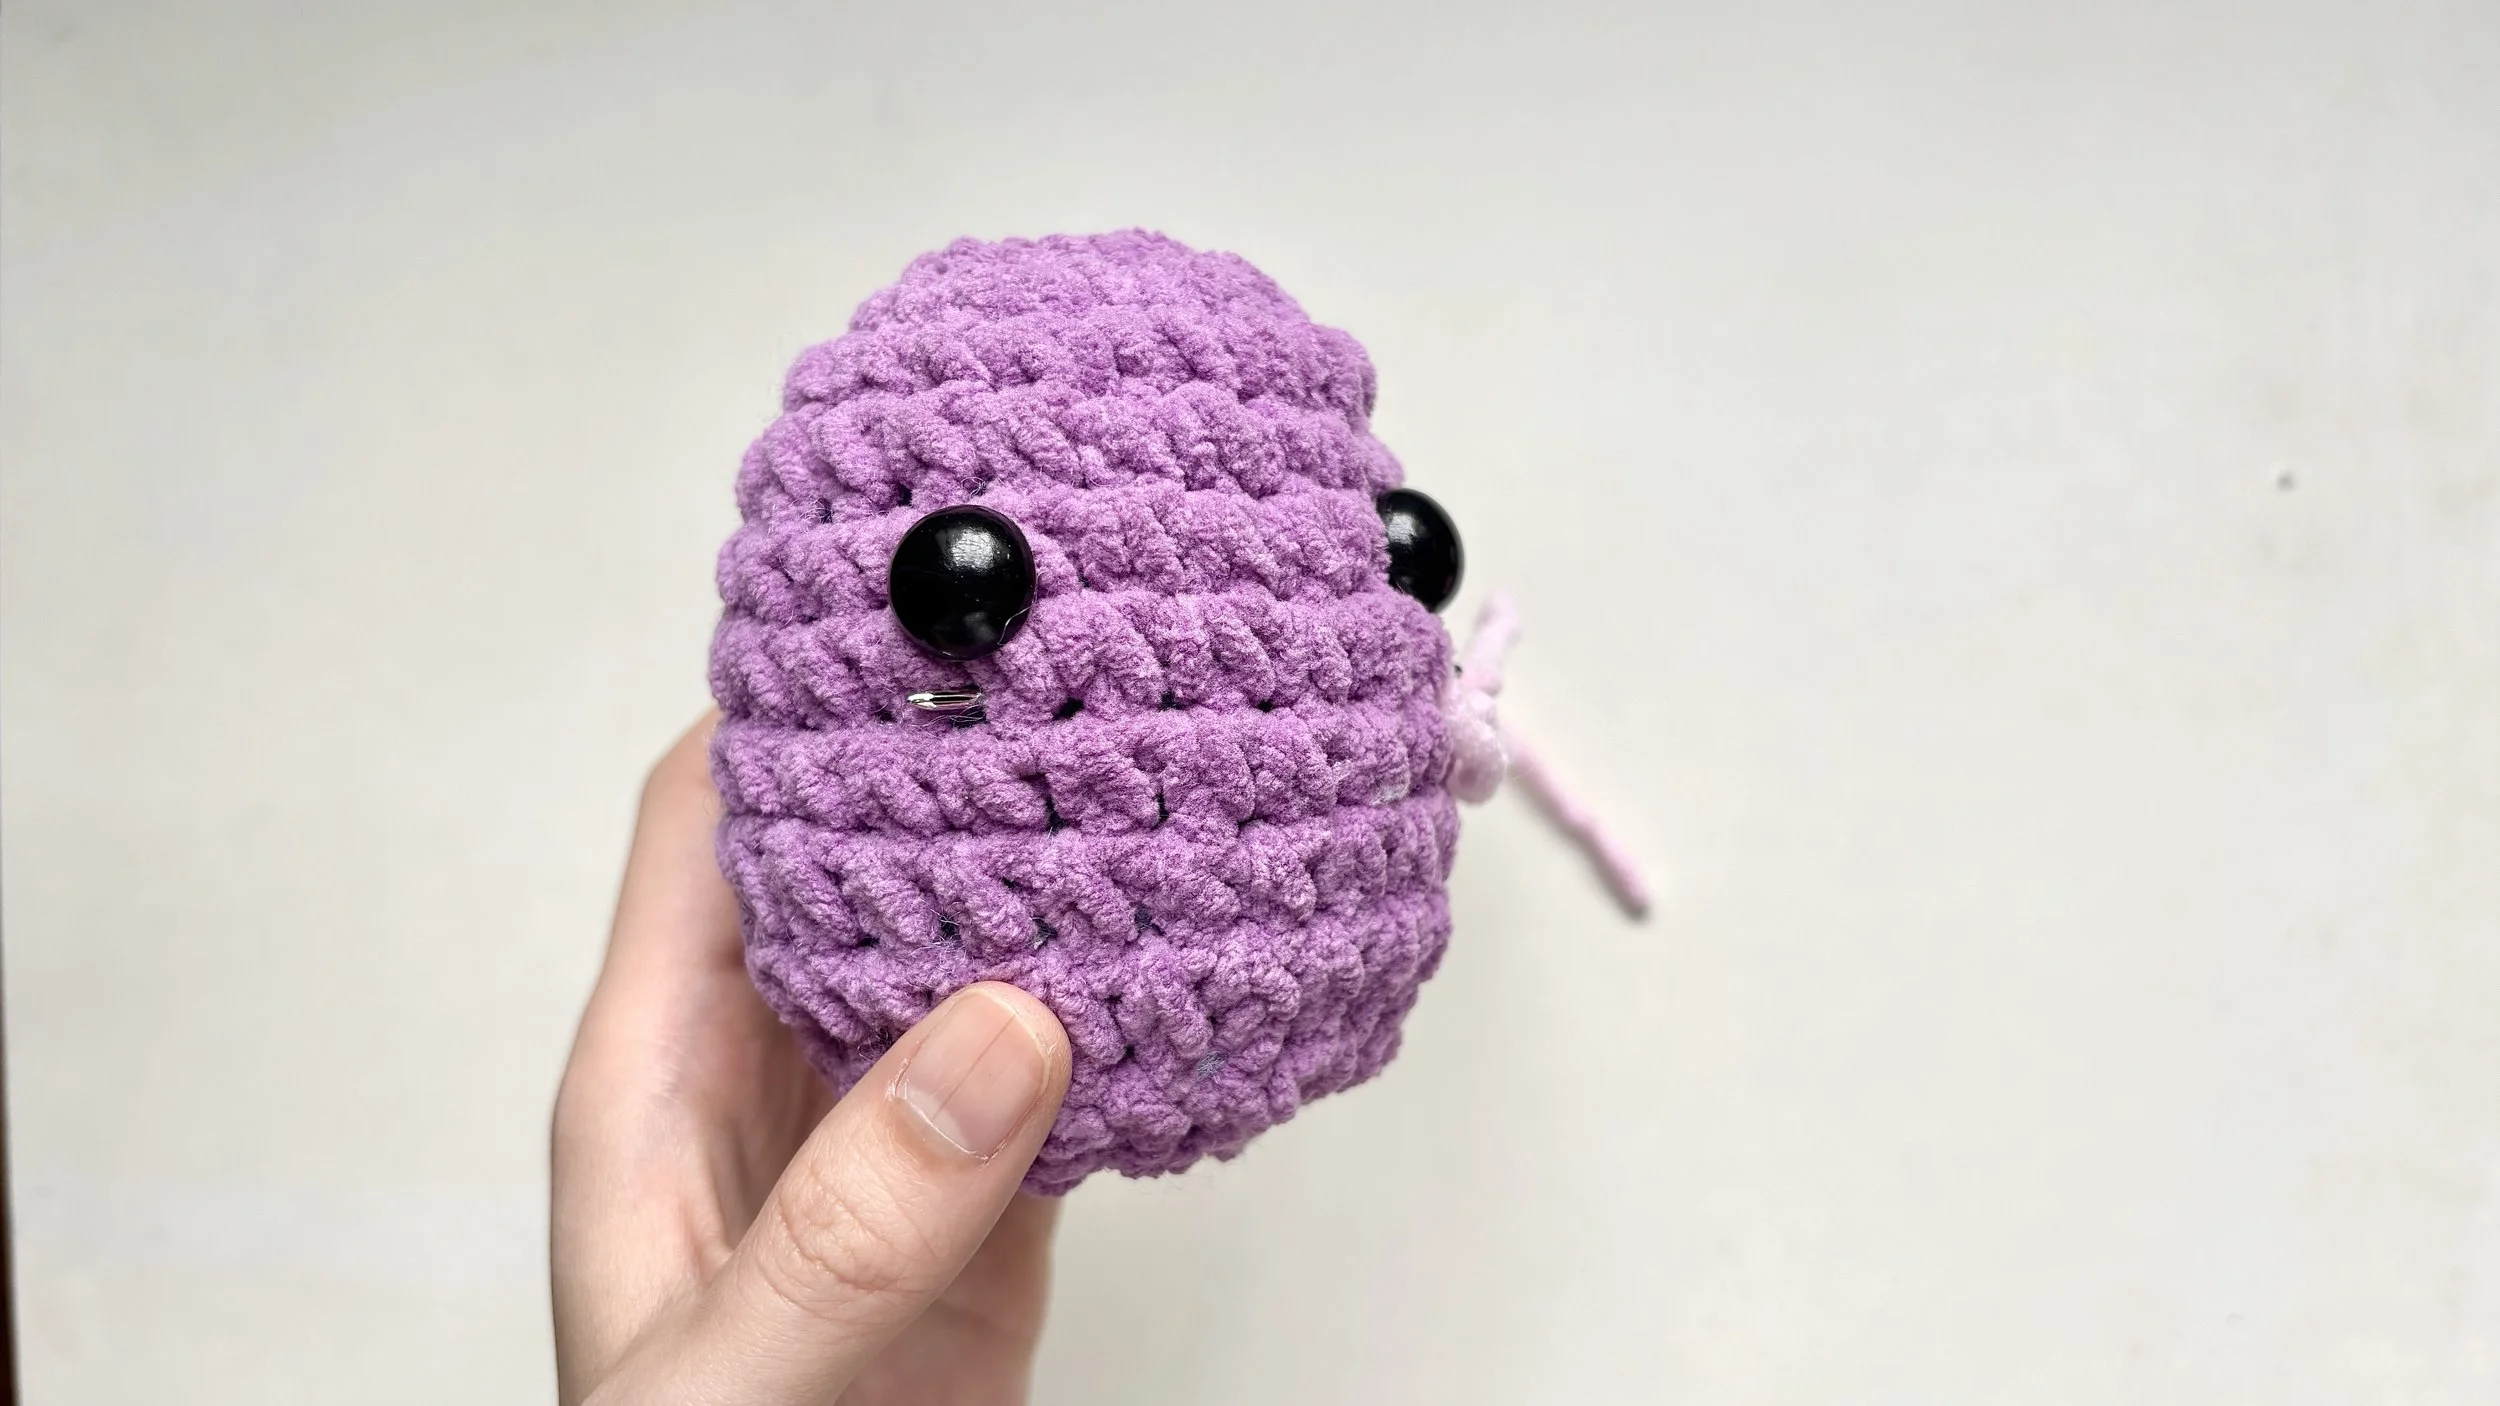
Trim and smooth
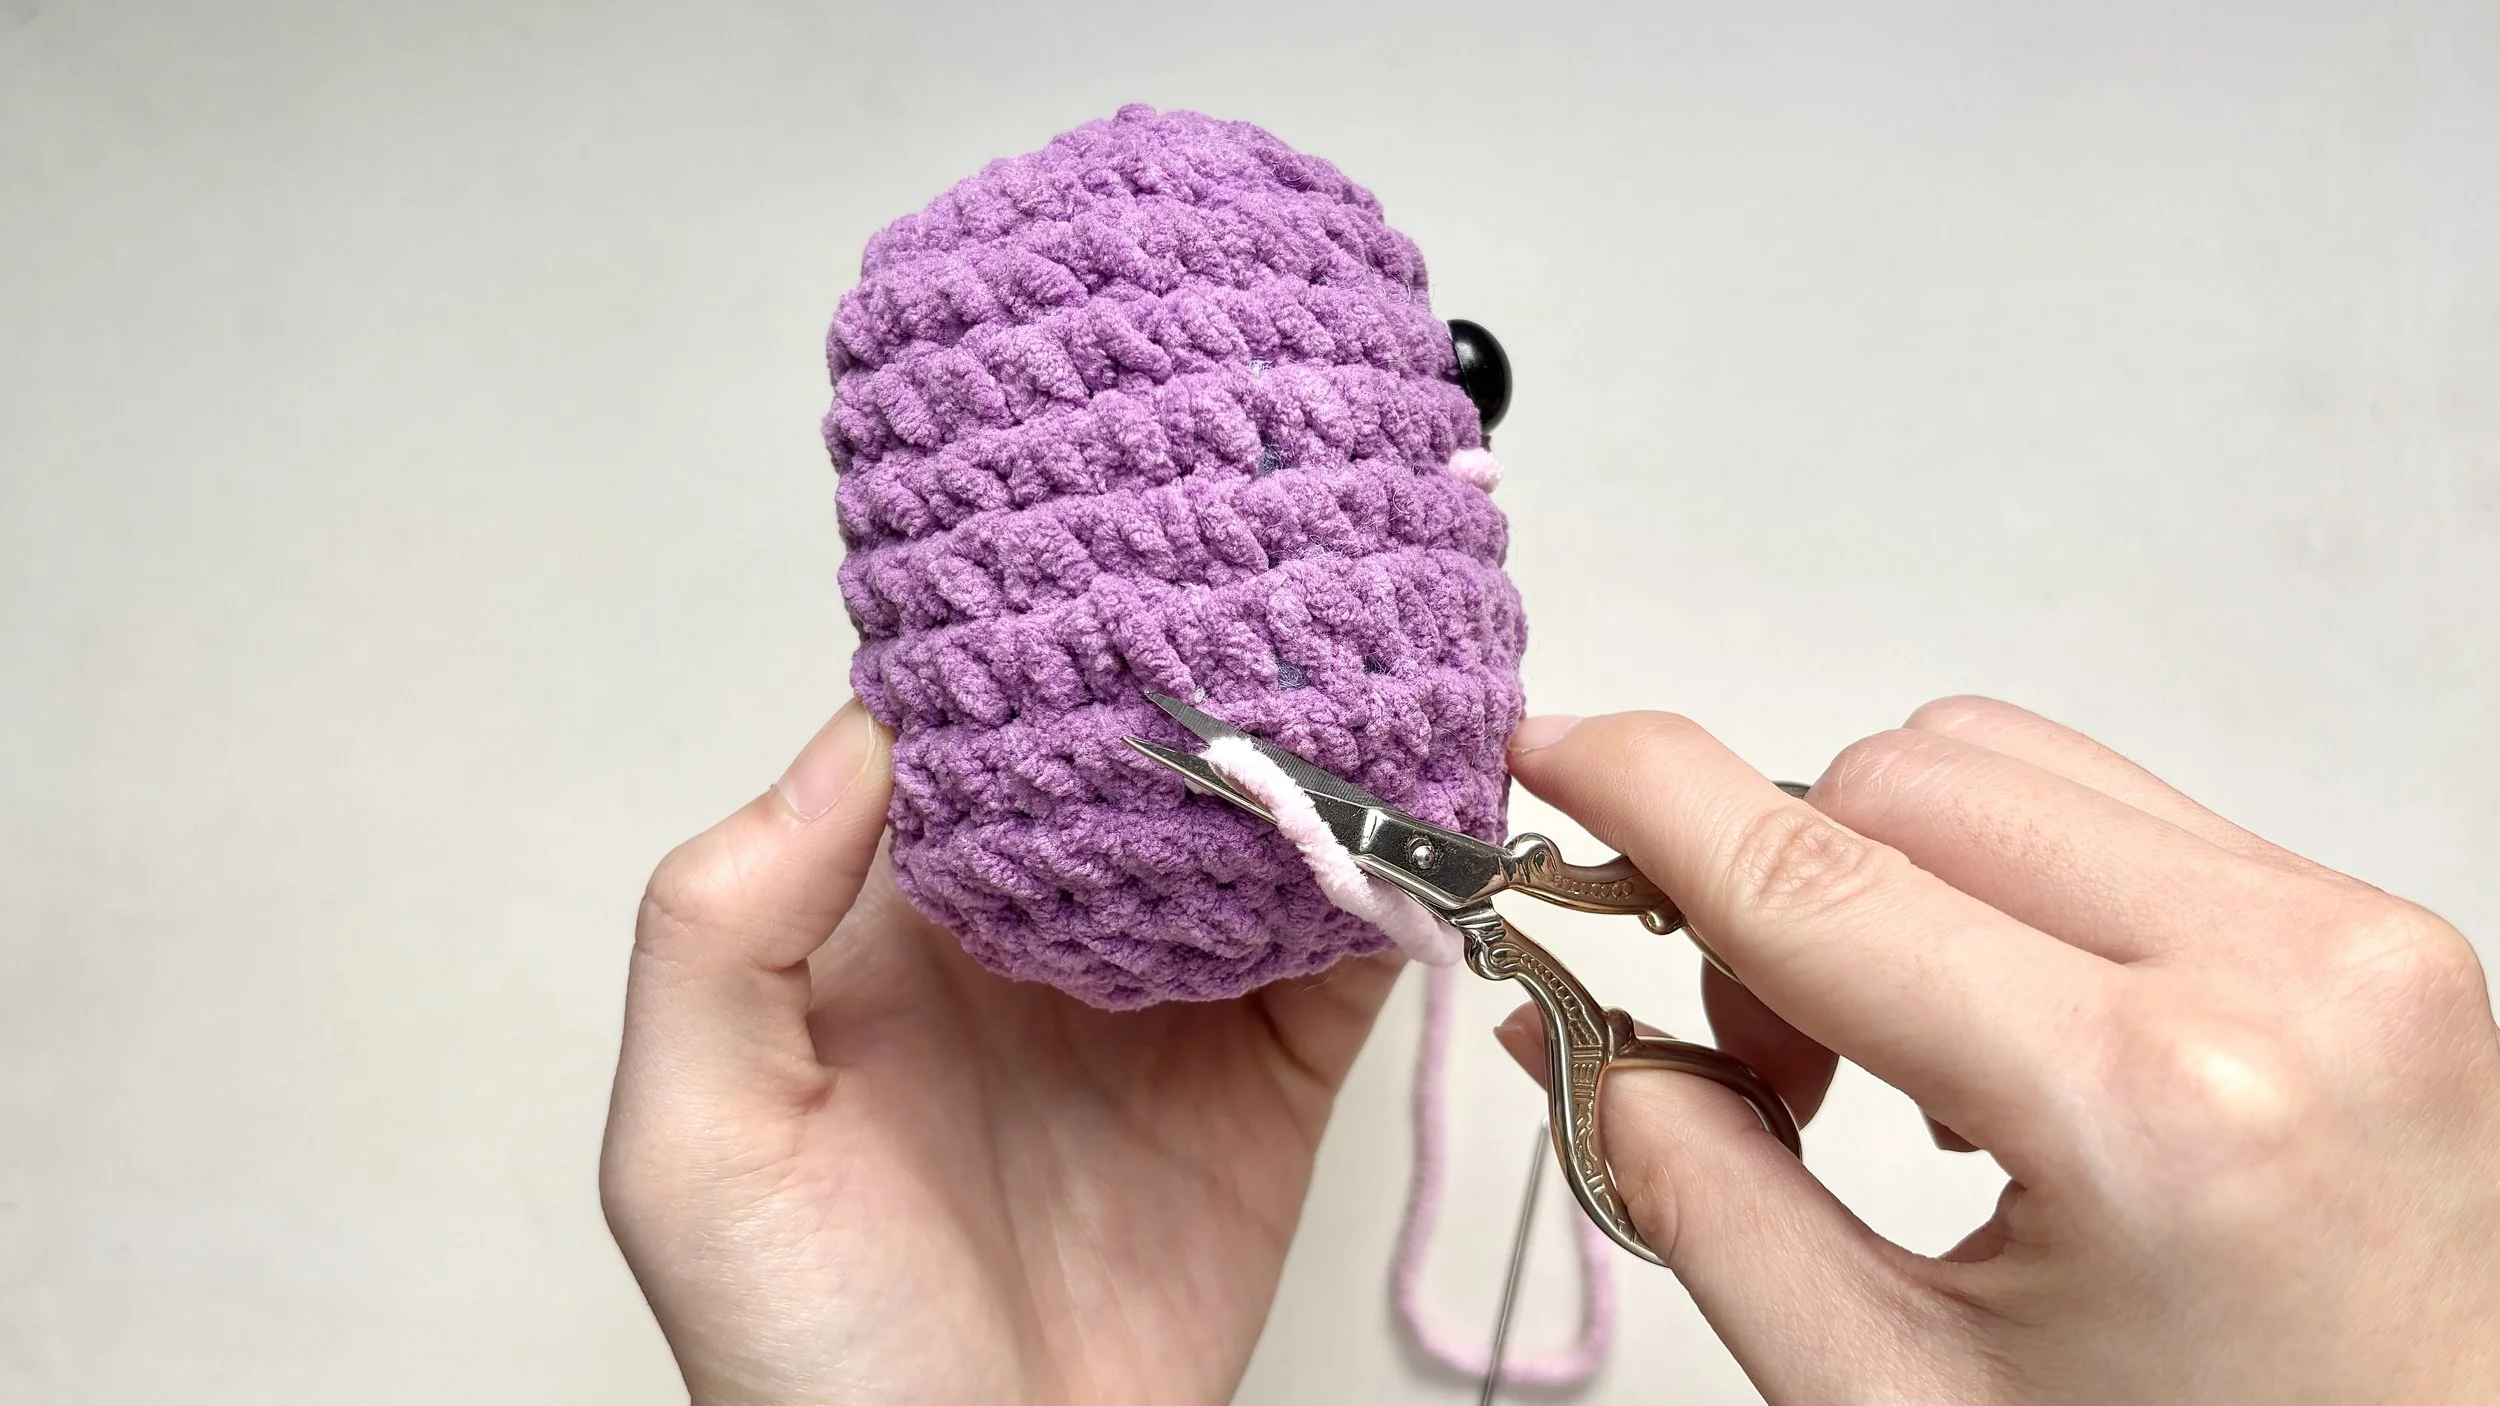
Trim the yarn close to the surface.
Gently massage the area so the end disappears inside.
There’s your blush - and just like that your make has a face full of personality.
Little details like this are what make each one feel truly yours.
We’re right here with you every step of the way.