
Sewing a flat piece onto another piece - like a muzzle or a belly patch onto the body - is something you’ll do often. The aim is to attach it neatly and securely, evenly all the way round, without pulling the shape out of place.
How to attach a flat crochet piece
Watch the lesson
The heart of it
To sew a flat piece on, catch one stitch from the piece and one from the body, again and again, all the way around.
Step-by-step instructions
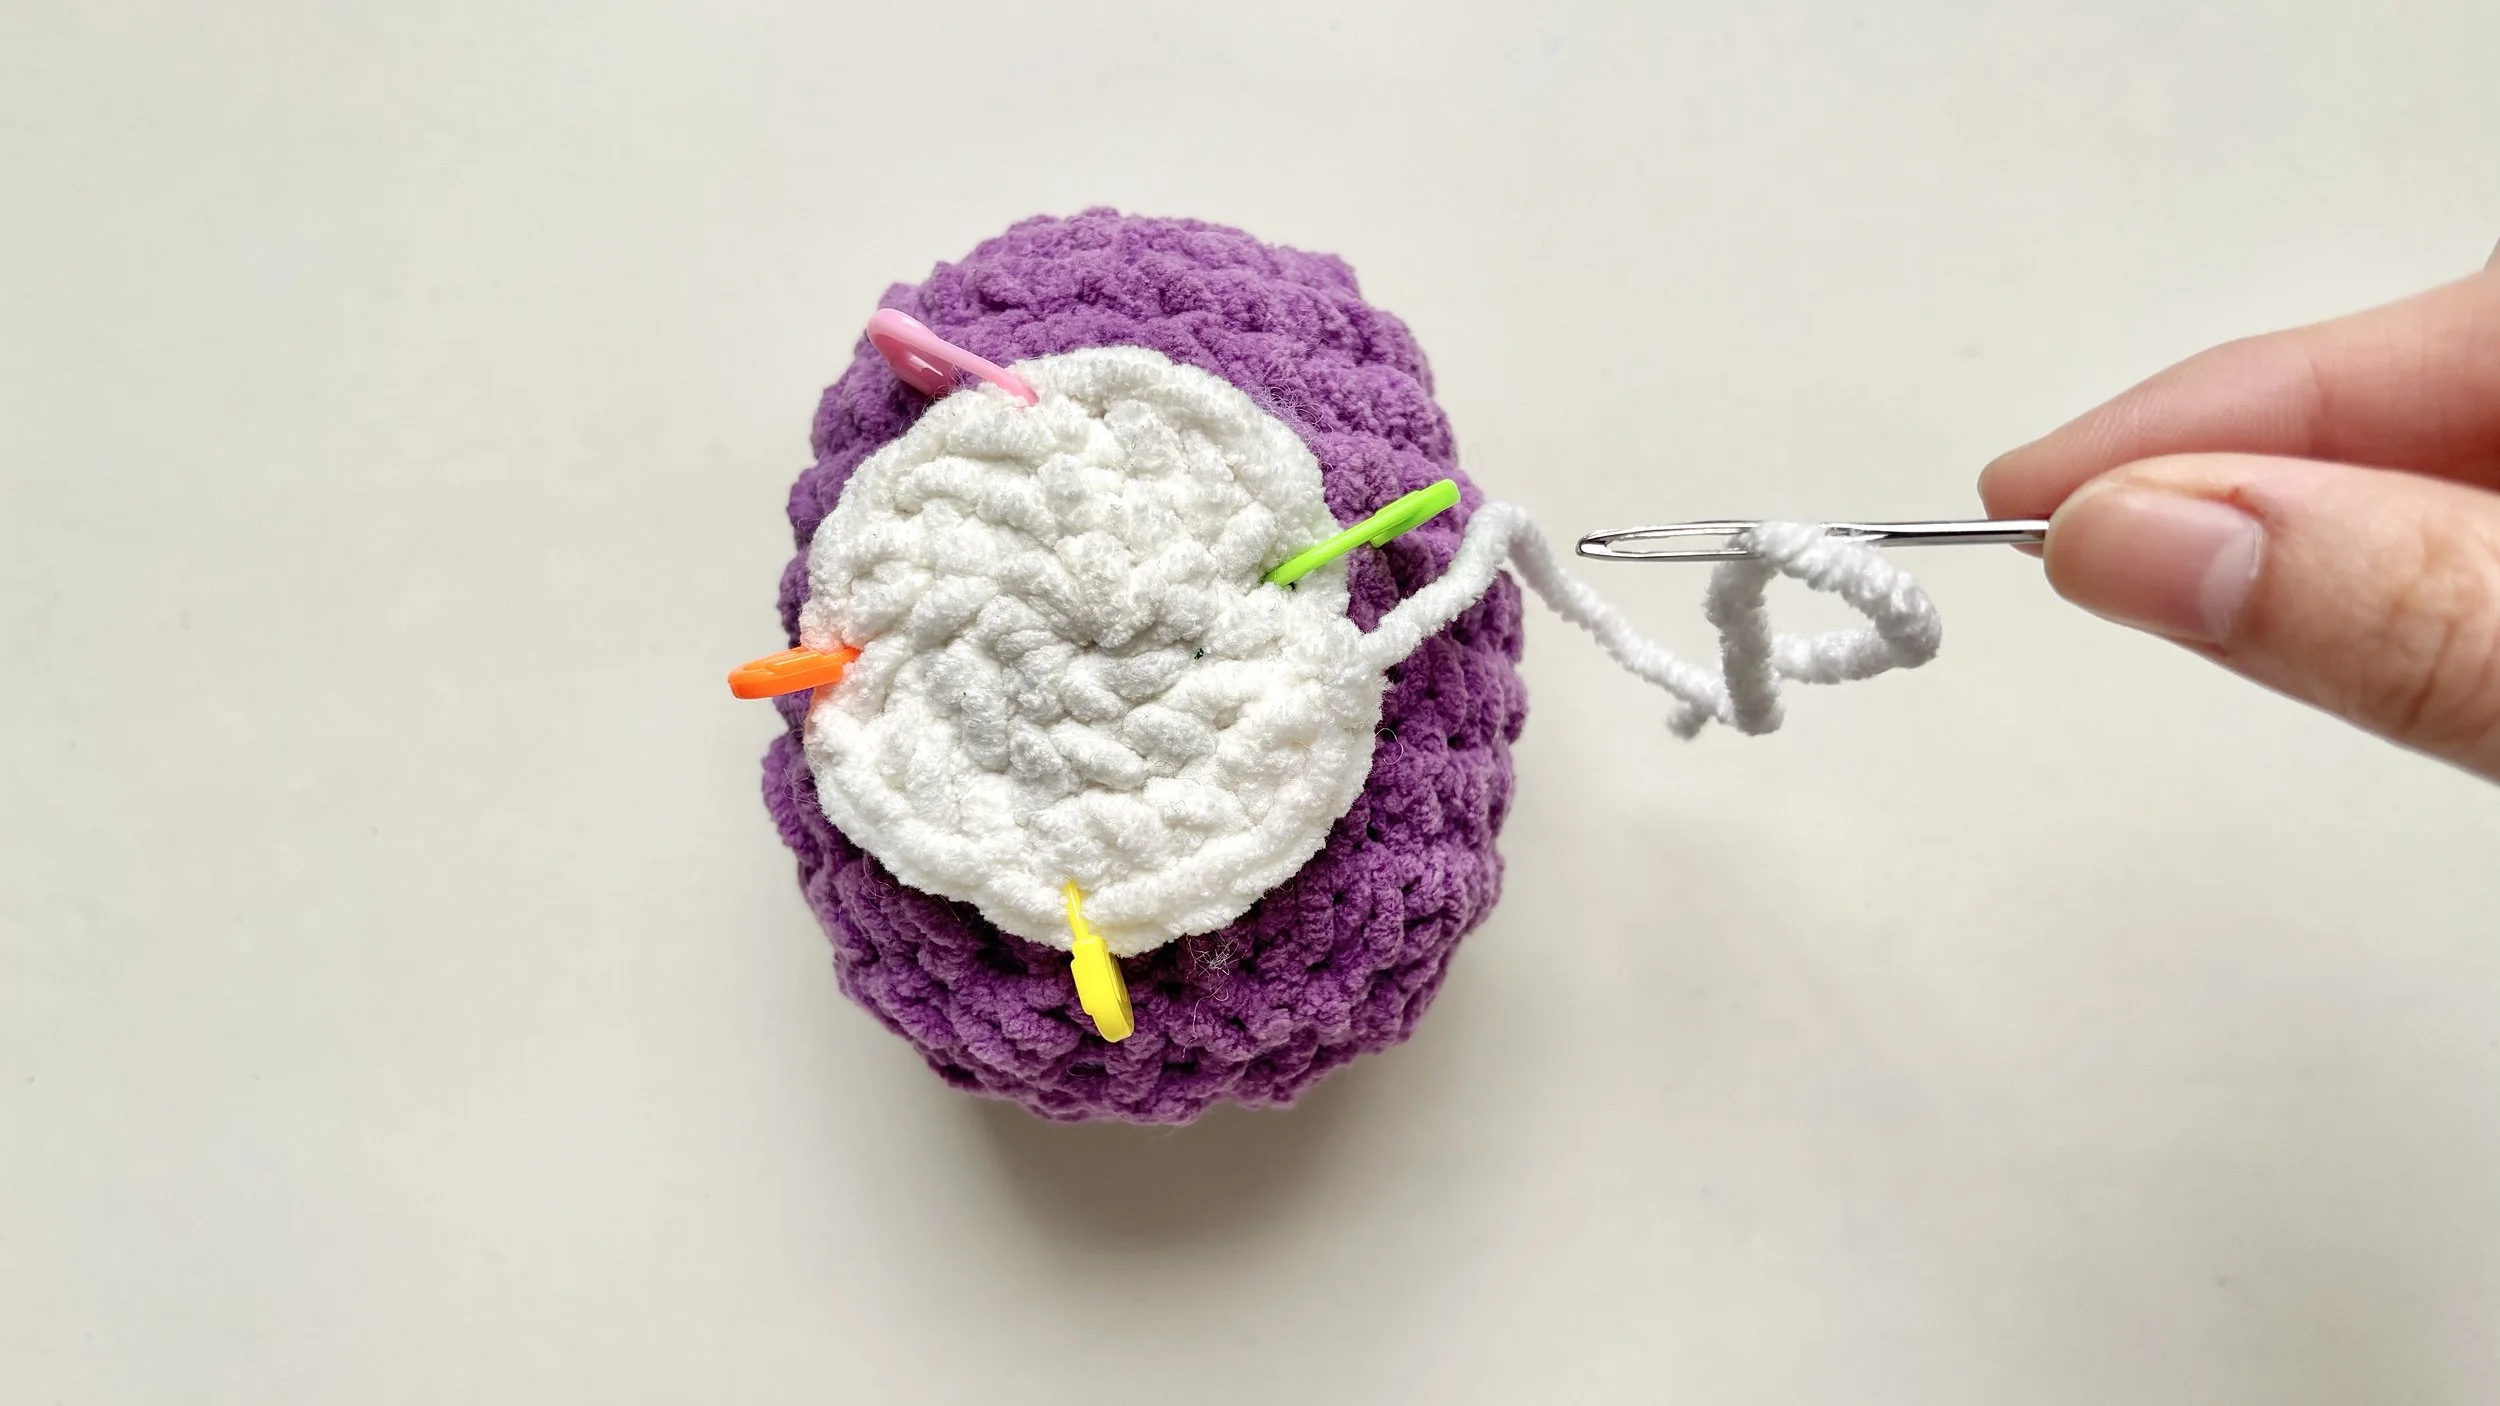
Step 1:
Hold the piece in place
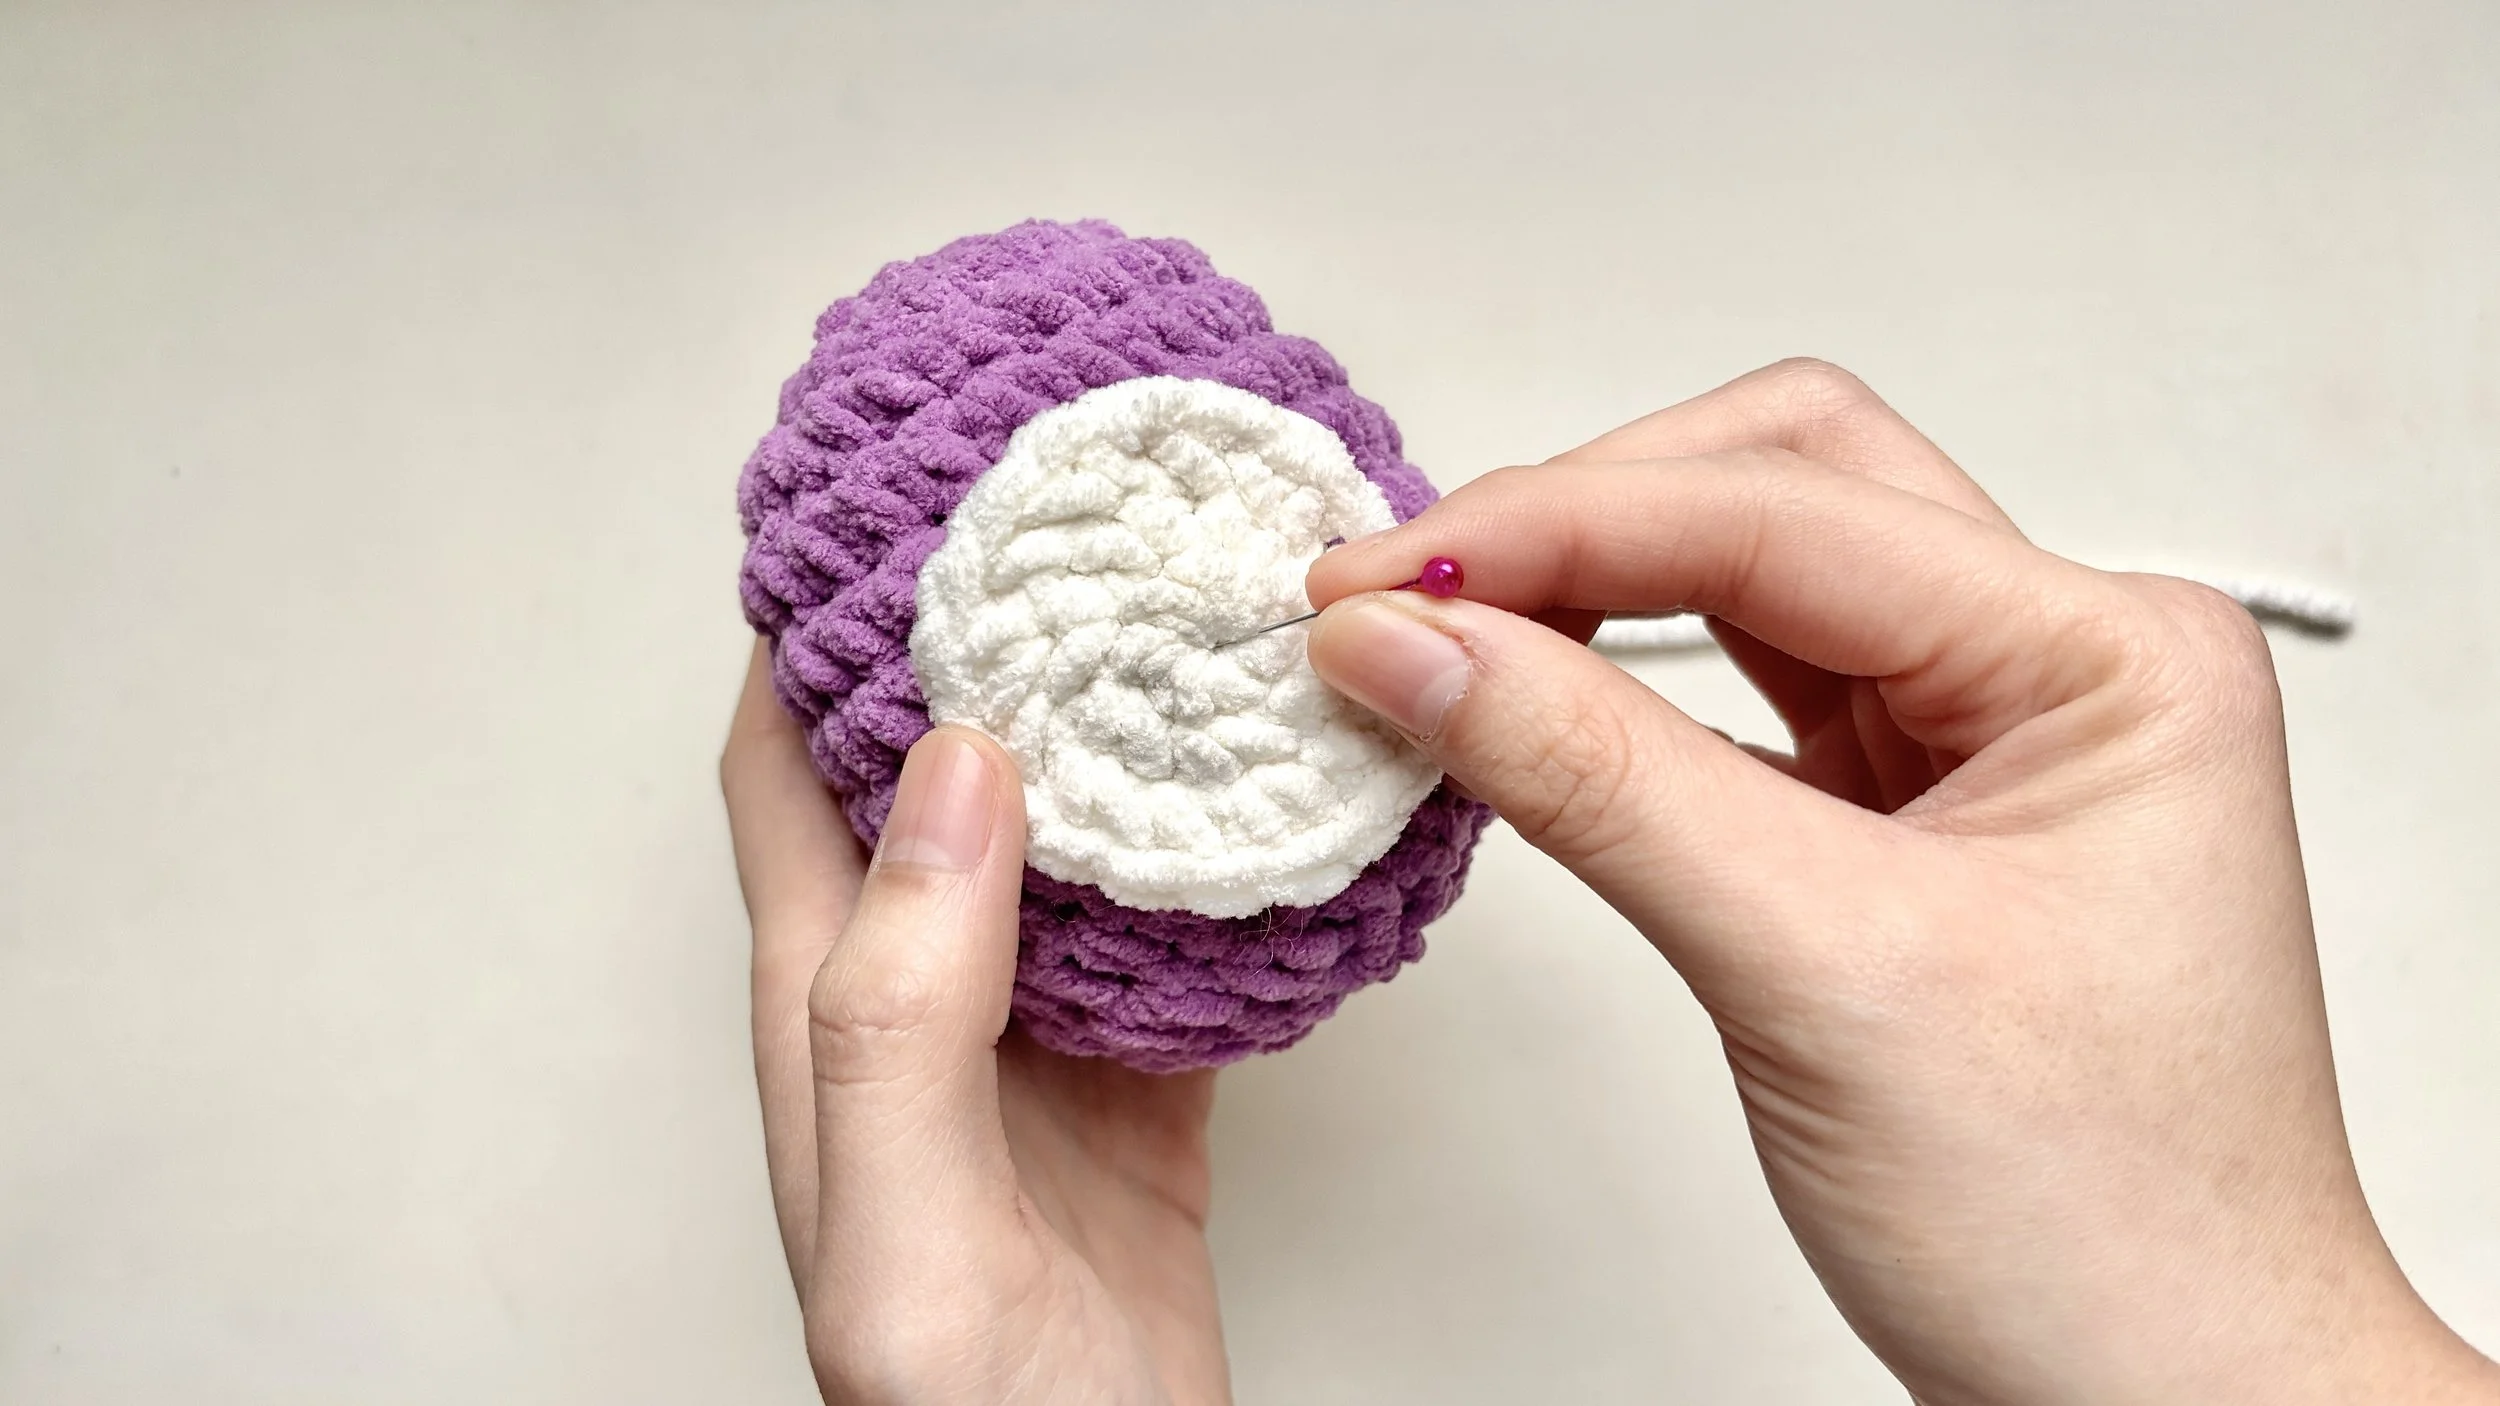
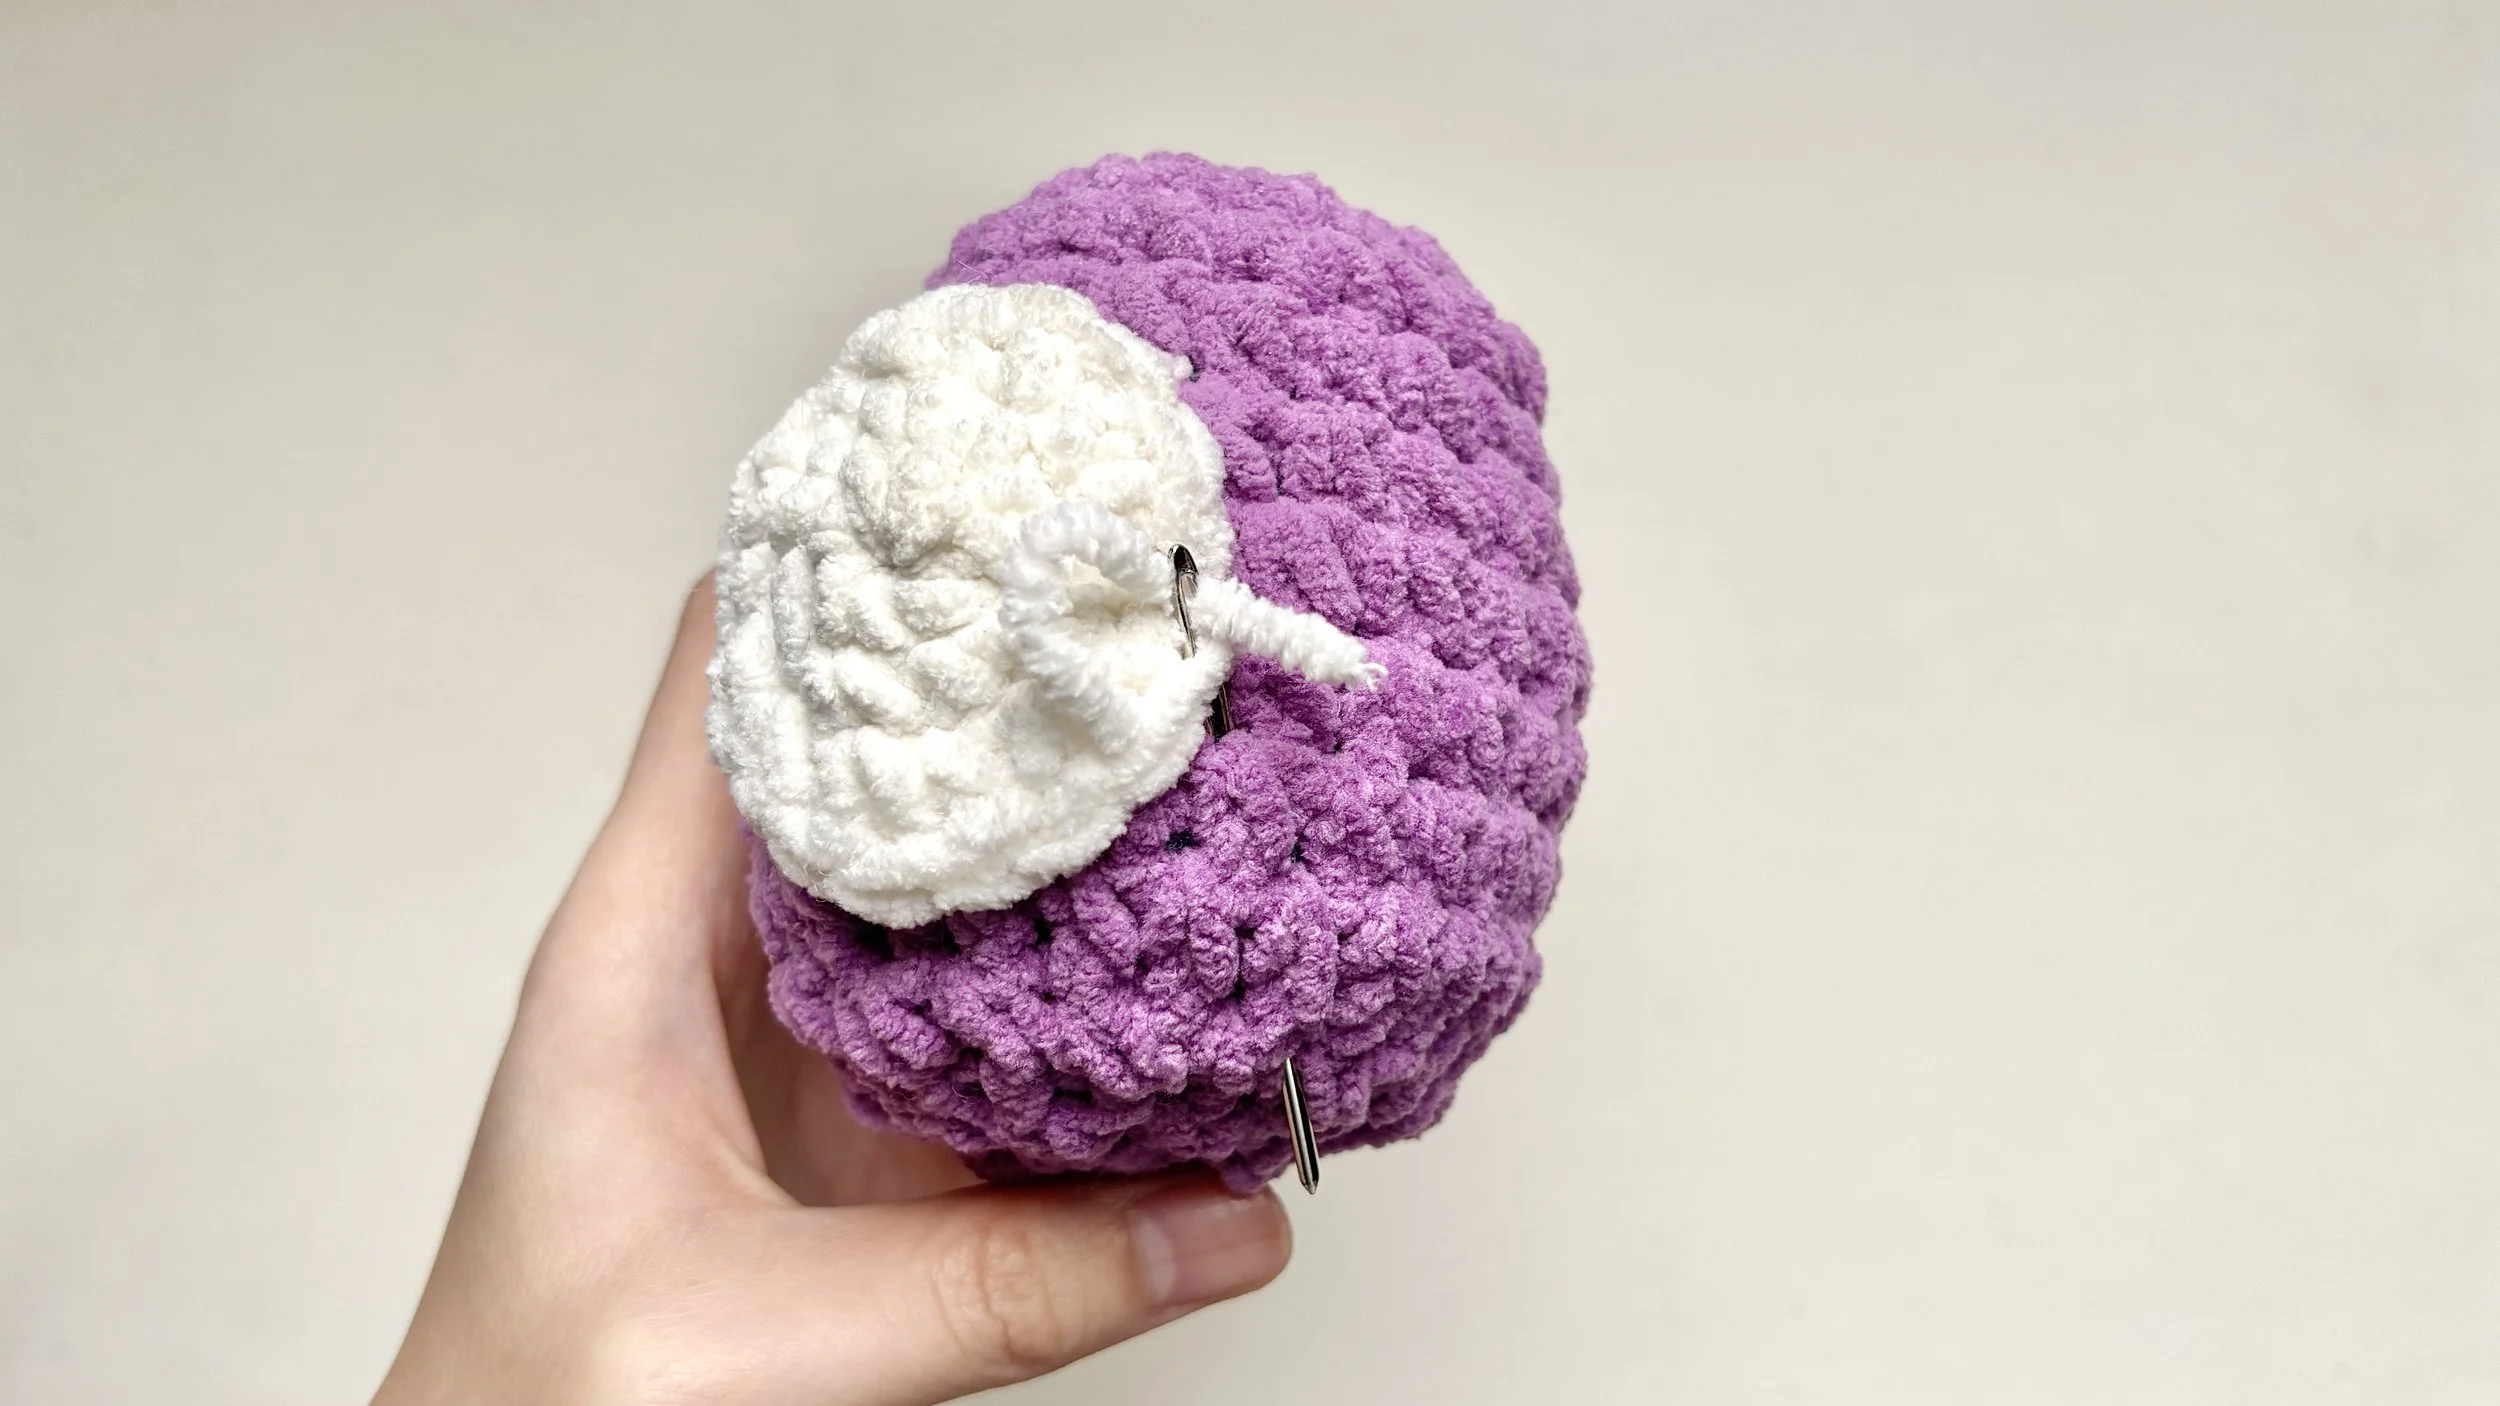
With stitch markers or pins, attach the flat piece onto the body, lining its edge up where you want it.
Pinning the center first, then around the edge, keeps it from shifting while you sew.
Step 2:
Thread the needle
Thread your yarn onto the yarn needle.
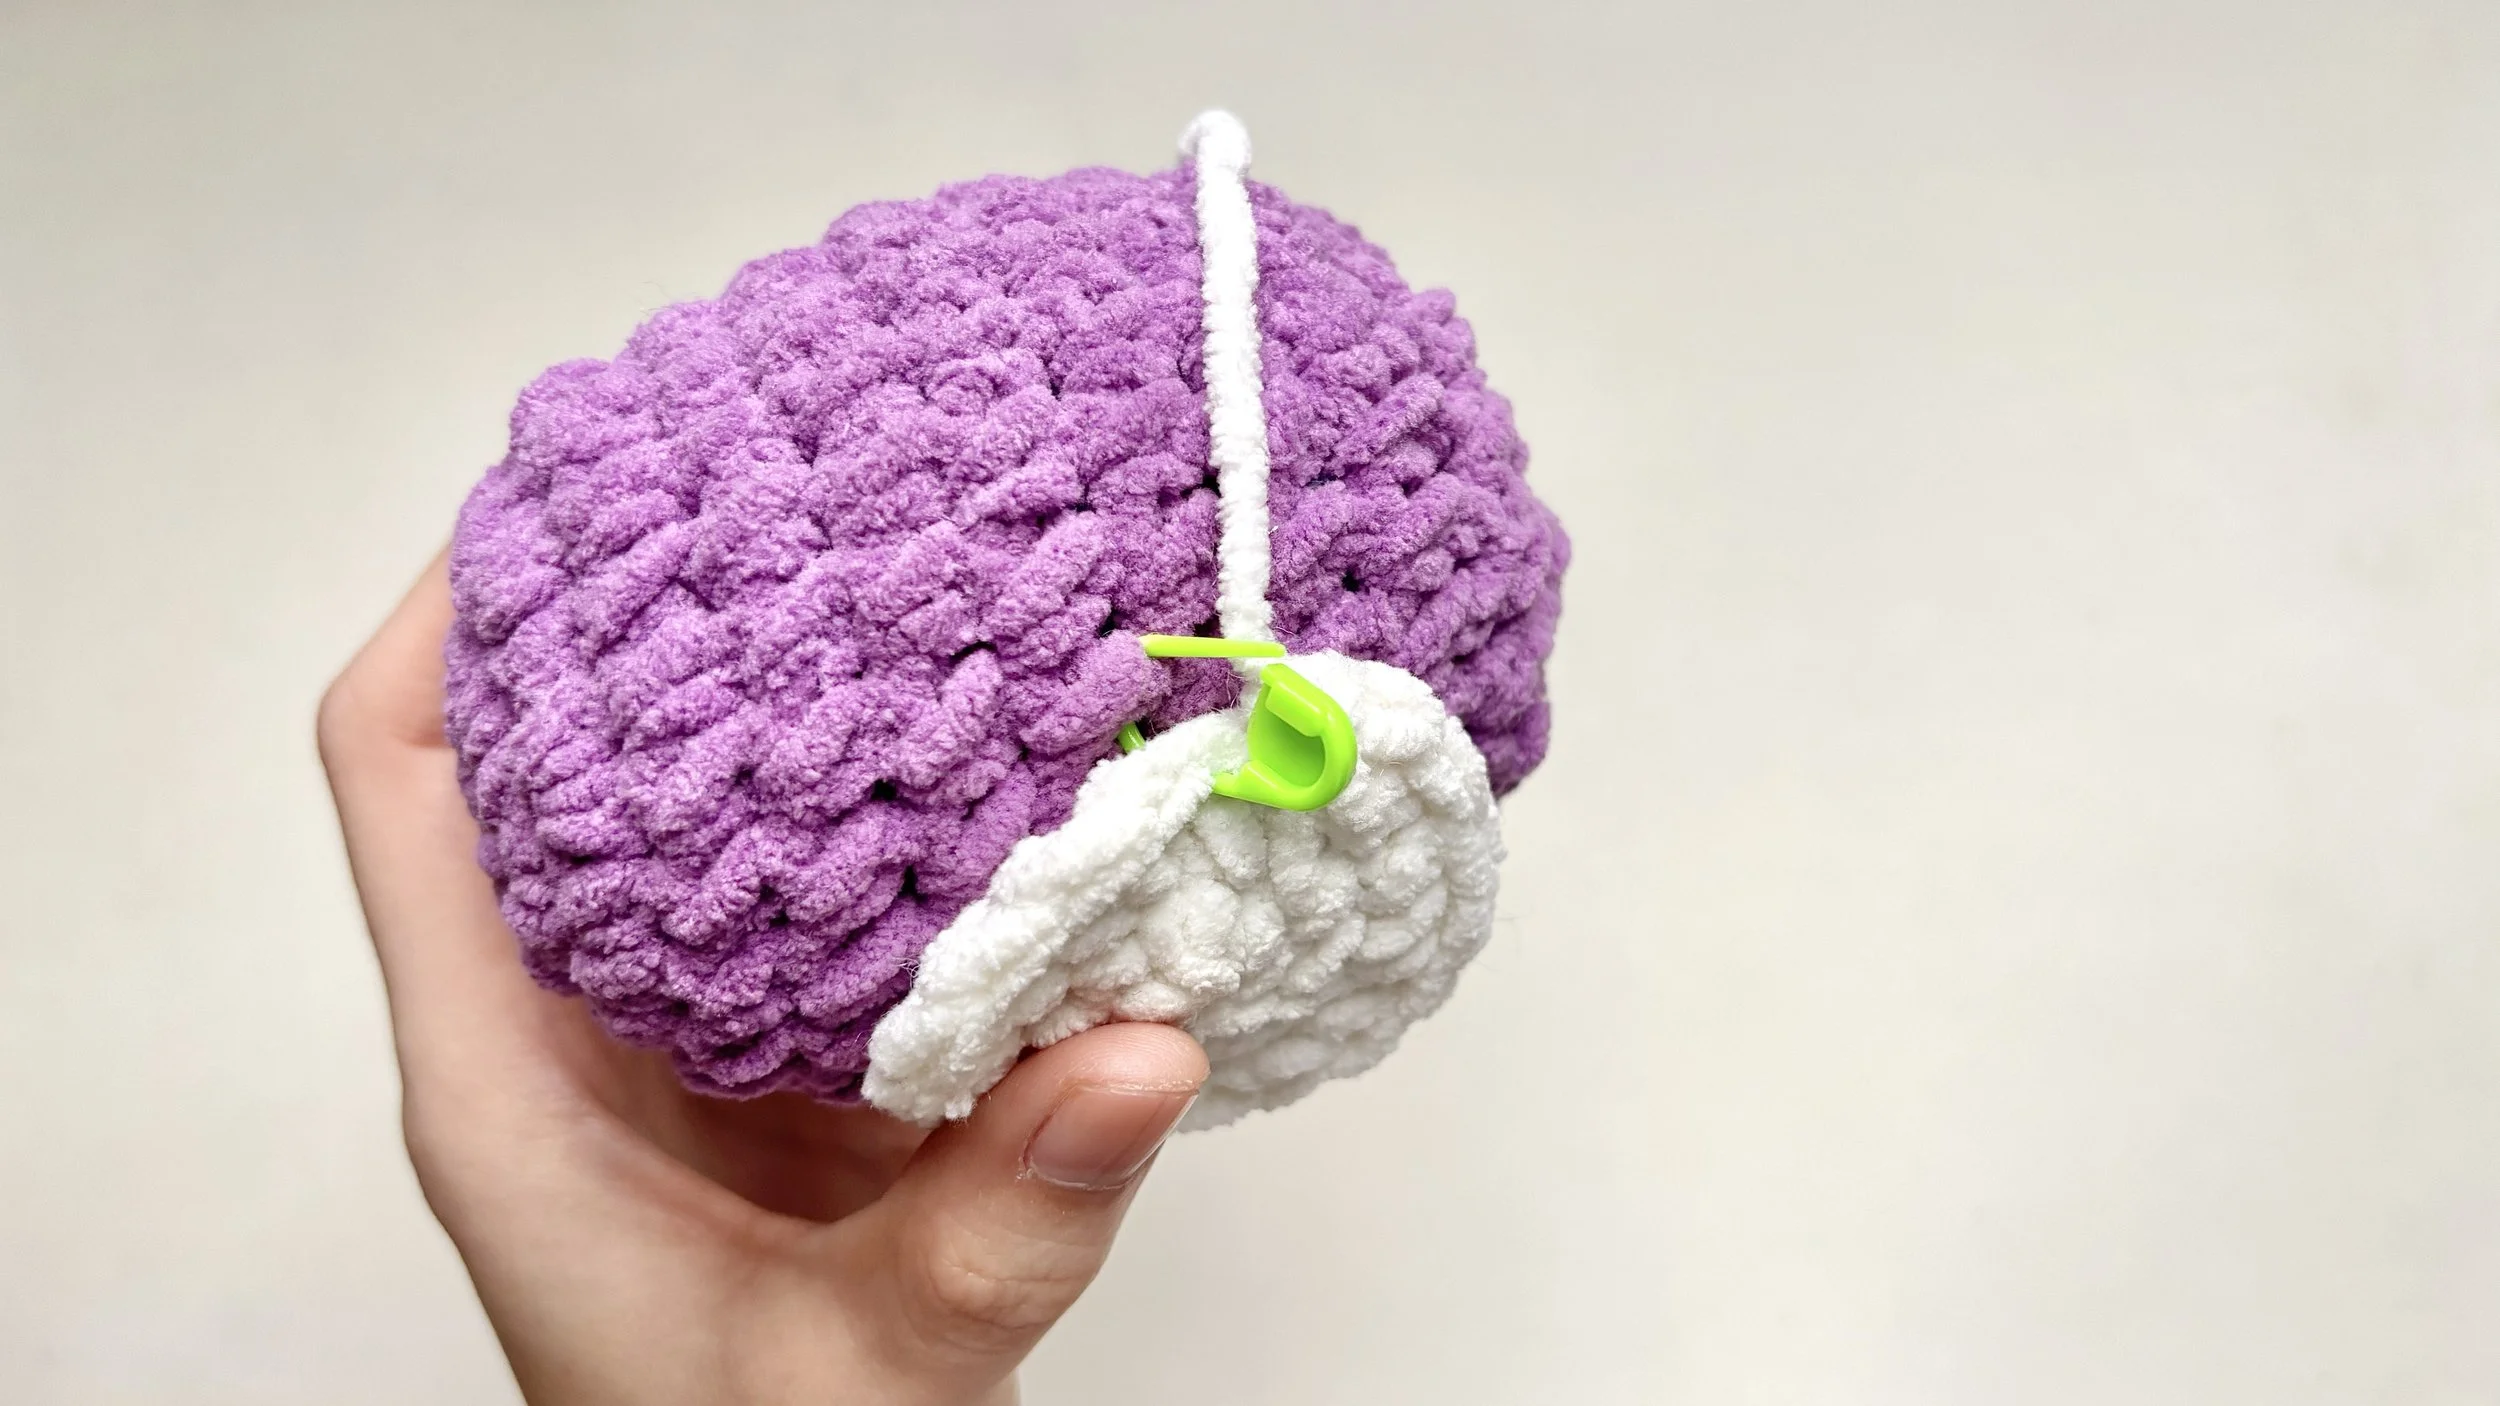
Step 3:
Down through the flat piece
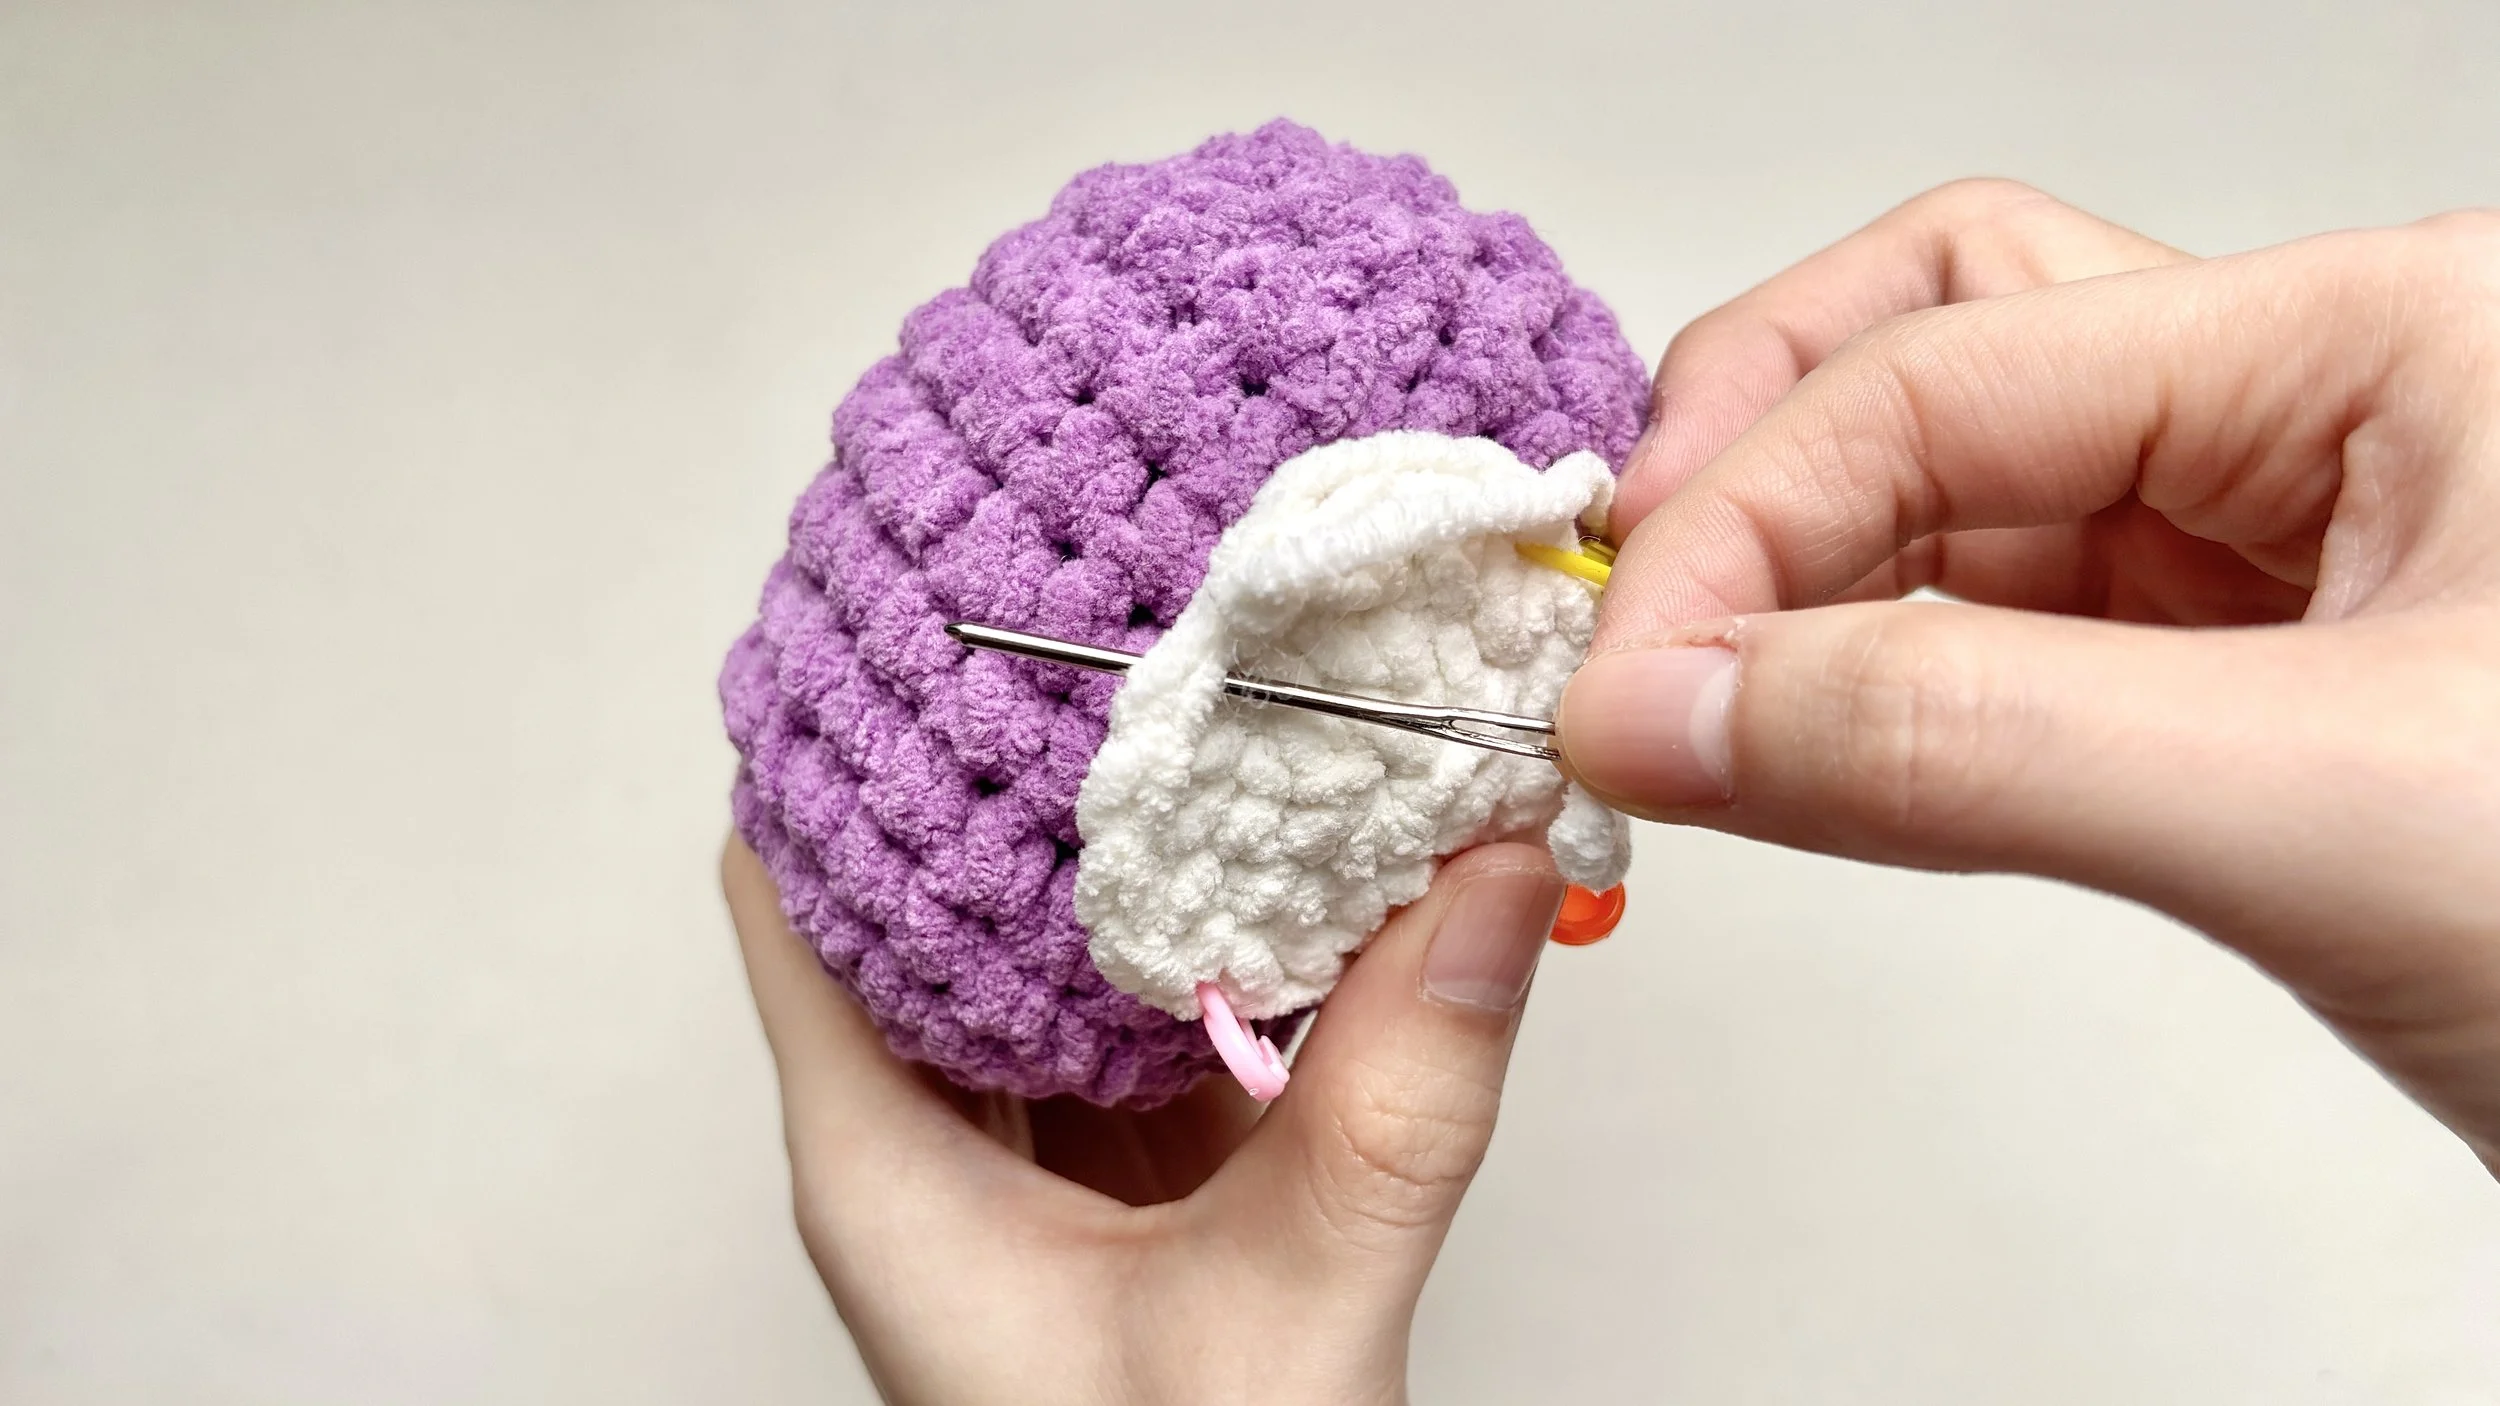
Take the needle down through the next stitch of the flat piece and pull the yarn all the way through.
Step 4:
Across into the body
Take the needle through one stitch of the body, lined up with the next stitch of the flat piece.
Pull the yarn through.
Step 5:
Up through the flat piece

Bring the needle up through the next stitch of the flat piece and pull the yarn through.
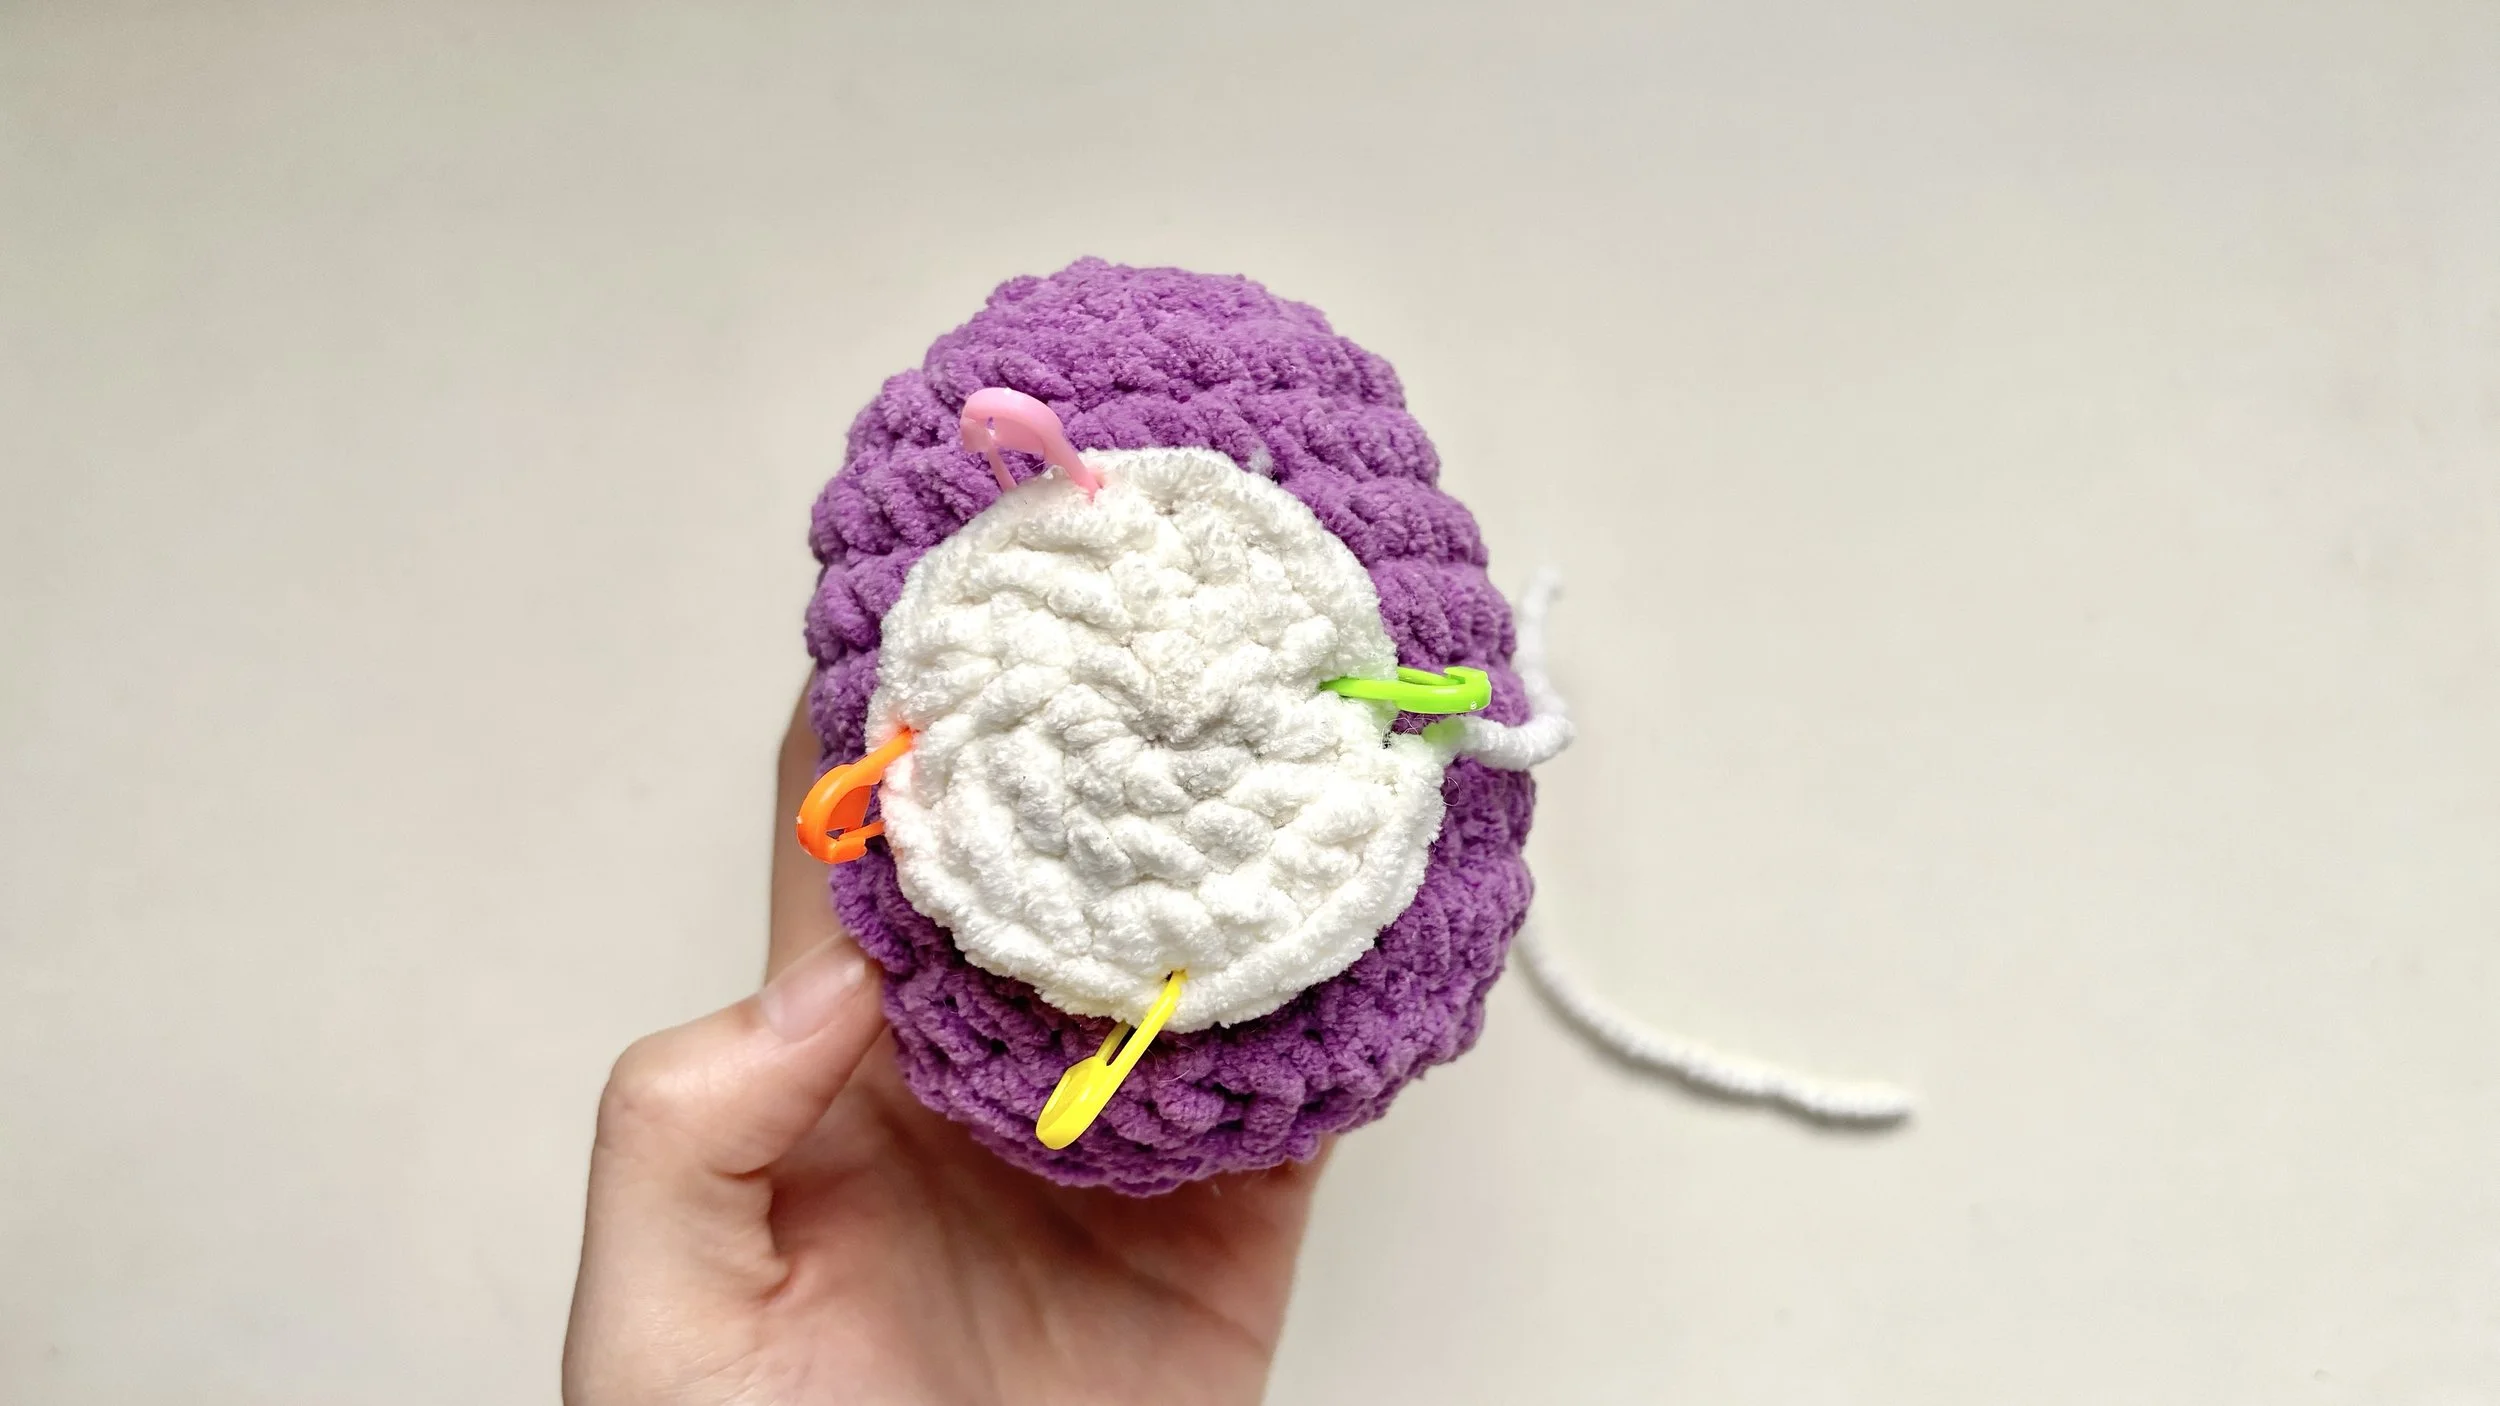
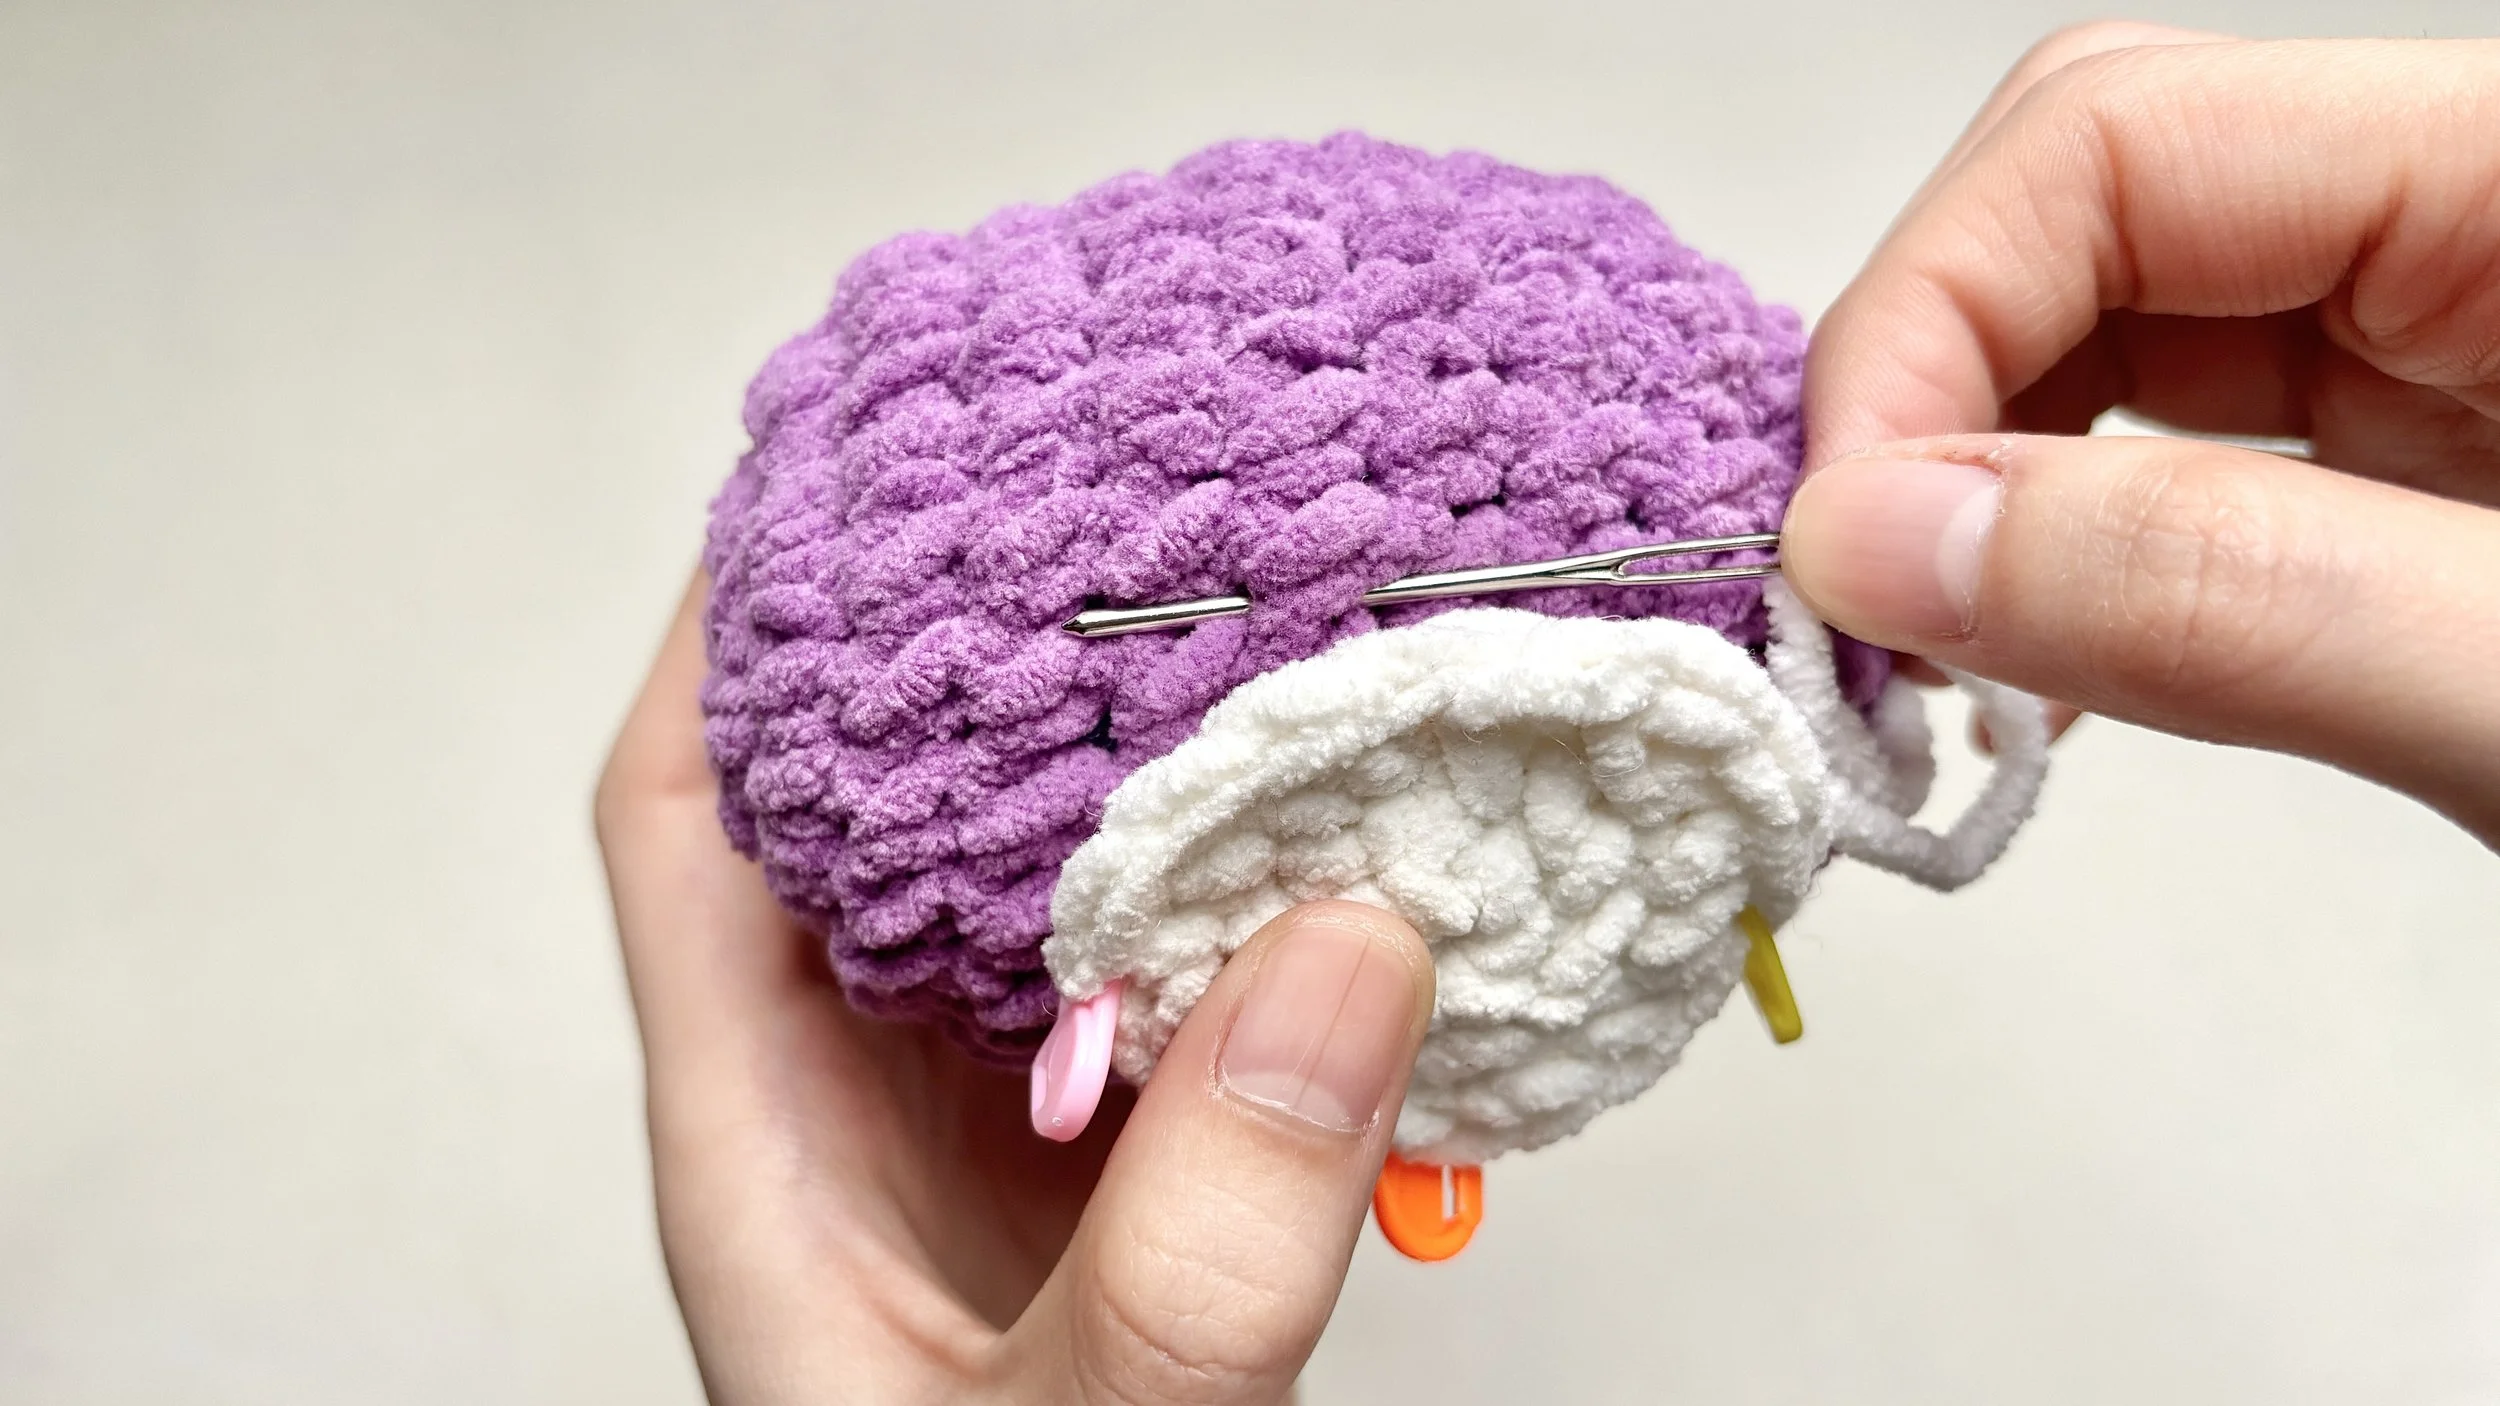
Step 6:
Work all the way around

Repeat stitch by stitch - one stitch of the piece to one stitch of the body - until you reach the end and the piece is fully attached.
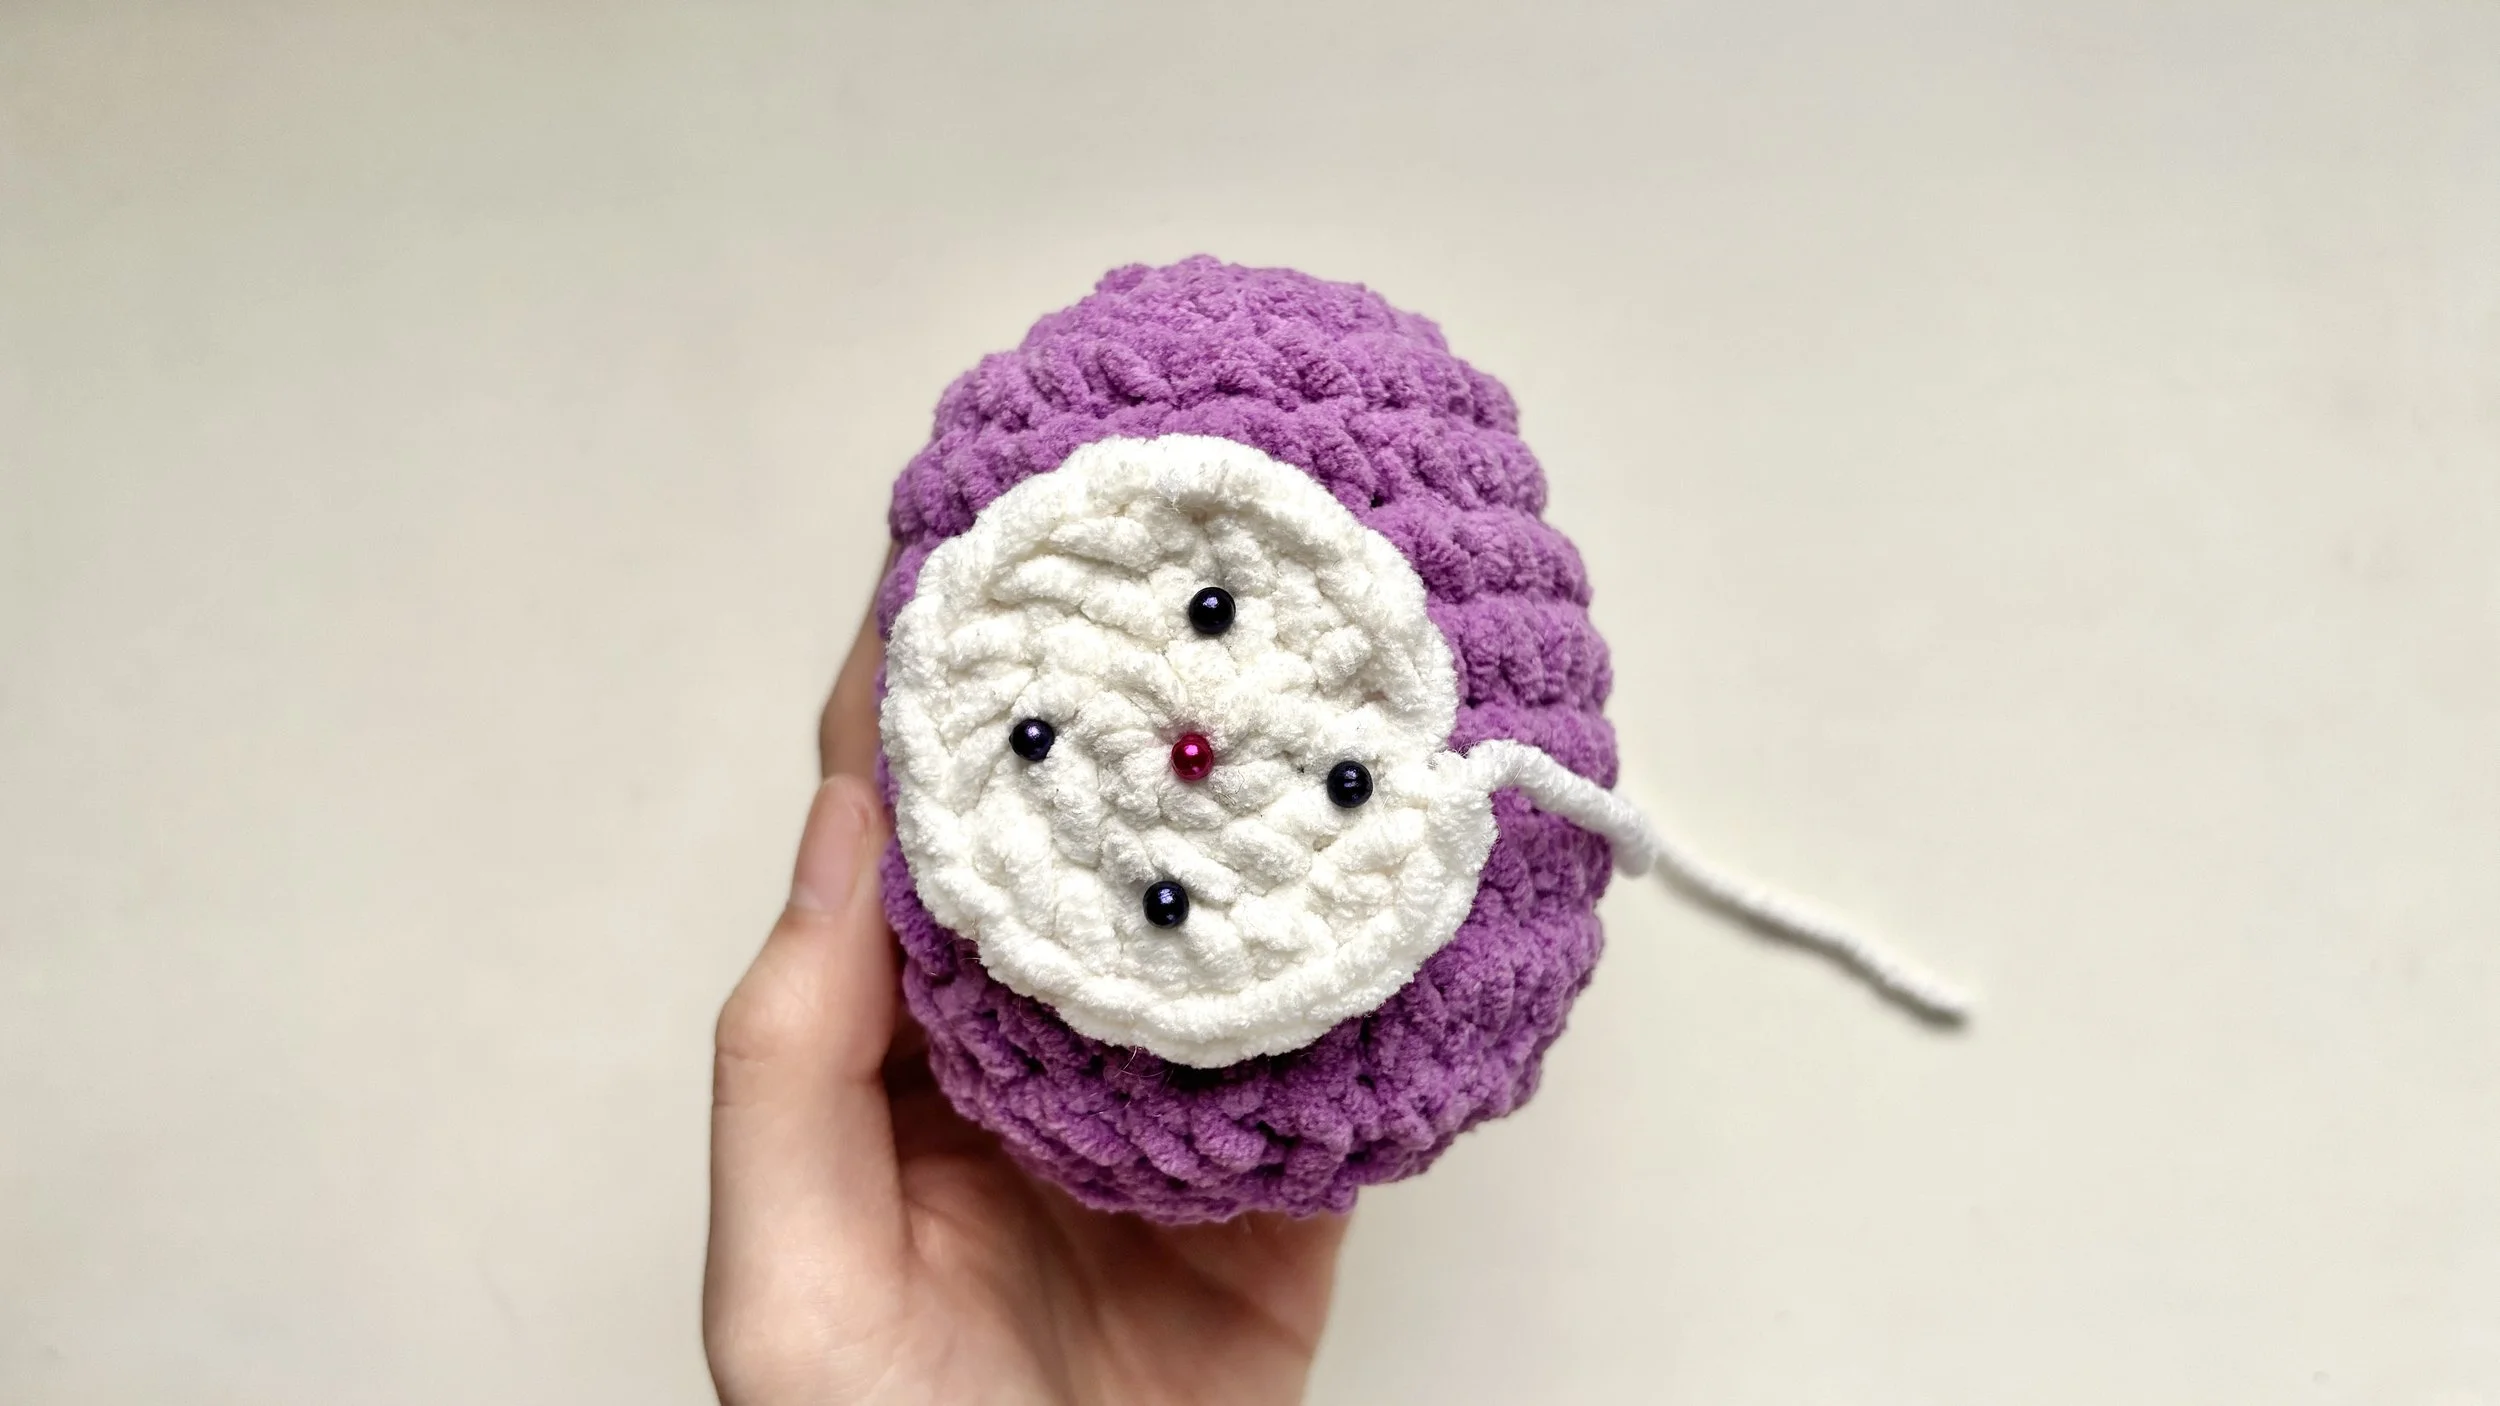
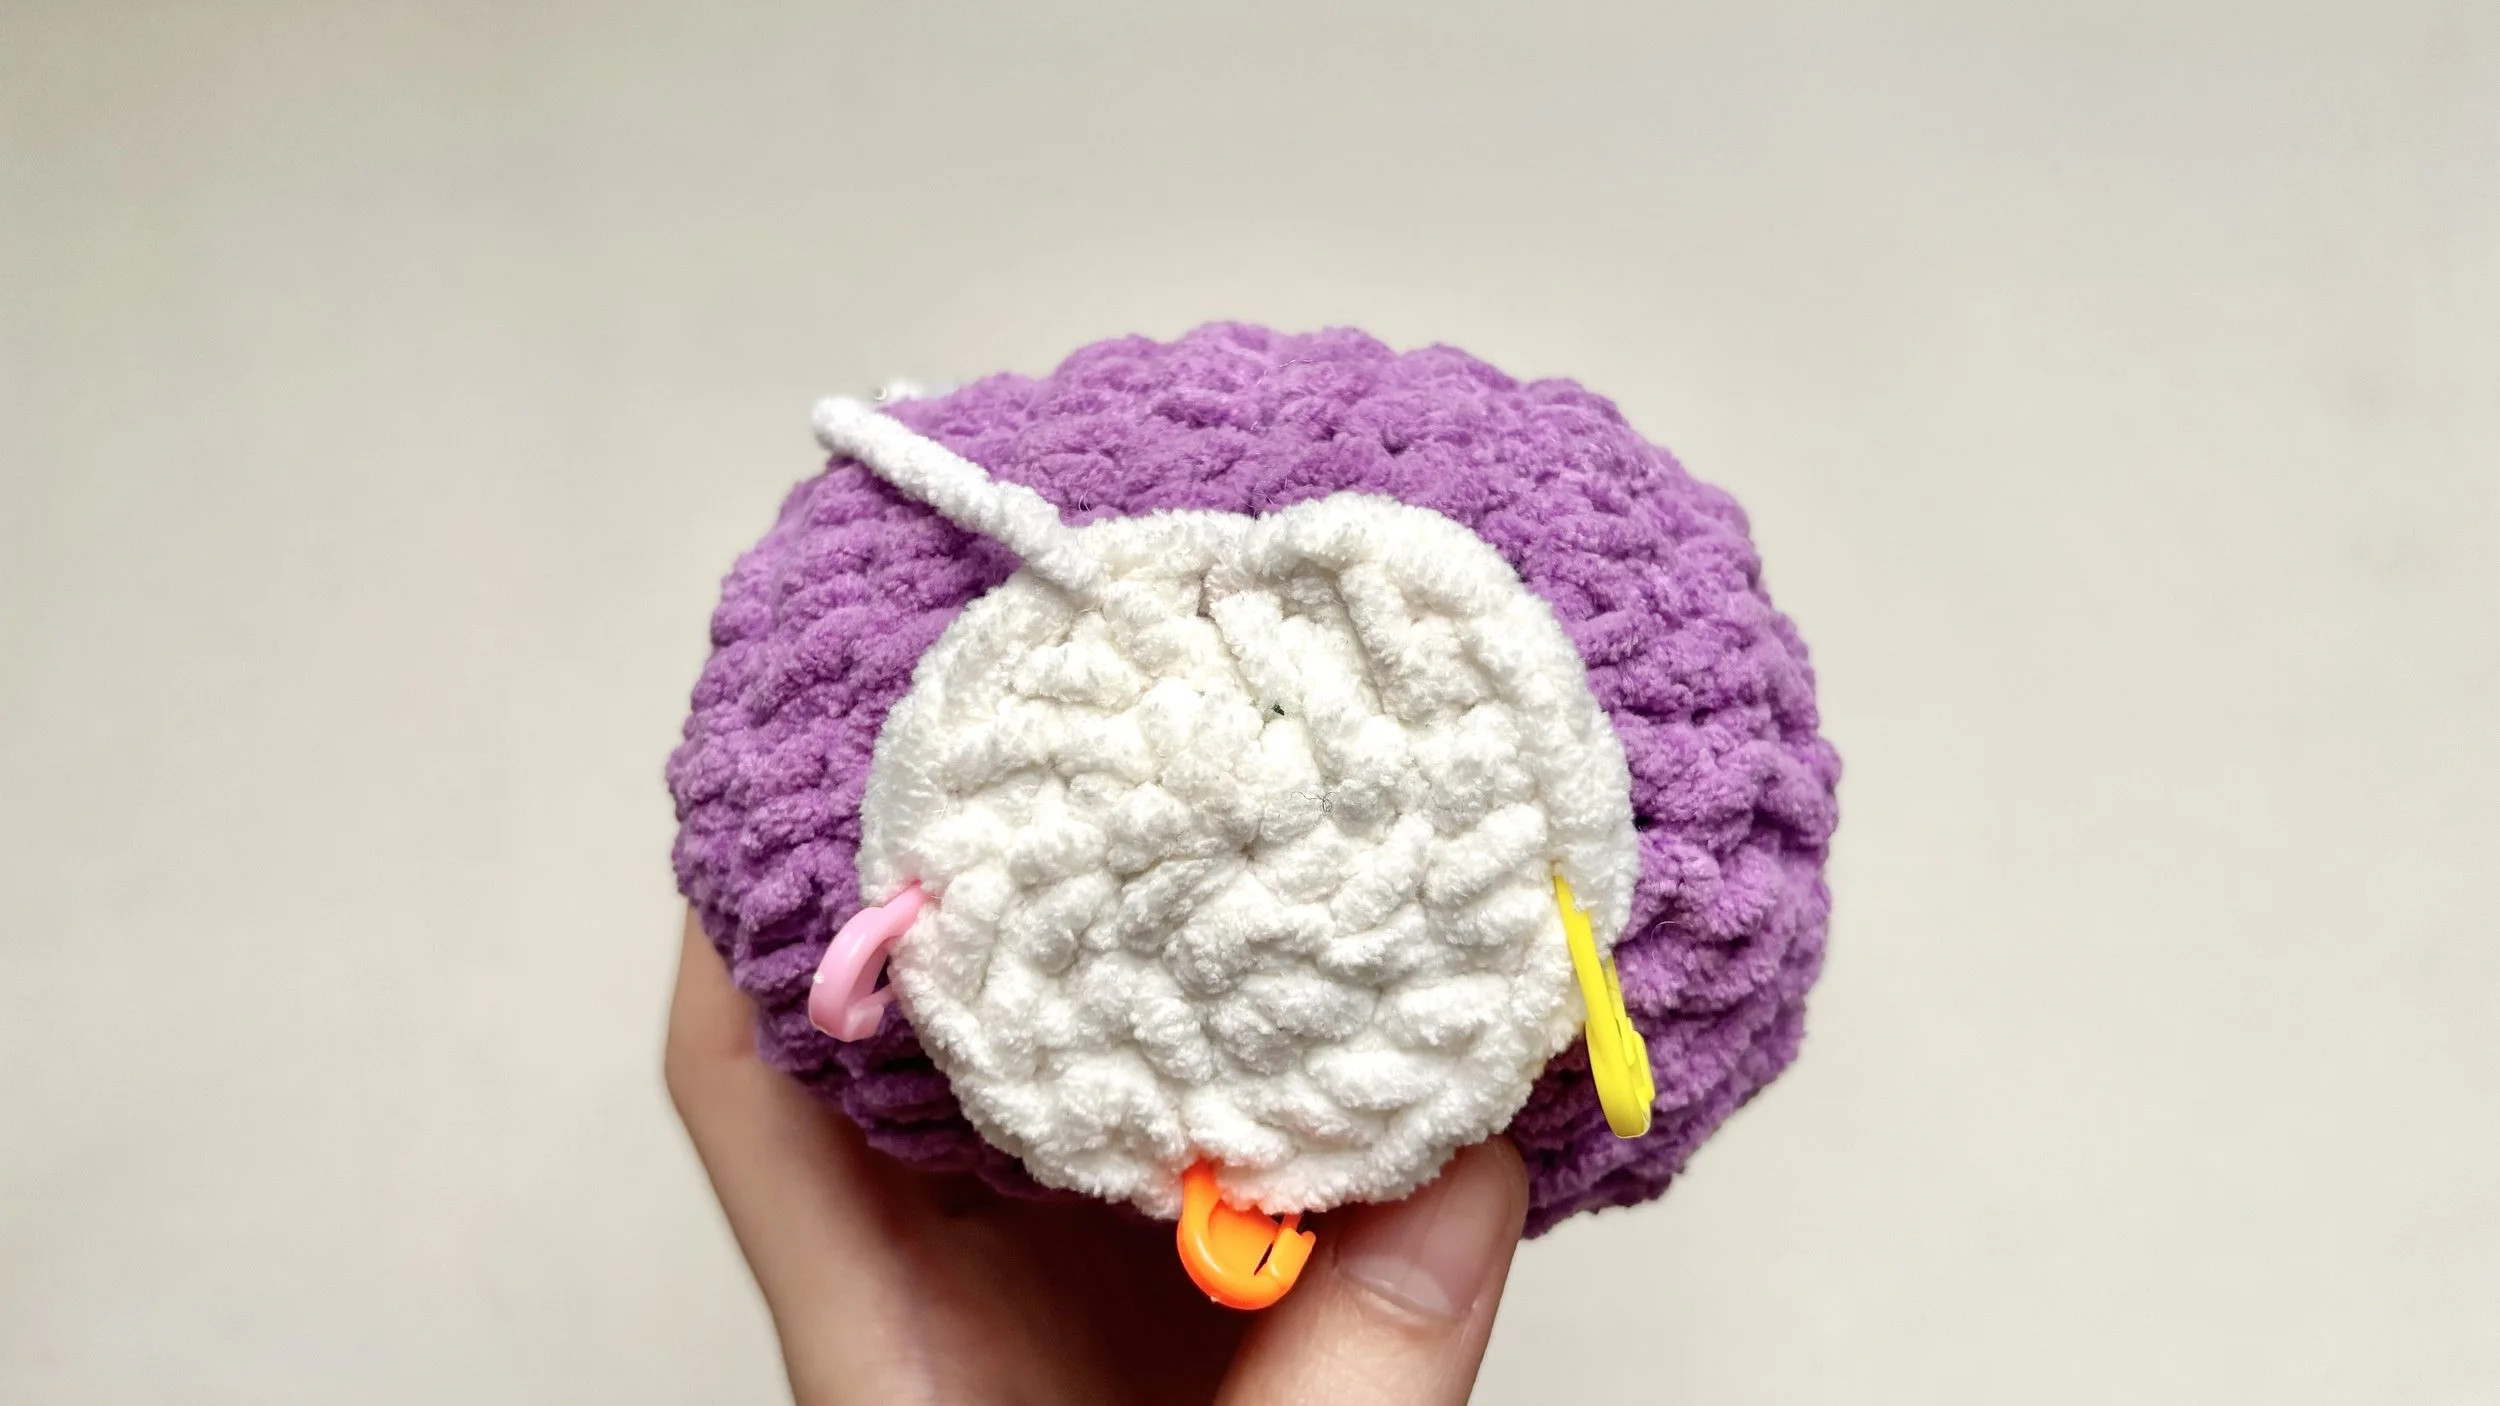
Step 7:
Secure and hide the tail
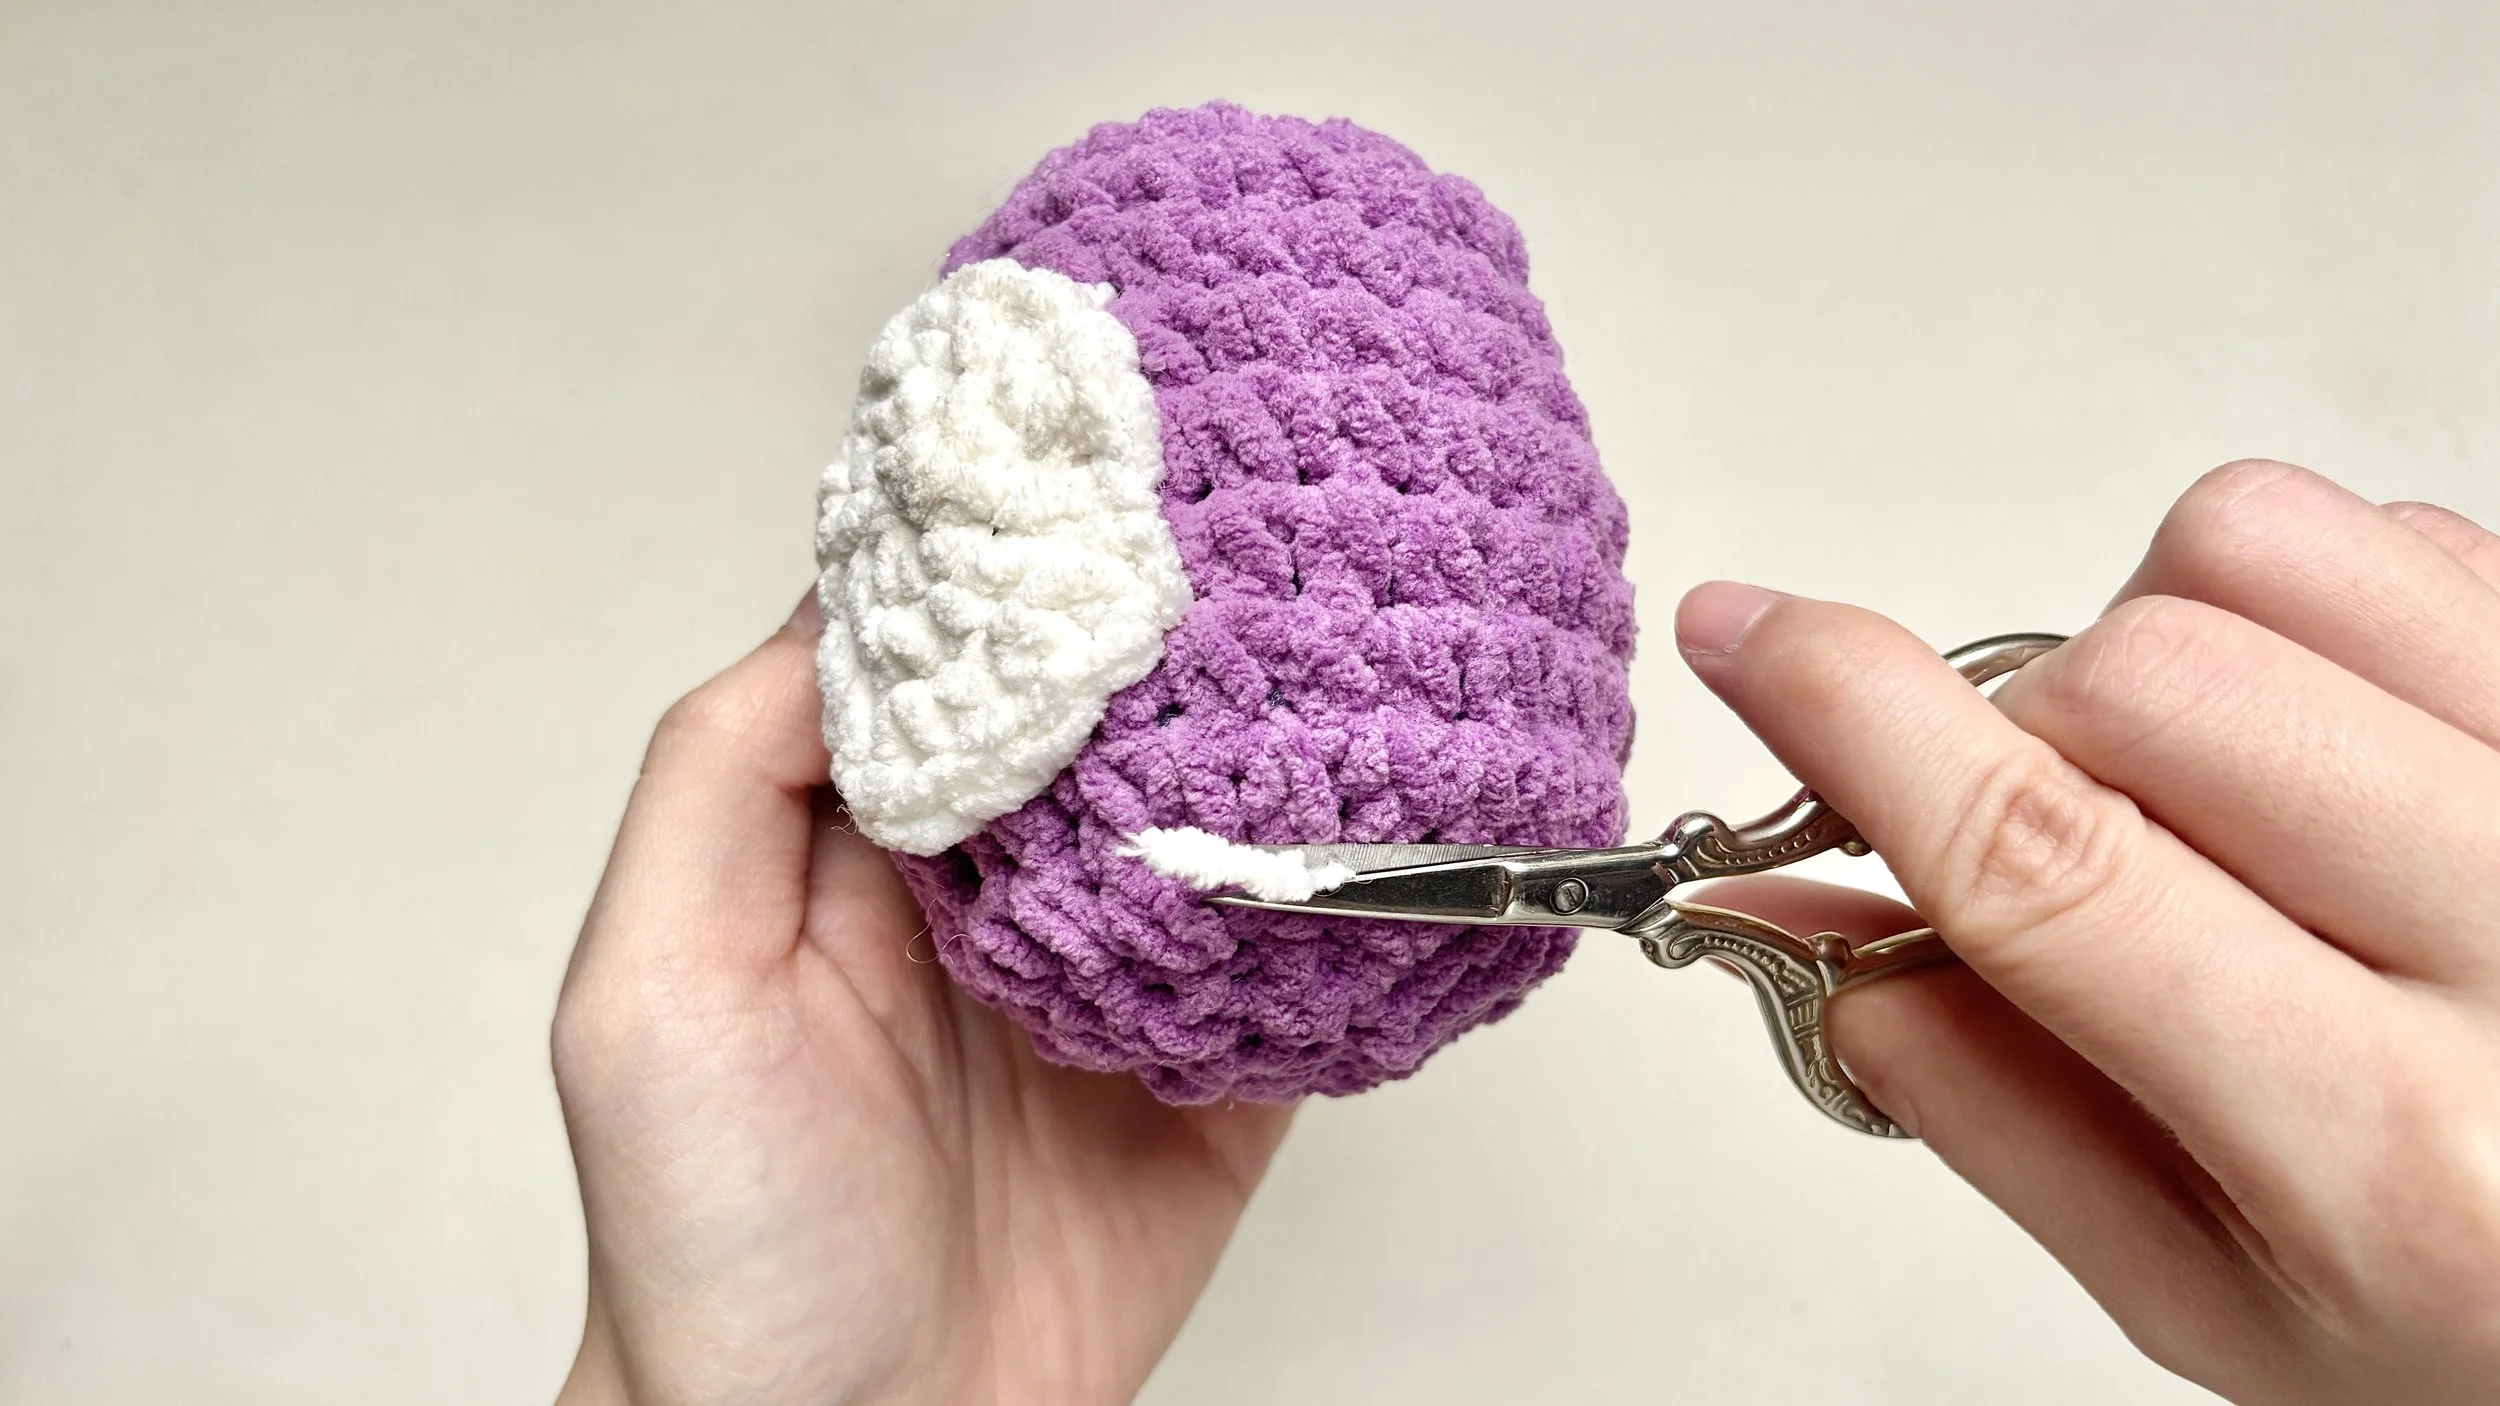
Take the needle down through the next stitch of the flat piece, then run it through the body and pull the yarn through.
Trim the tail close to the surface, then gently massage the spot so the end disappears inside.
That’s your flat piece attached — neat, even, and secure.
This is the same method you’ll reach for again and again as you add details to your makes.
We’re right here with you every step of the way.