
The magic ring (MR) - also called the magic circle or loop - is how projects worked in the round begin - things like amigurumi or hats. It lets you start with a tightly closed center, with no hole left in the middle.
It’s one of the fiddlier techniques to learn, so don’t worry if it takes a few goes. Follow the steps below and you’ll get there.
How to make a magic ring (MR)
Watch the lesson
The heart of it
The magic ring (MR) is an adjustable loop you crochet your first stitches into, then pull tight — closing the center so there’s no hole.
Step-by-step instructions
Make the magic ring
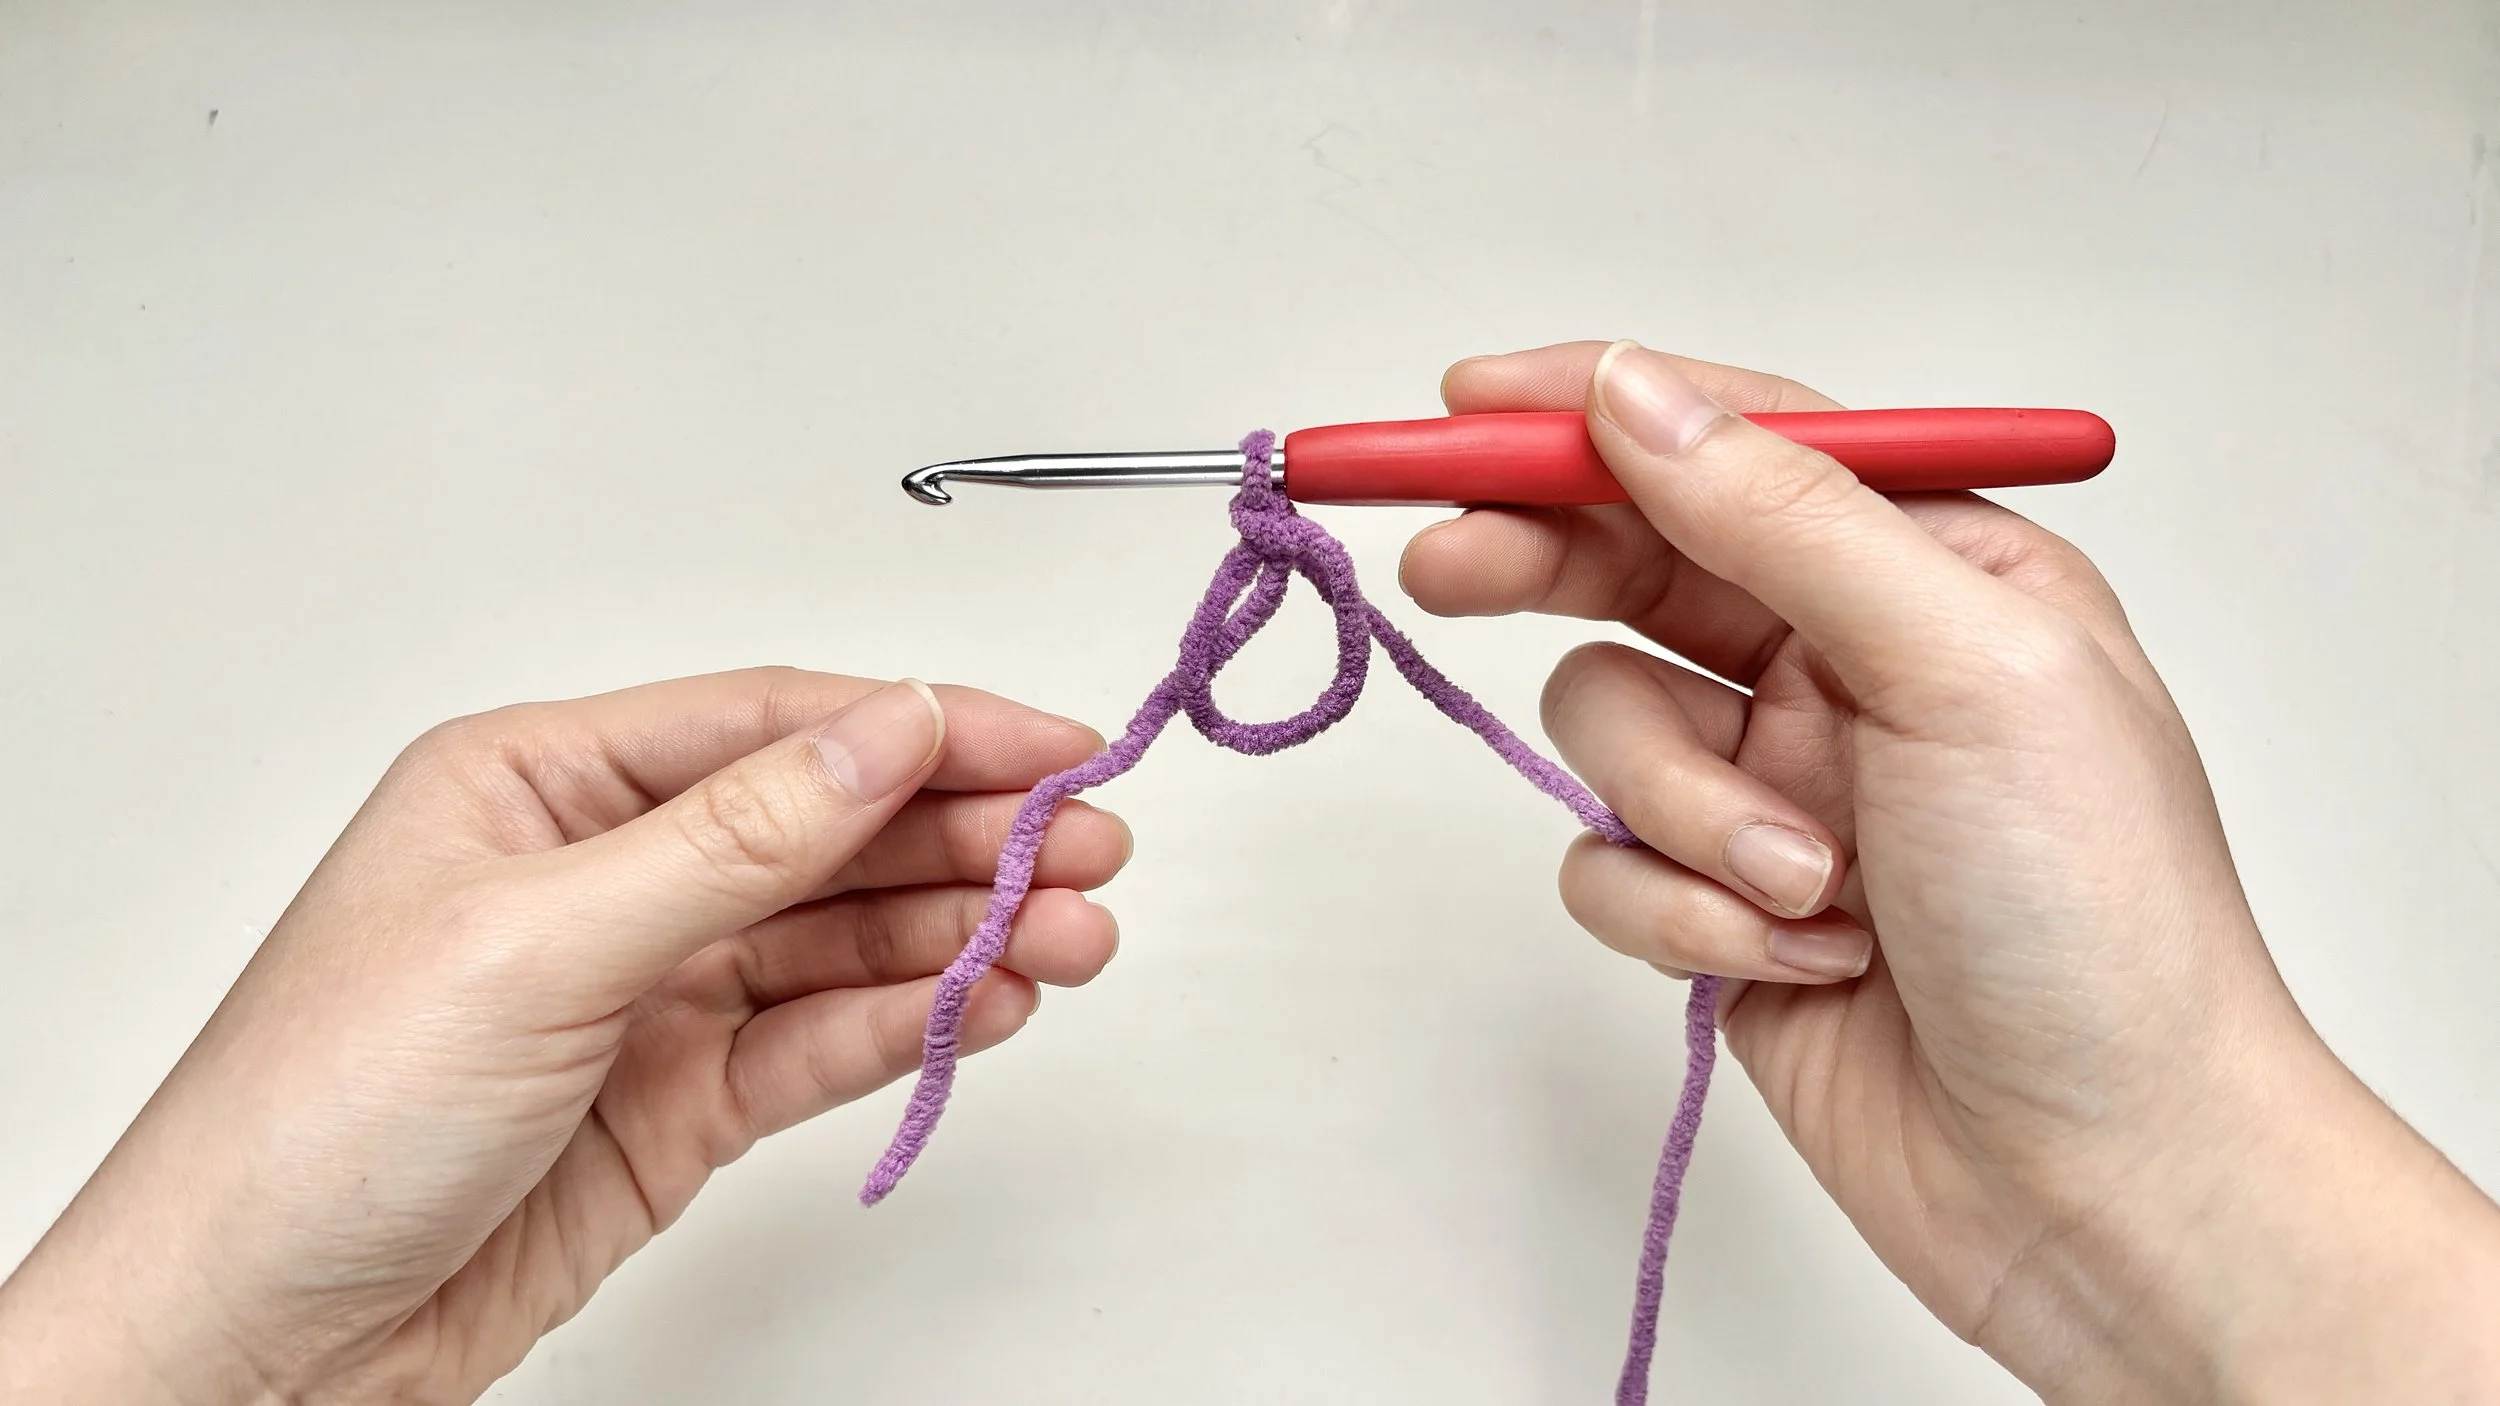
Step 1:
Hold the yarn tail
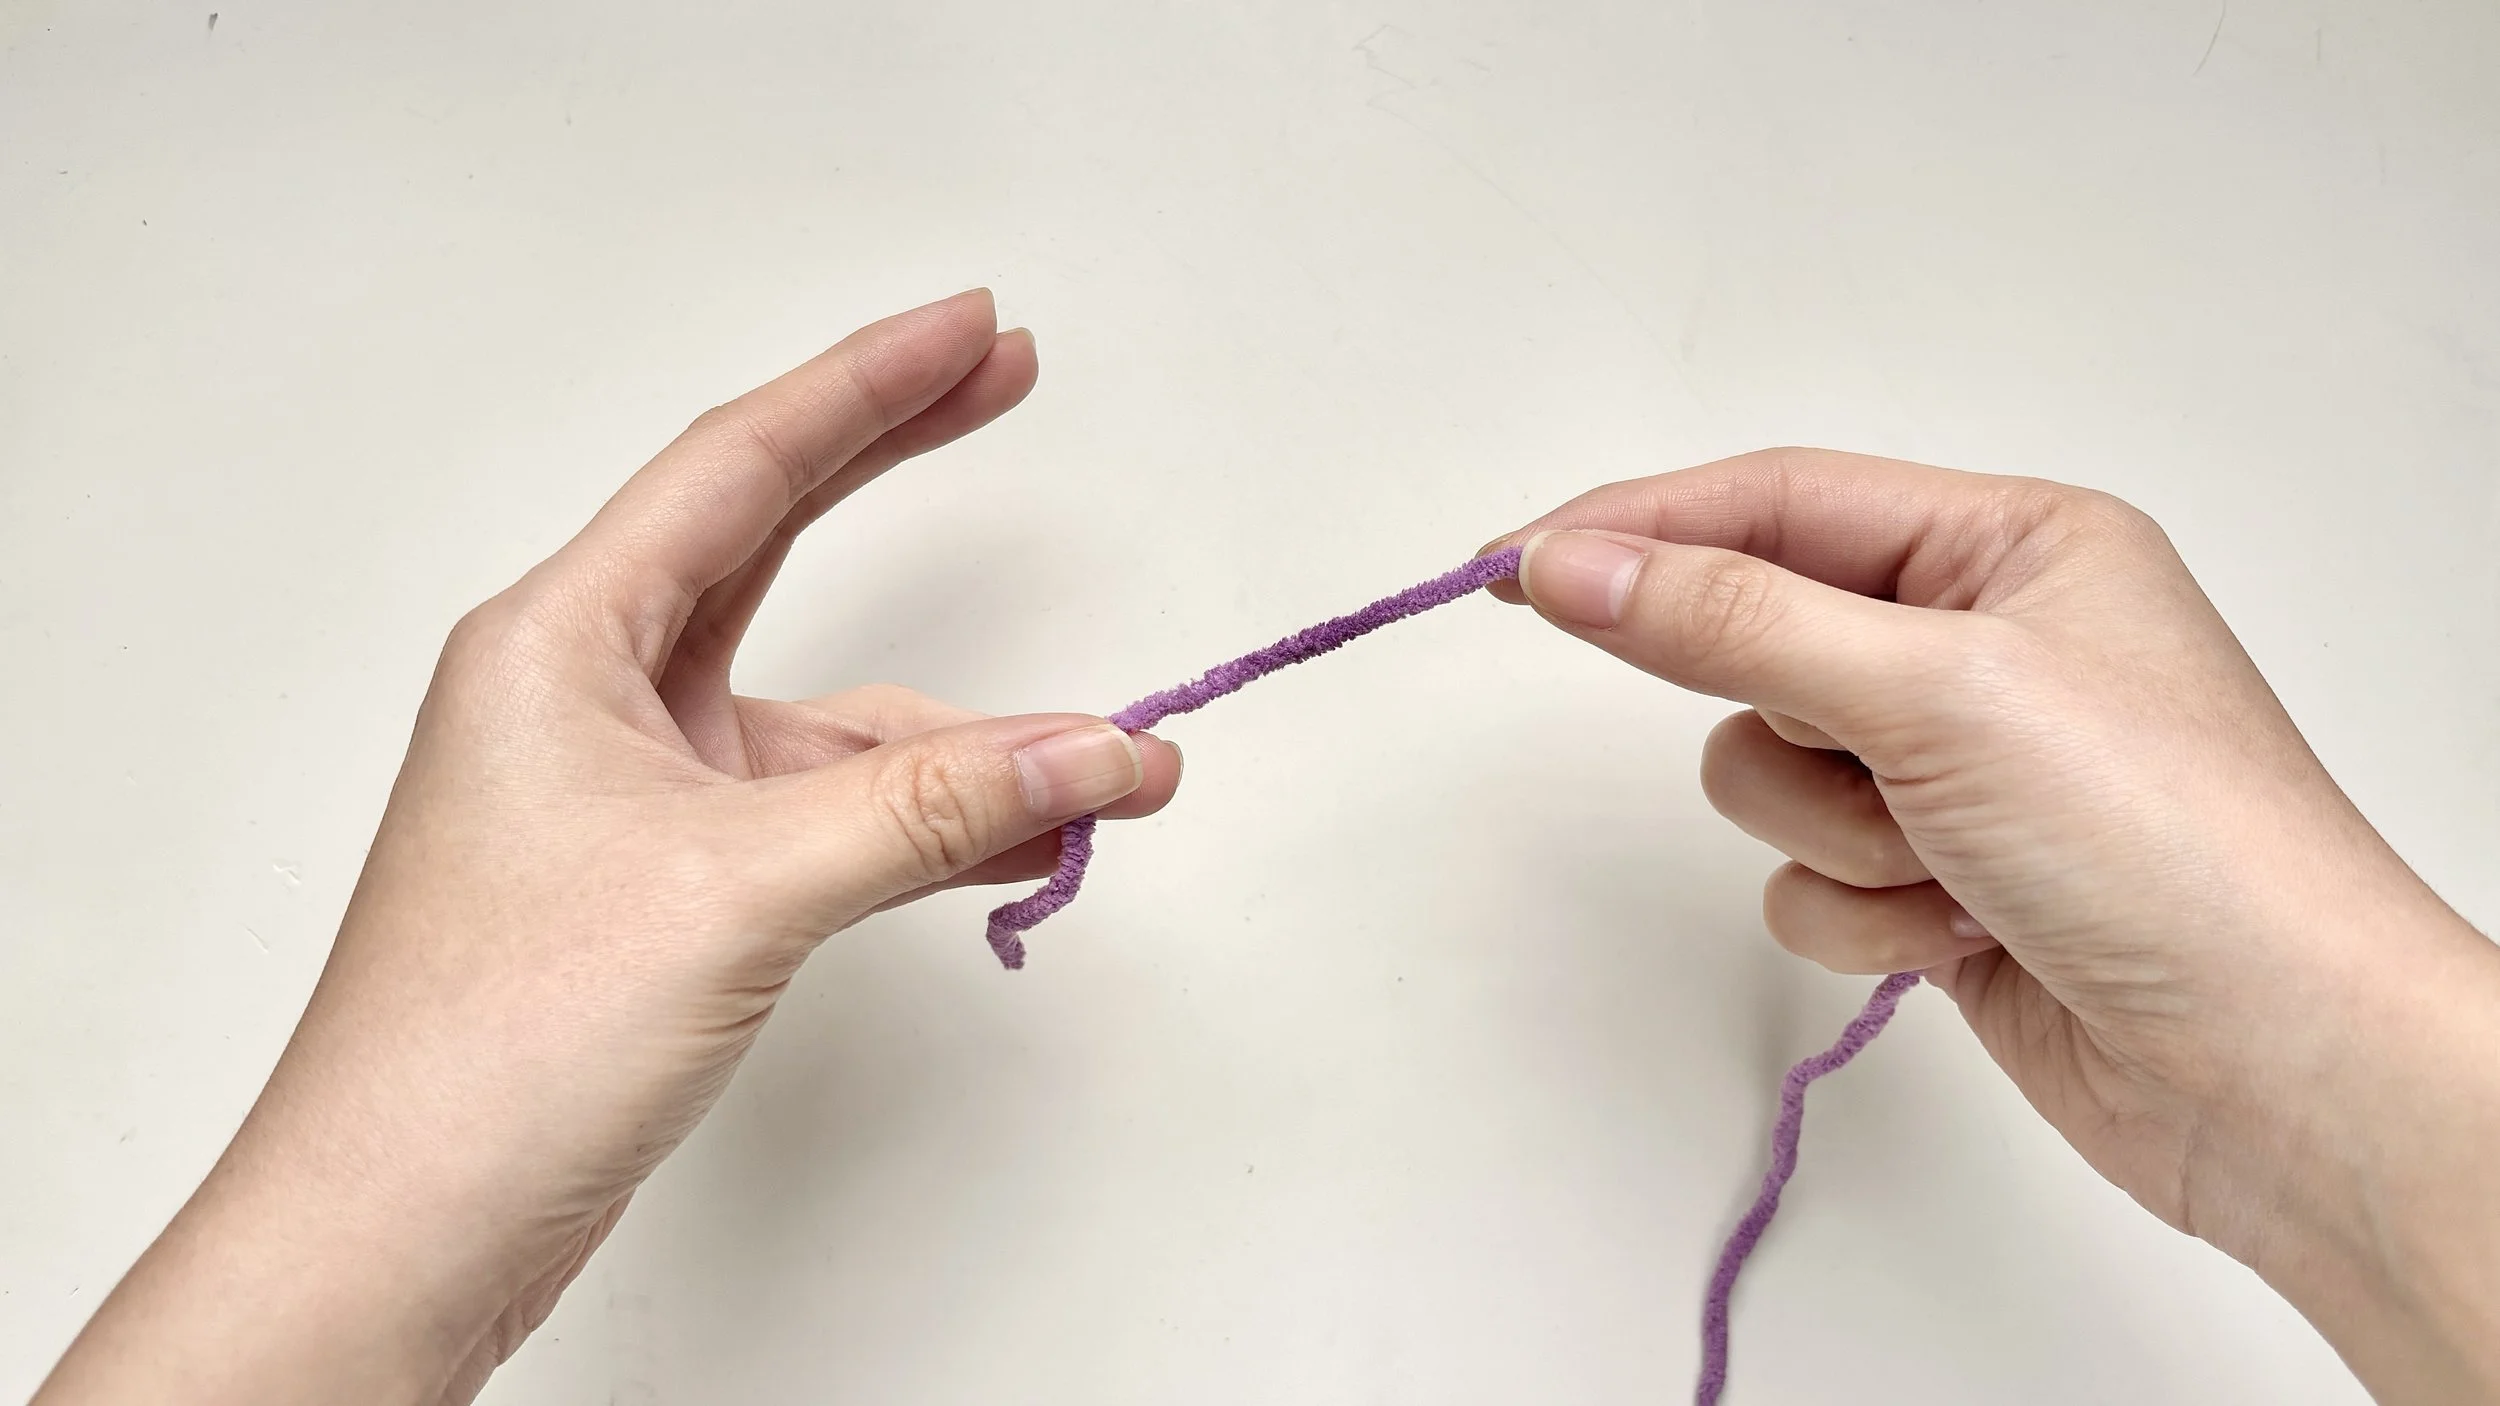
Hold the yarn tail with the ring finger and thumb of your left hand, and hold the working yarn in your right hand.
Step 2:
Wrap over your fingers
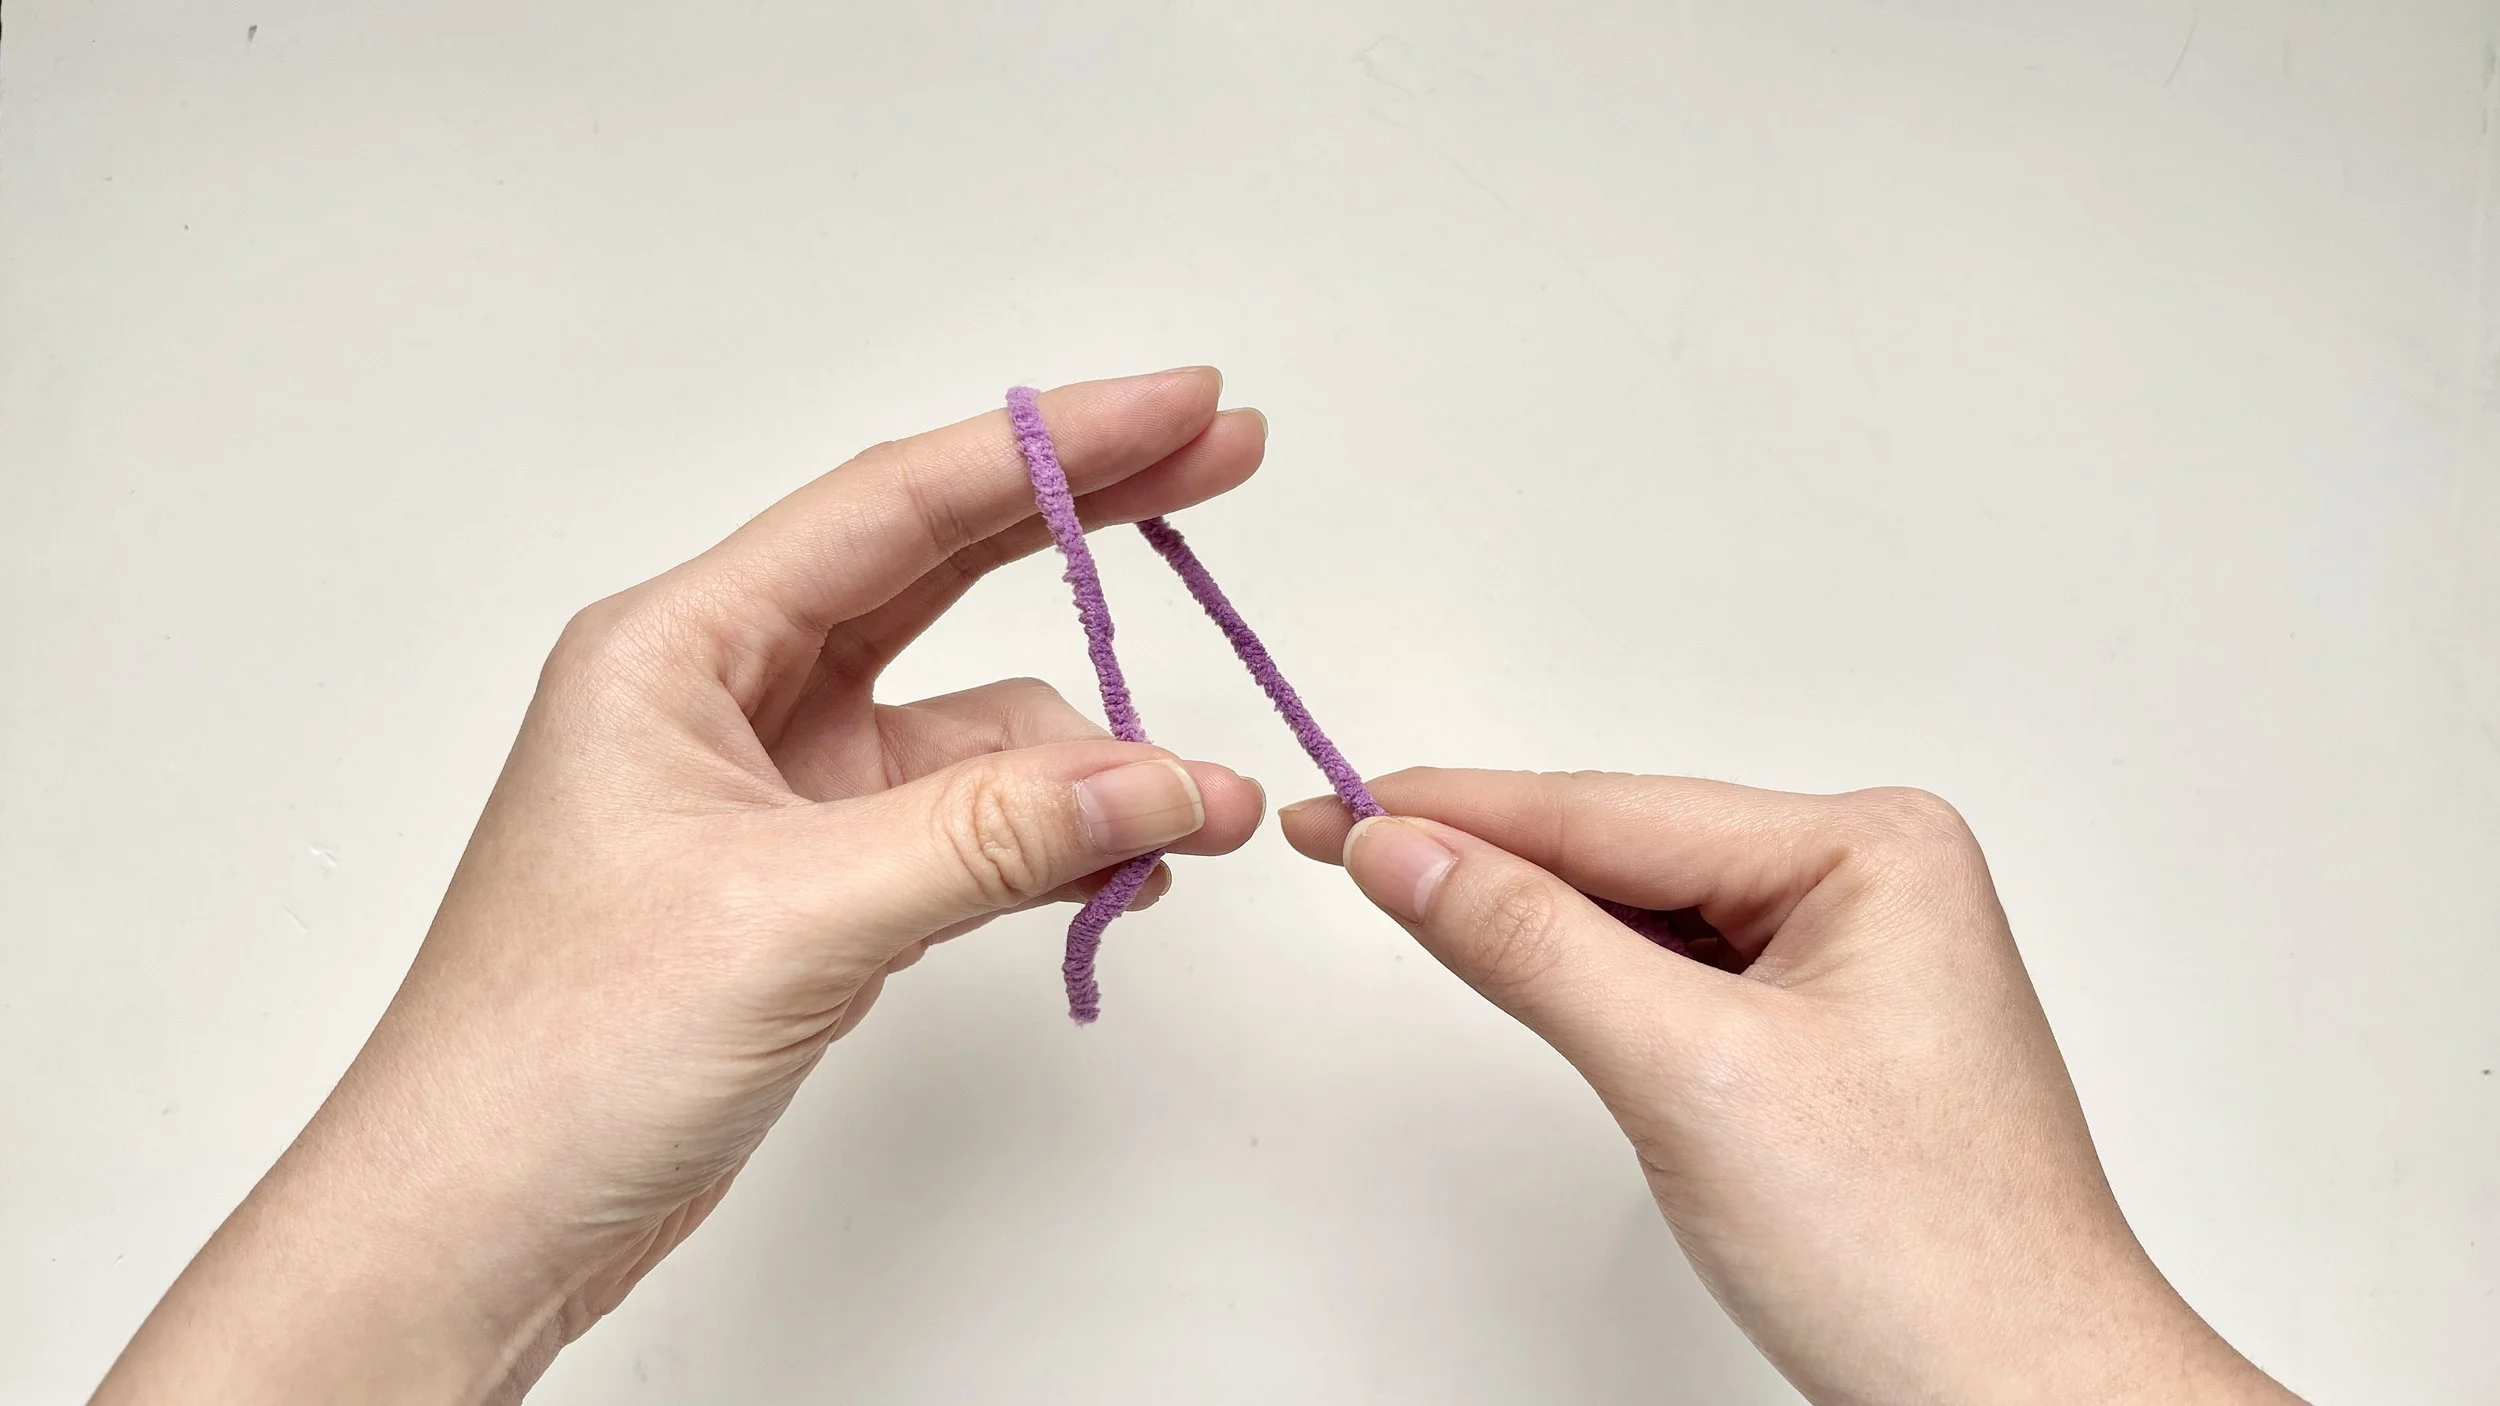
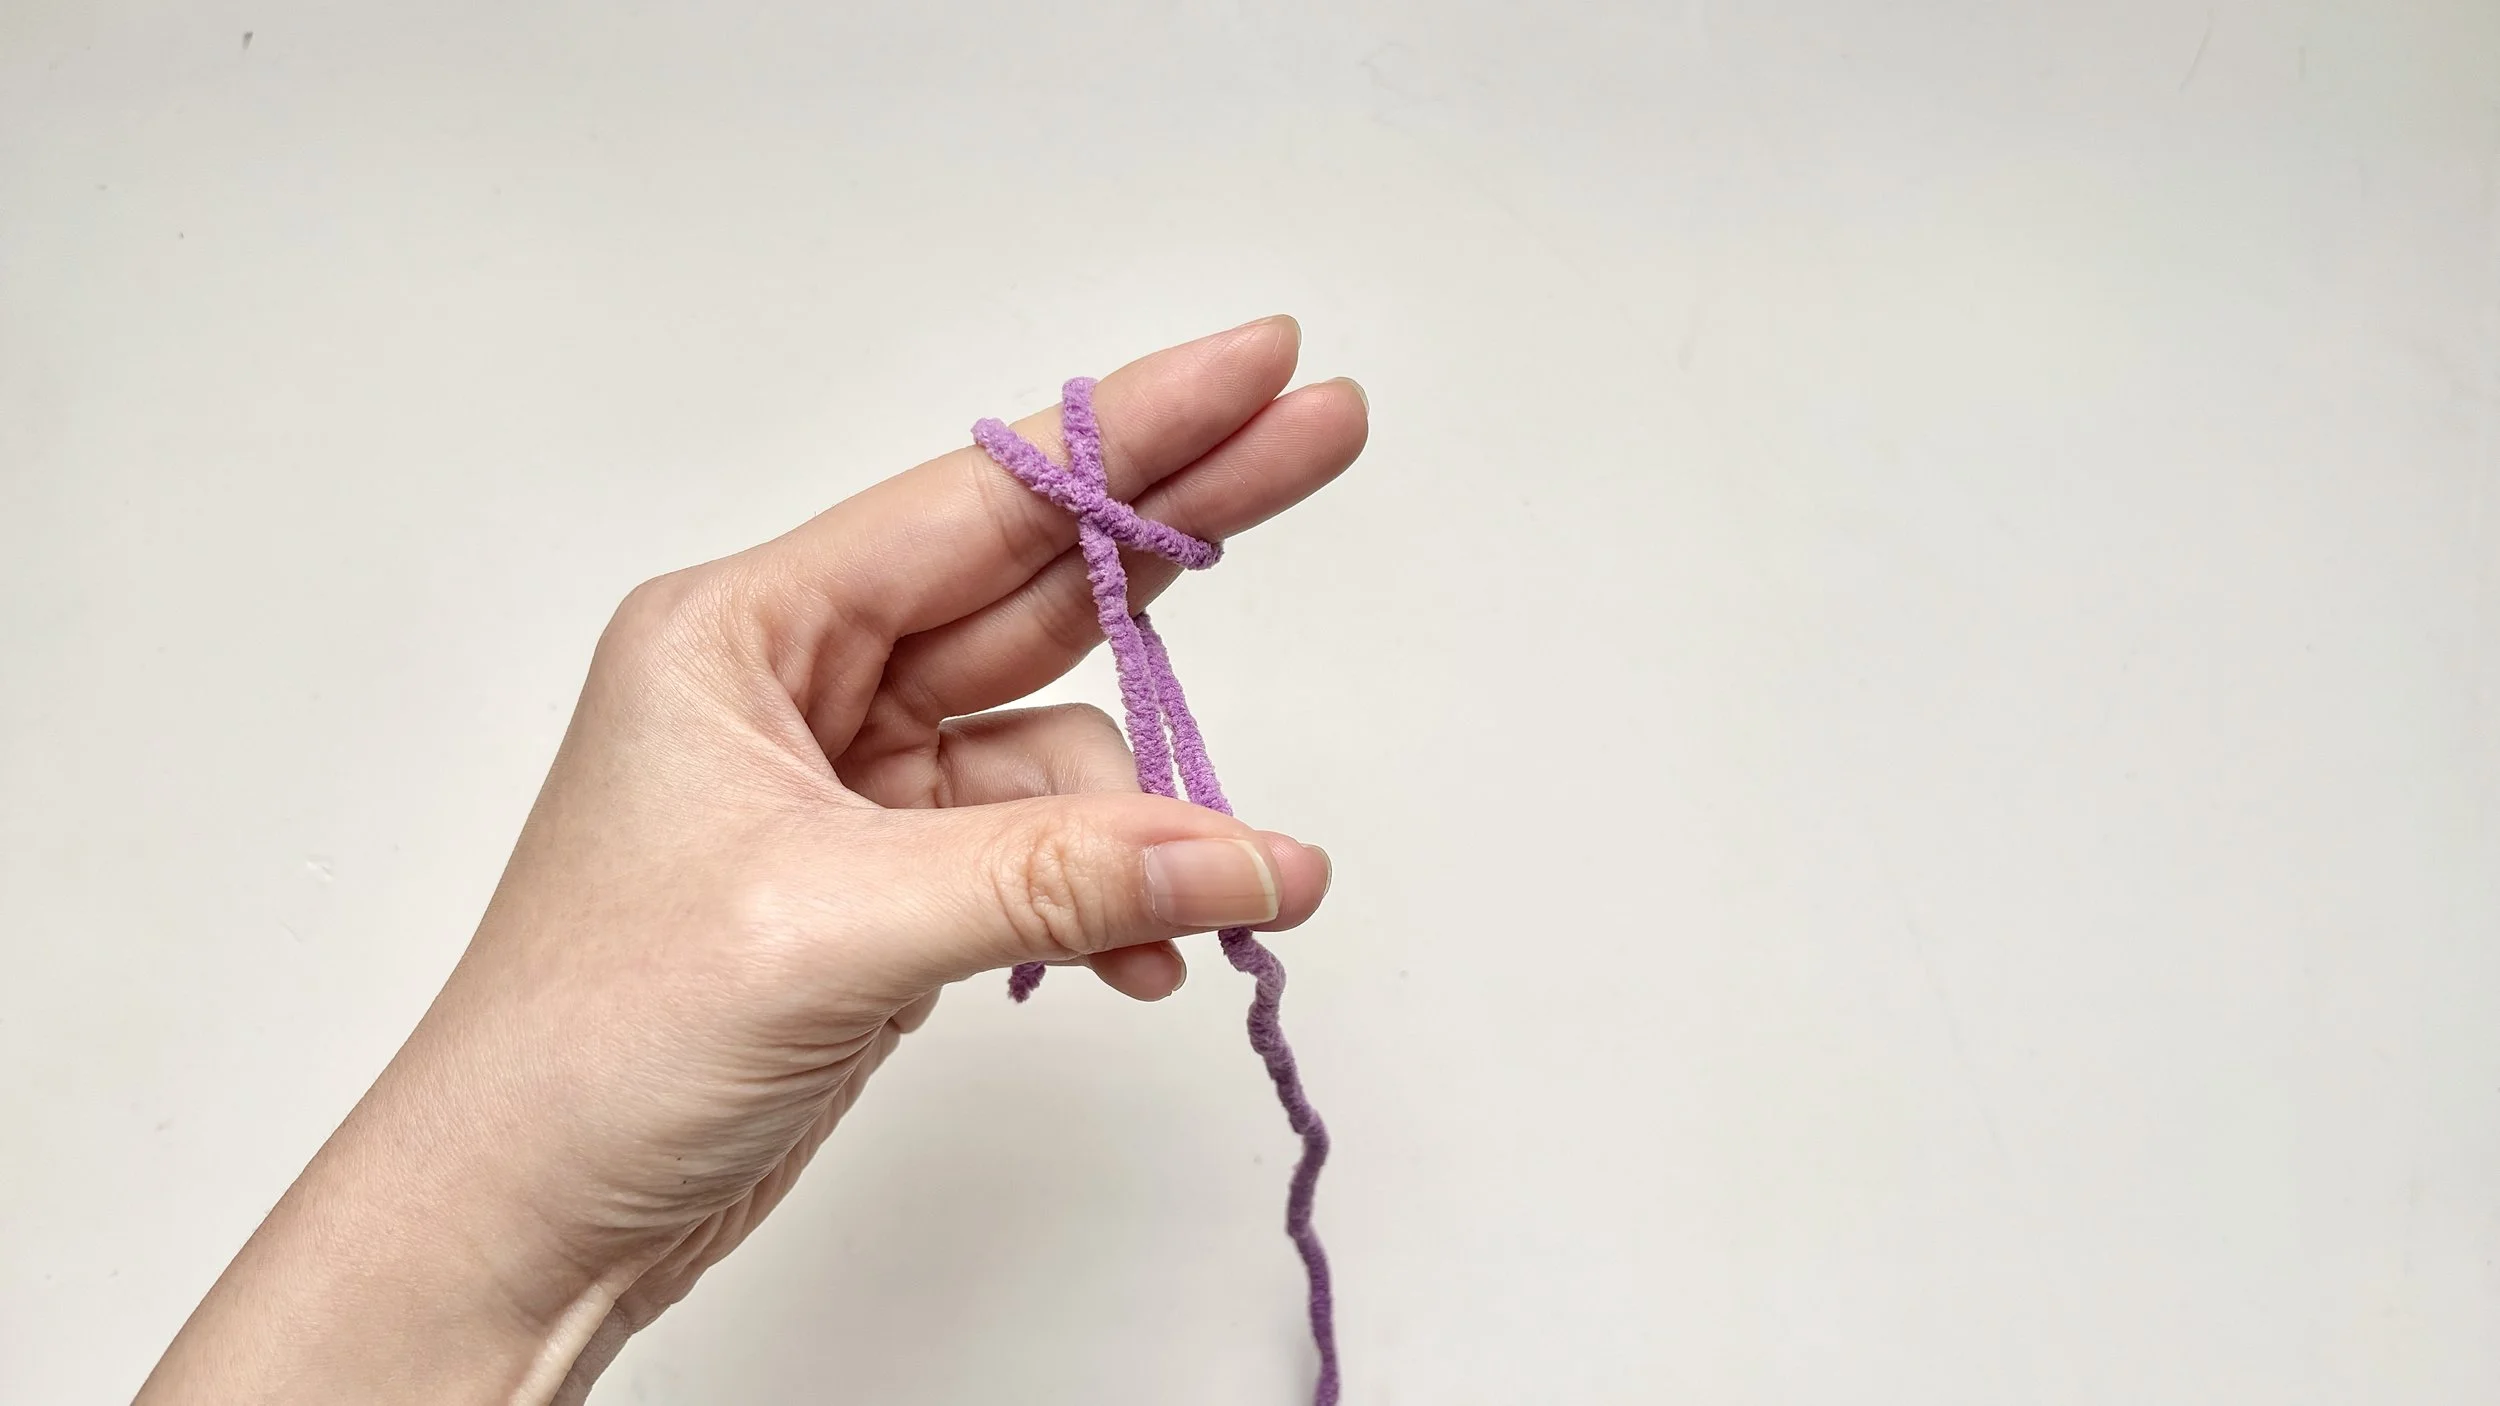
Bring the working yarn up and over your index and middle fingers, then down again toward your palm.
Step 3:
Cross into an X
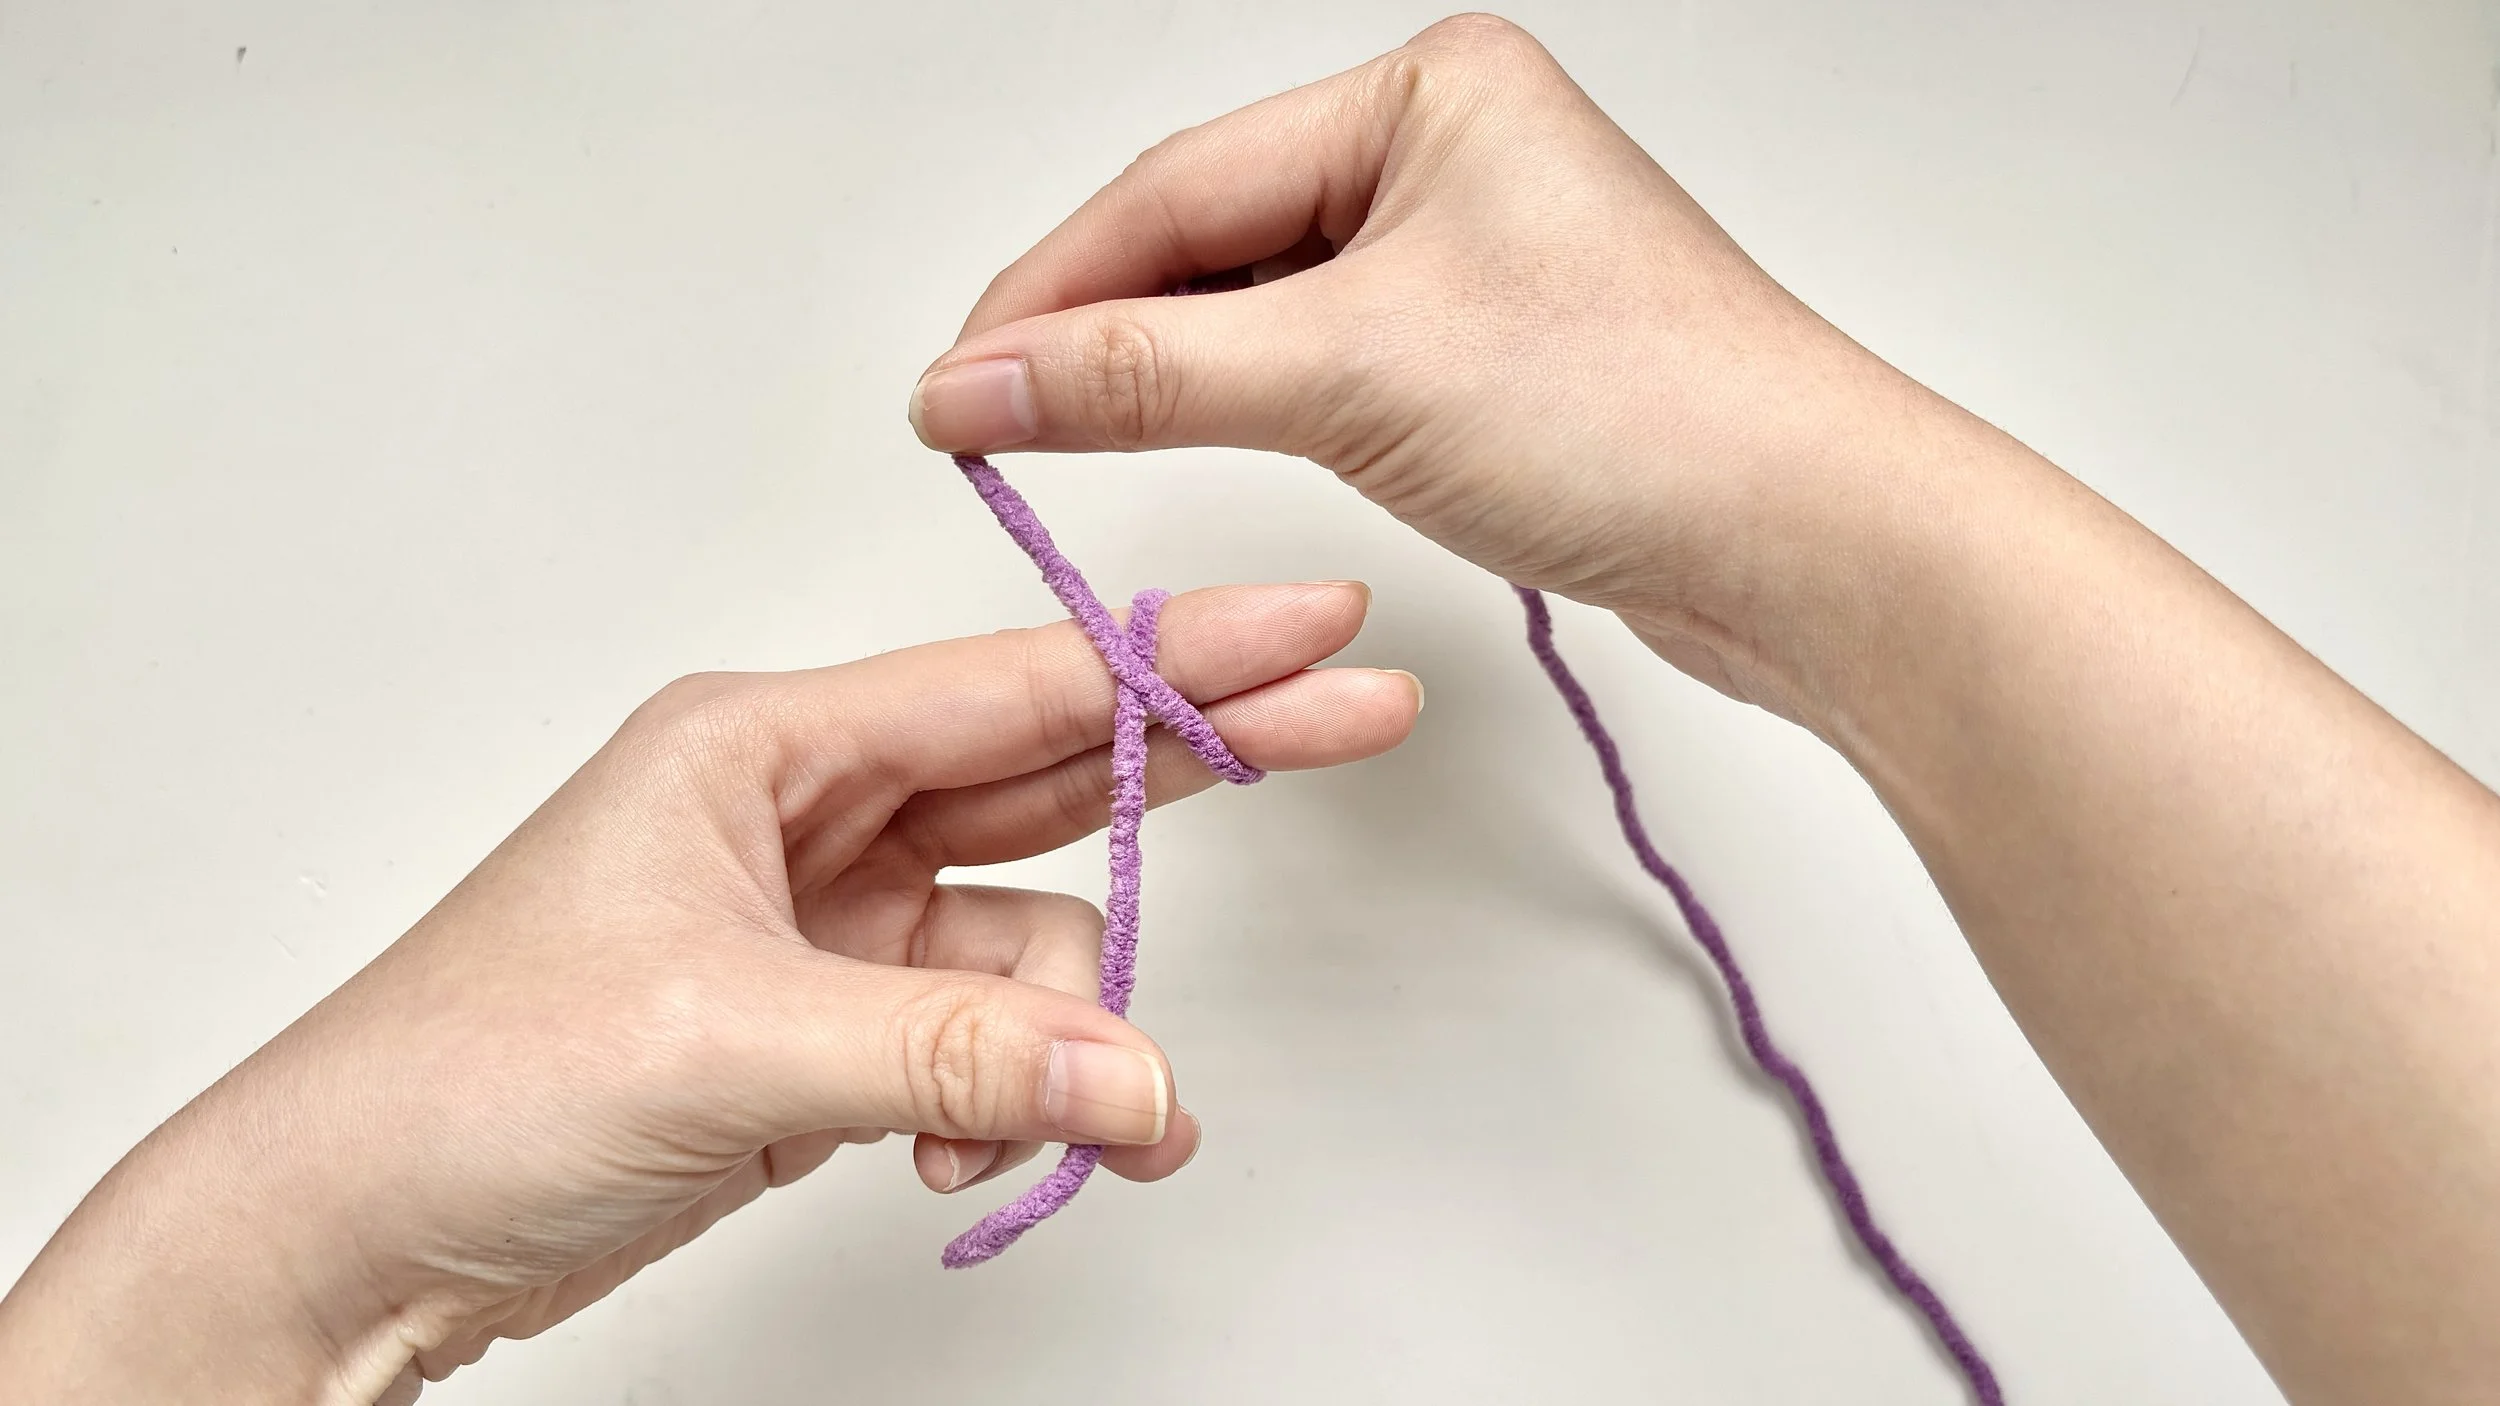
Cross the working yarn over itself to form an “X” shape.
Step 4:
Wrap around again
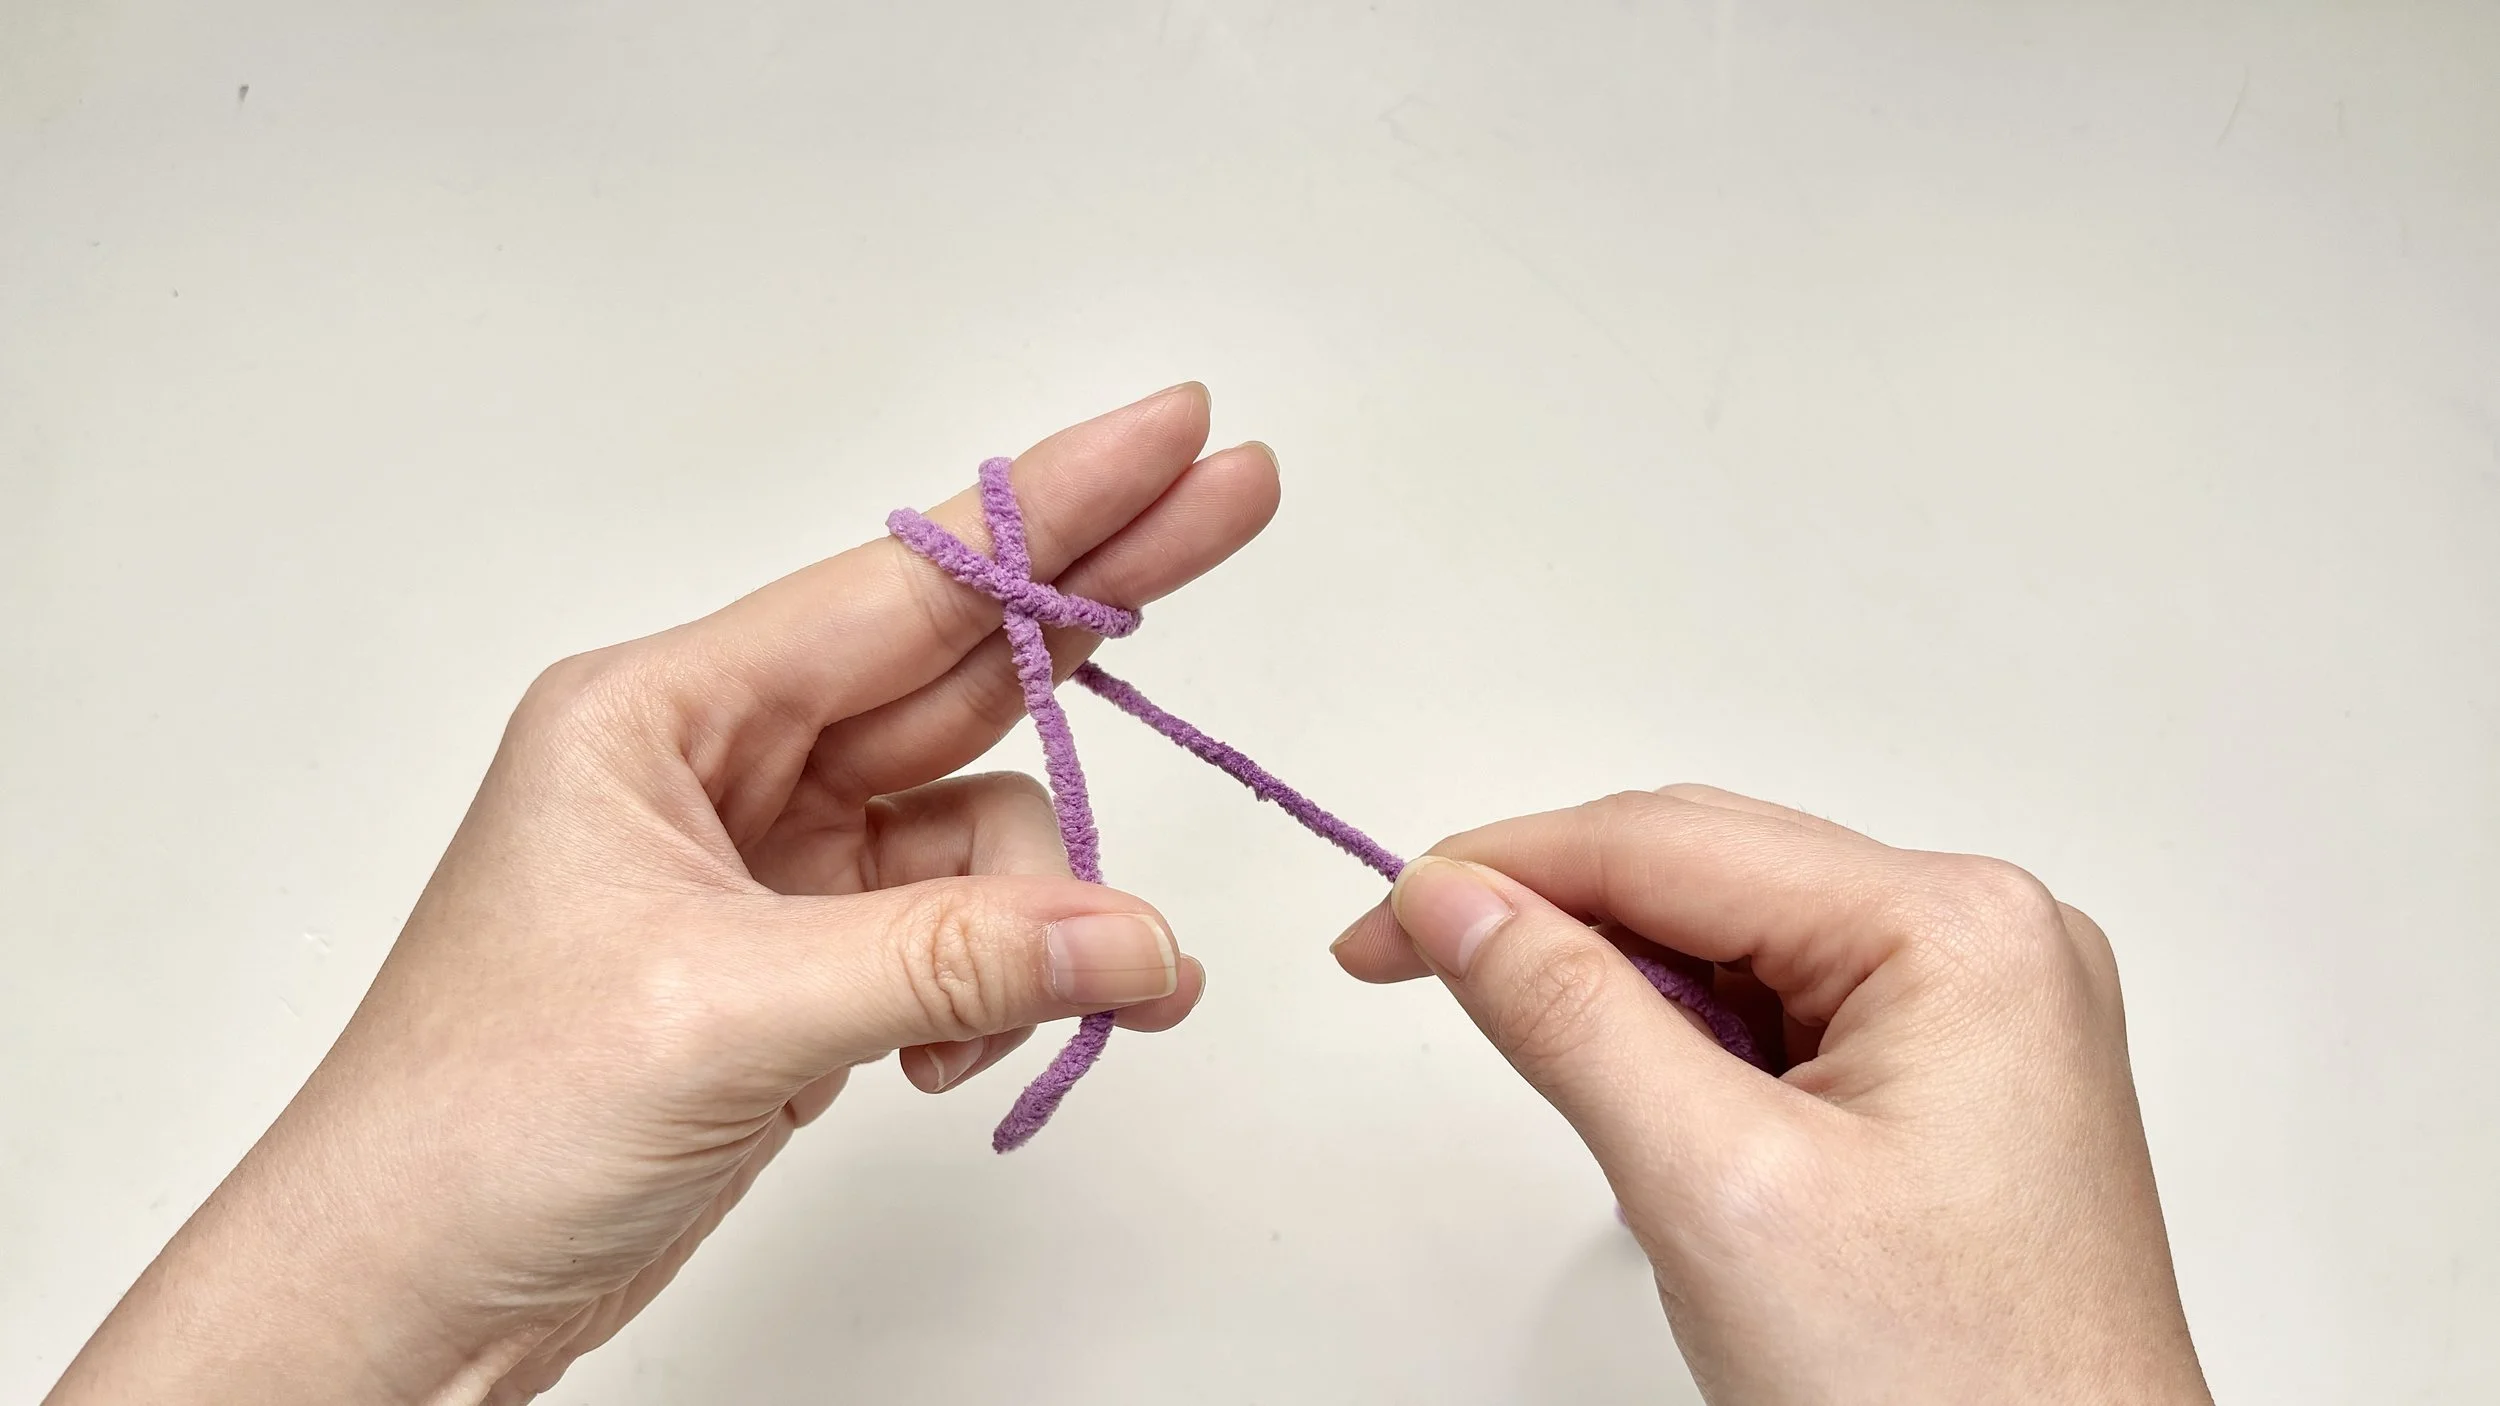
Continue wrapping the yarn around your index and little fingers, then bring it back toward your palm.
Step 5:
Hold it firmly
Hold the yarn firmly in place with your ring finger and thumb.
Step 6:
Turn your hand over
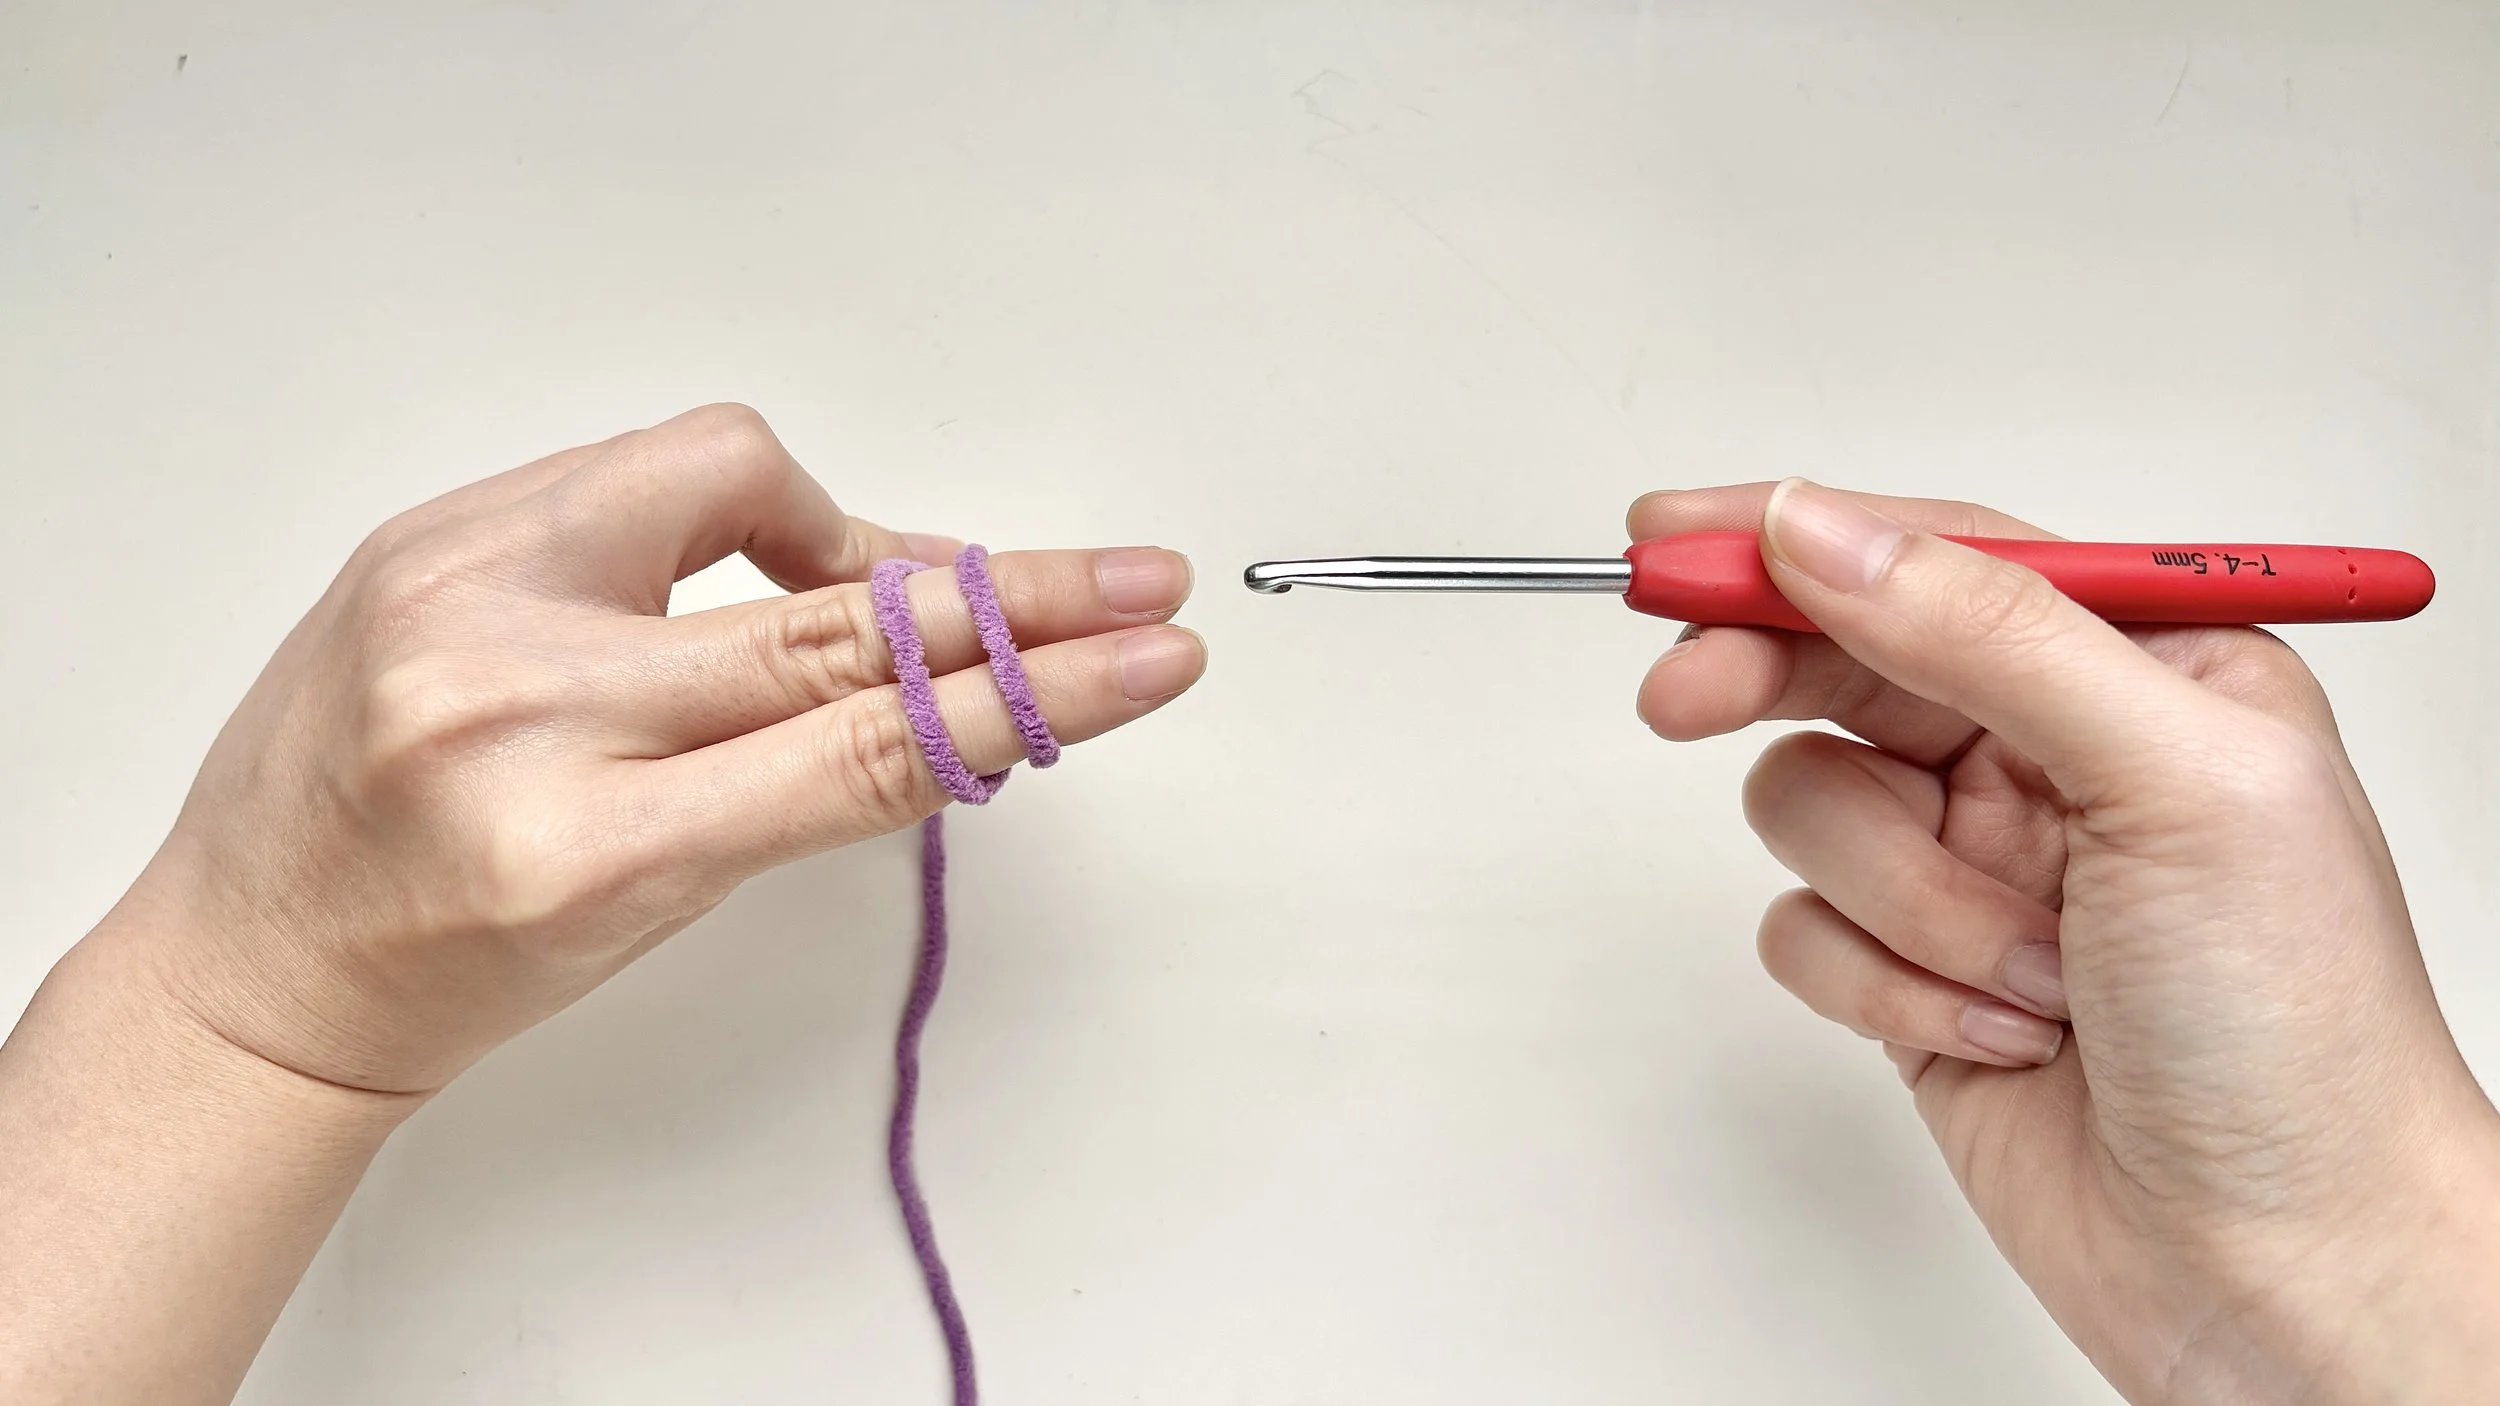
Turn your hand so your palm faces down.
You’ll now see two parallel strands stretched across your index and middle fingers.
Take your crochet hook and turn it so the hook tip faces down.
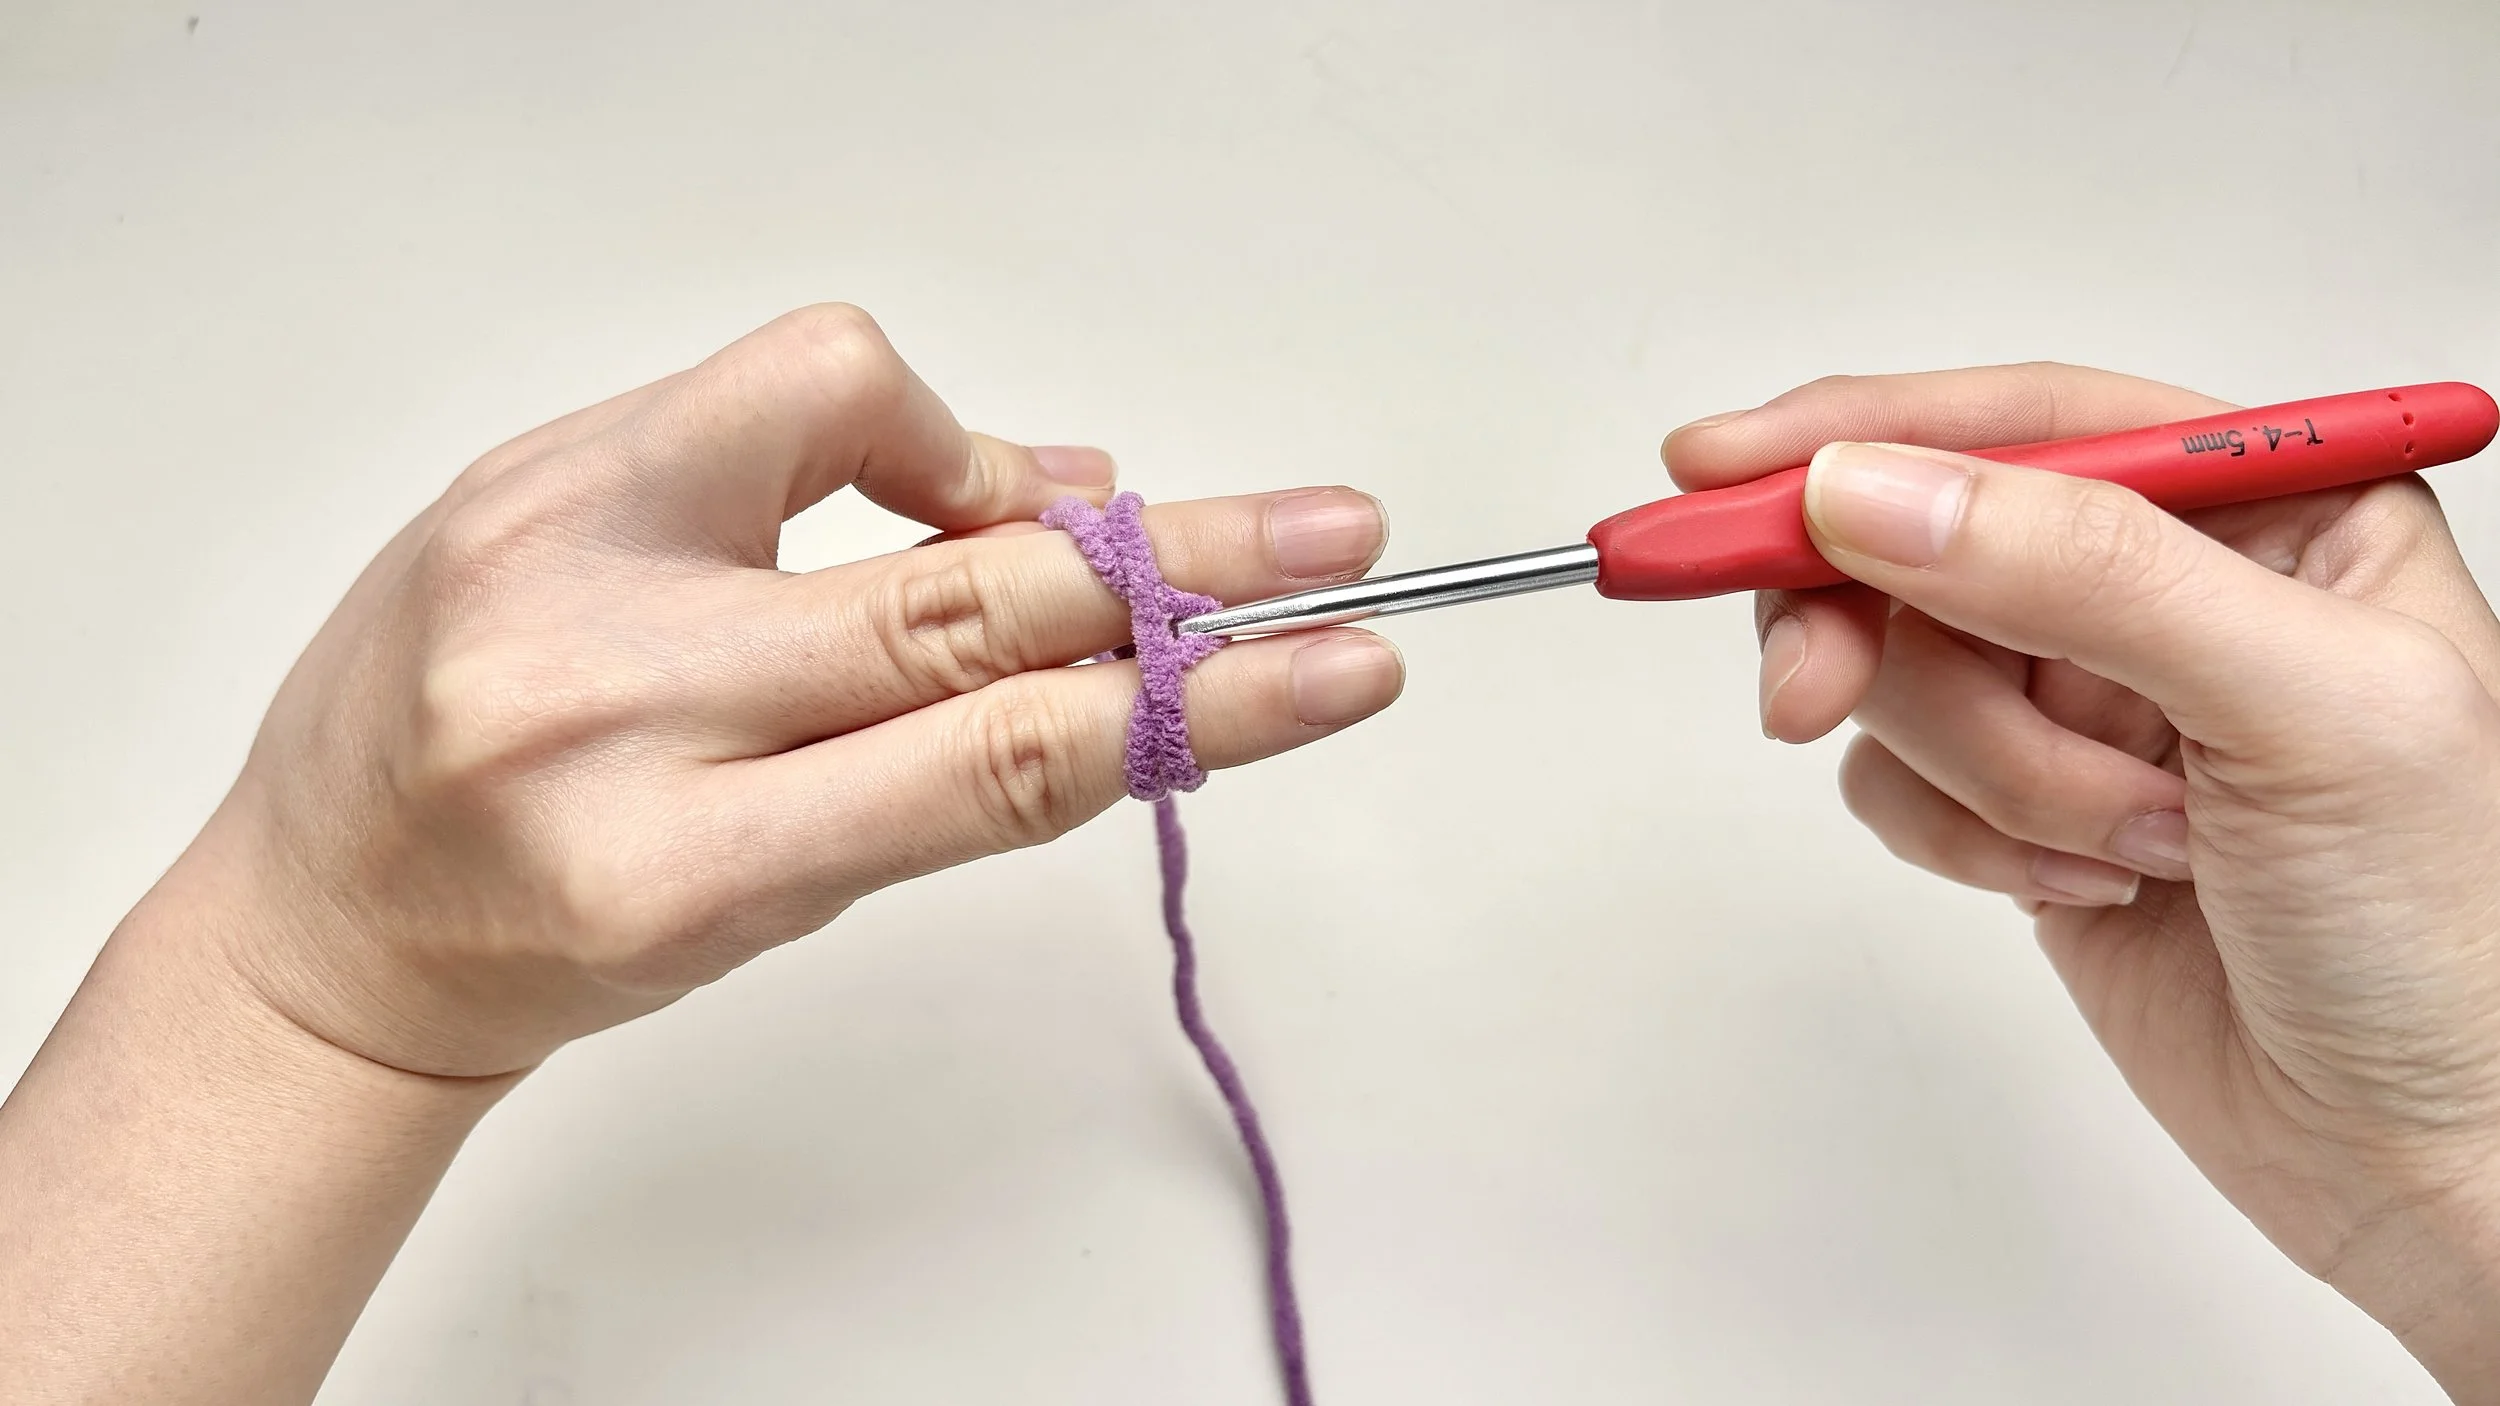
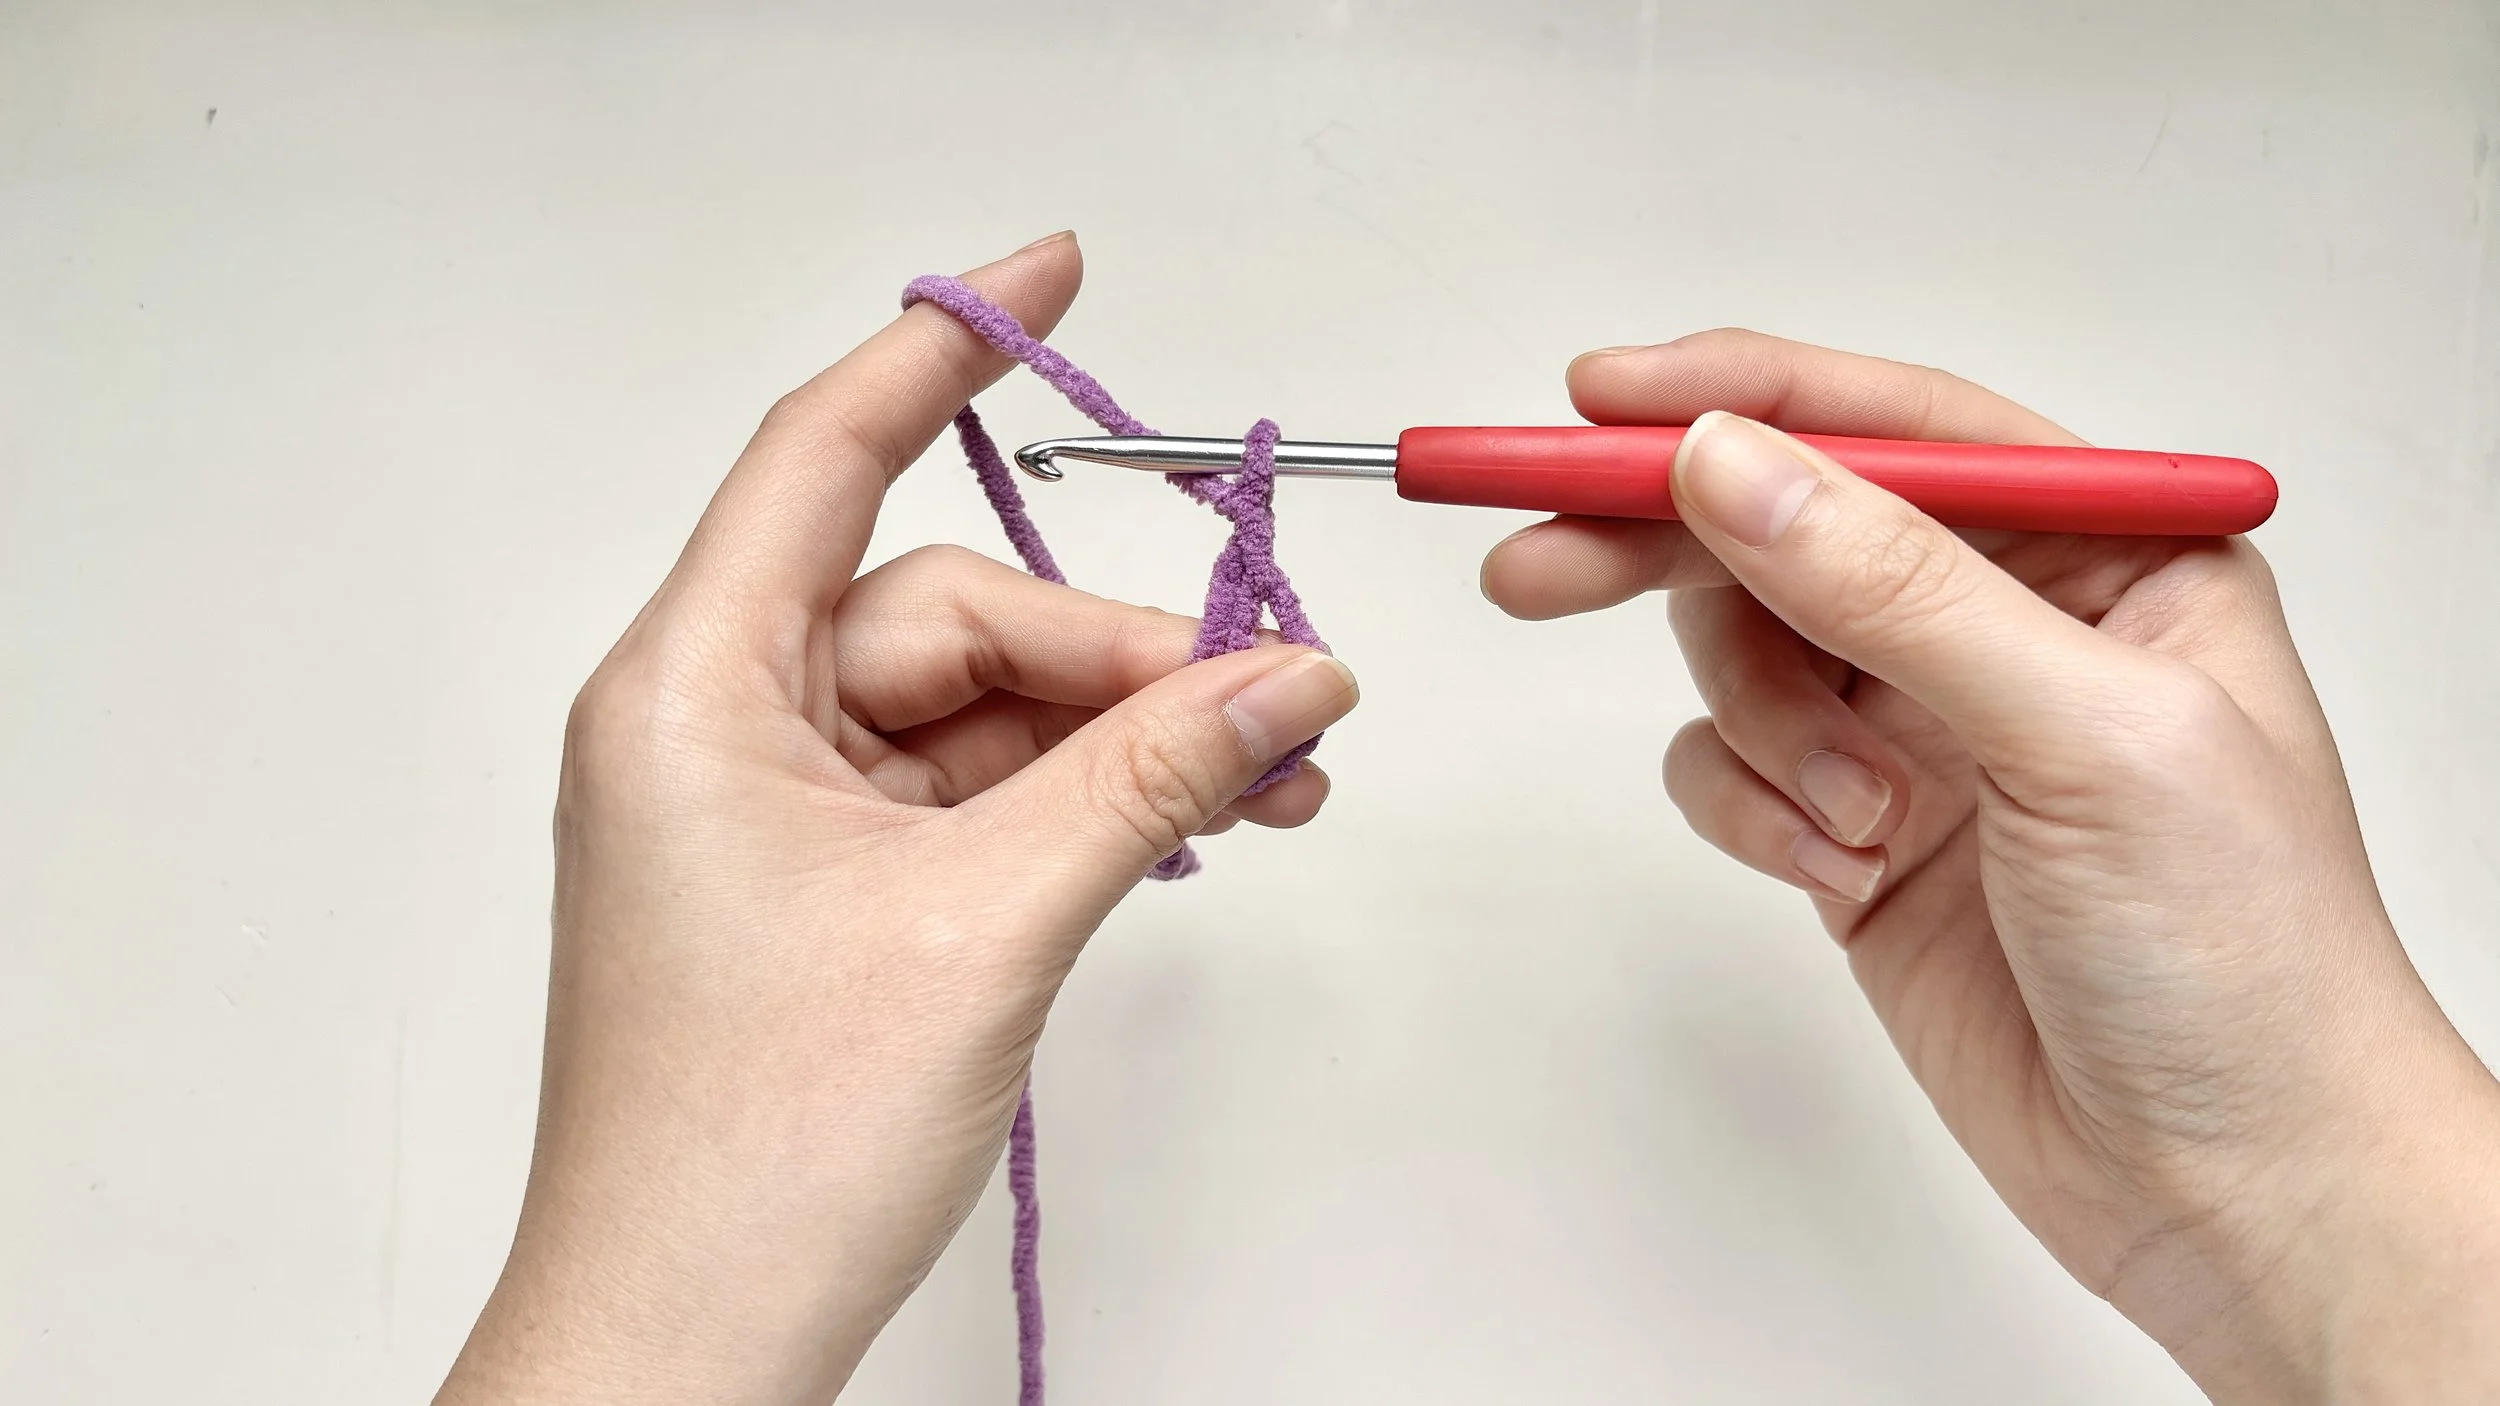
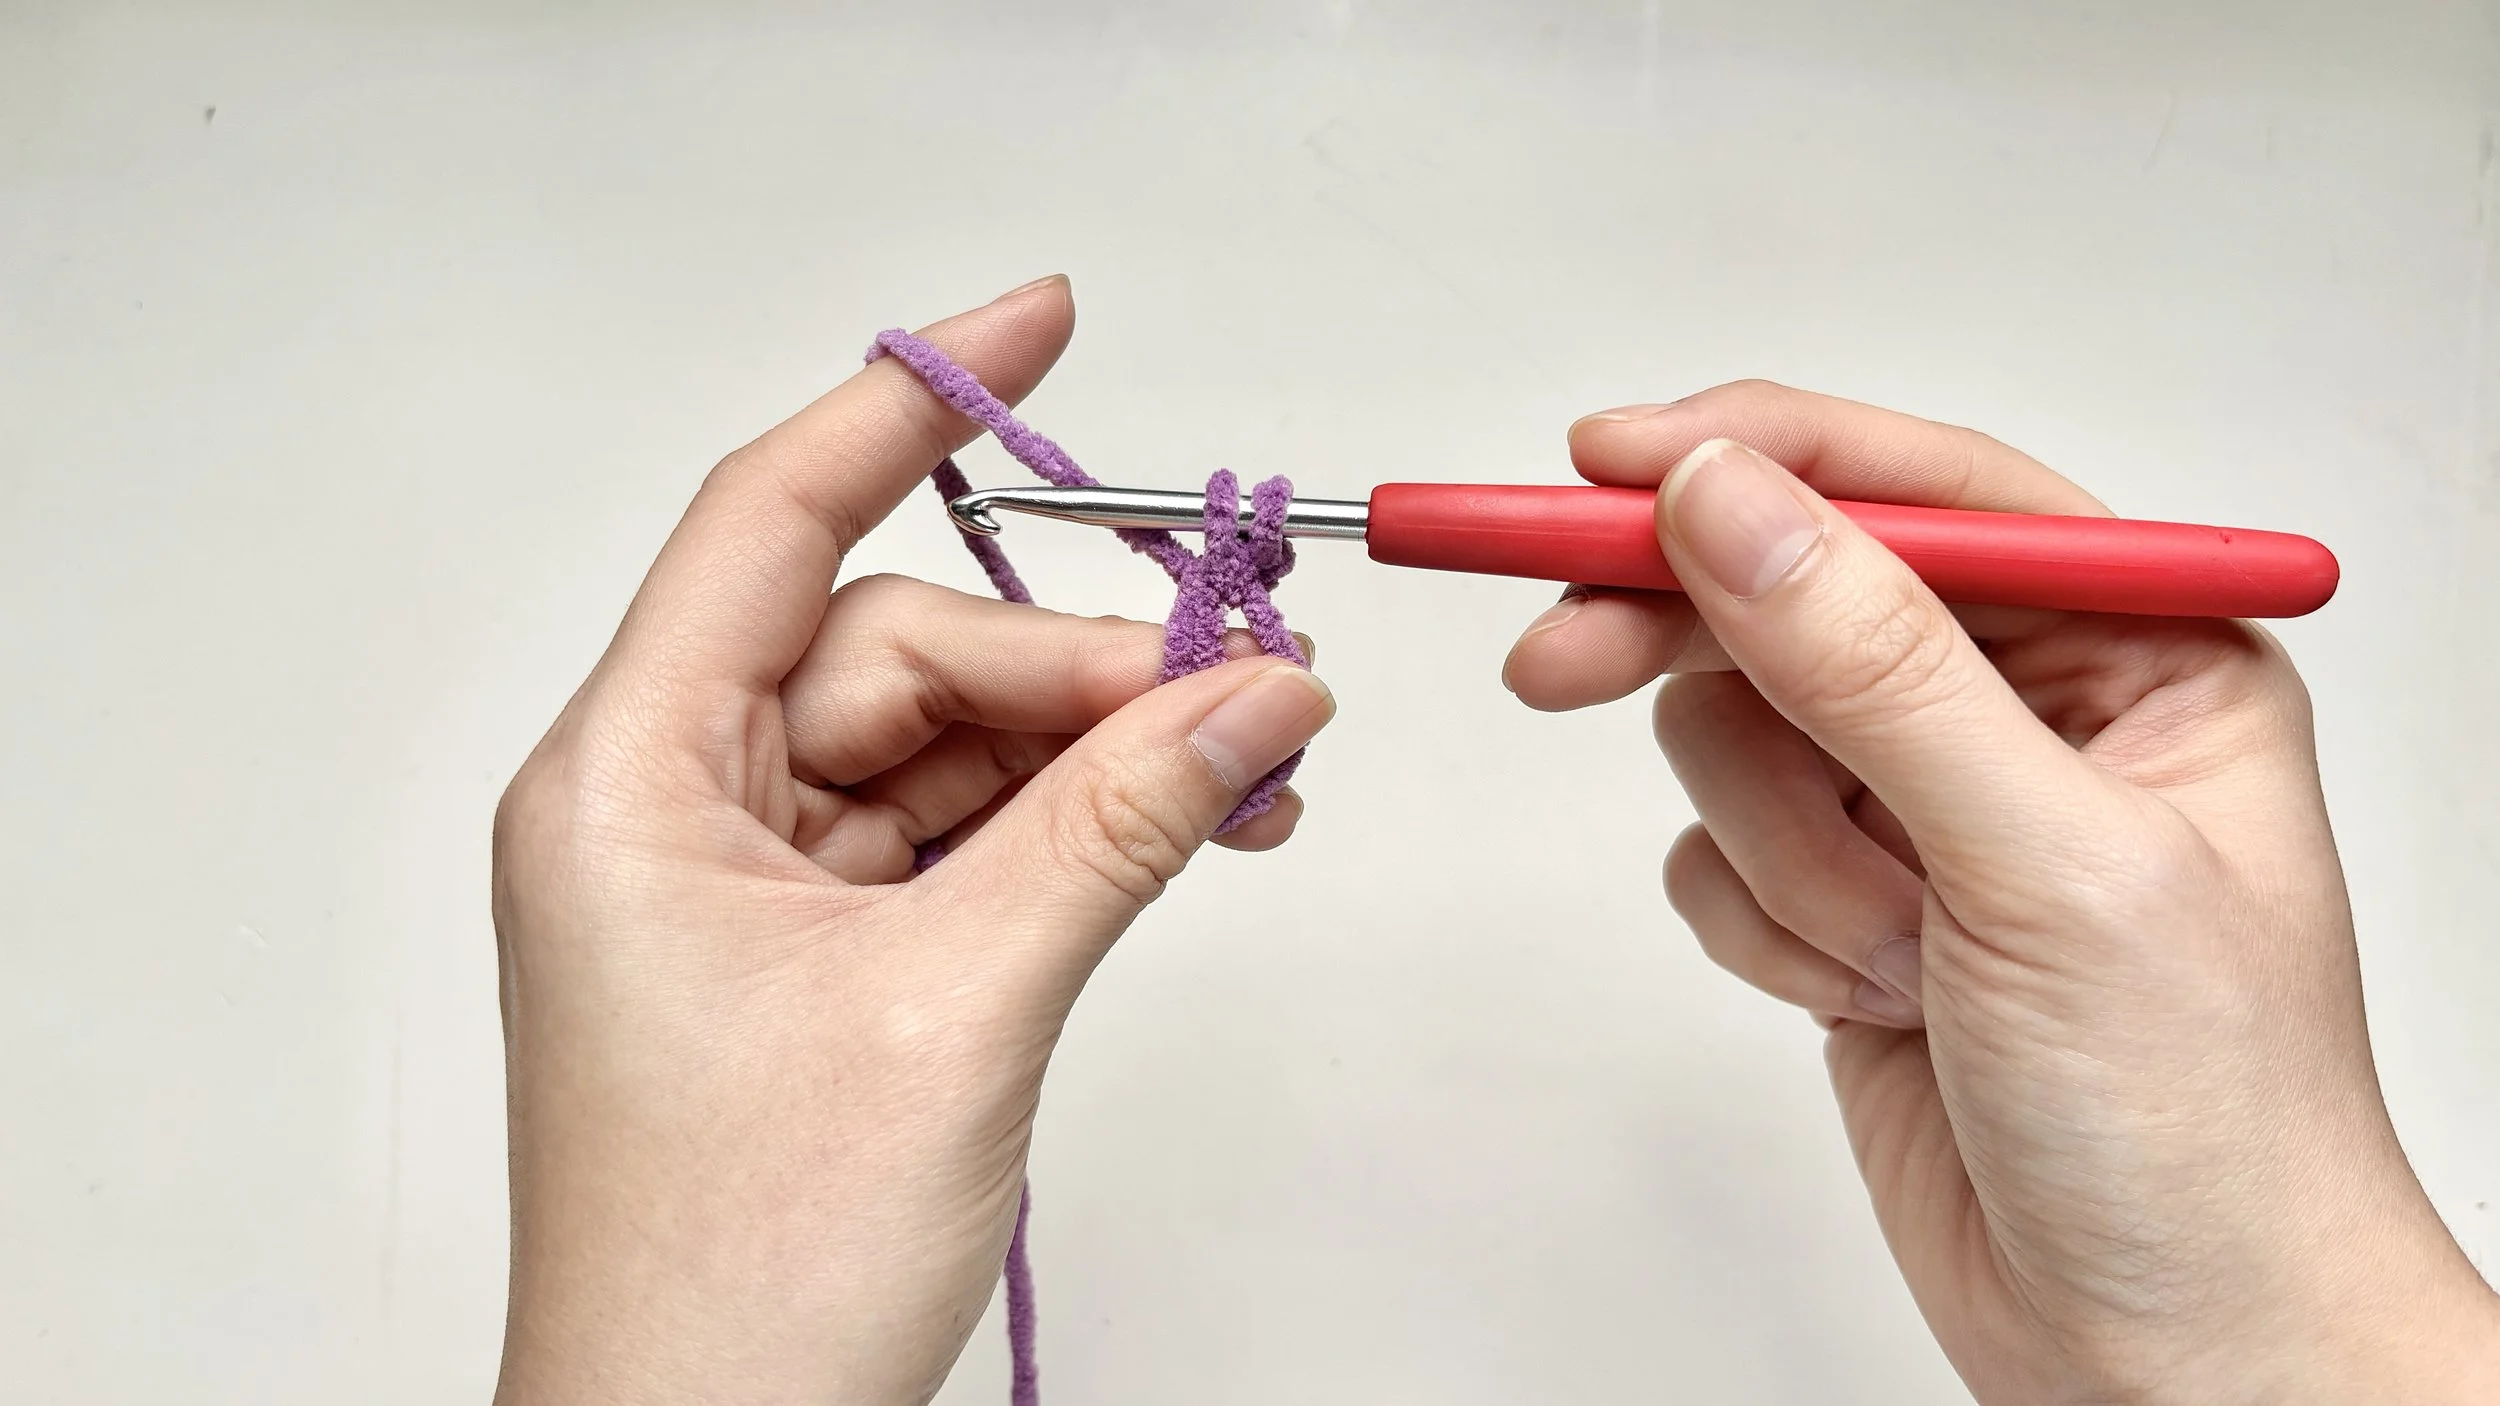
Step 7:
Hook the two strands
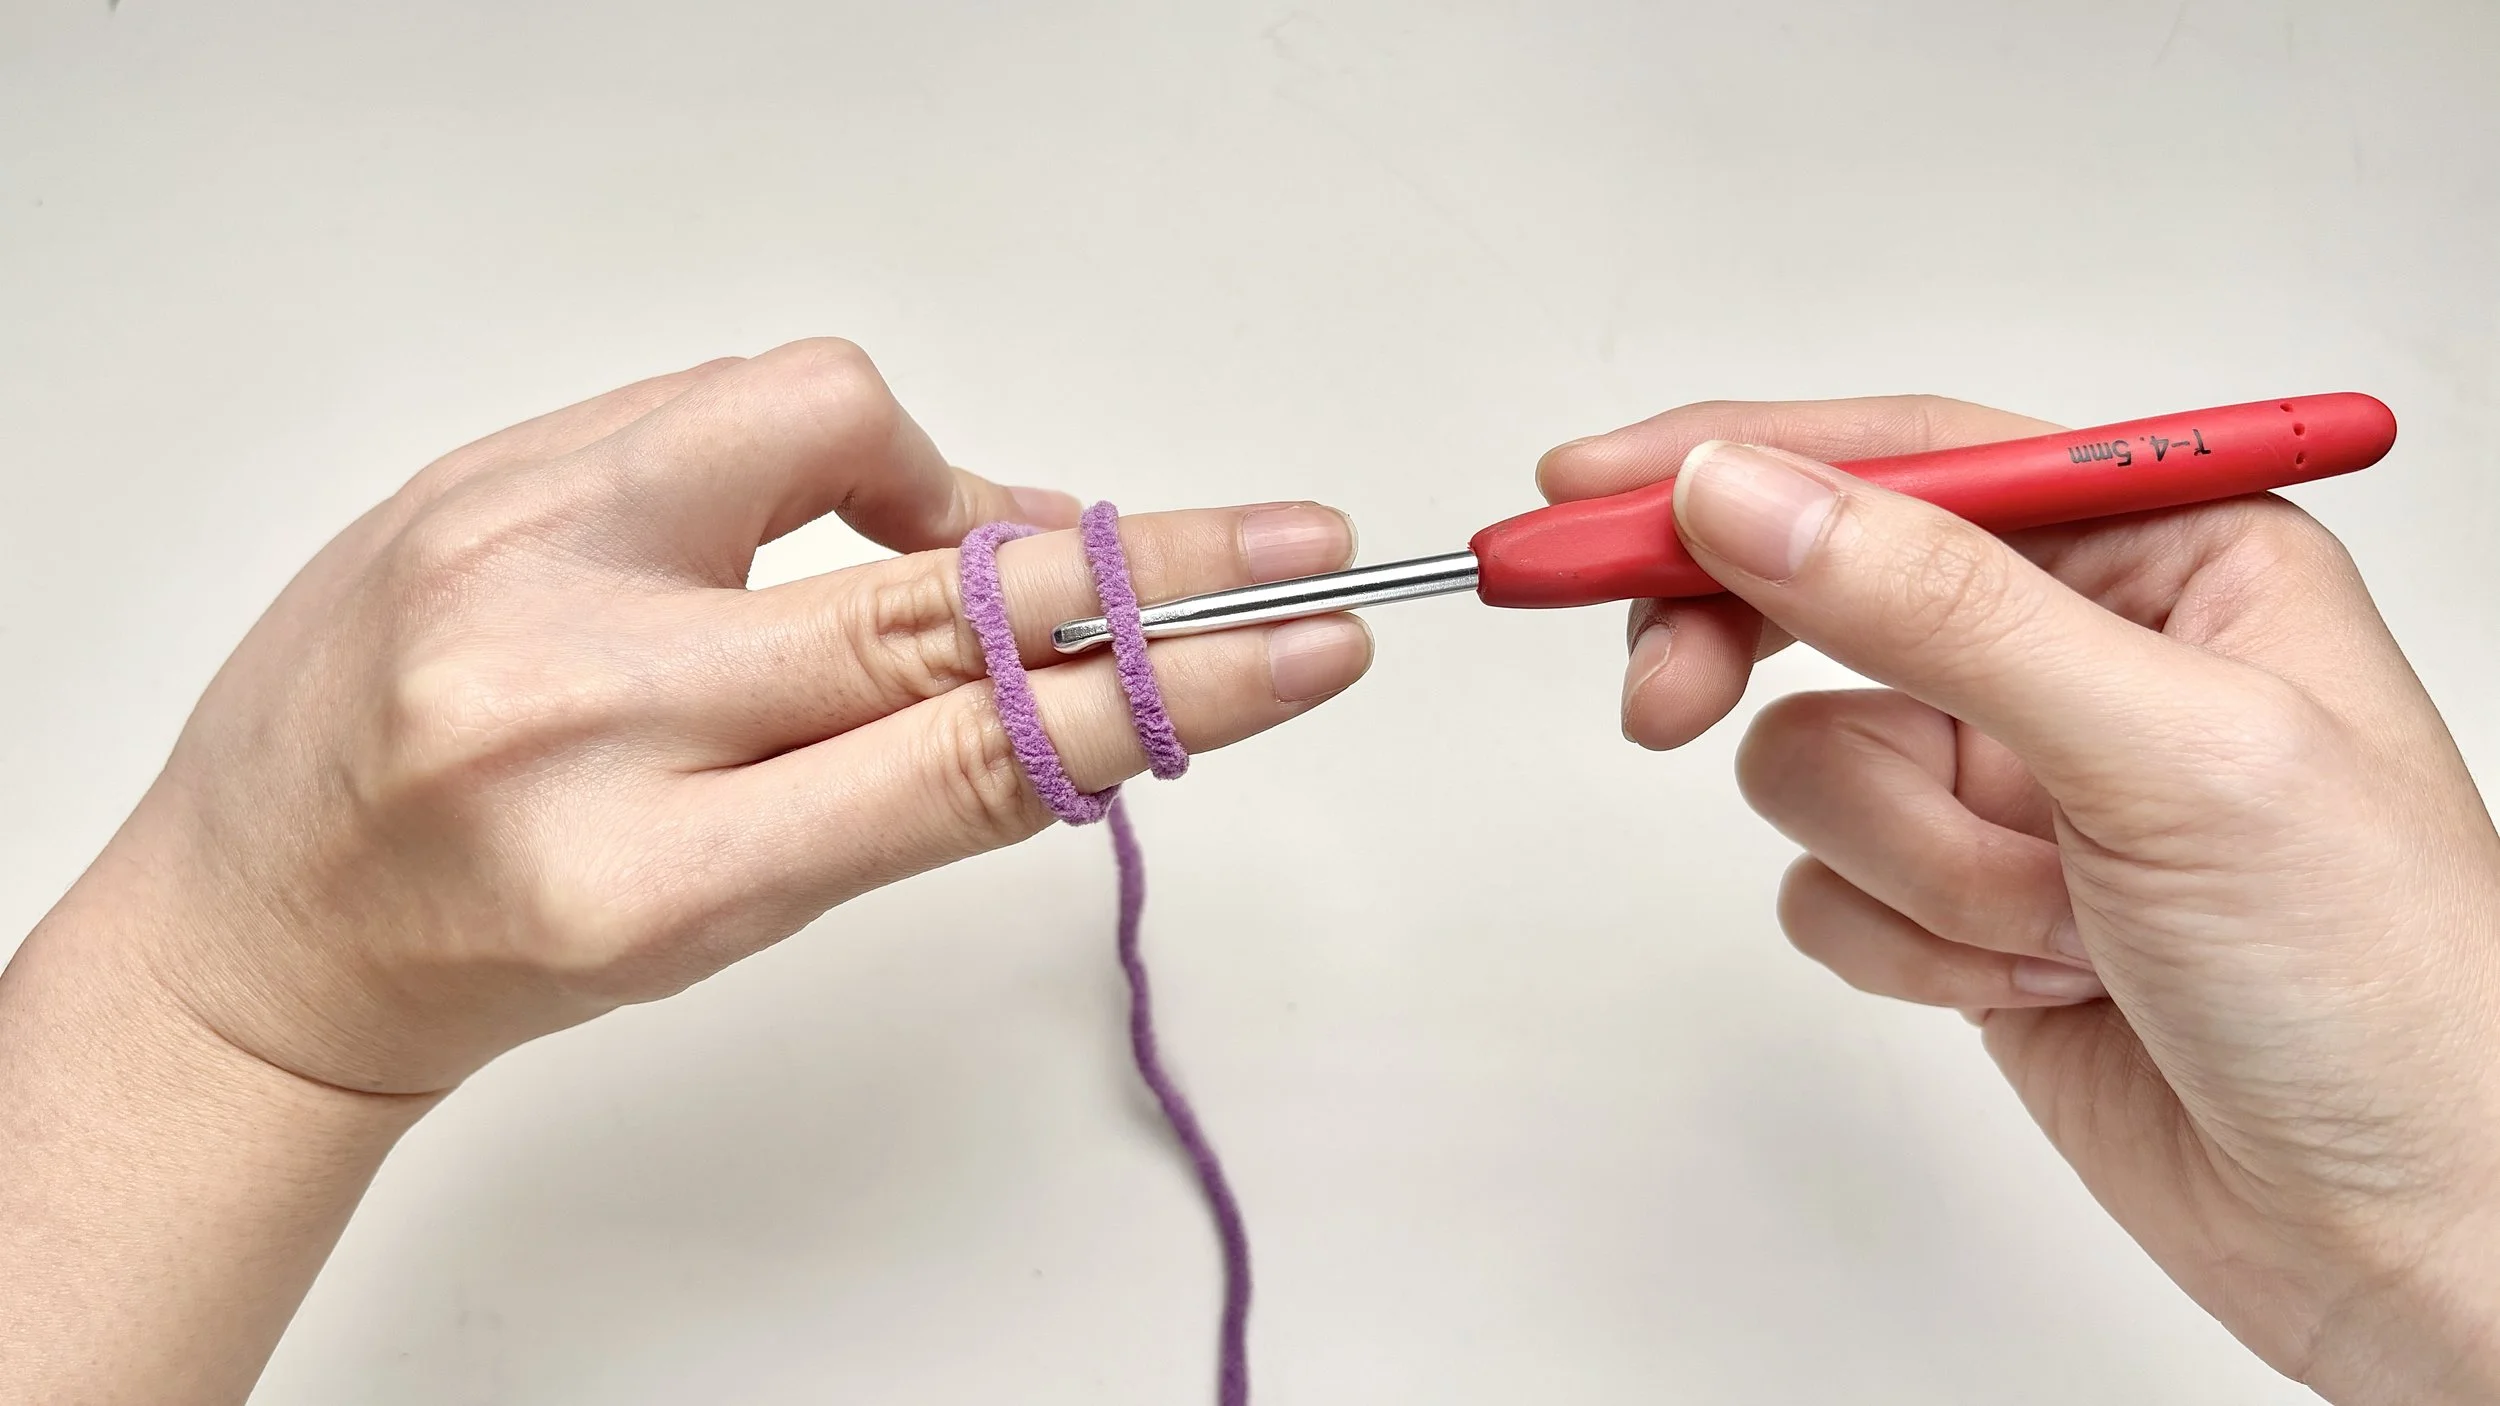
Insert the hook under the first strand of yarn, then over the second strand.
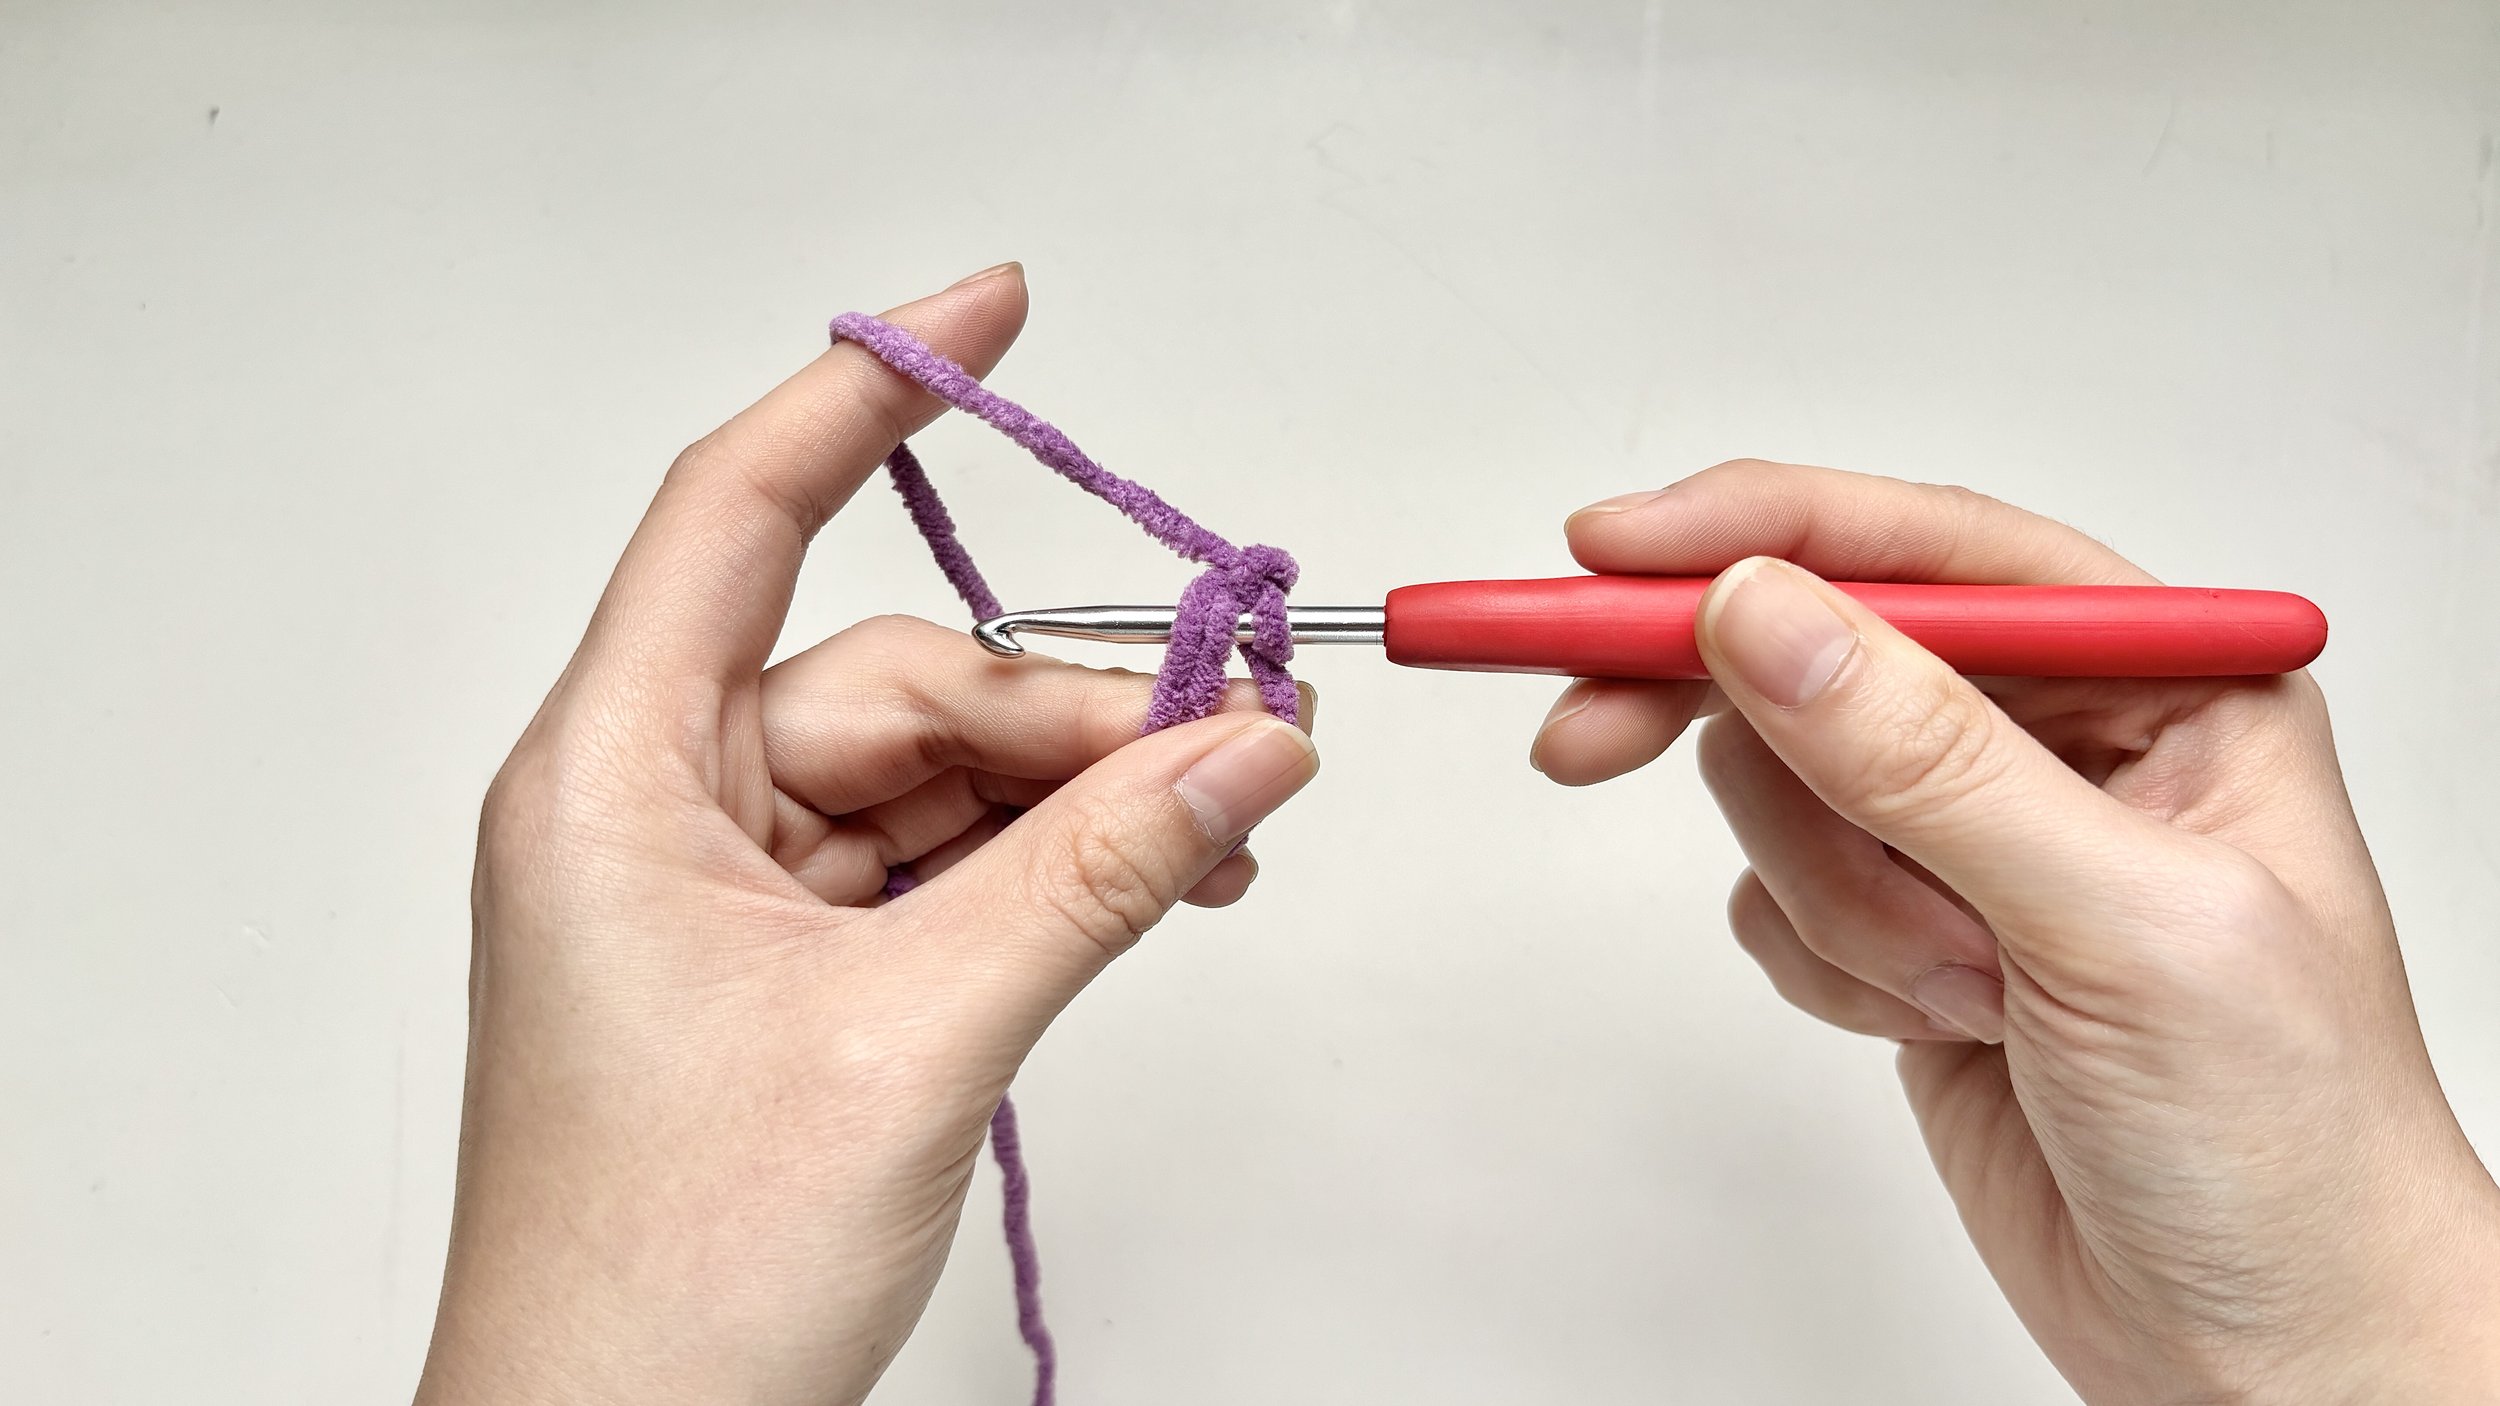
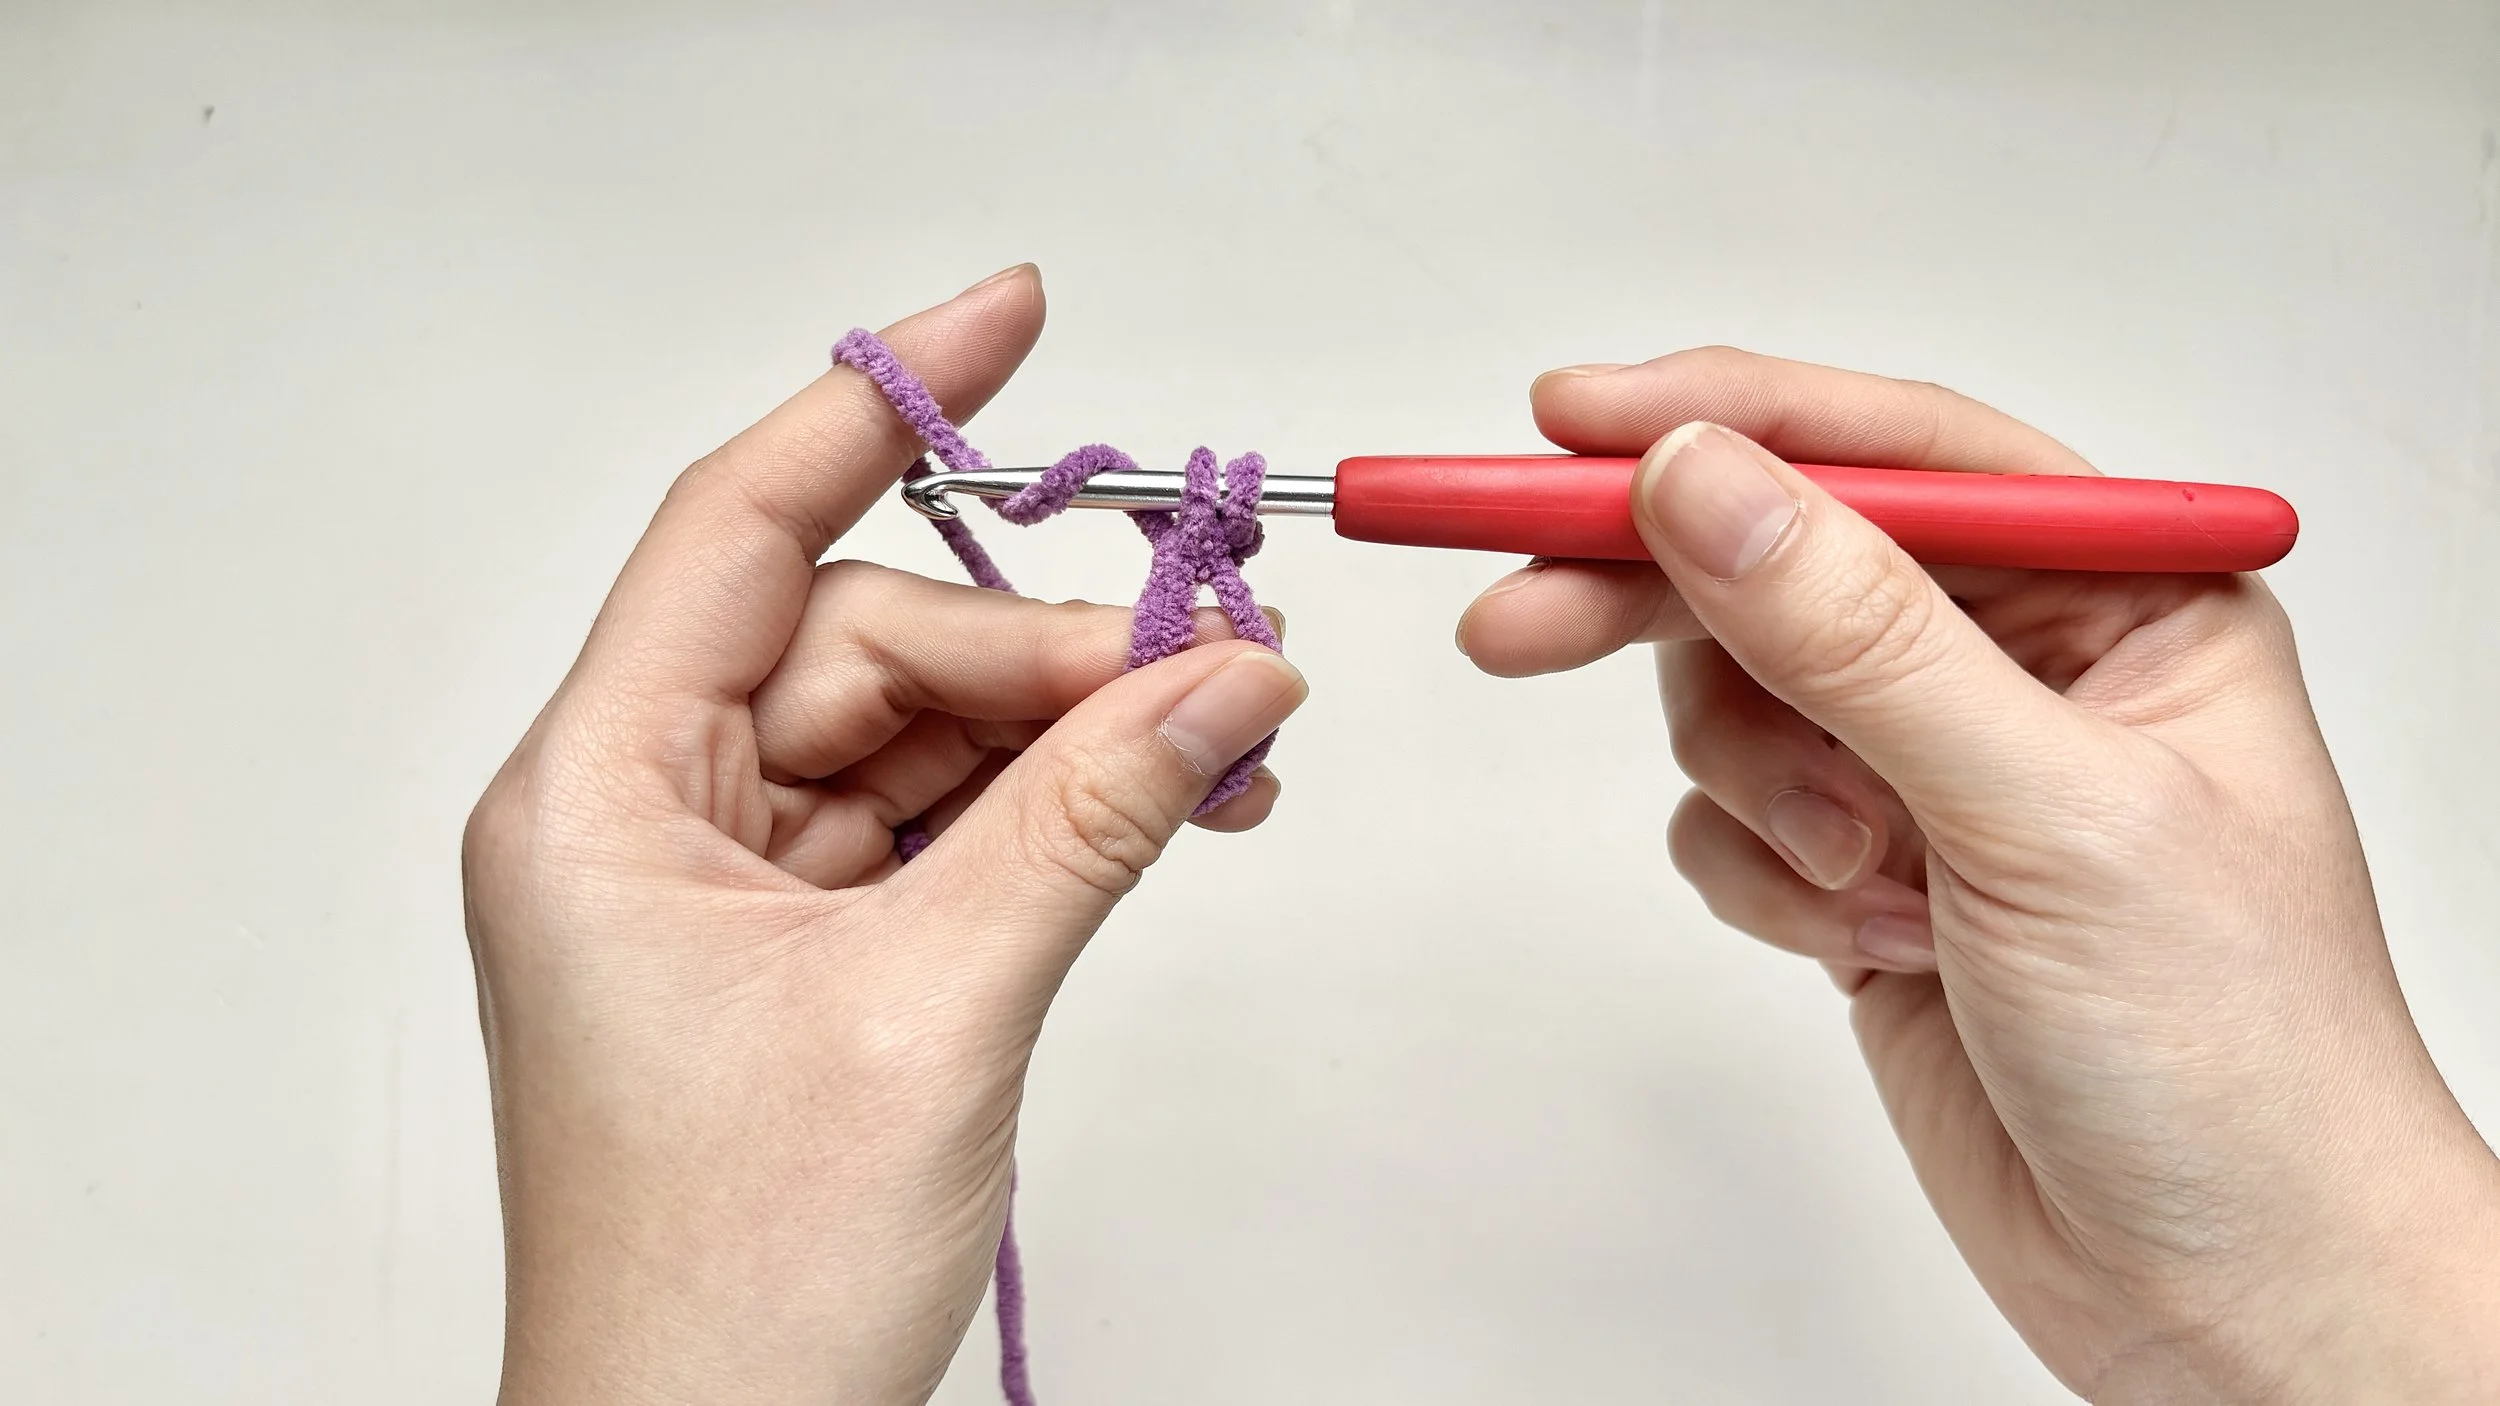
Step 8:
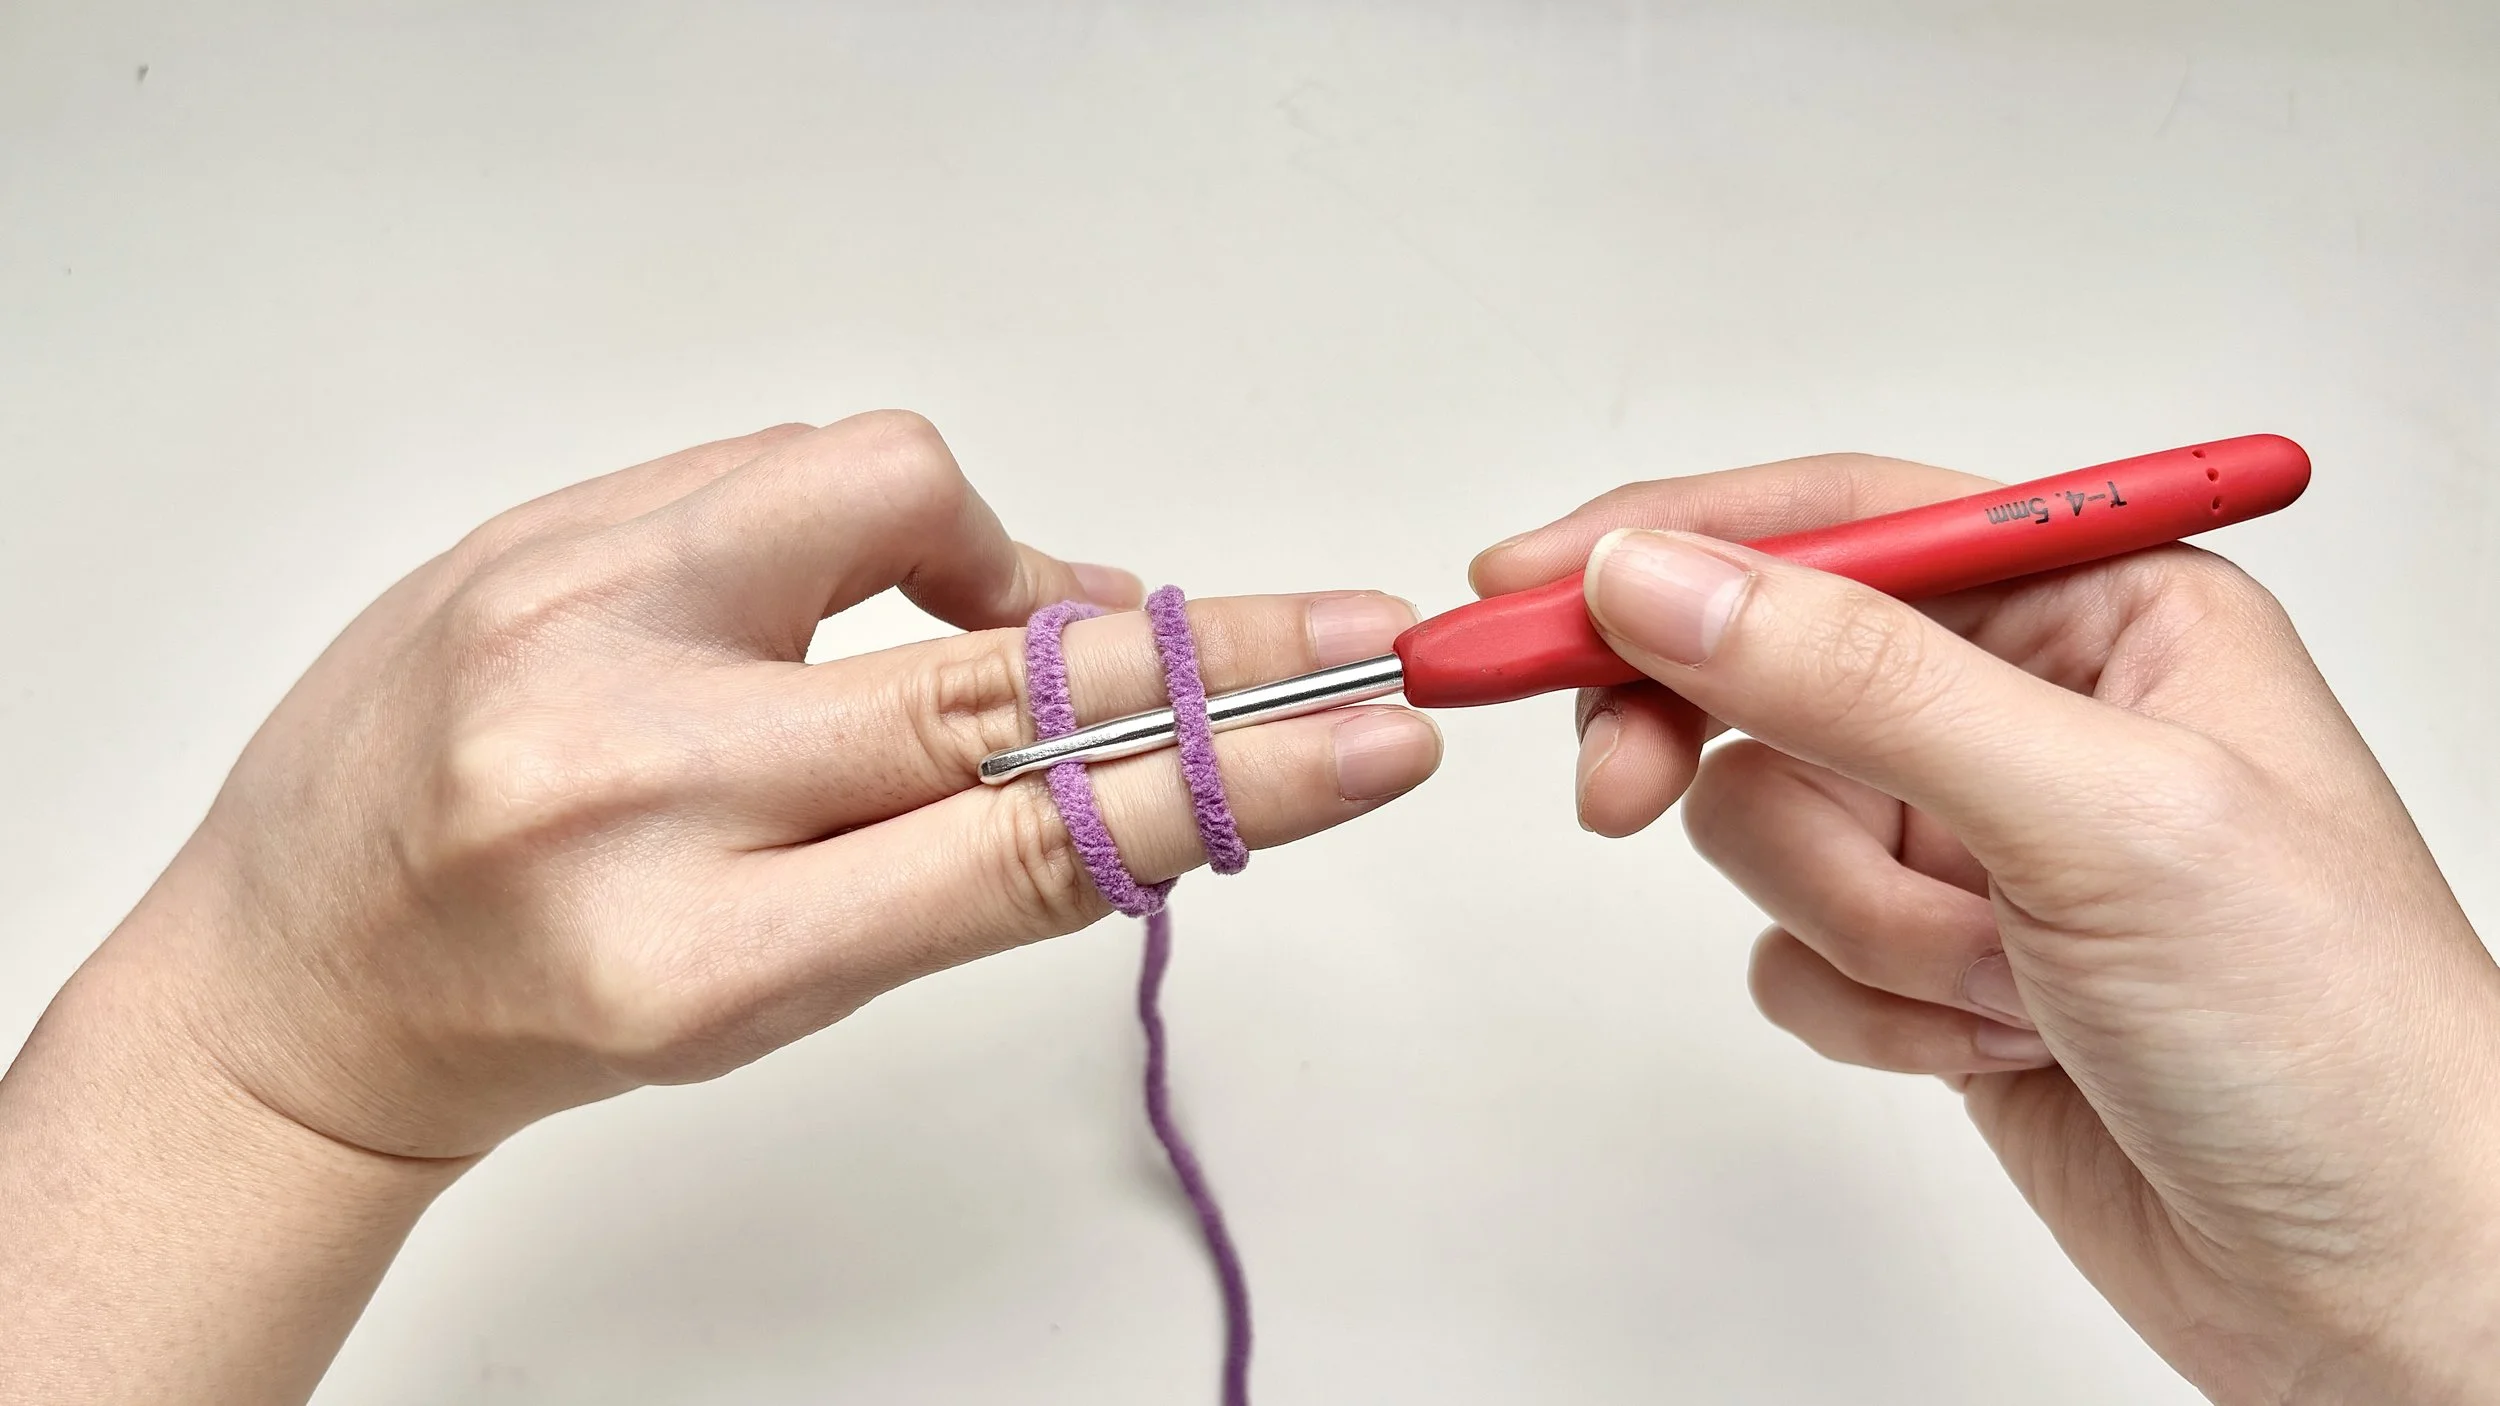
Pull through a twist
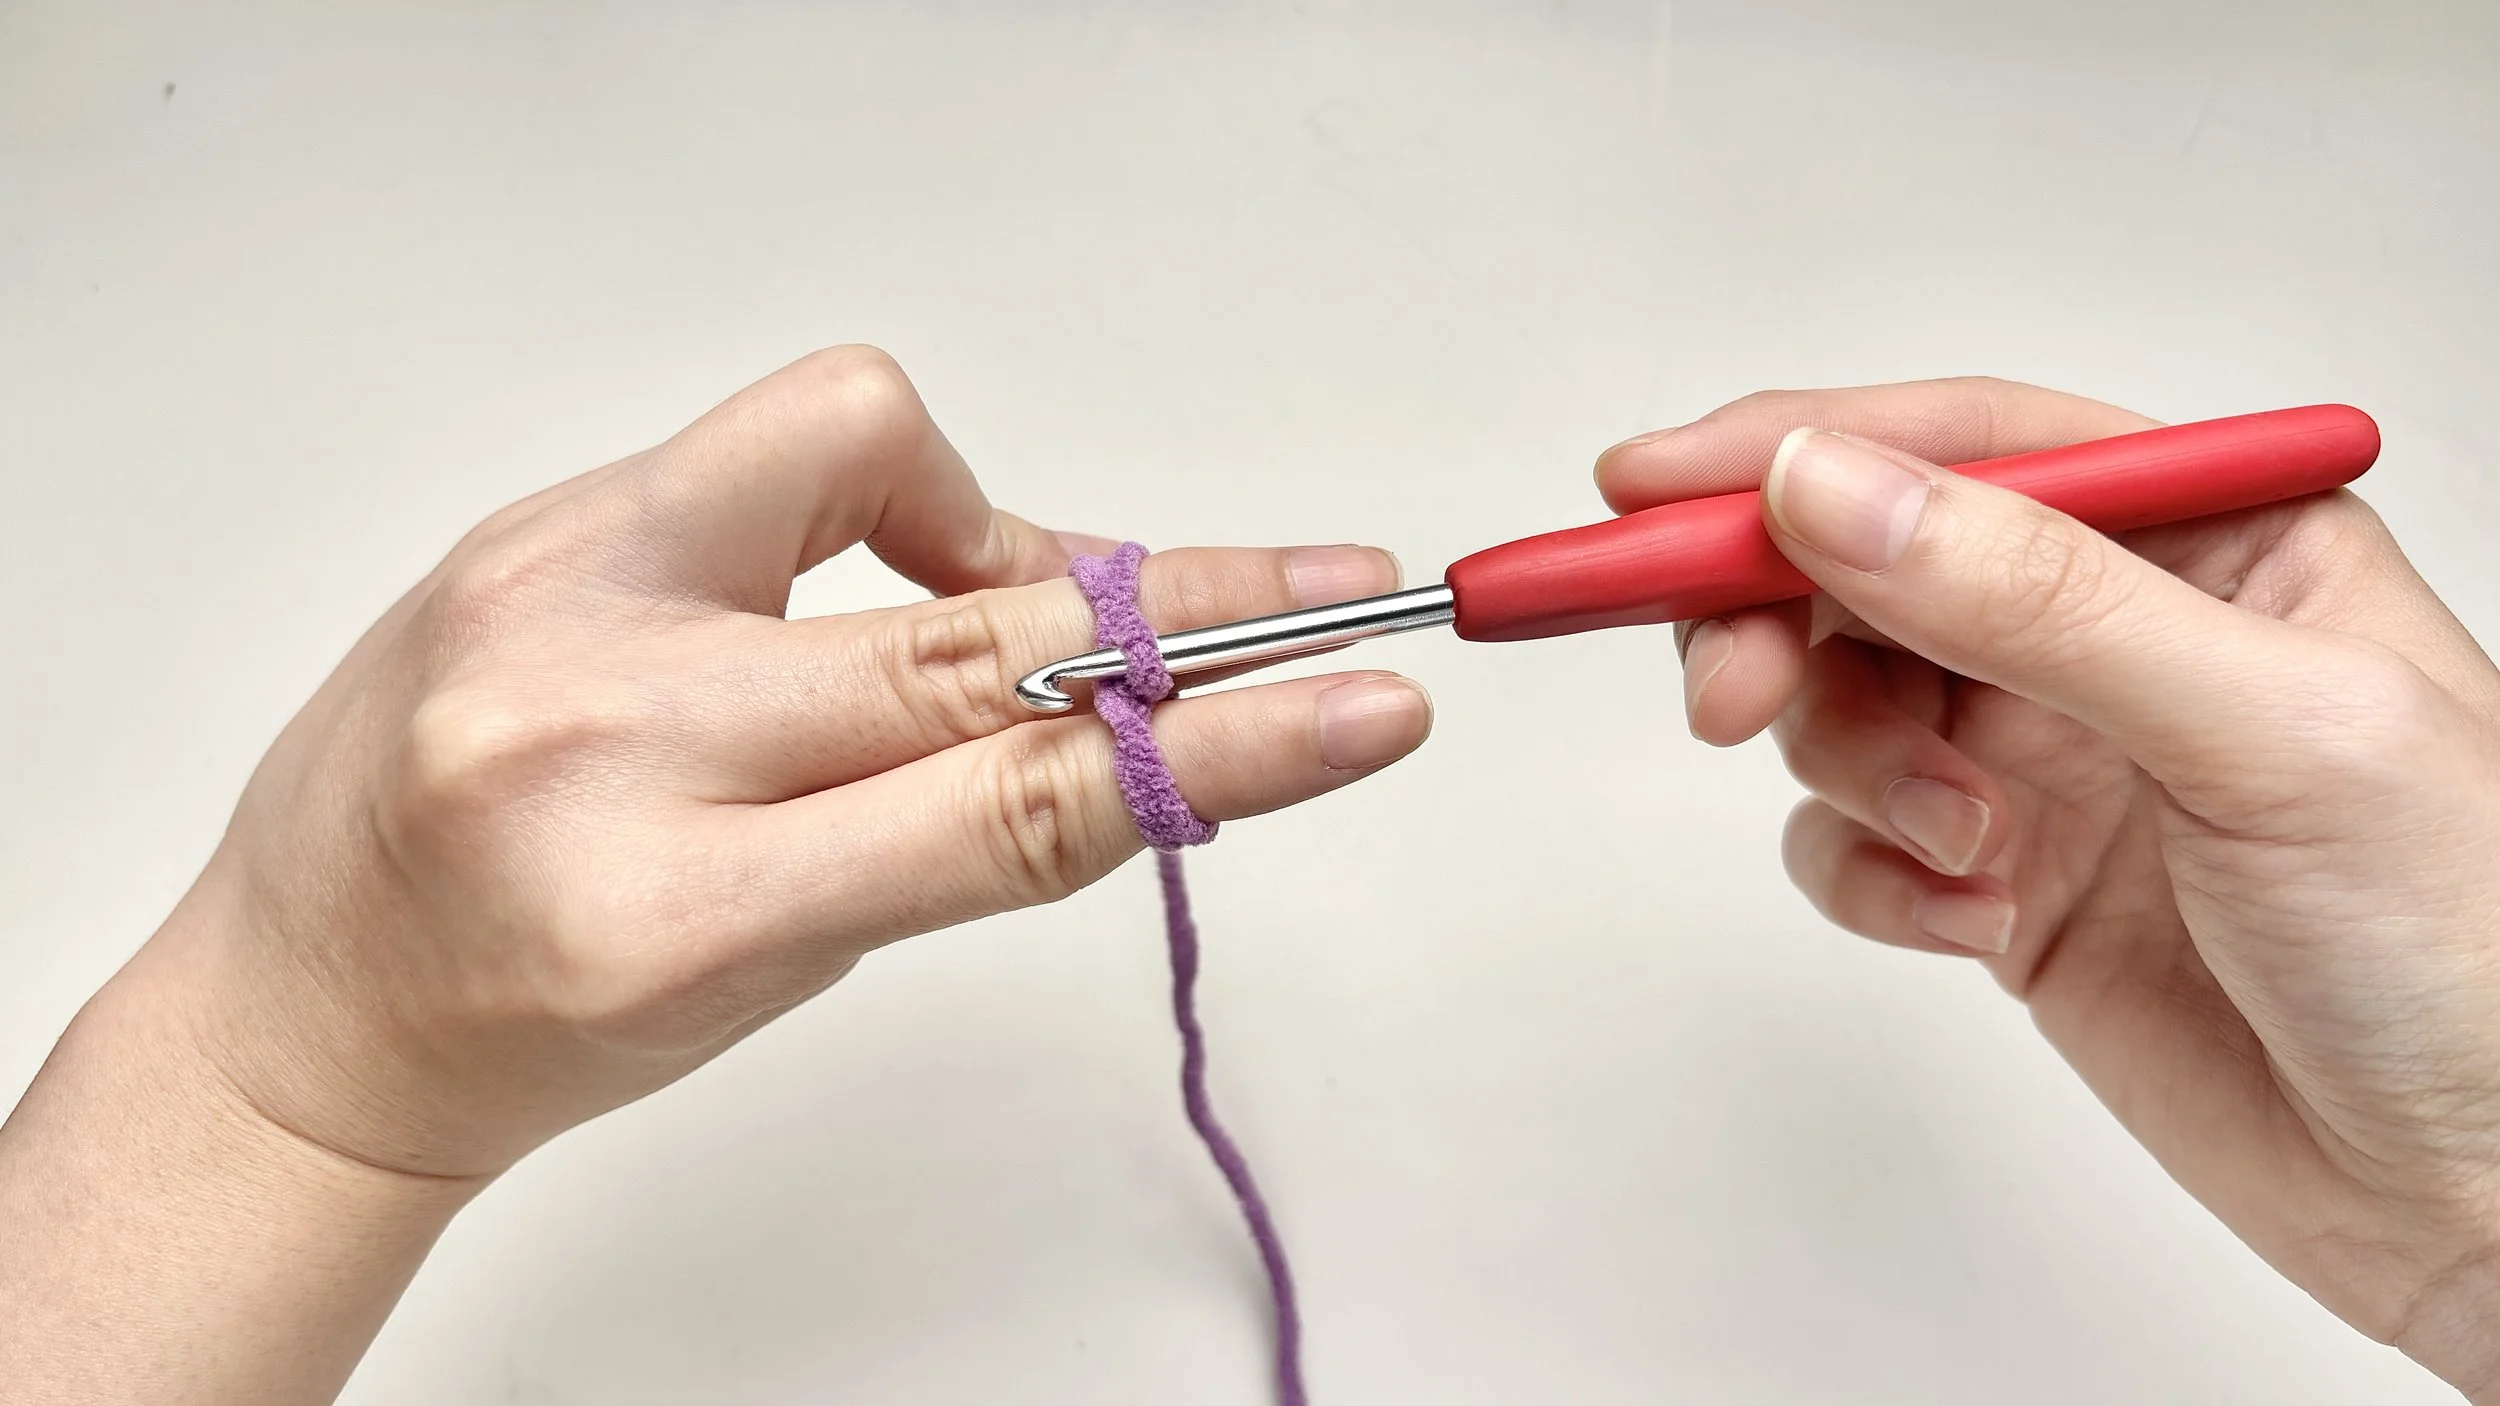
Use the hook to pull the second strand underneath the first, forming a small twist on your hook.
The hook tip should be facing you.
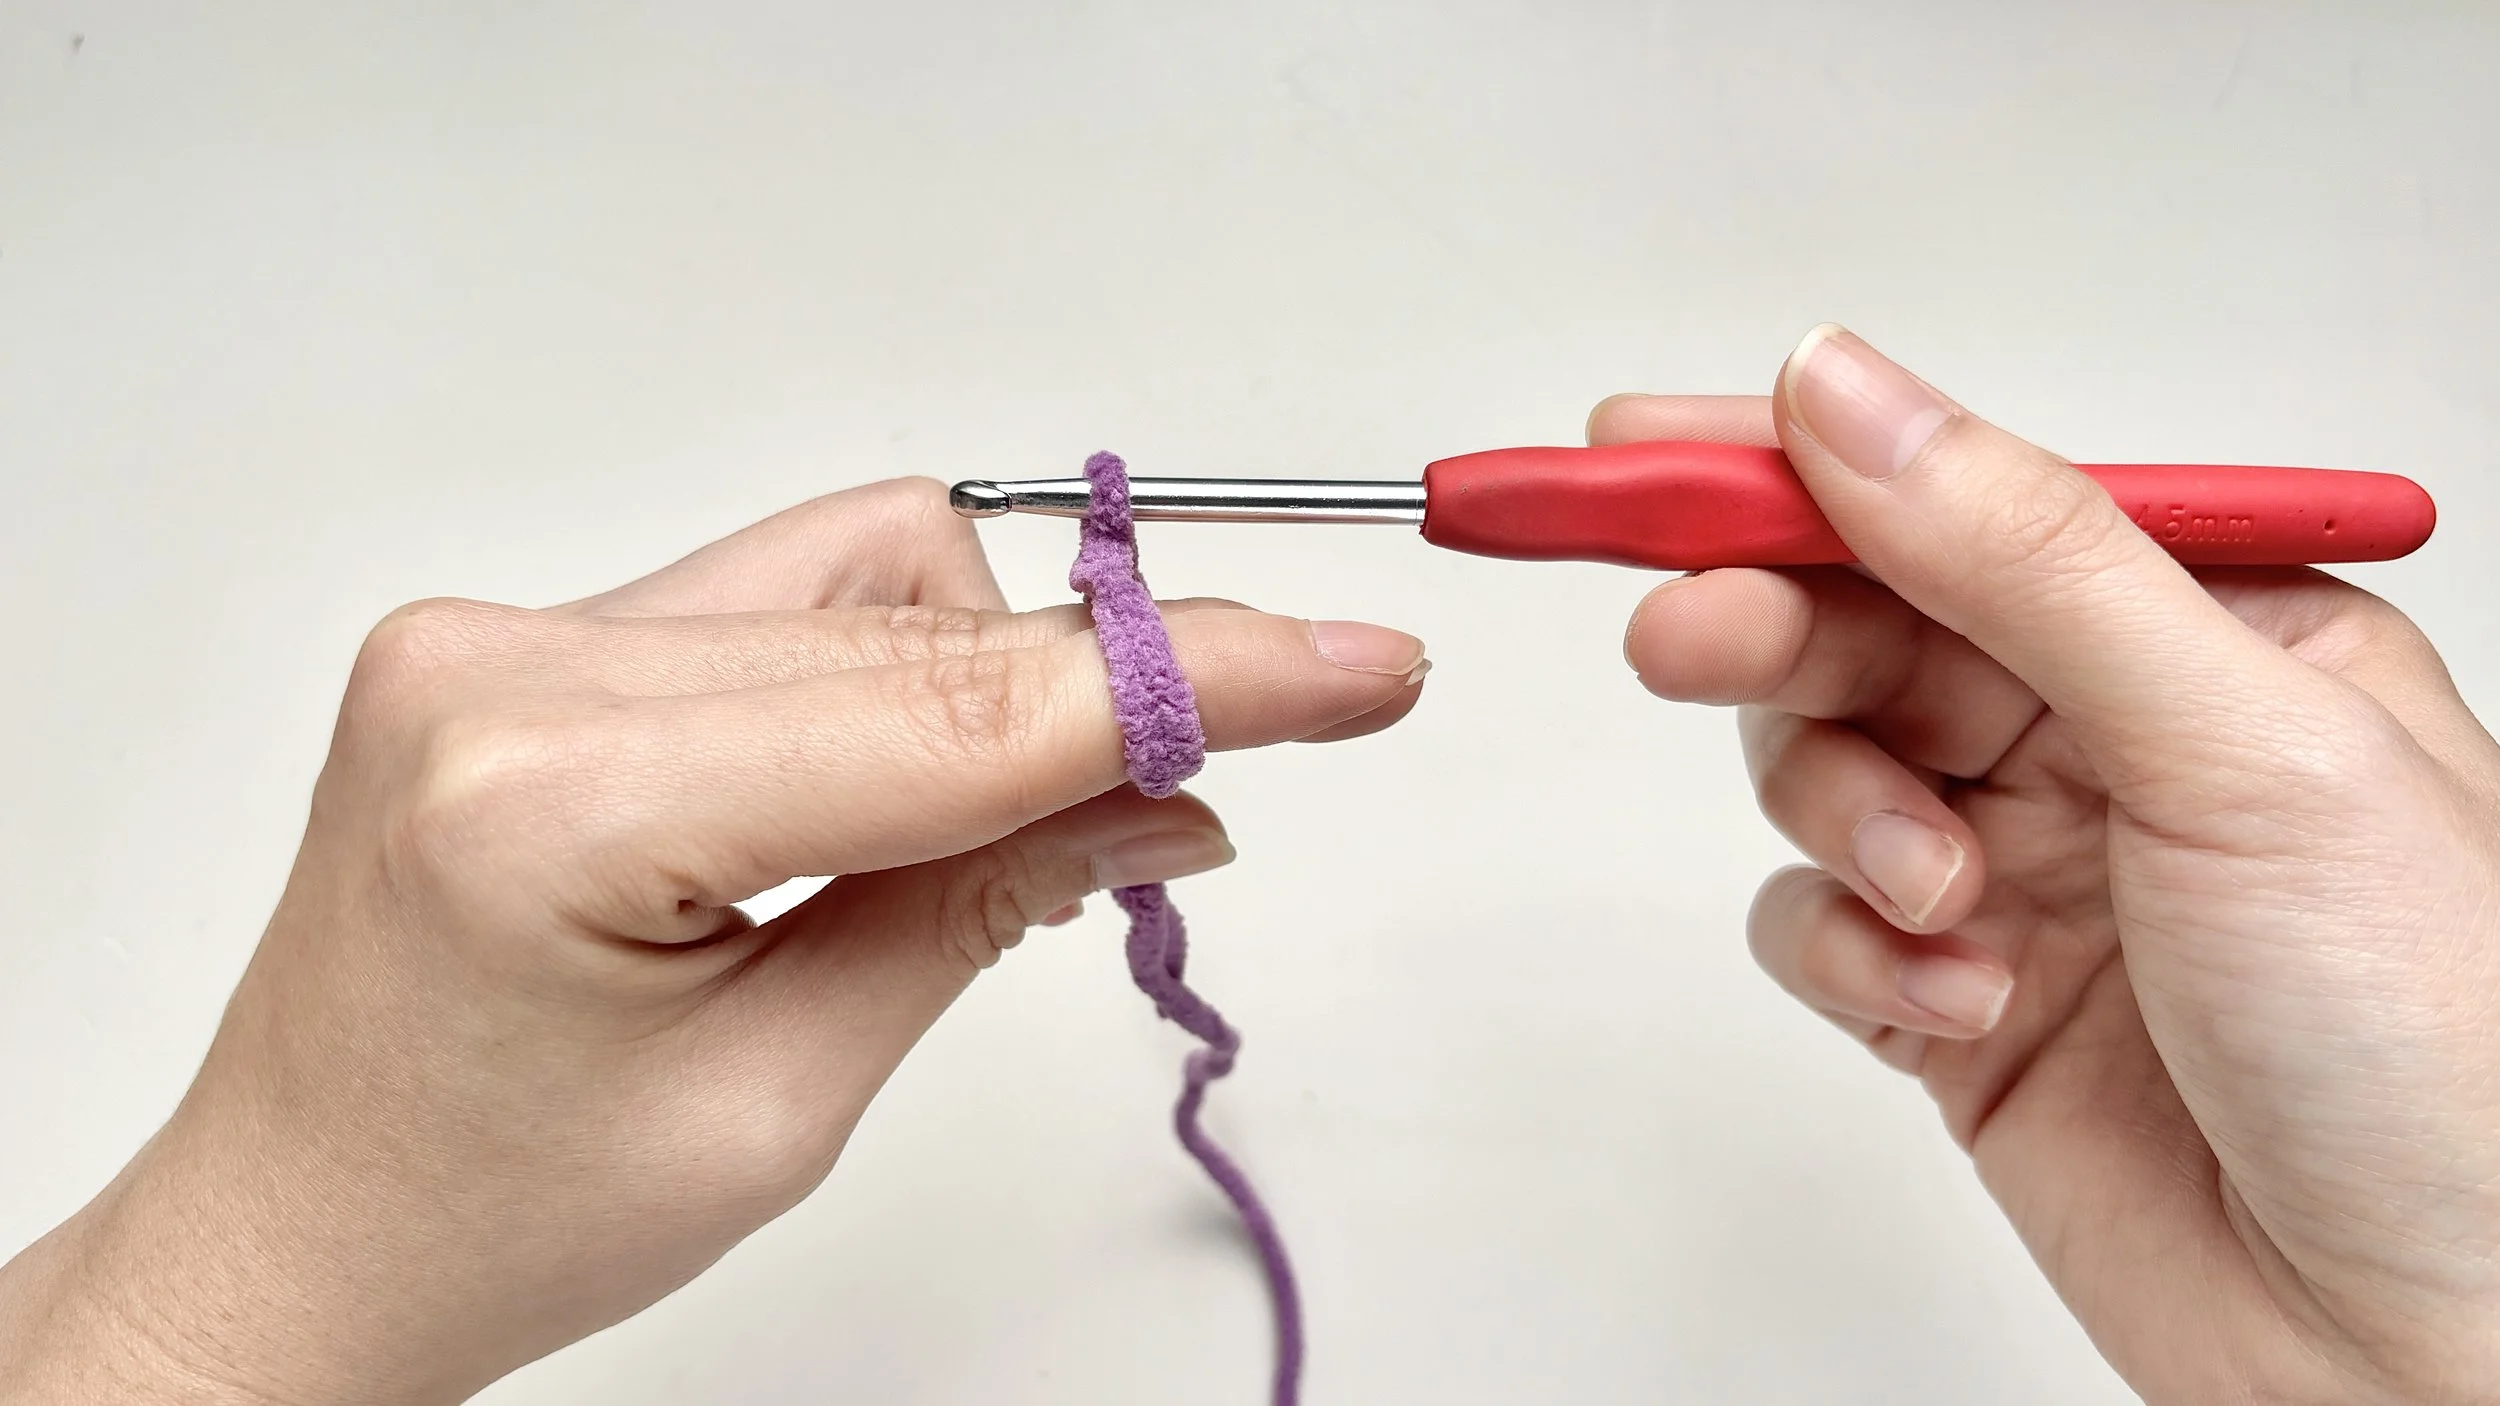
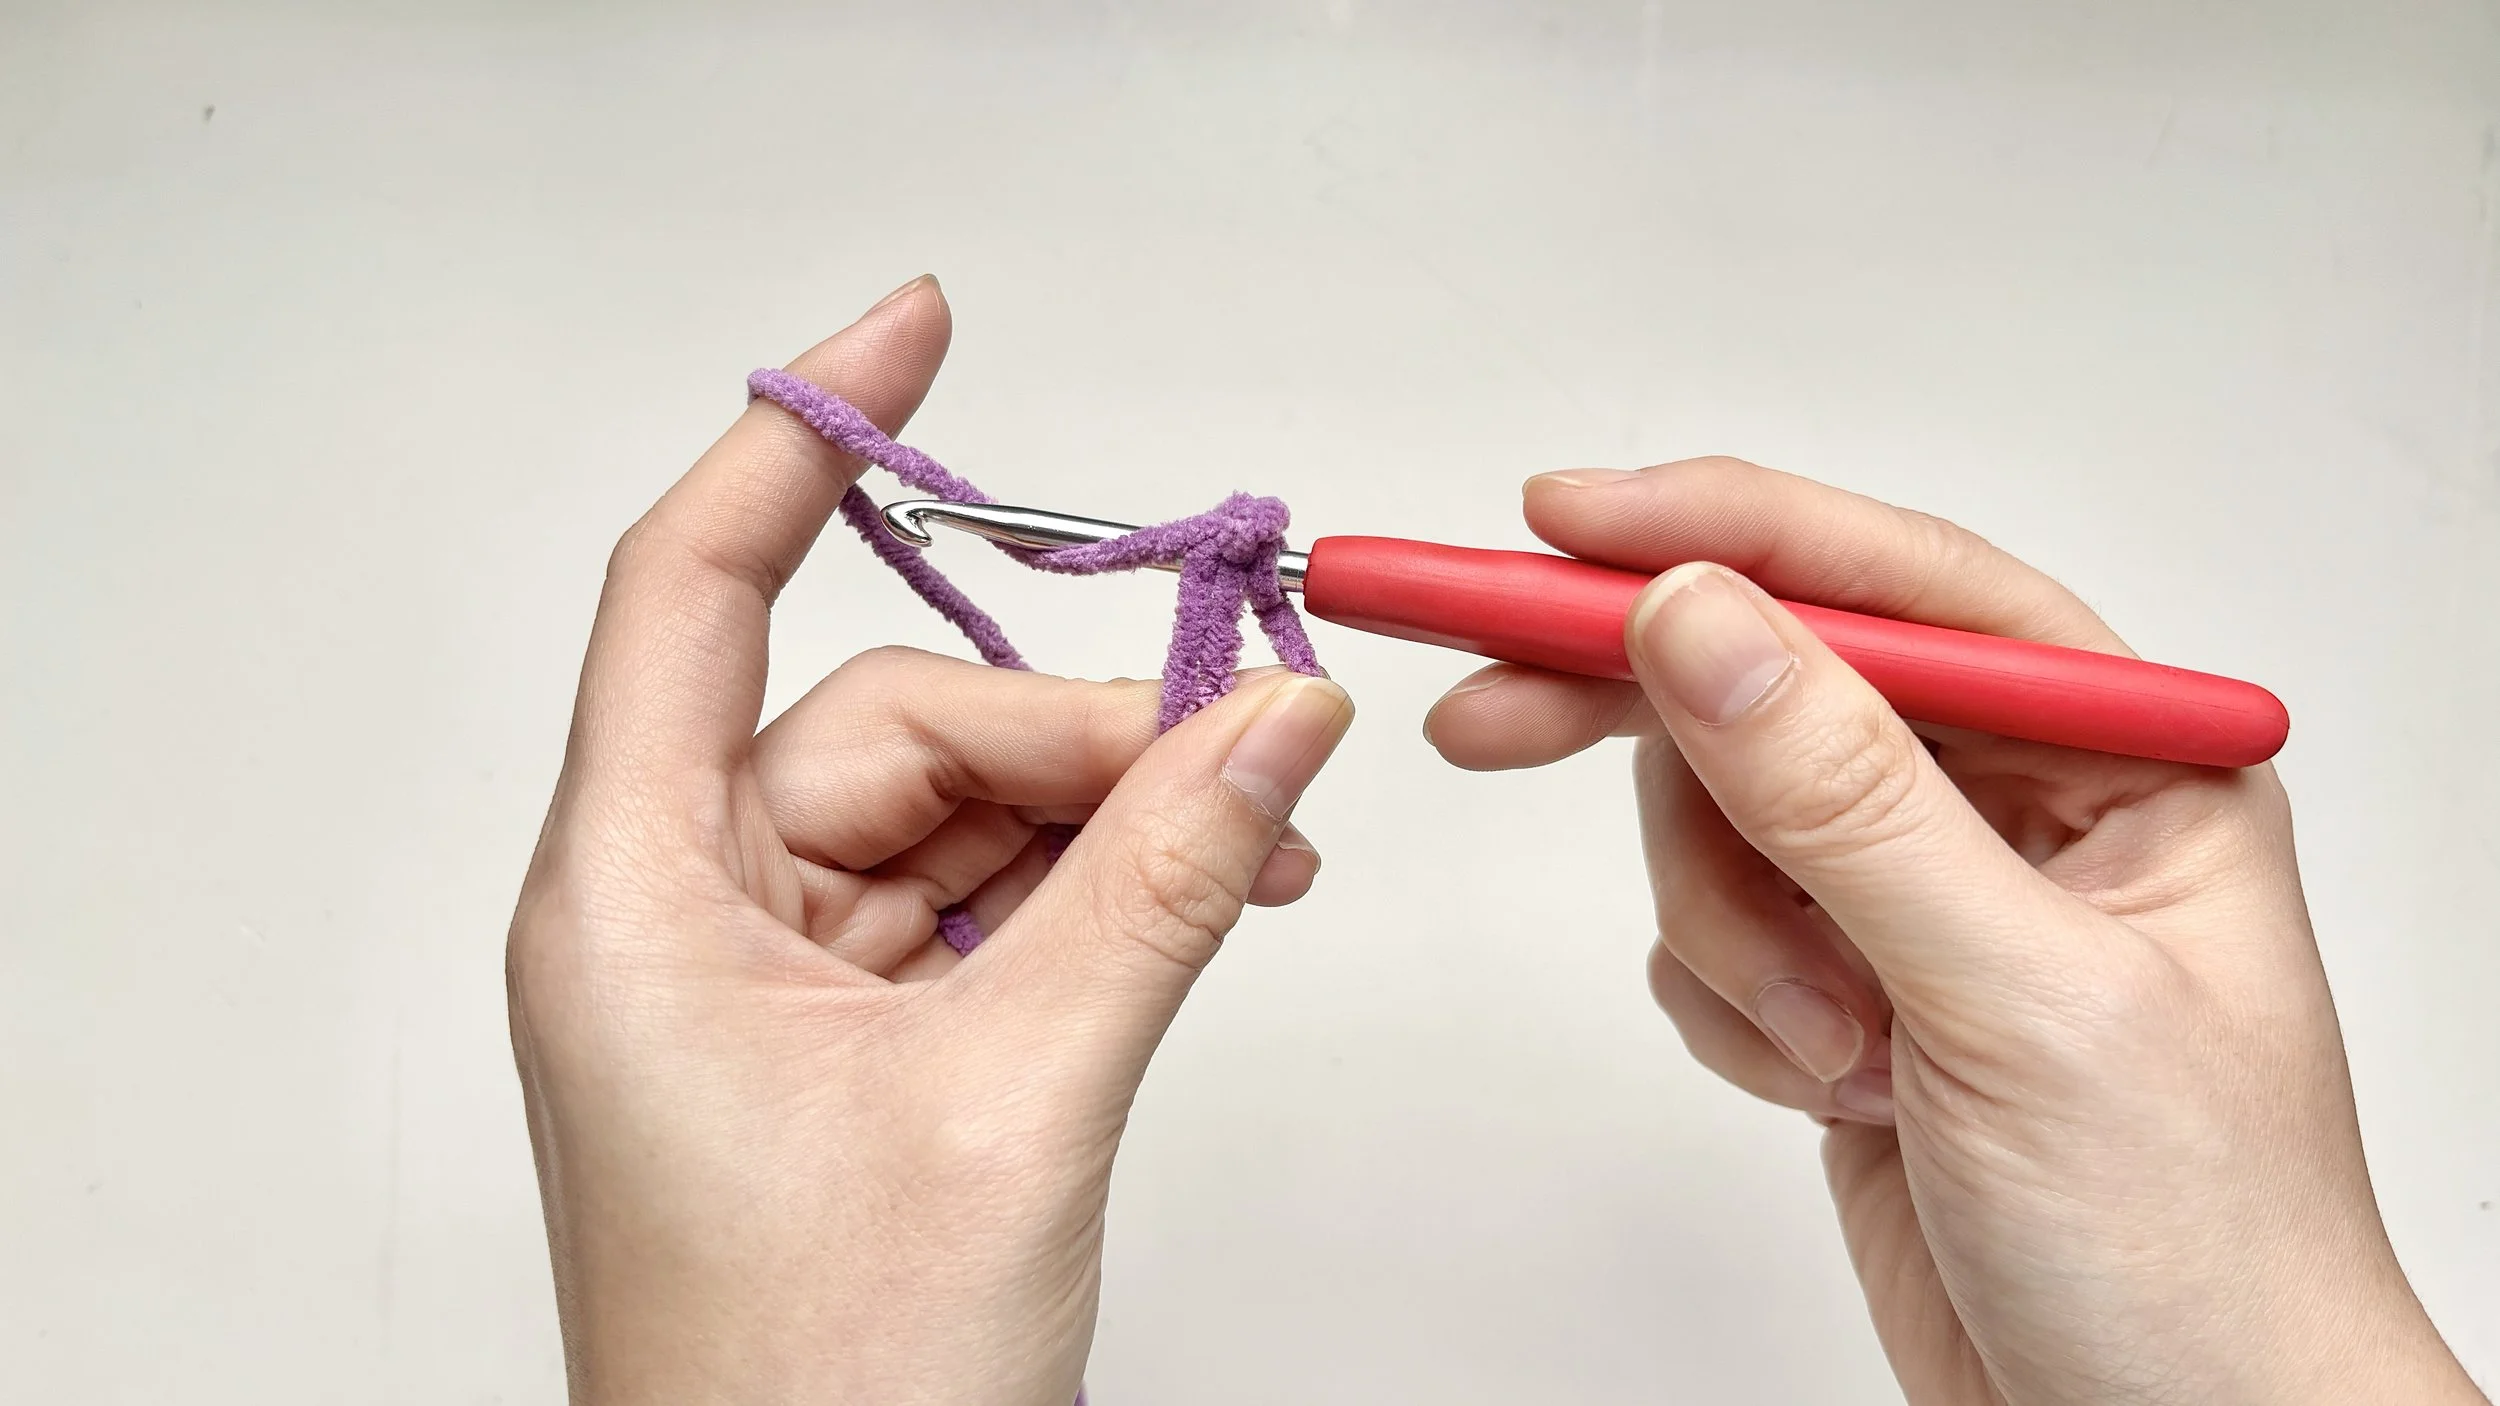
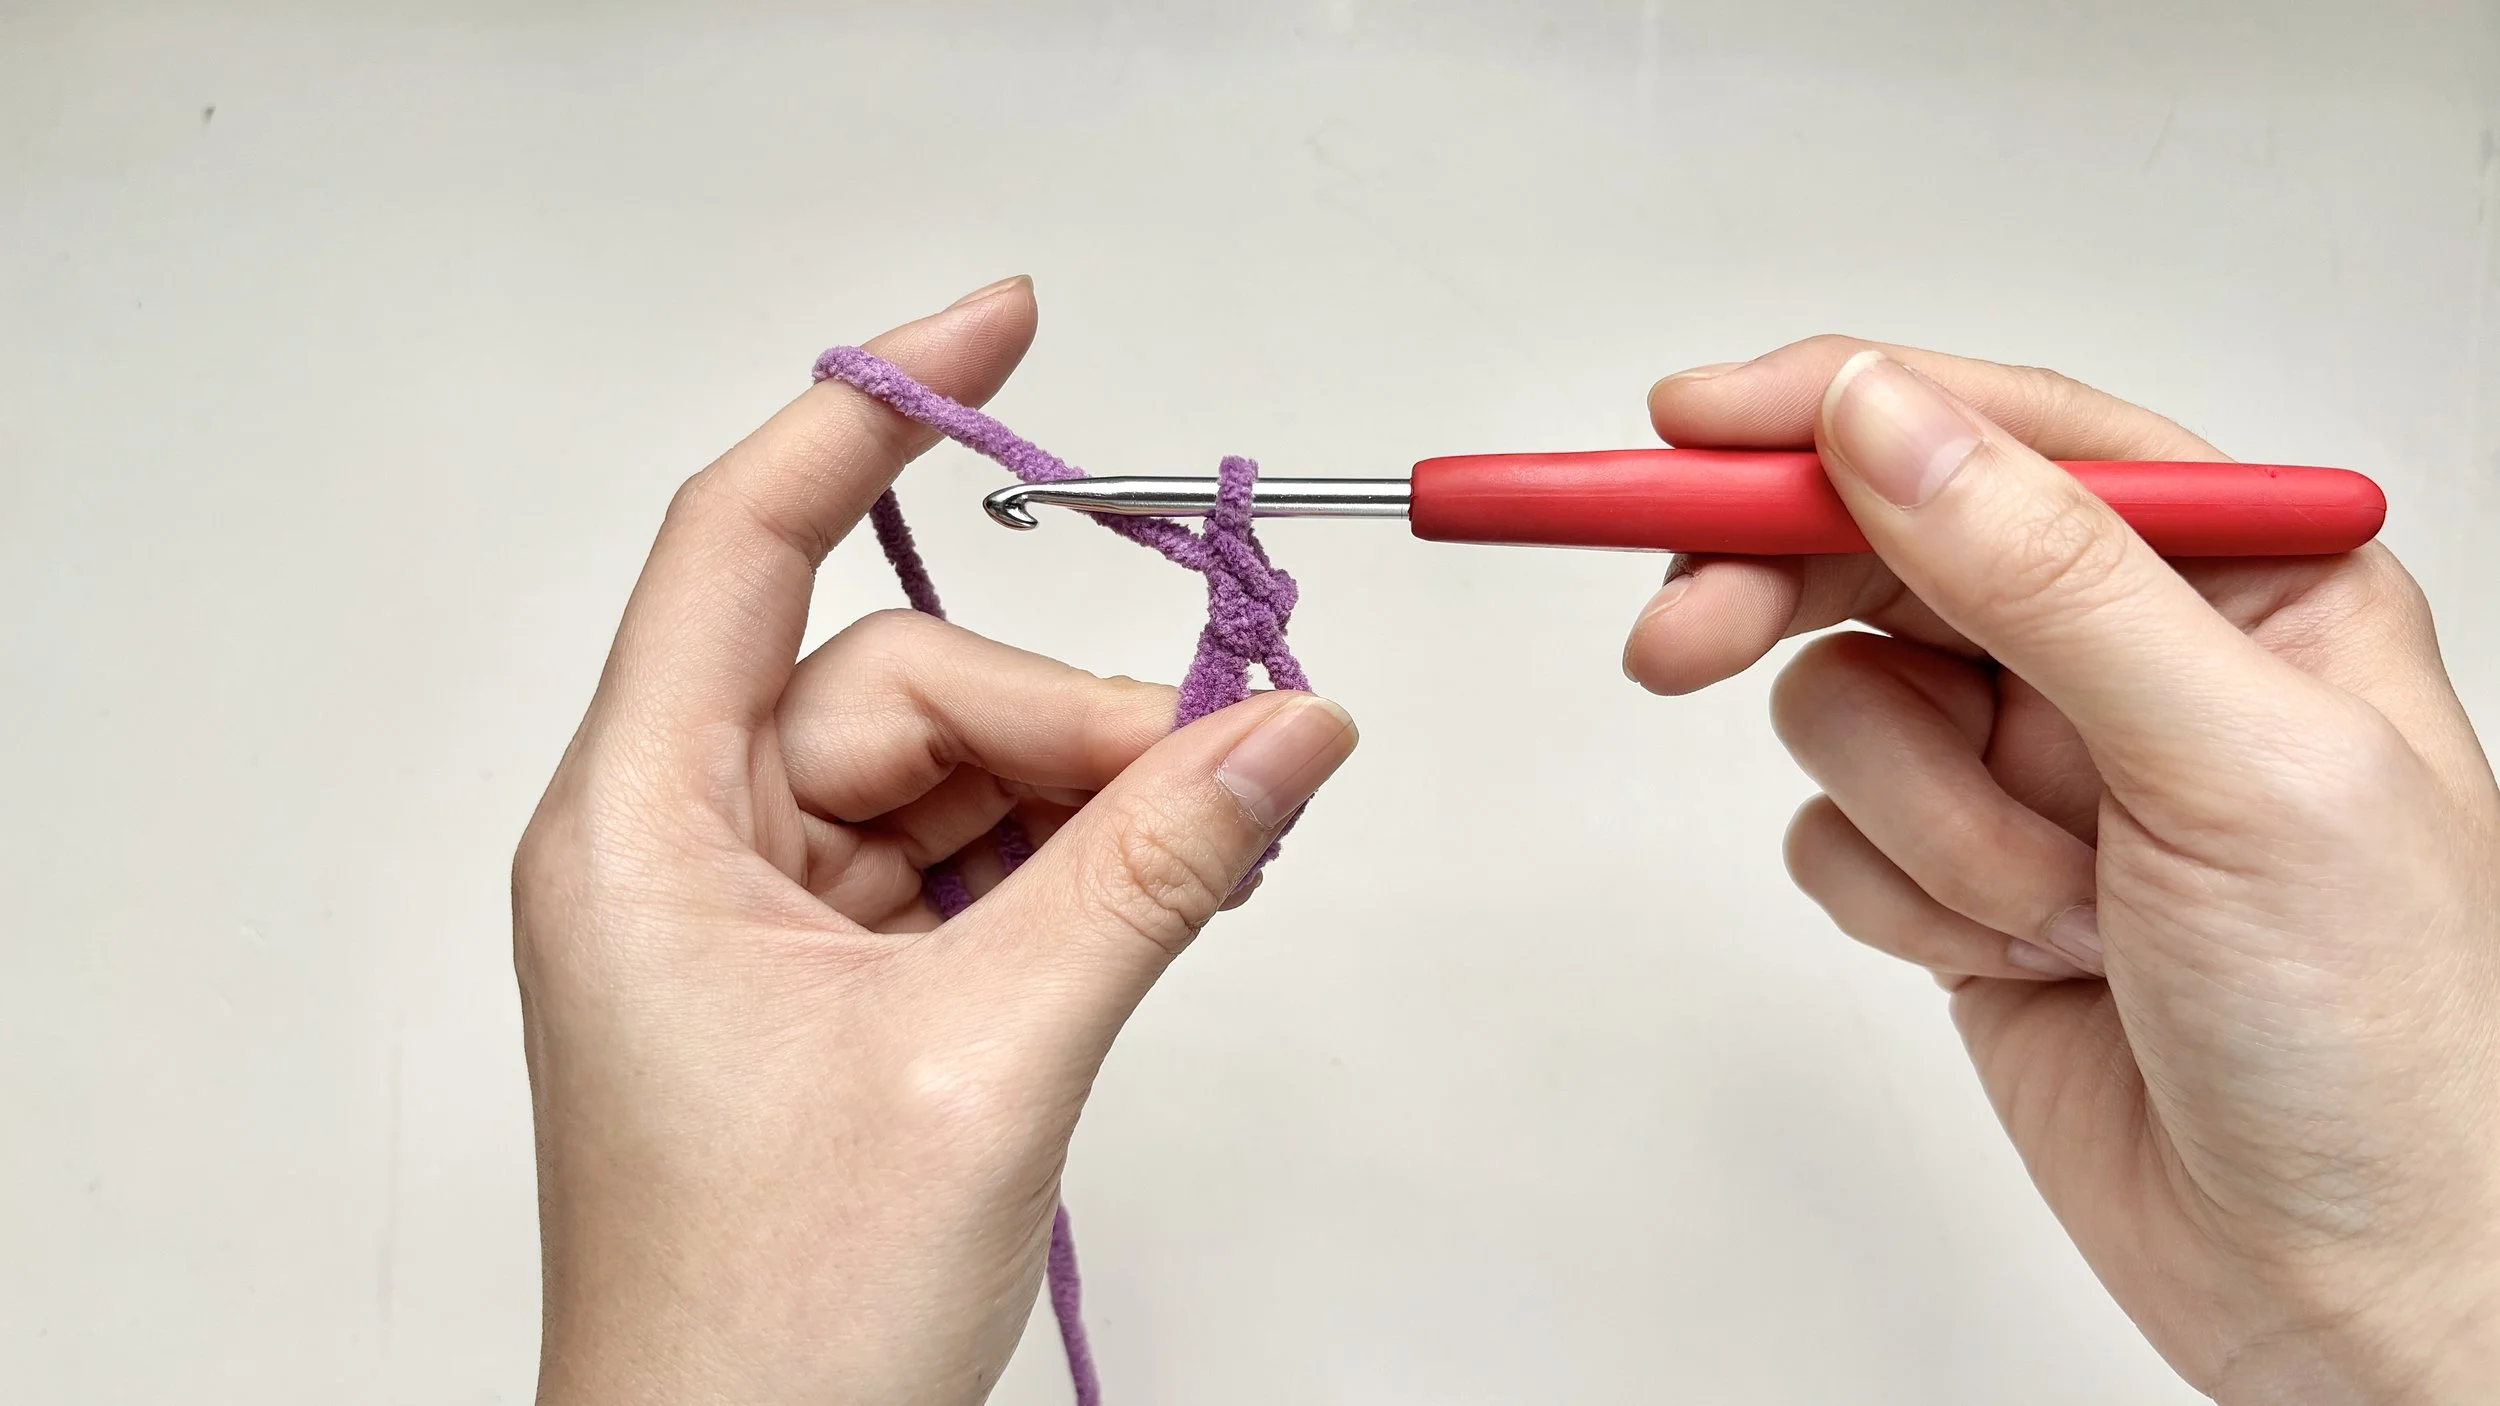
Step 9:
Yarn over and pull through

Yarn over with the working yarn and gently pull it through the ring on your hook.
You now have one ring on your hook.
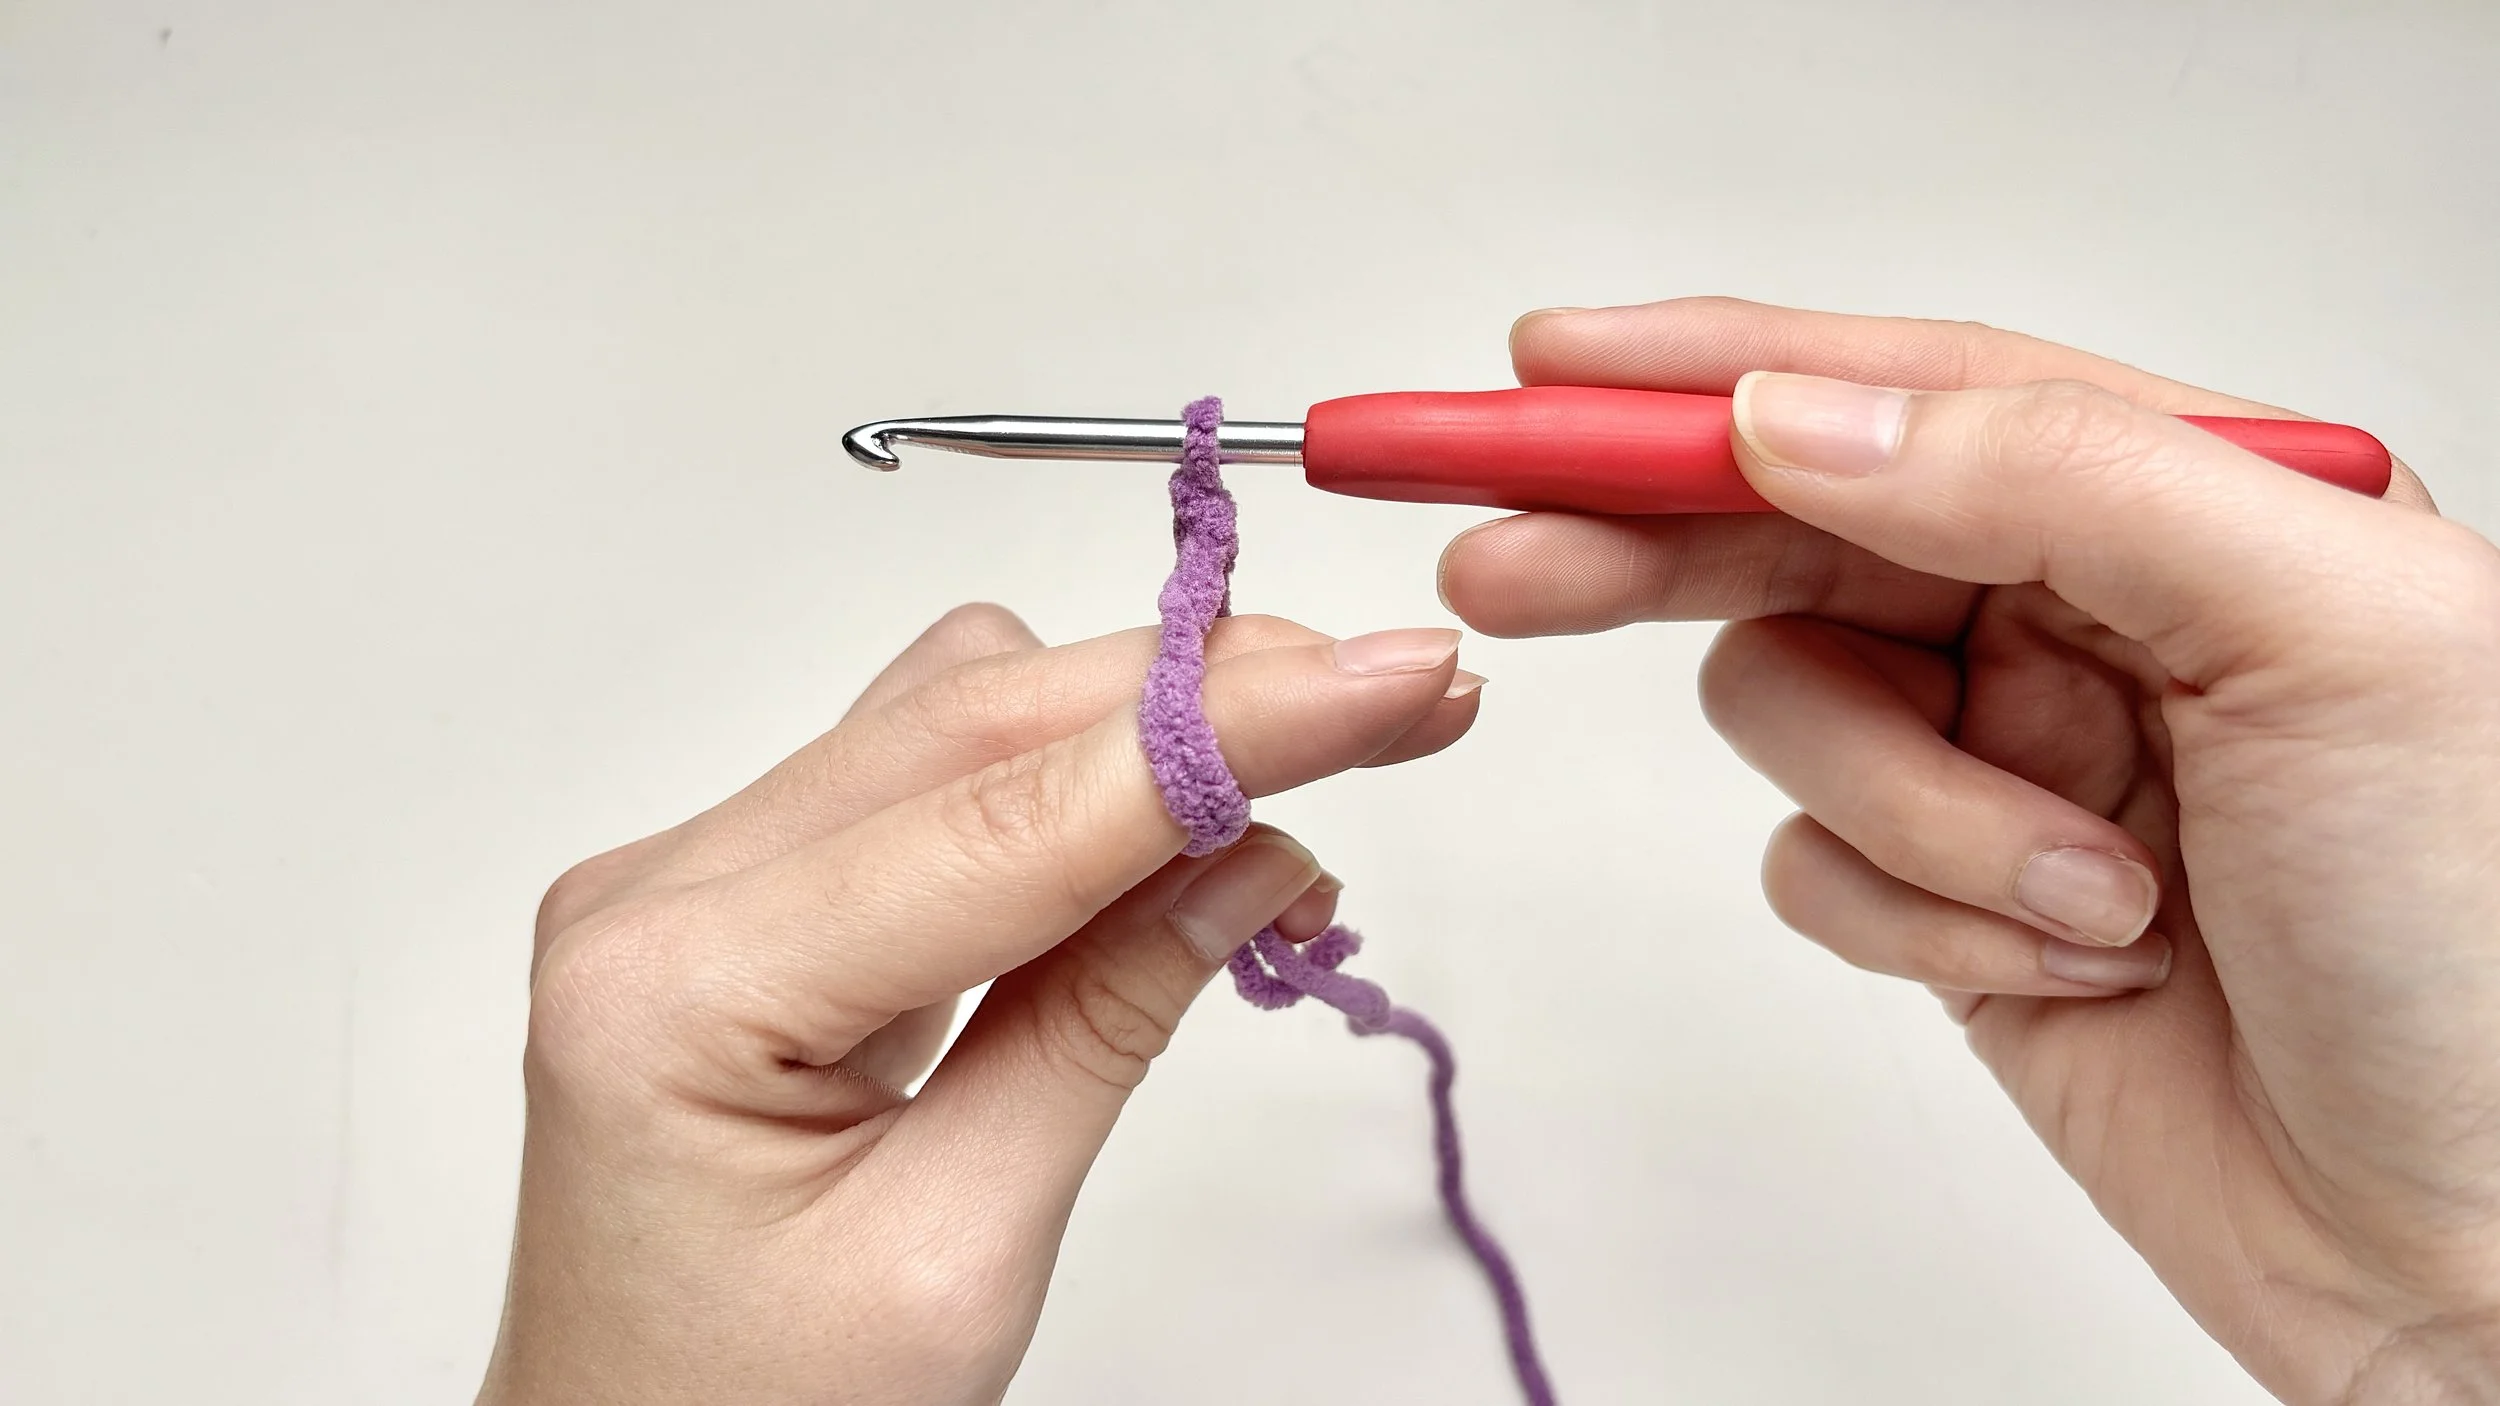
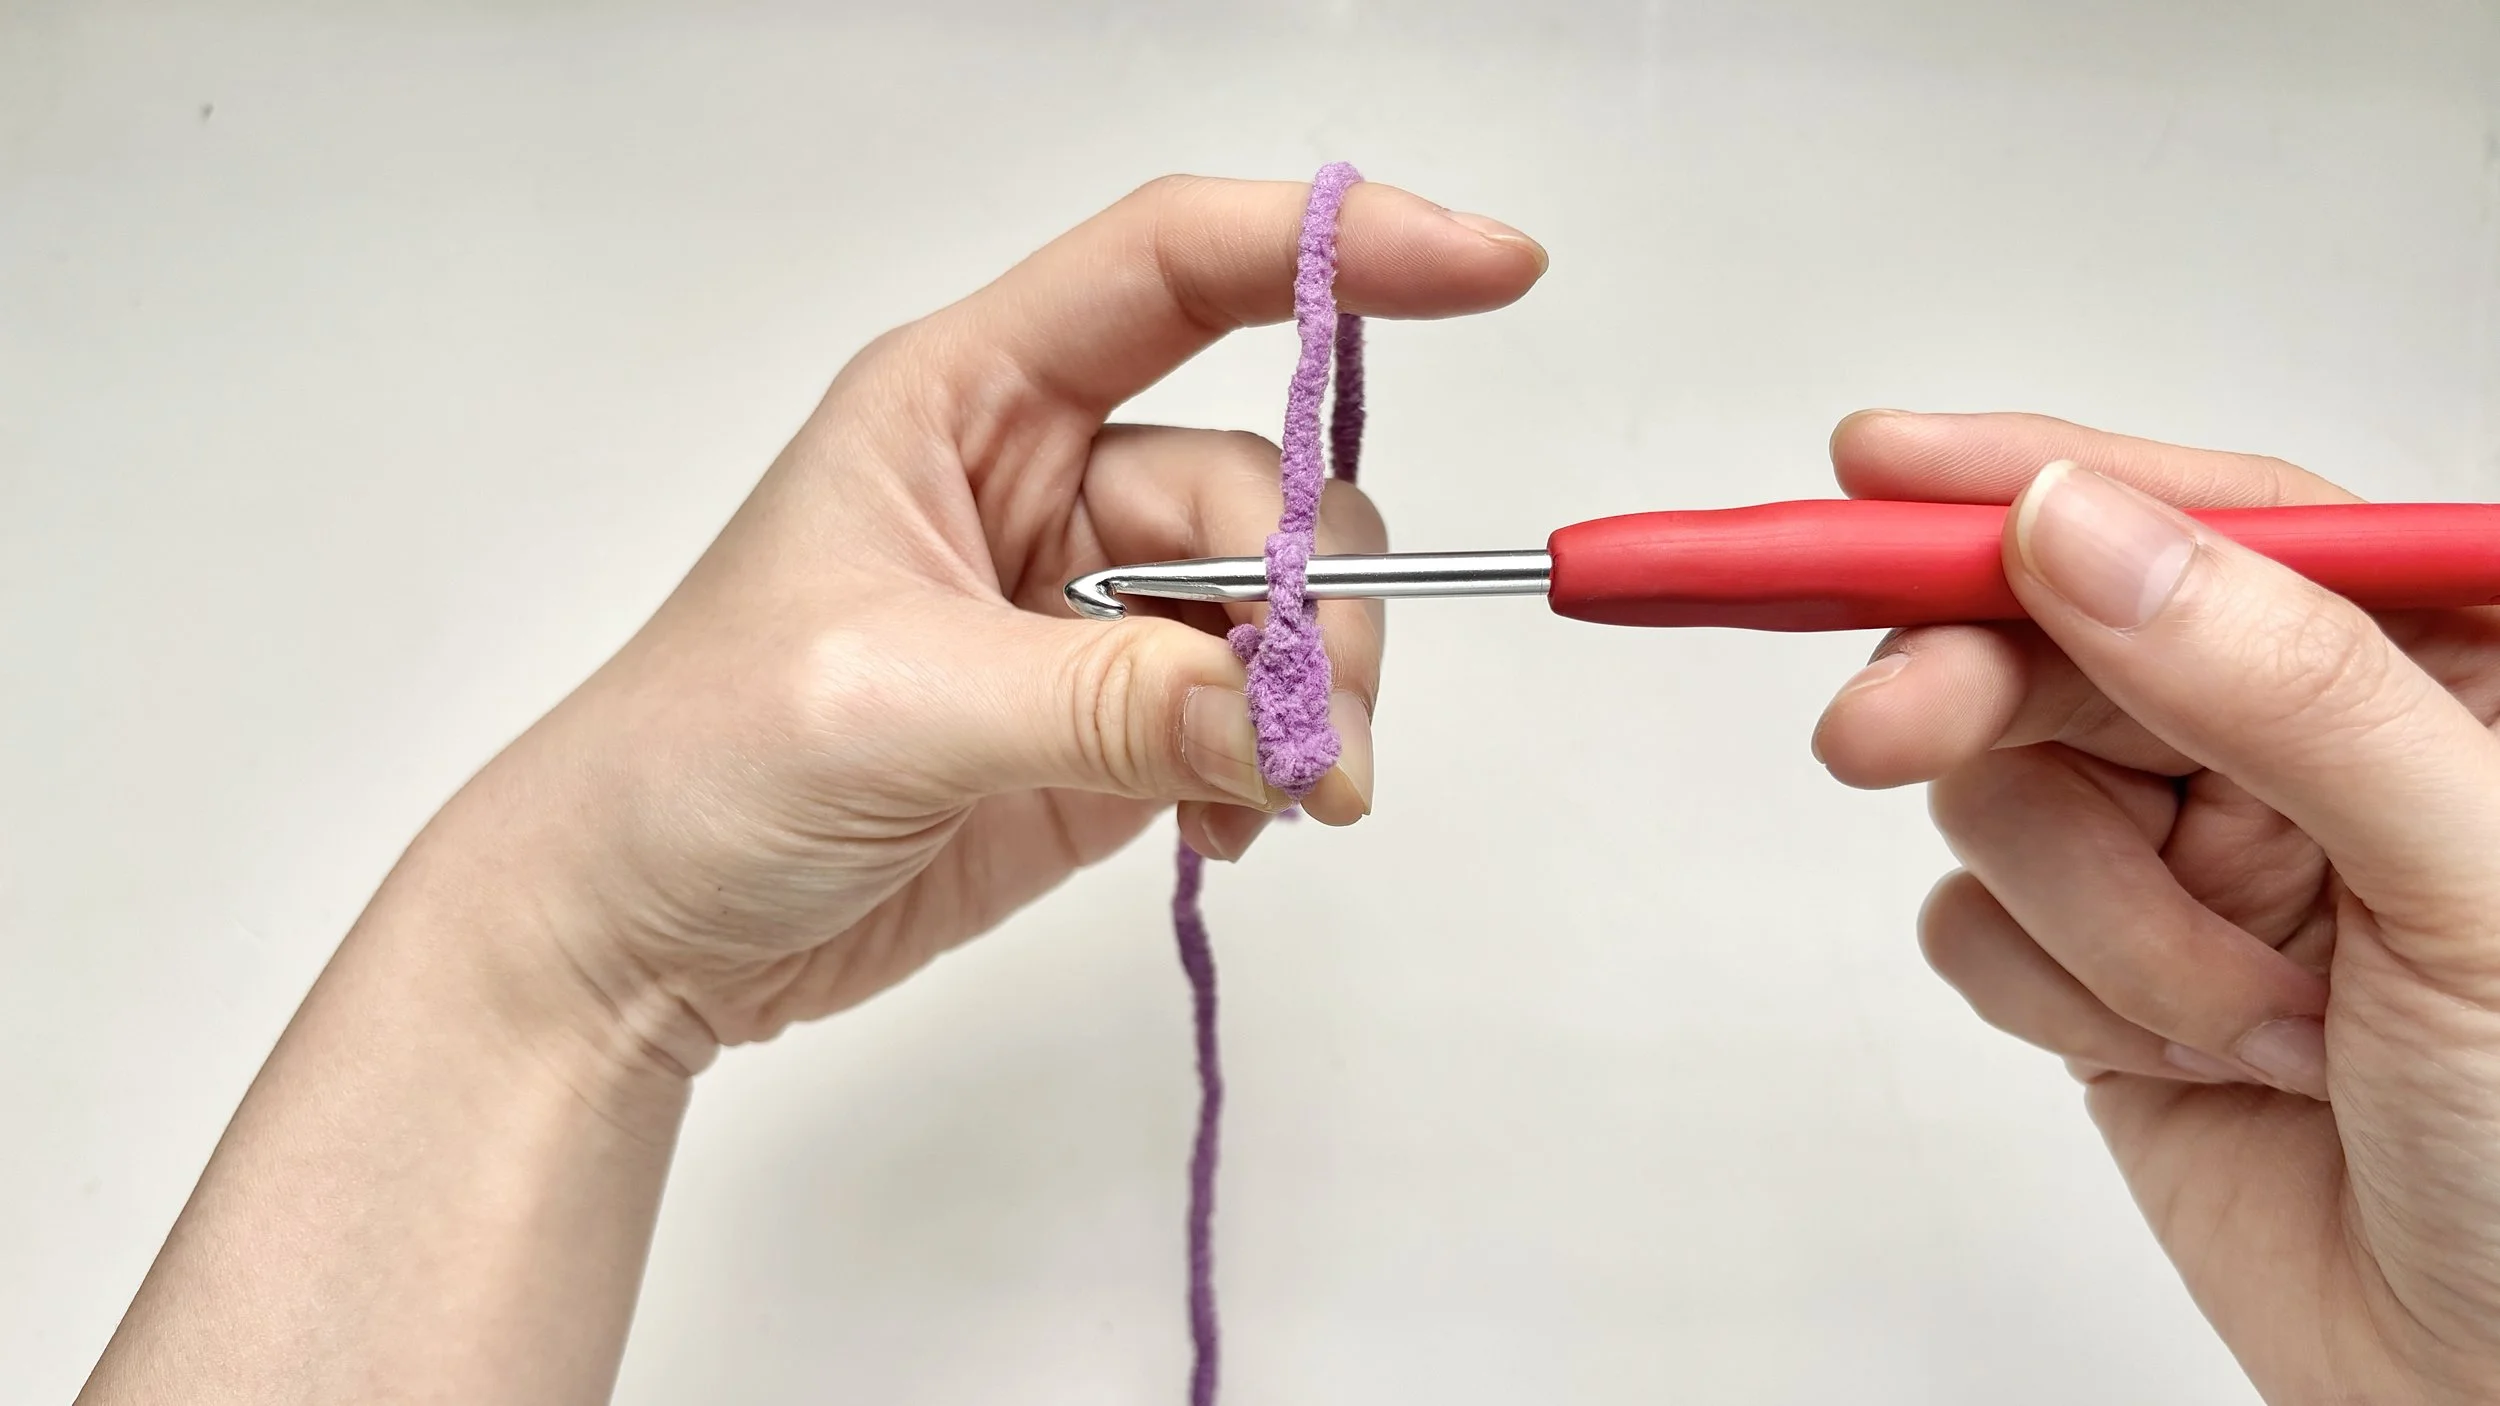
Step 10:
Release the ring
Carefully release the yarn from your left hand.
You should now see a small circle of yarn (the ring) with the yarn tail hanging on the left side.
Tip: To check if your magic ring has formed correctly, gently pull the yarn tail.
If the ring tightens neatly, you’ve made your first magic ring!
Stitch into the ring
Now you’ll work stitches into the ring — the number depends on your pattern.
Step 11:
Hold the ring
Hold both sides of the magic ring (MR) and the yarn tail with your left hand, keeping the tail on the left.
Step 12:
Hook into the ring
Insert your crochet hook through the center of the ring from right to left, going under both strands of the loop.
Step 13:
Pull up a loop
Yarn over with the working yarn and pull it through the center of the ring, drawing up a loop.
You now have two loops on your hook.
Step 14:
Finish the stitch
Yarn over once more and pull through both loops on your hook.
You now have one loop left on the hook - that completes your first single crochet (sc) stitch
Tip: To find where the first stitch of the round begins, place a stitch marker through the first single crochet and lock it in place.
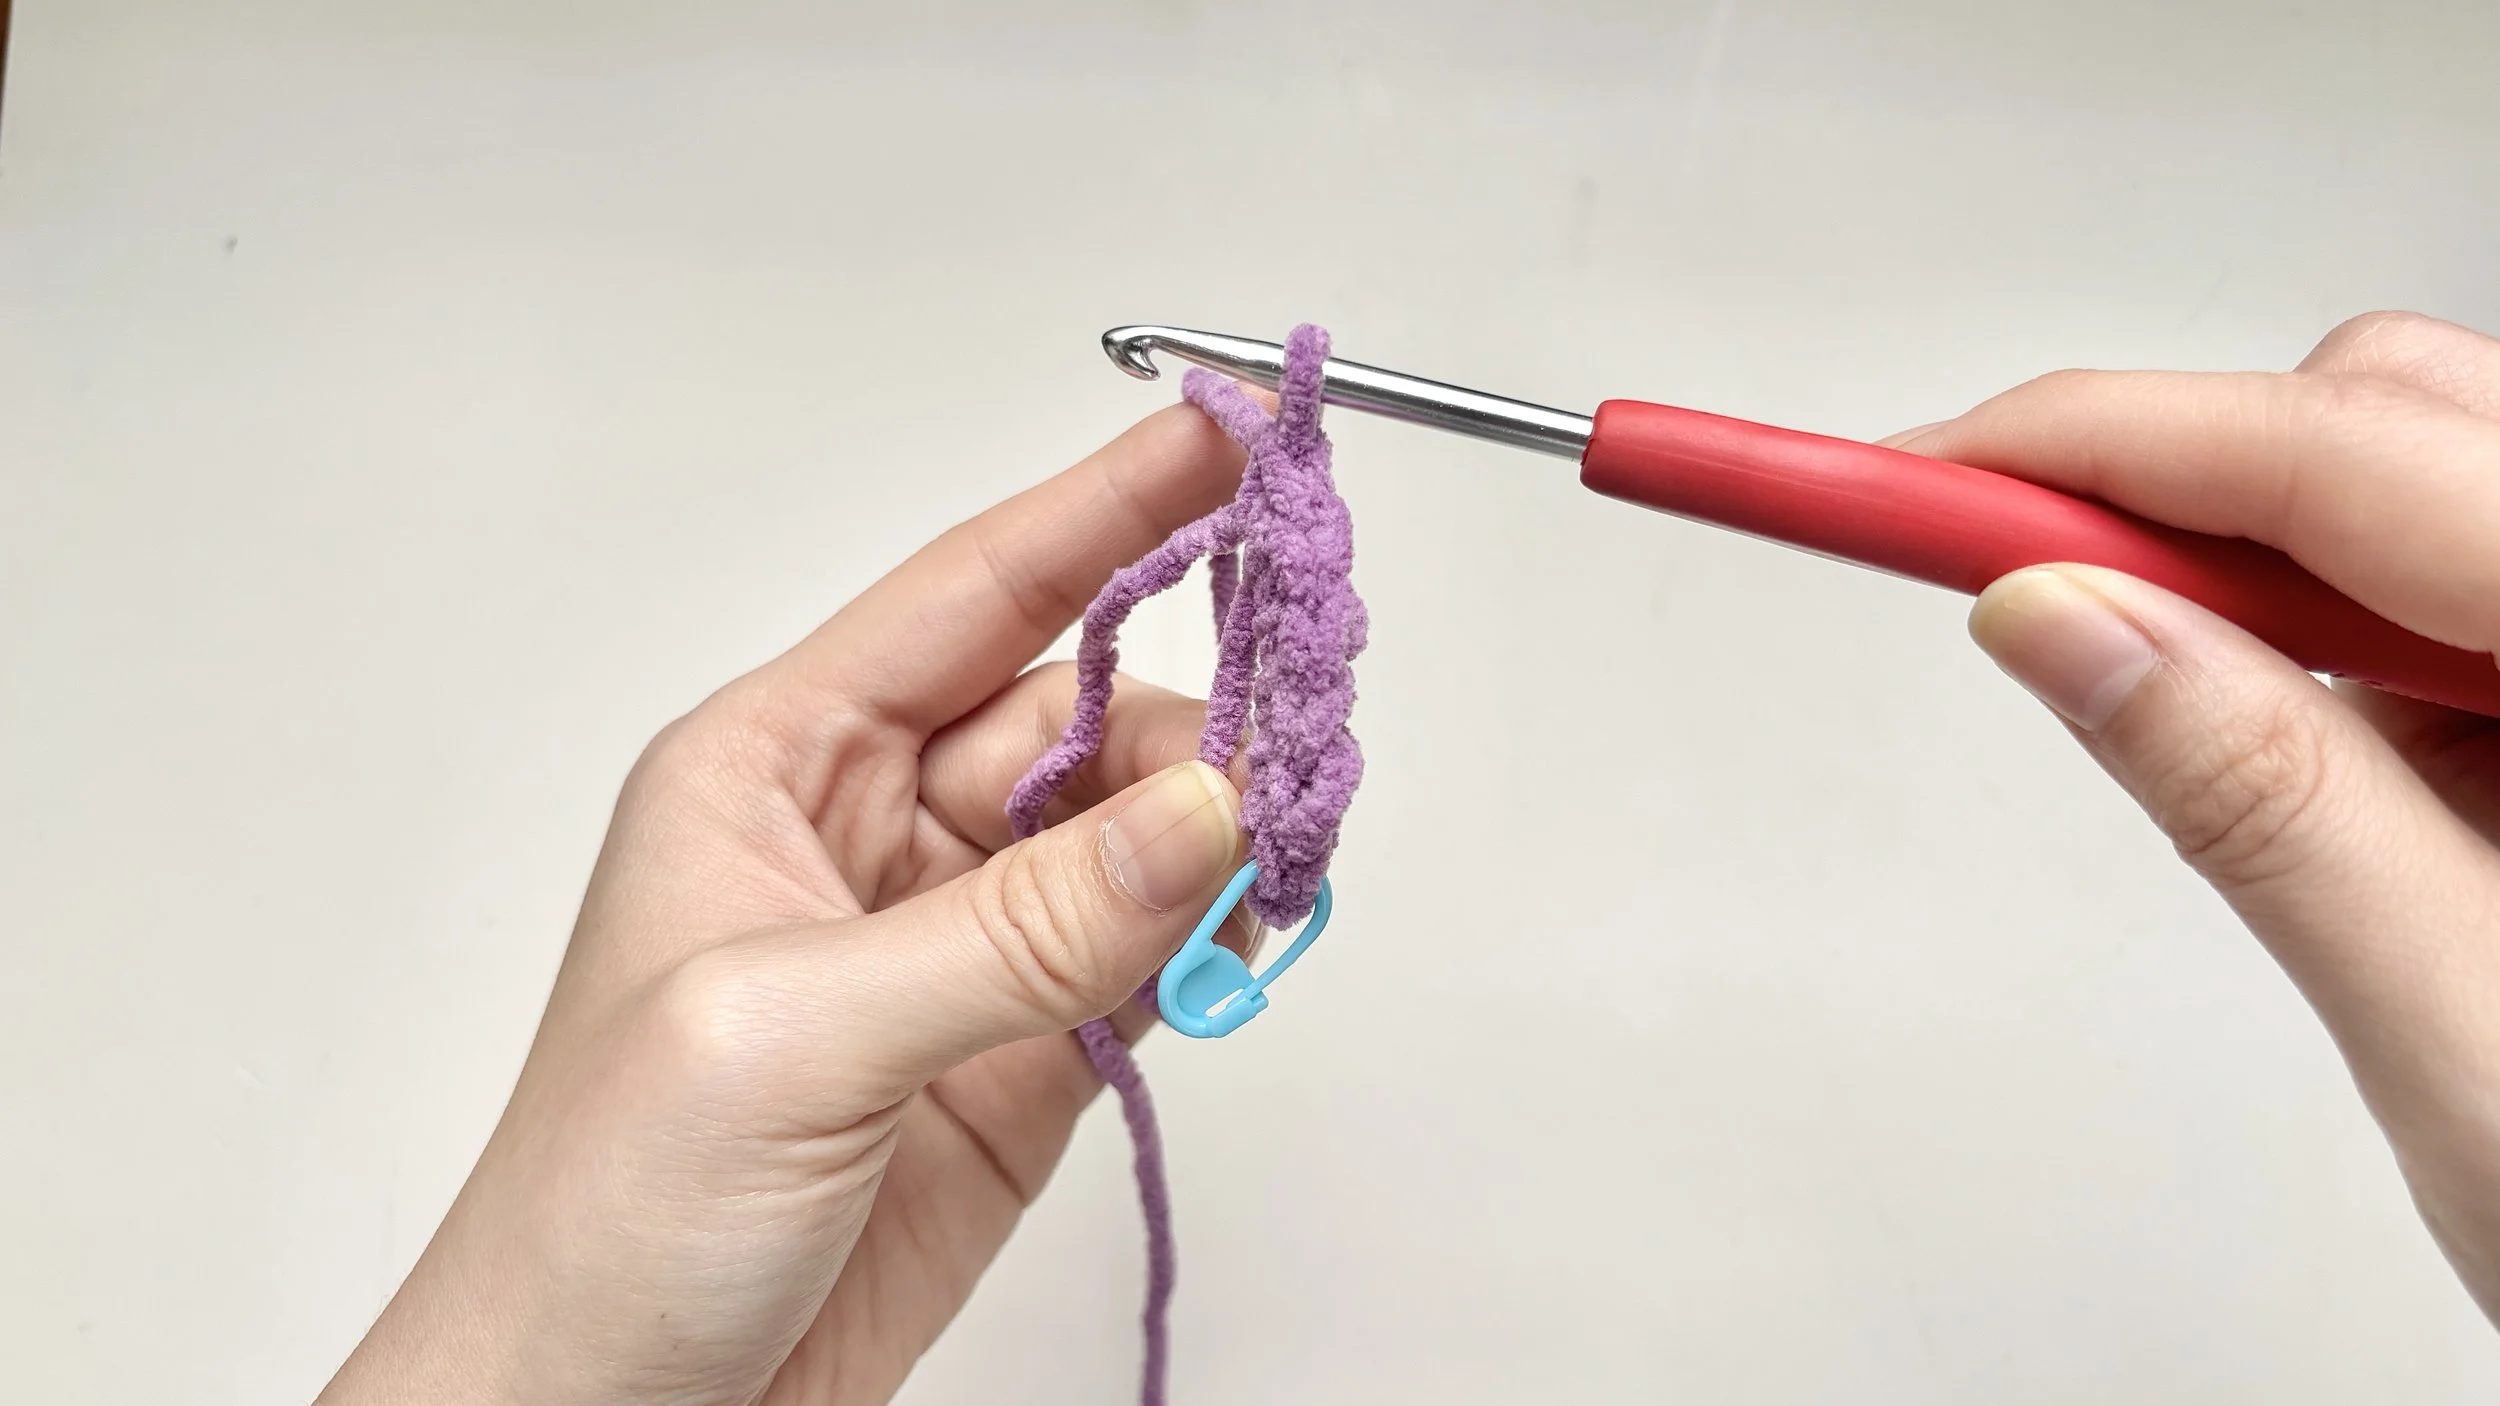
Close the ring
Step 15:
Make all your stitches
Repeat the last three steps until you’ve made the number of single crochets (sc) your pattern asks for.
Step 16:
Close the center
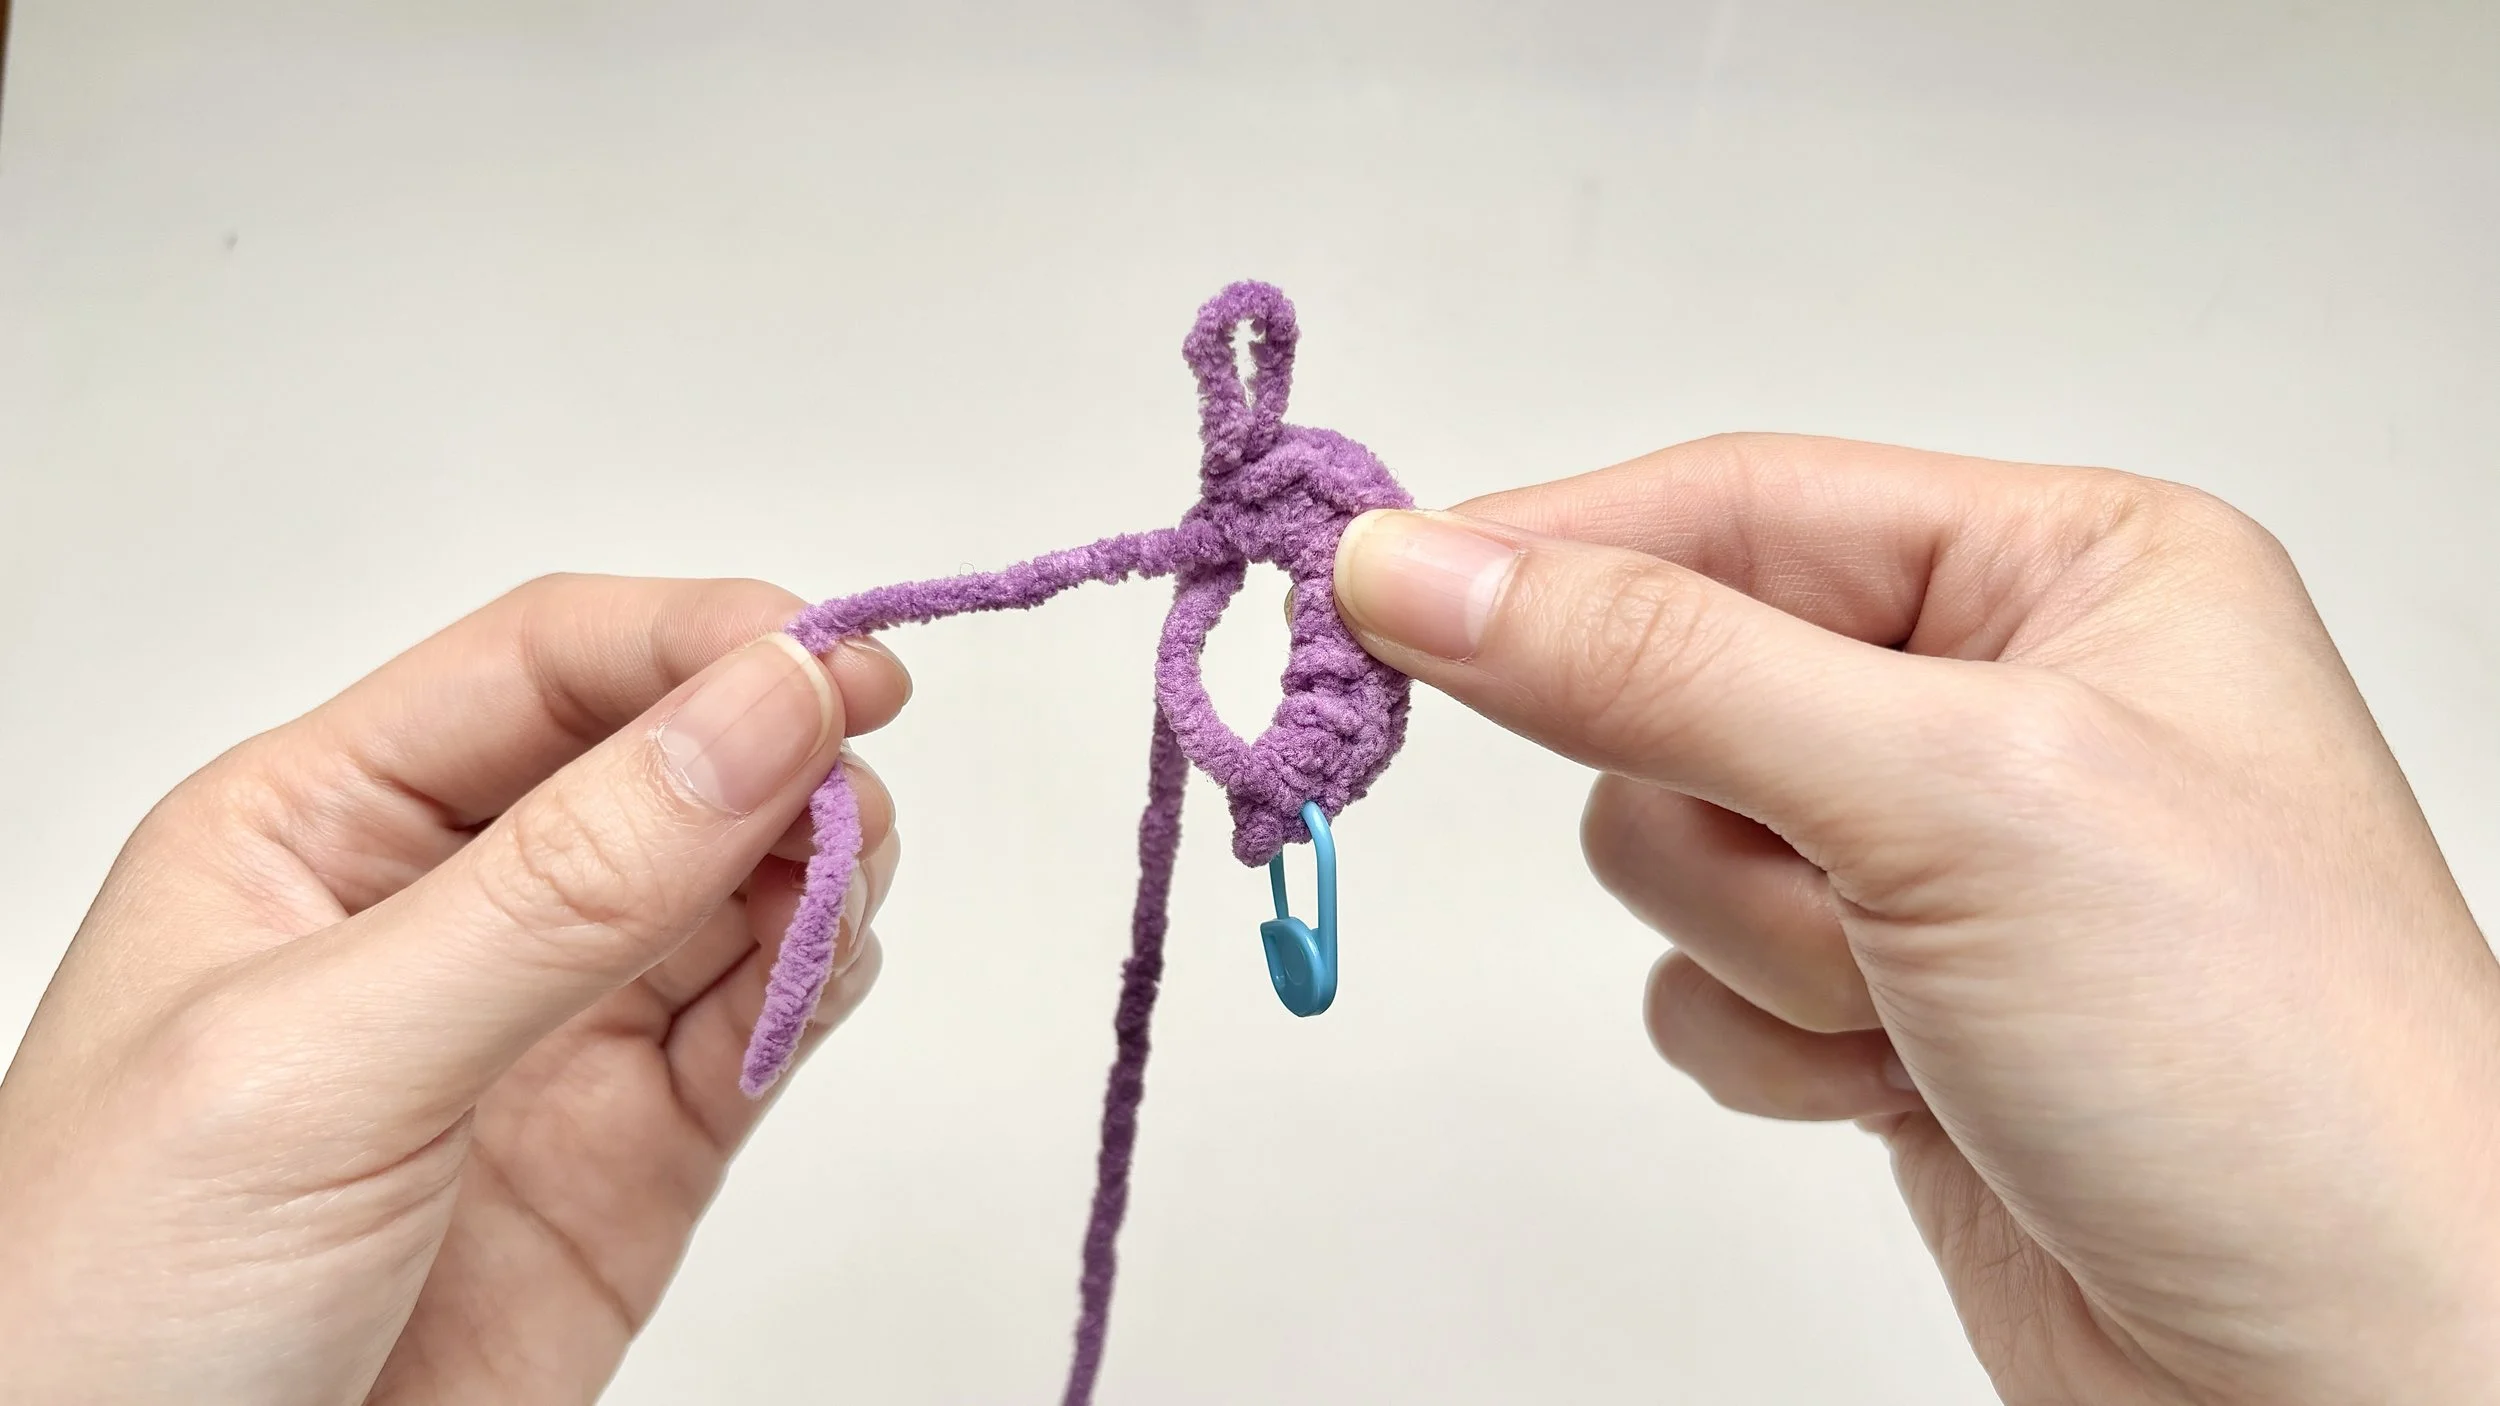
When all your stitches are done, put the hook down.
Hold the stitches securely with your right hand, and with your left hand pull the yarn tail firmly to close the center of the ring.
Done right, it closes with no visible hole, giving you a smooth, even foundation.
Step 17:
Start your next round
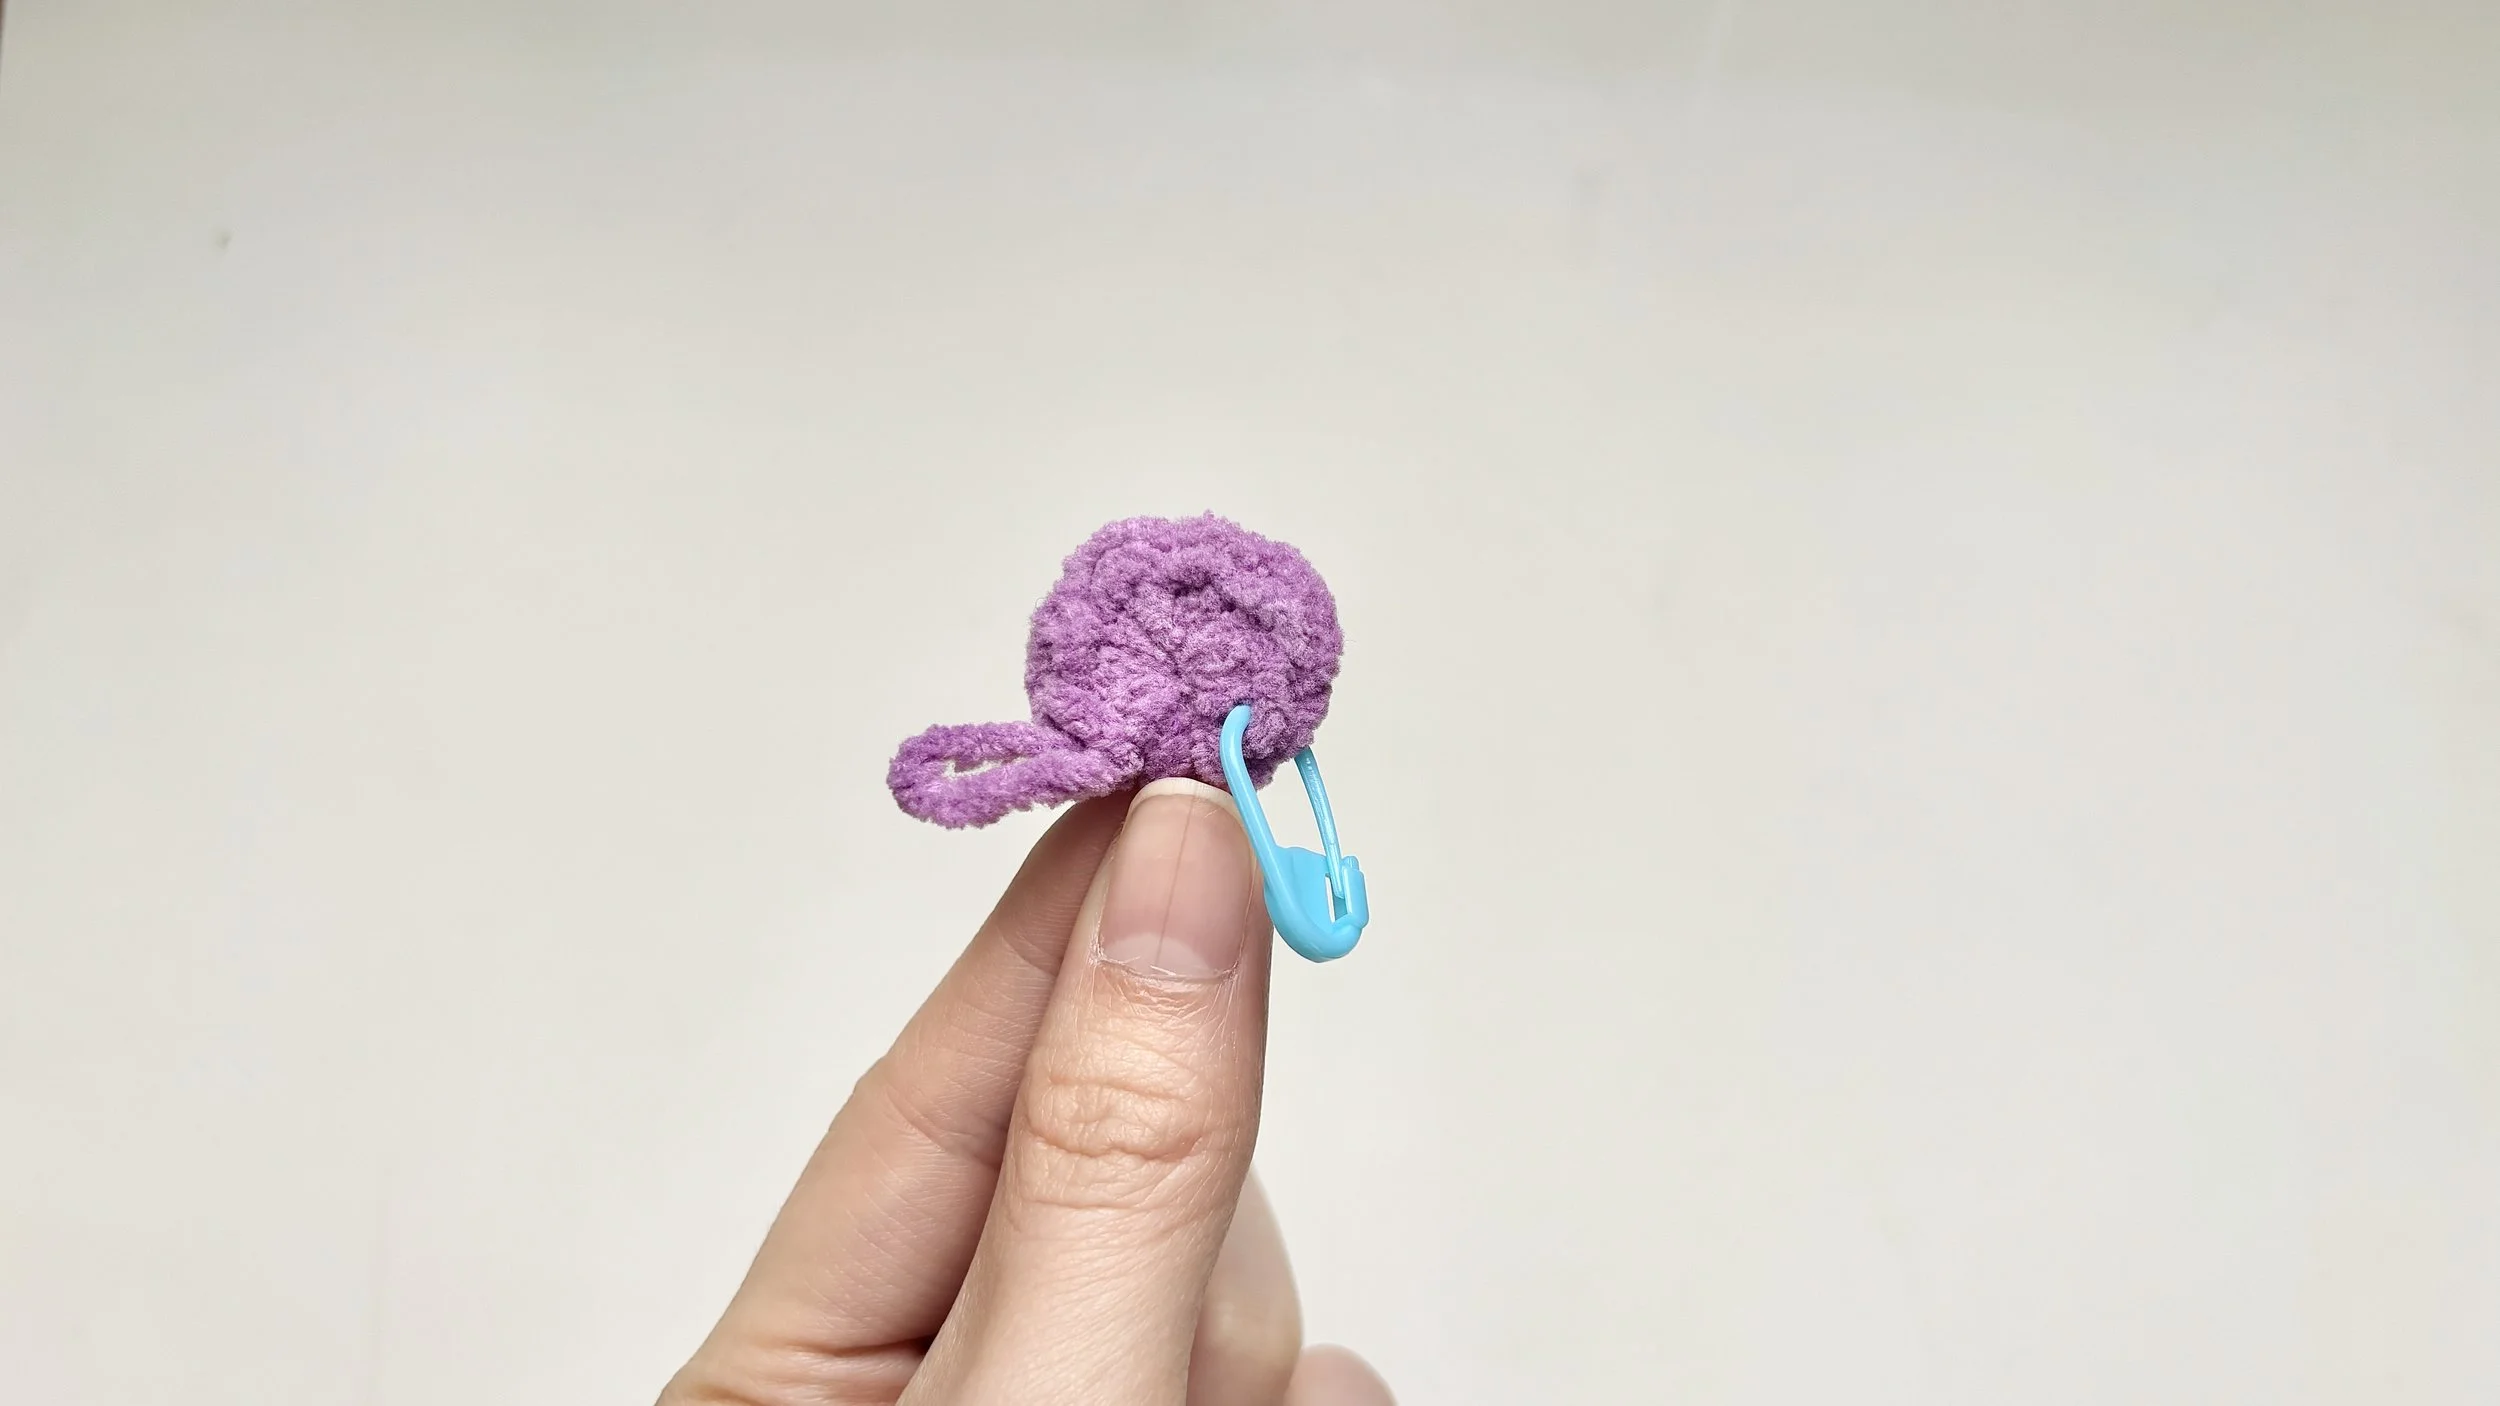
Now that Round 1 is done, you can begin Round 2 by working into its first stitch.
A stitch marker makes that first stitch easy to find — see the stitch marker lesson.
The magic ring is the trickiest start in crochet — if it took you a few tries, you’re in very good company.
Once it clicks, you’ll have it for every project that begins in the round.
We’re right here with you every step of the way.