
How to add safety eyes
Safety eyes are small plastic eyes that give your amigurumi its cute, full-of-life look. They attach with a firm push but are very hard to remove, so place them carefully. They come in many sizes, colors, and shapes — the size in millimeters is the width of the eye.
Watch the lesson
The heart of it
Safety eyes lock on permanently. Place them and check the position from the front before you ever press the backing on.
Warning: Despite the name, safety eyes can be a choking hazard. They are not suitable for toys given to babies or children under 3. If your finished make is for a small child, embroider the eyes with yarn instead.
Step-by-step instructions
The two parts
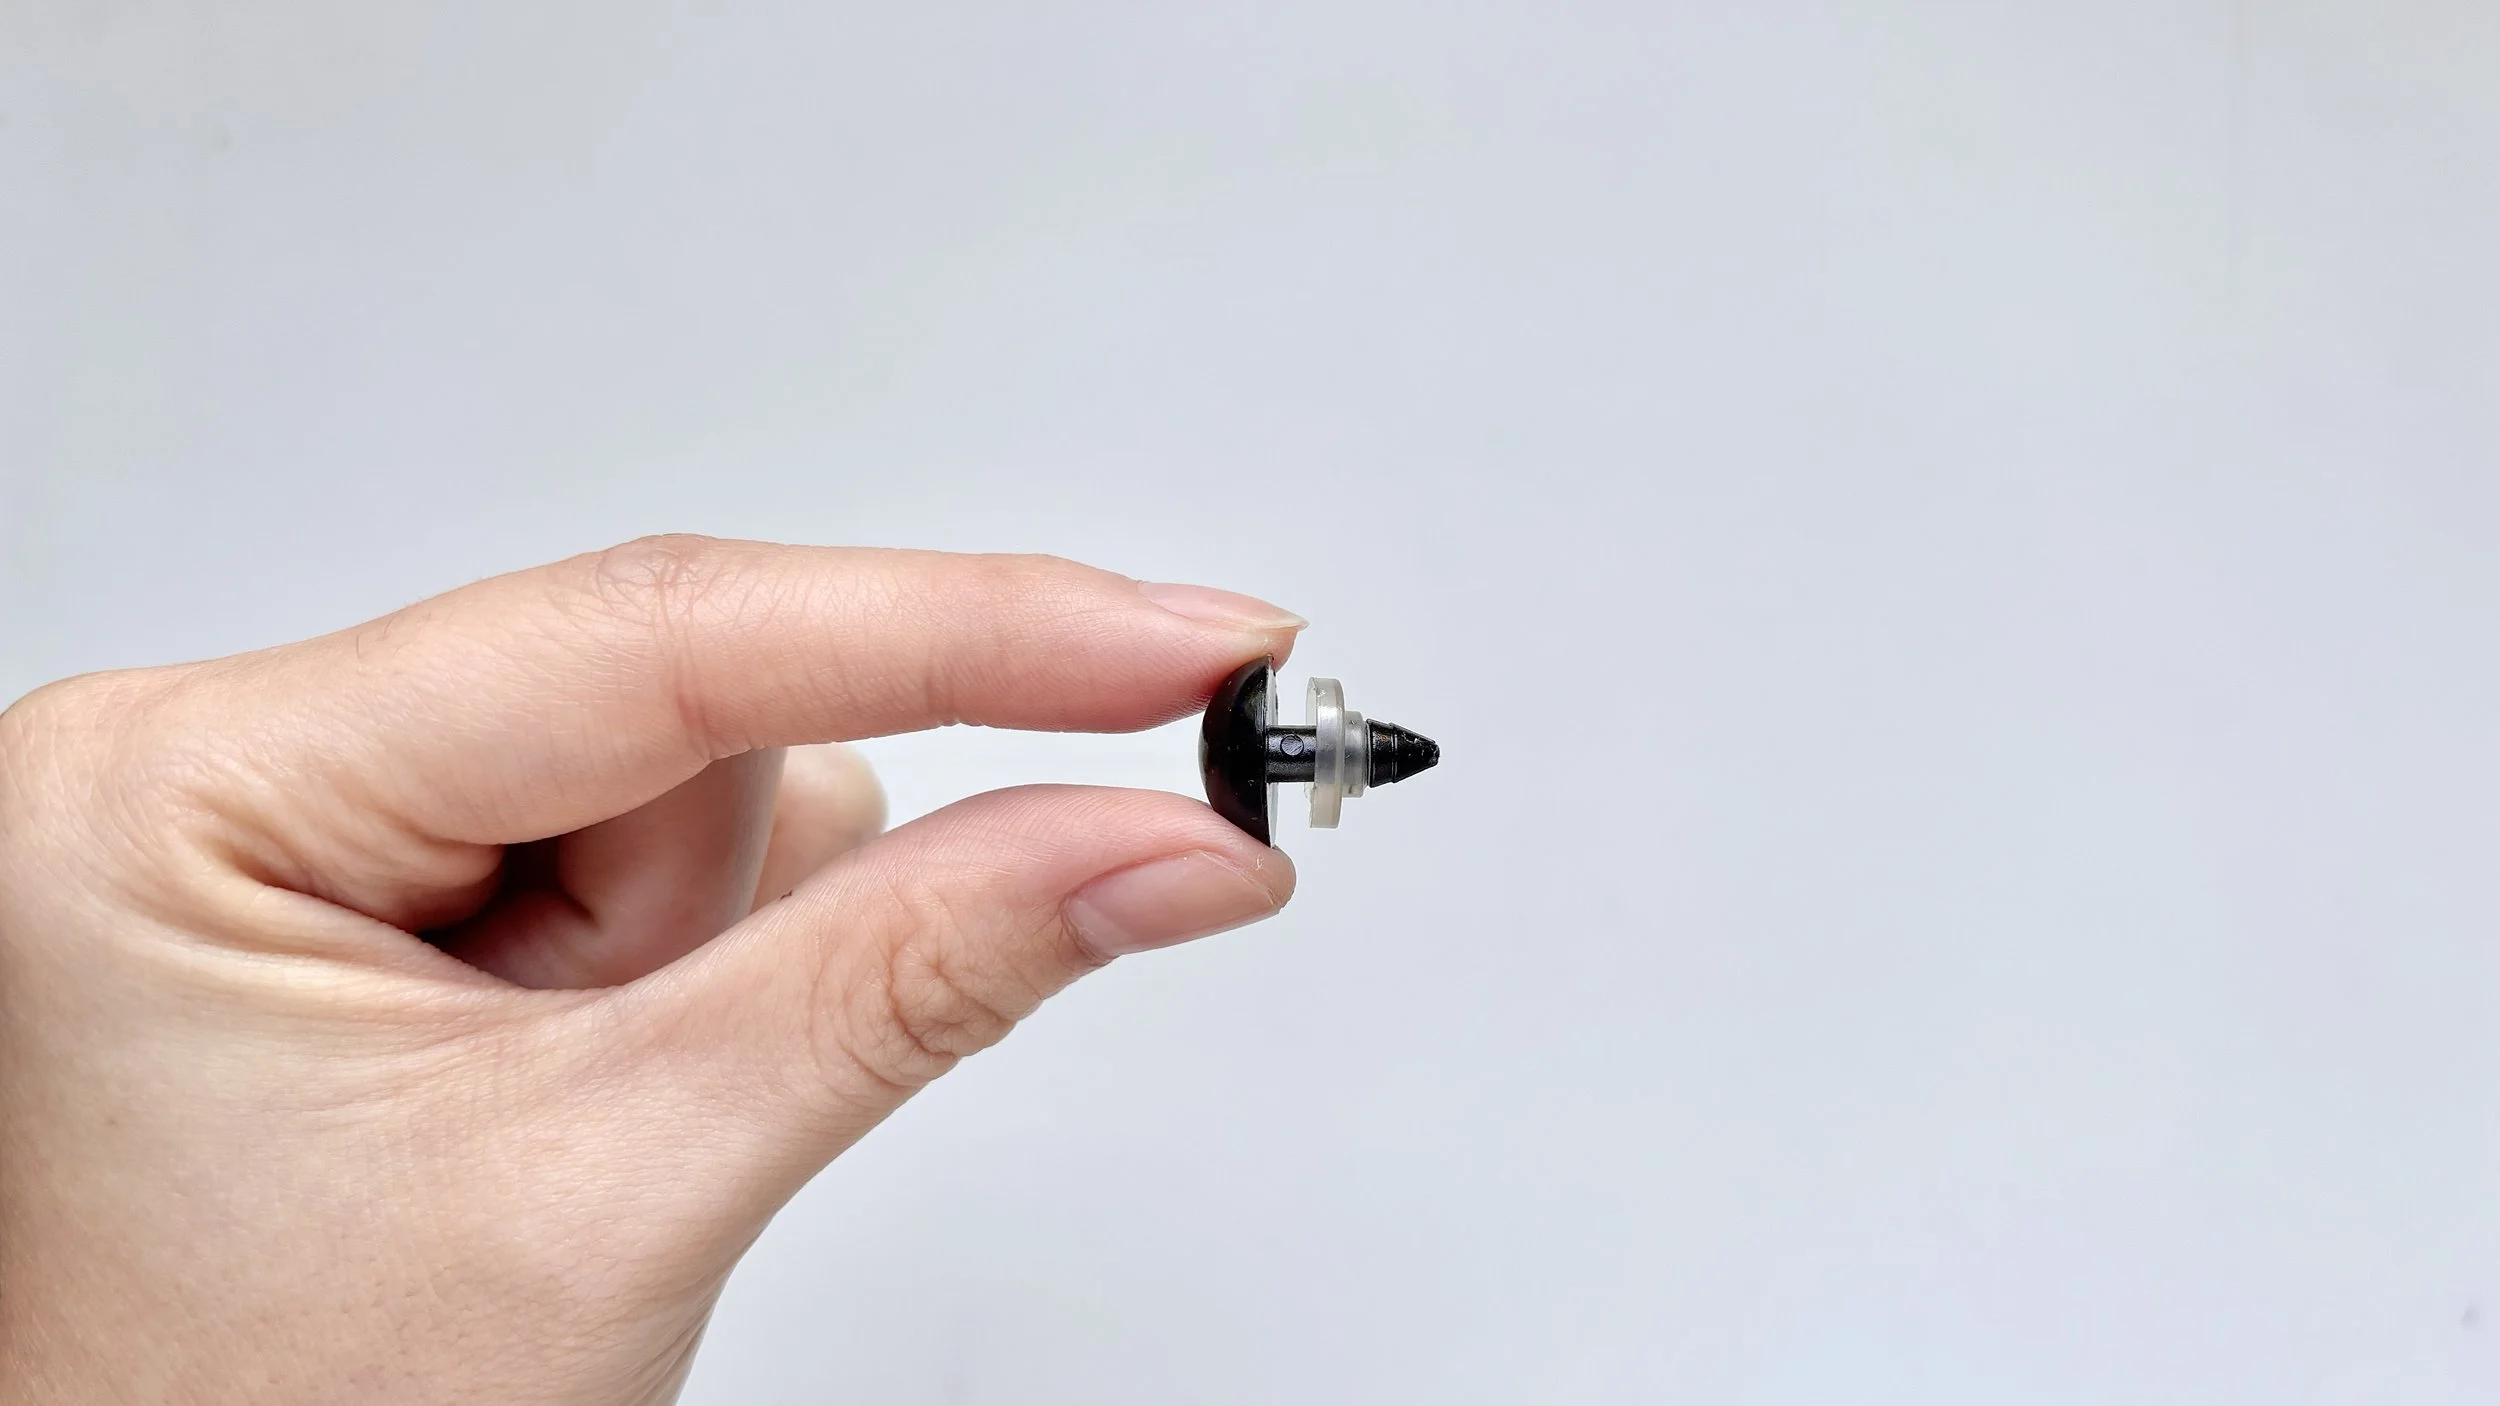
Each safety eye has two parts: the eye, with a stem on the back, and the backing washer that locks onto it.
Step 1:
Place the first eye
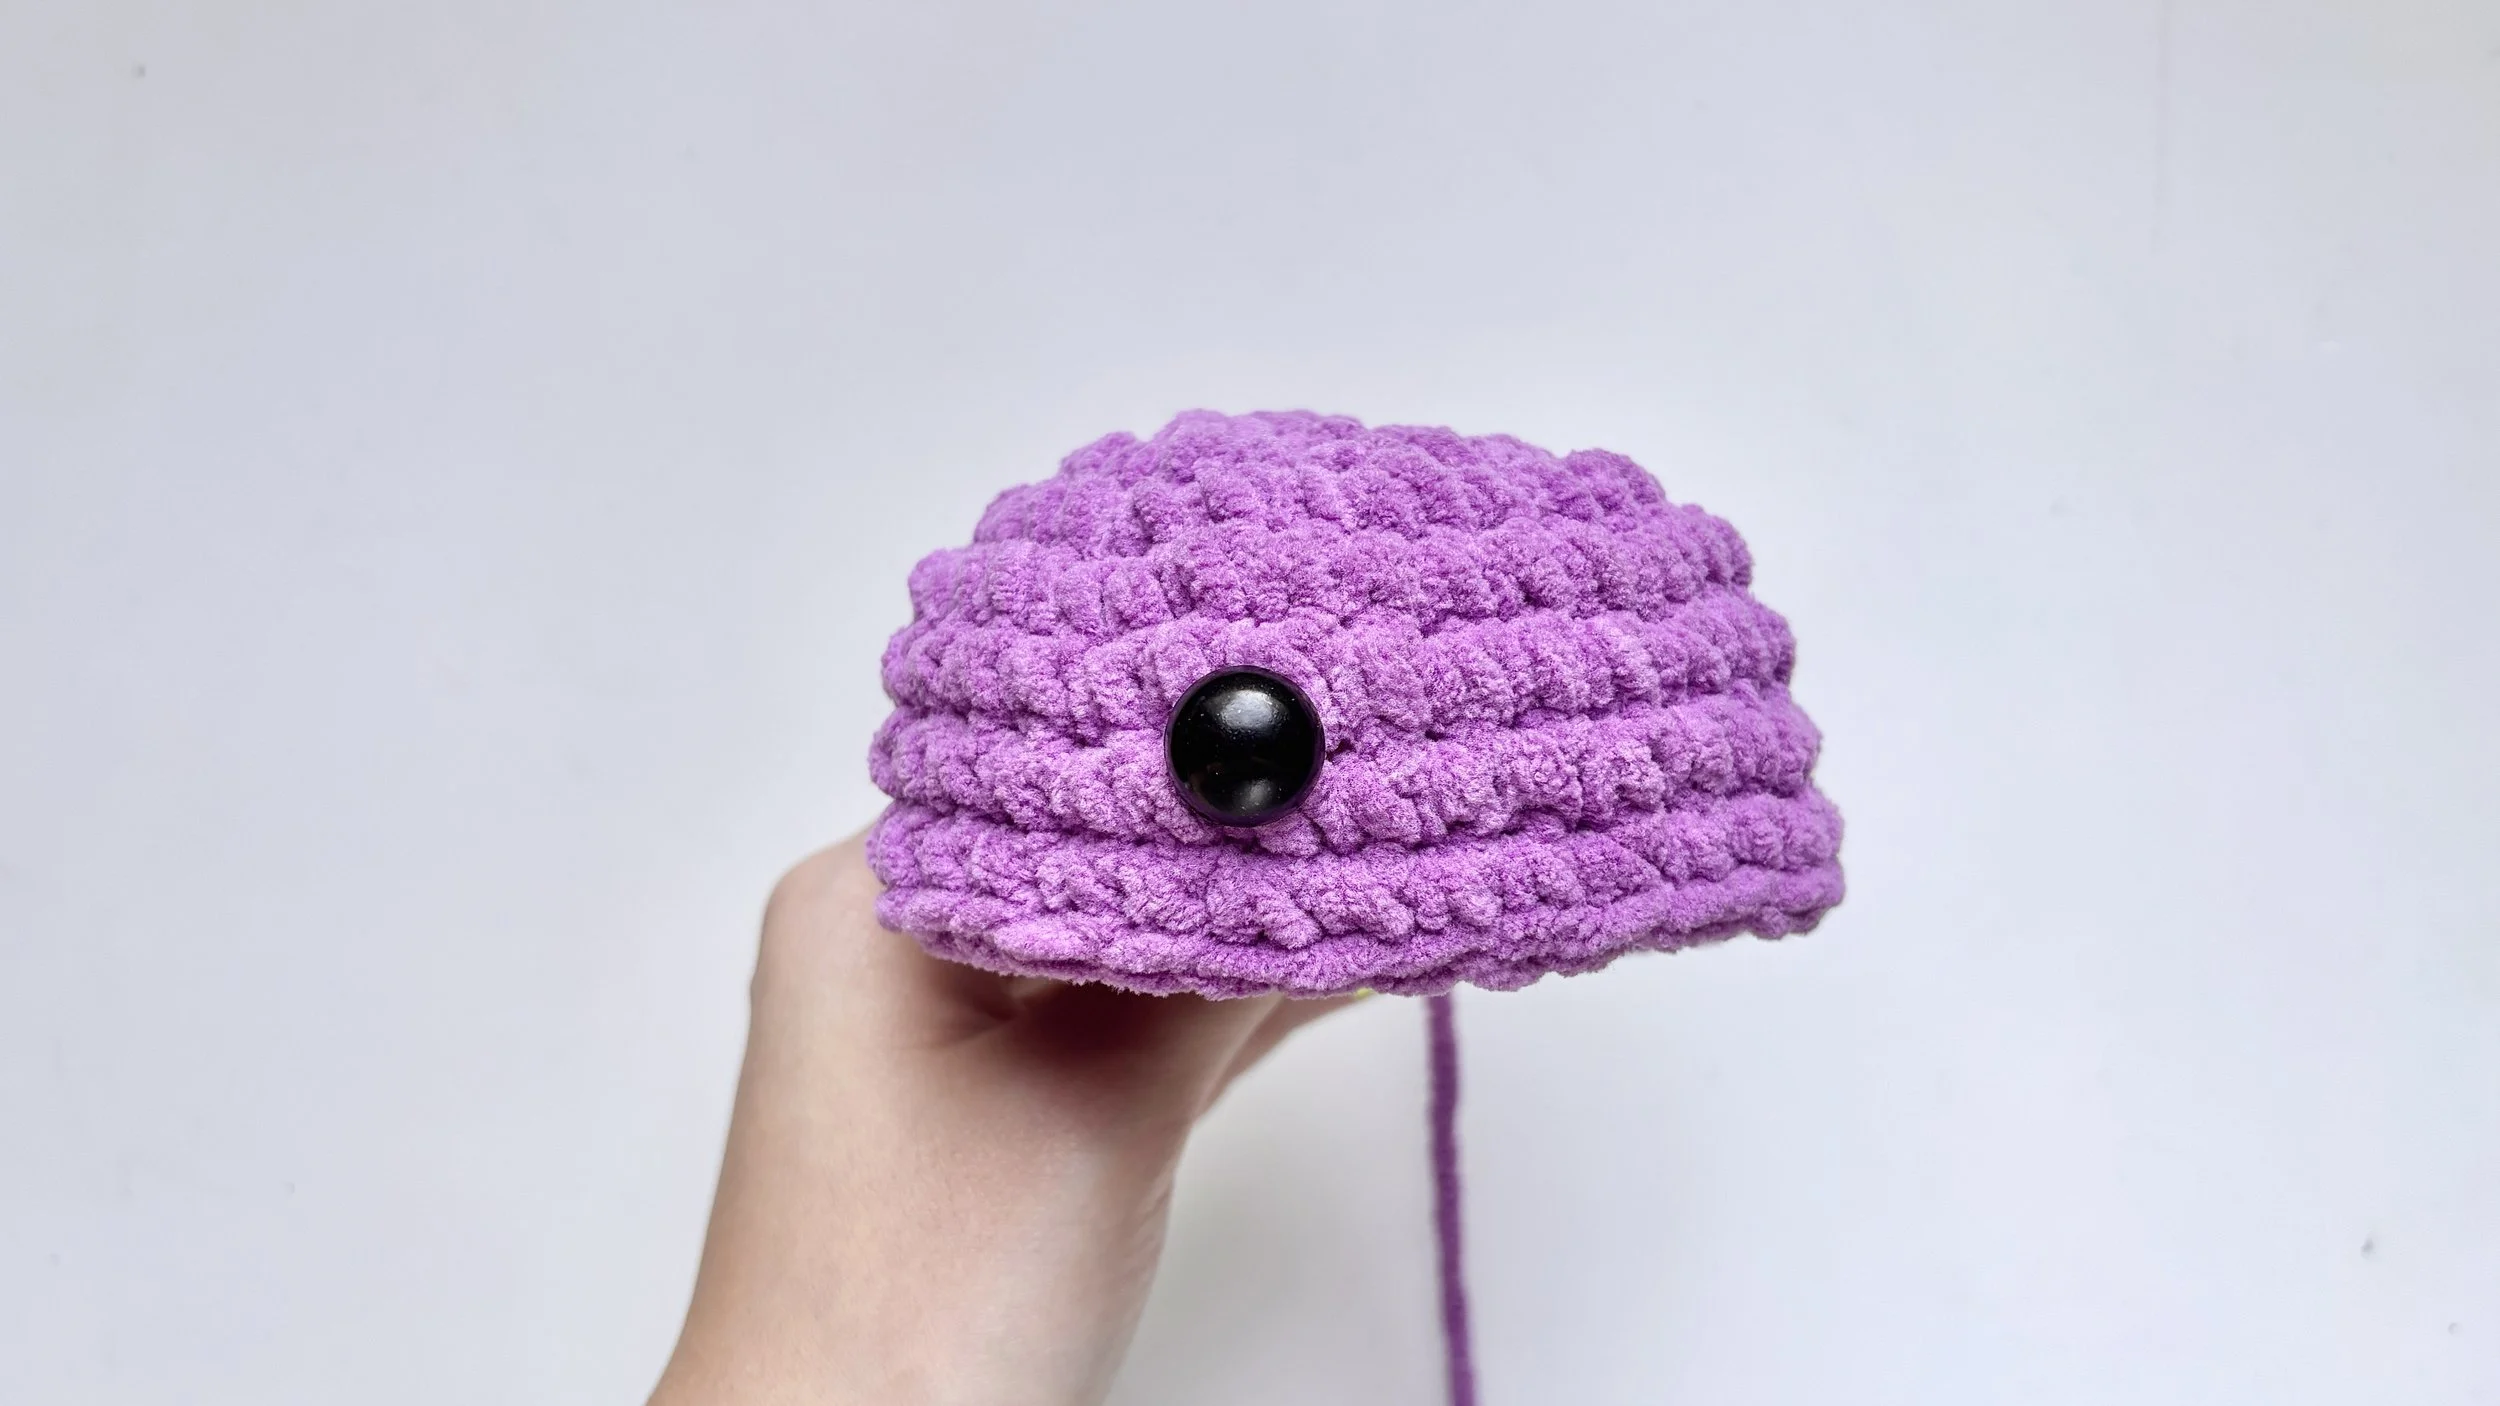
With the right side of your piece facing you, push the first eye’s stem between two stitches, where your pattern shows.
Step 2:
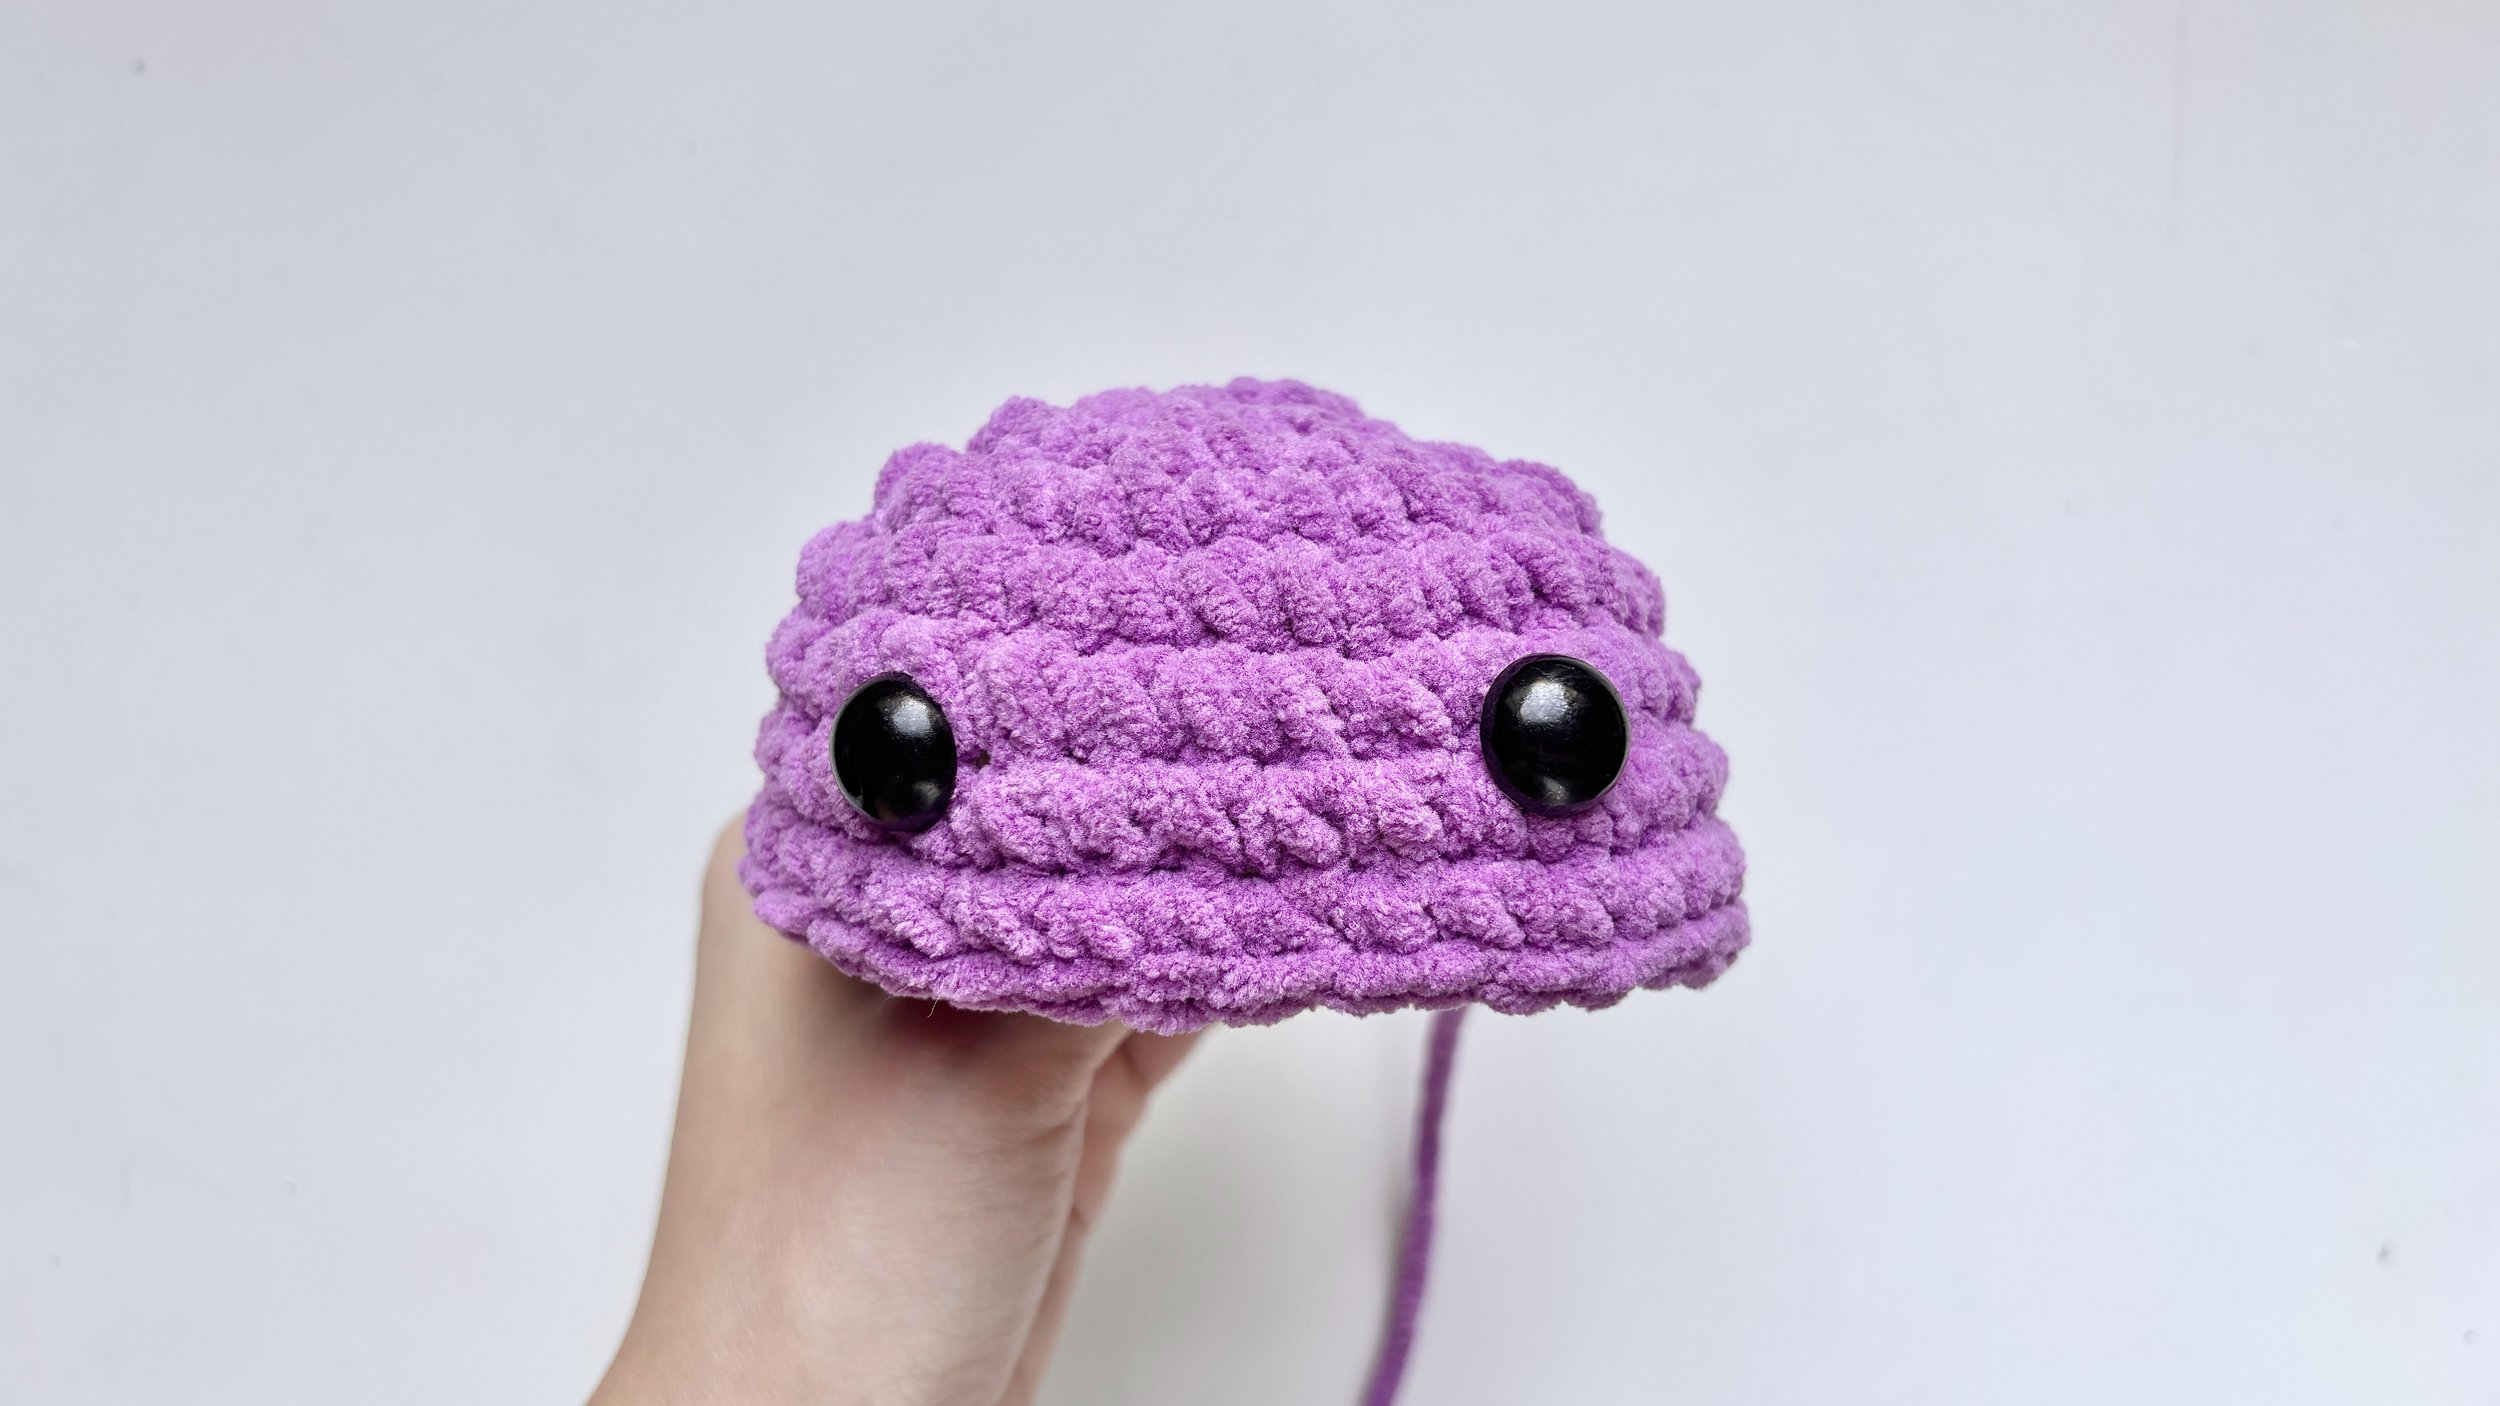
Place the second eye
Add the second eye.
Count the gaps between stitches so both eyes are evenly spaced.
Adjust until they look right to you — once the backing is on, they can’t move.
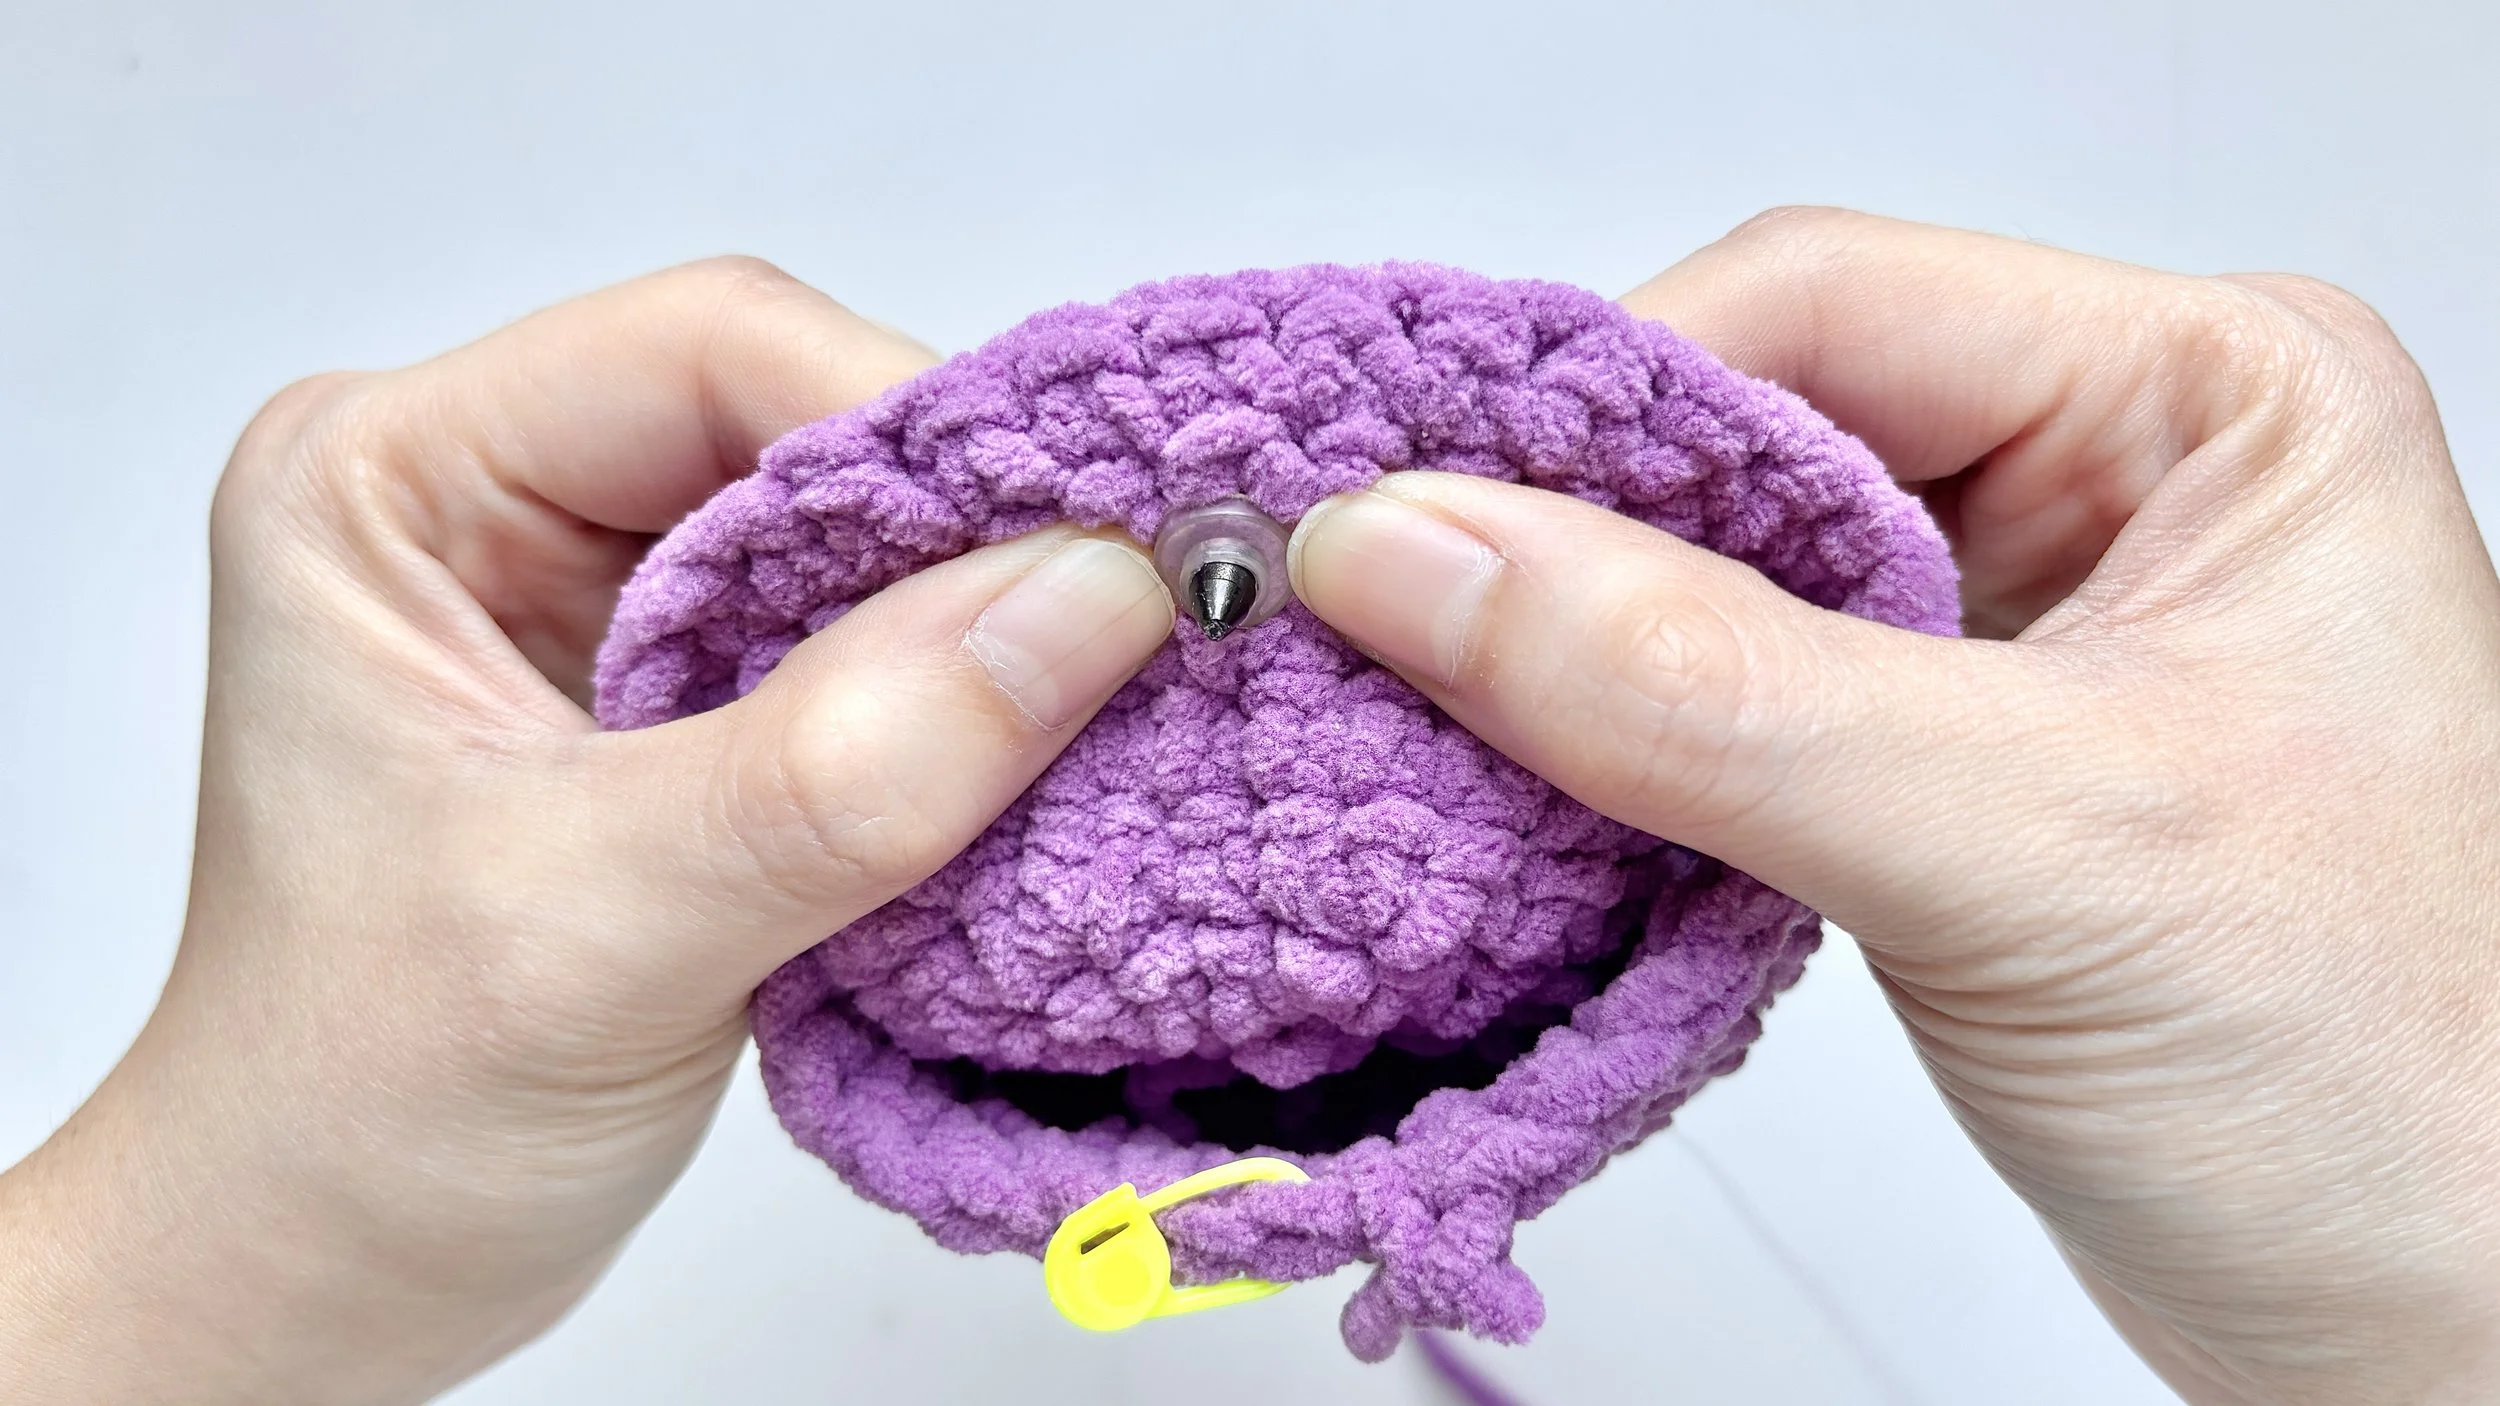
Step 3:
Add the backing
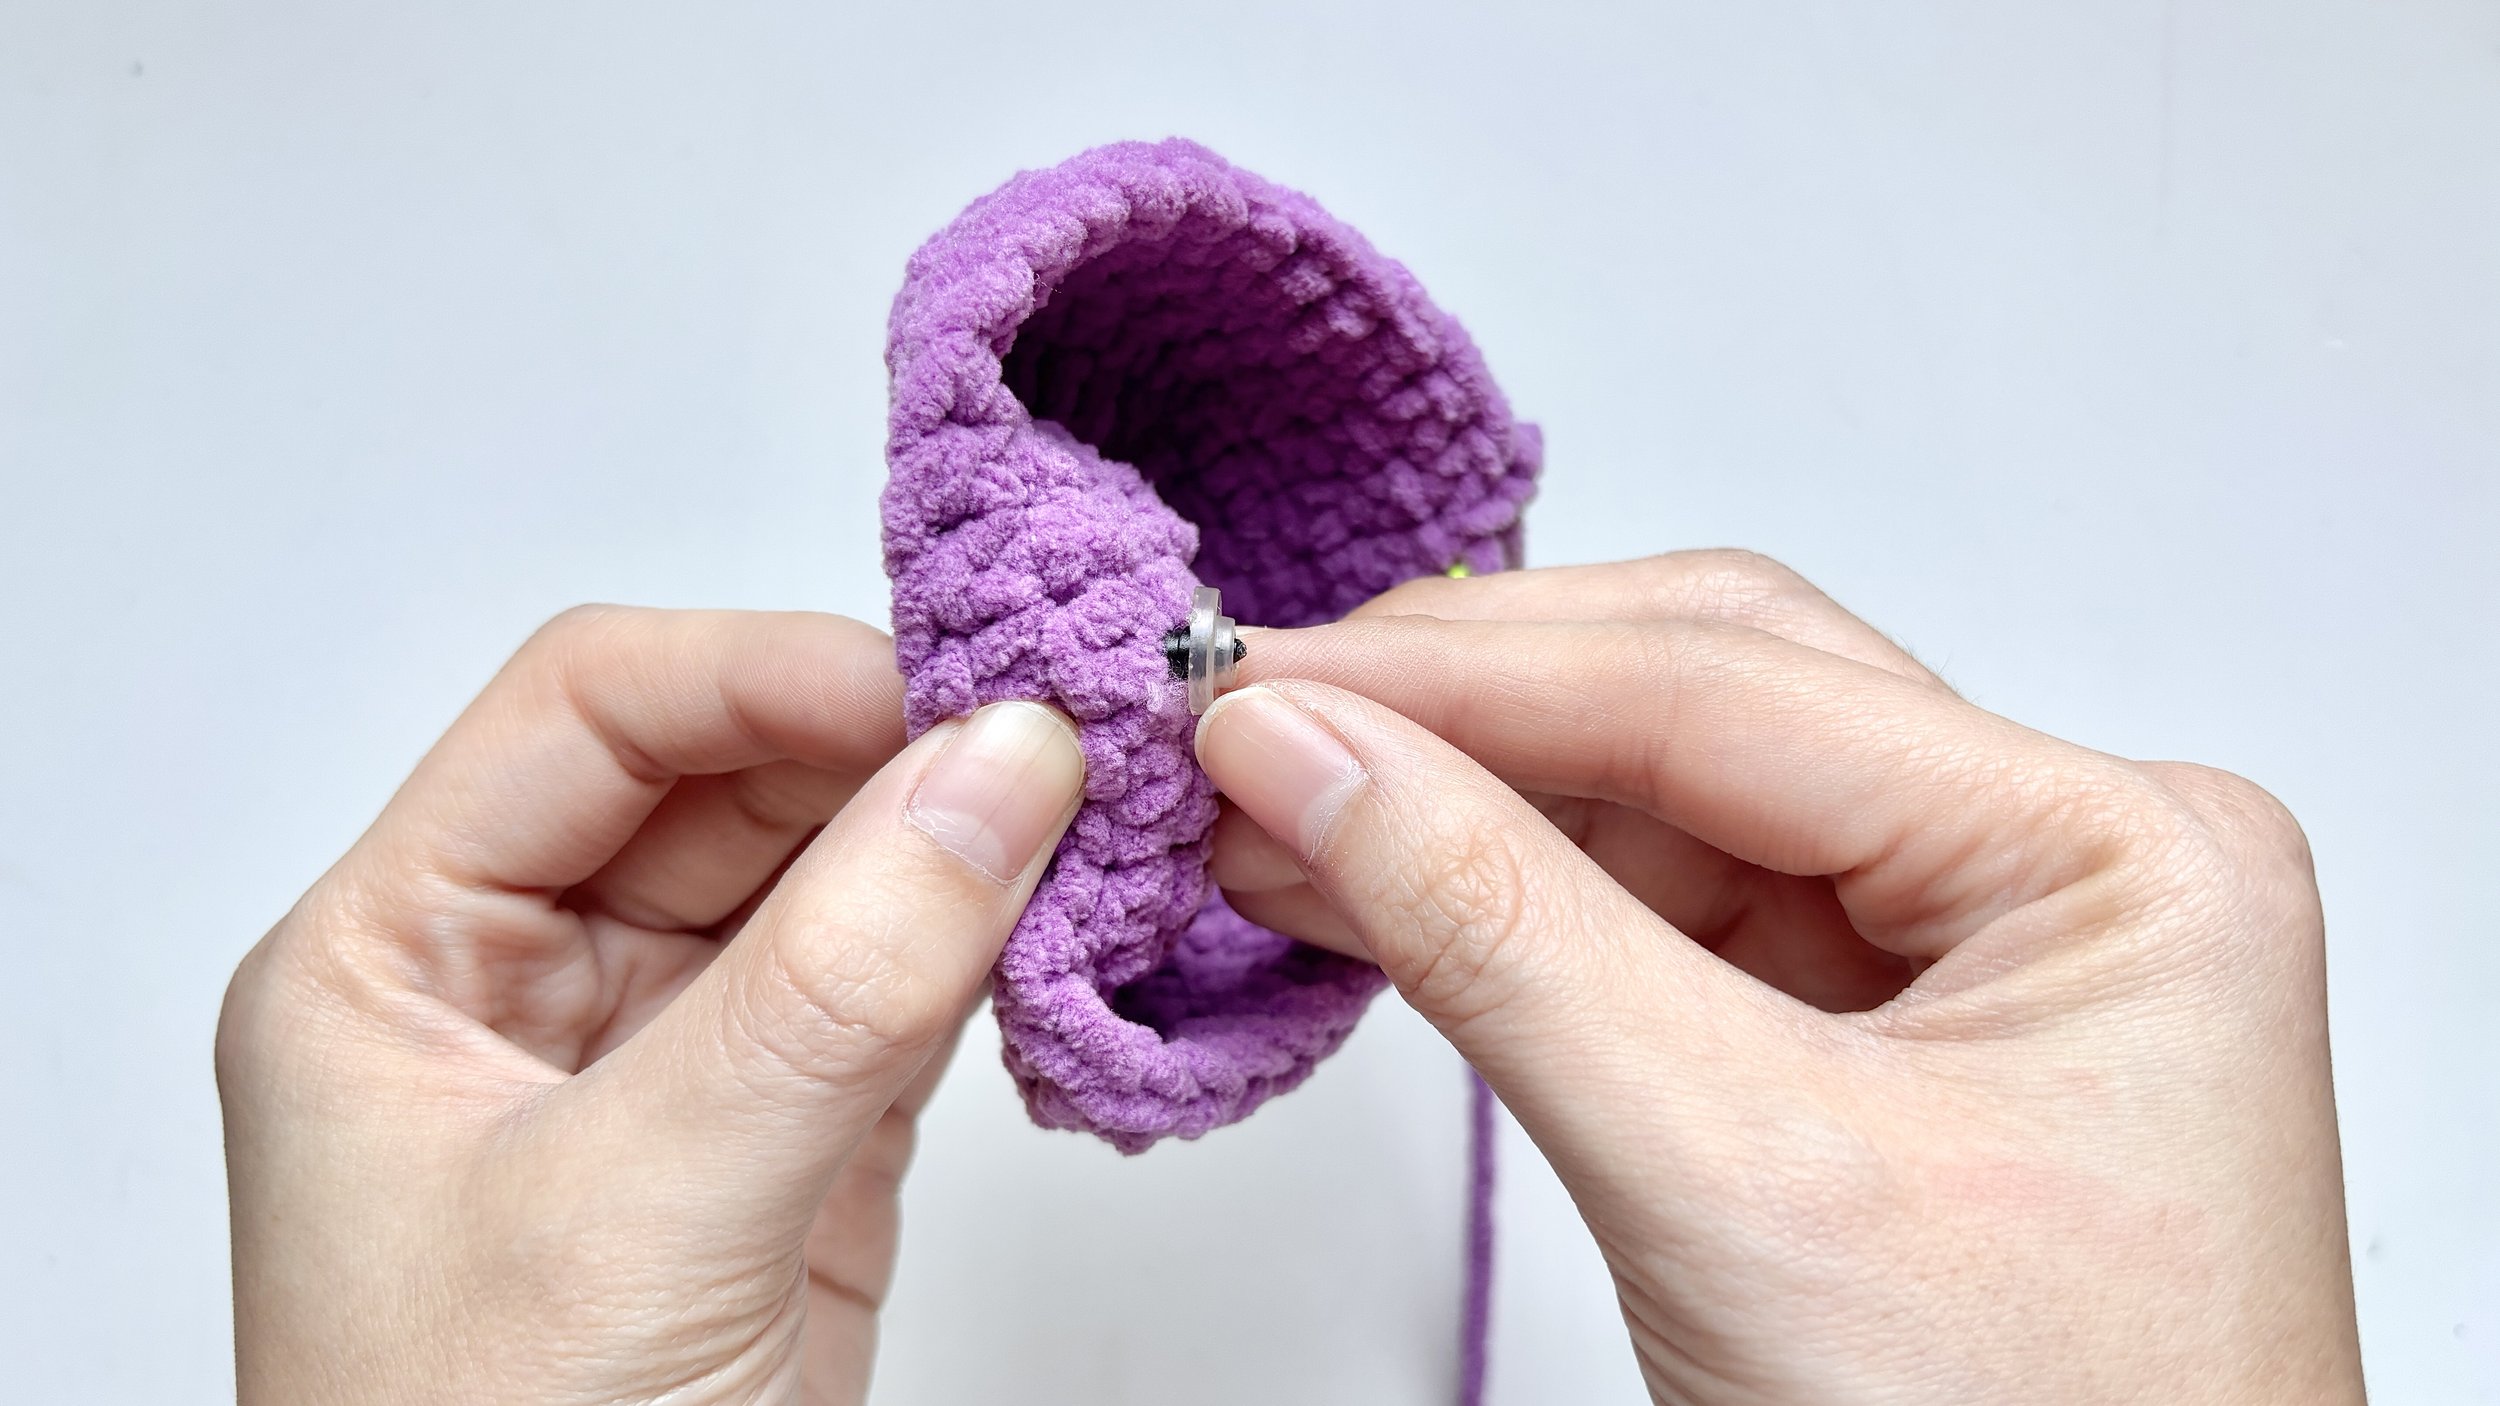
Turn your piece so you’re working from the inside.
Slide the backing onto the stem of each eye, flat side against the yarn.
Step 4:
Lock it in
Press the backing down firmly until it snaps into place.
Push enough to lock it, but not so hard that it changes the shape of your piece.
That’s your amigurumi looking back at you!
Take your time lining the eyes up — it’s the small detail that gives your make its personality.
We’re right here with you every step of the way.