
How to use a stitch marker
A stitch marker is a small but very helpful tool every crocheter should have. It marks a specific stitch — usually one you’ll need to find again later — so you can keep track of your work, especially when you’re crocheting in the round.
When you work on circular pieces, it can be hard to tell where a round begins or ends. That’s where a stitch marker helps. Place it in the first stitch of each round to mark your starting point.
Watch the lesson
The heart of it
Mark the first stitch of each round. As long as you know where the round starts, you’ll know where it ends — and you can count back to the marker if you lose your place.
Step-by-step instructions
Step 1:
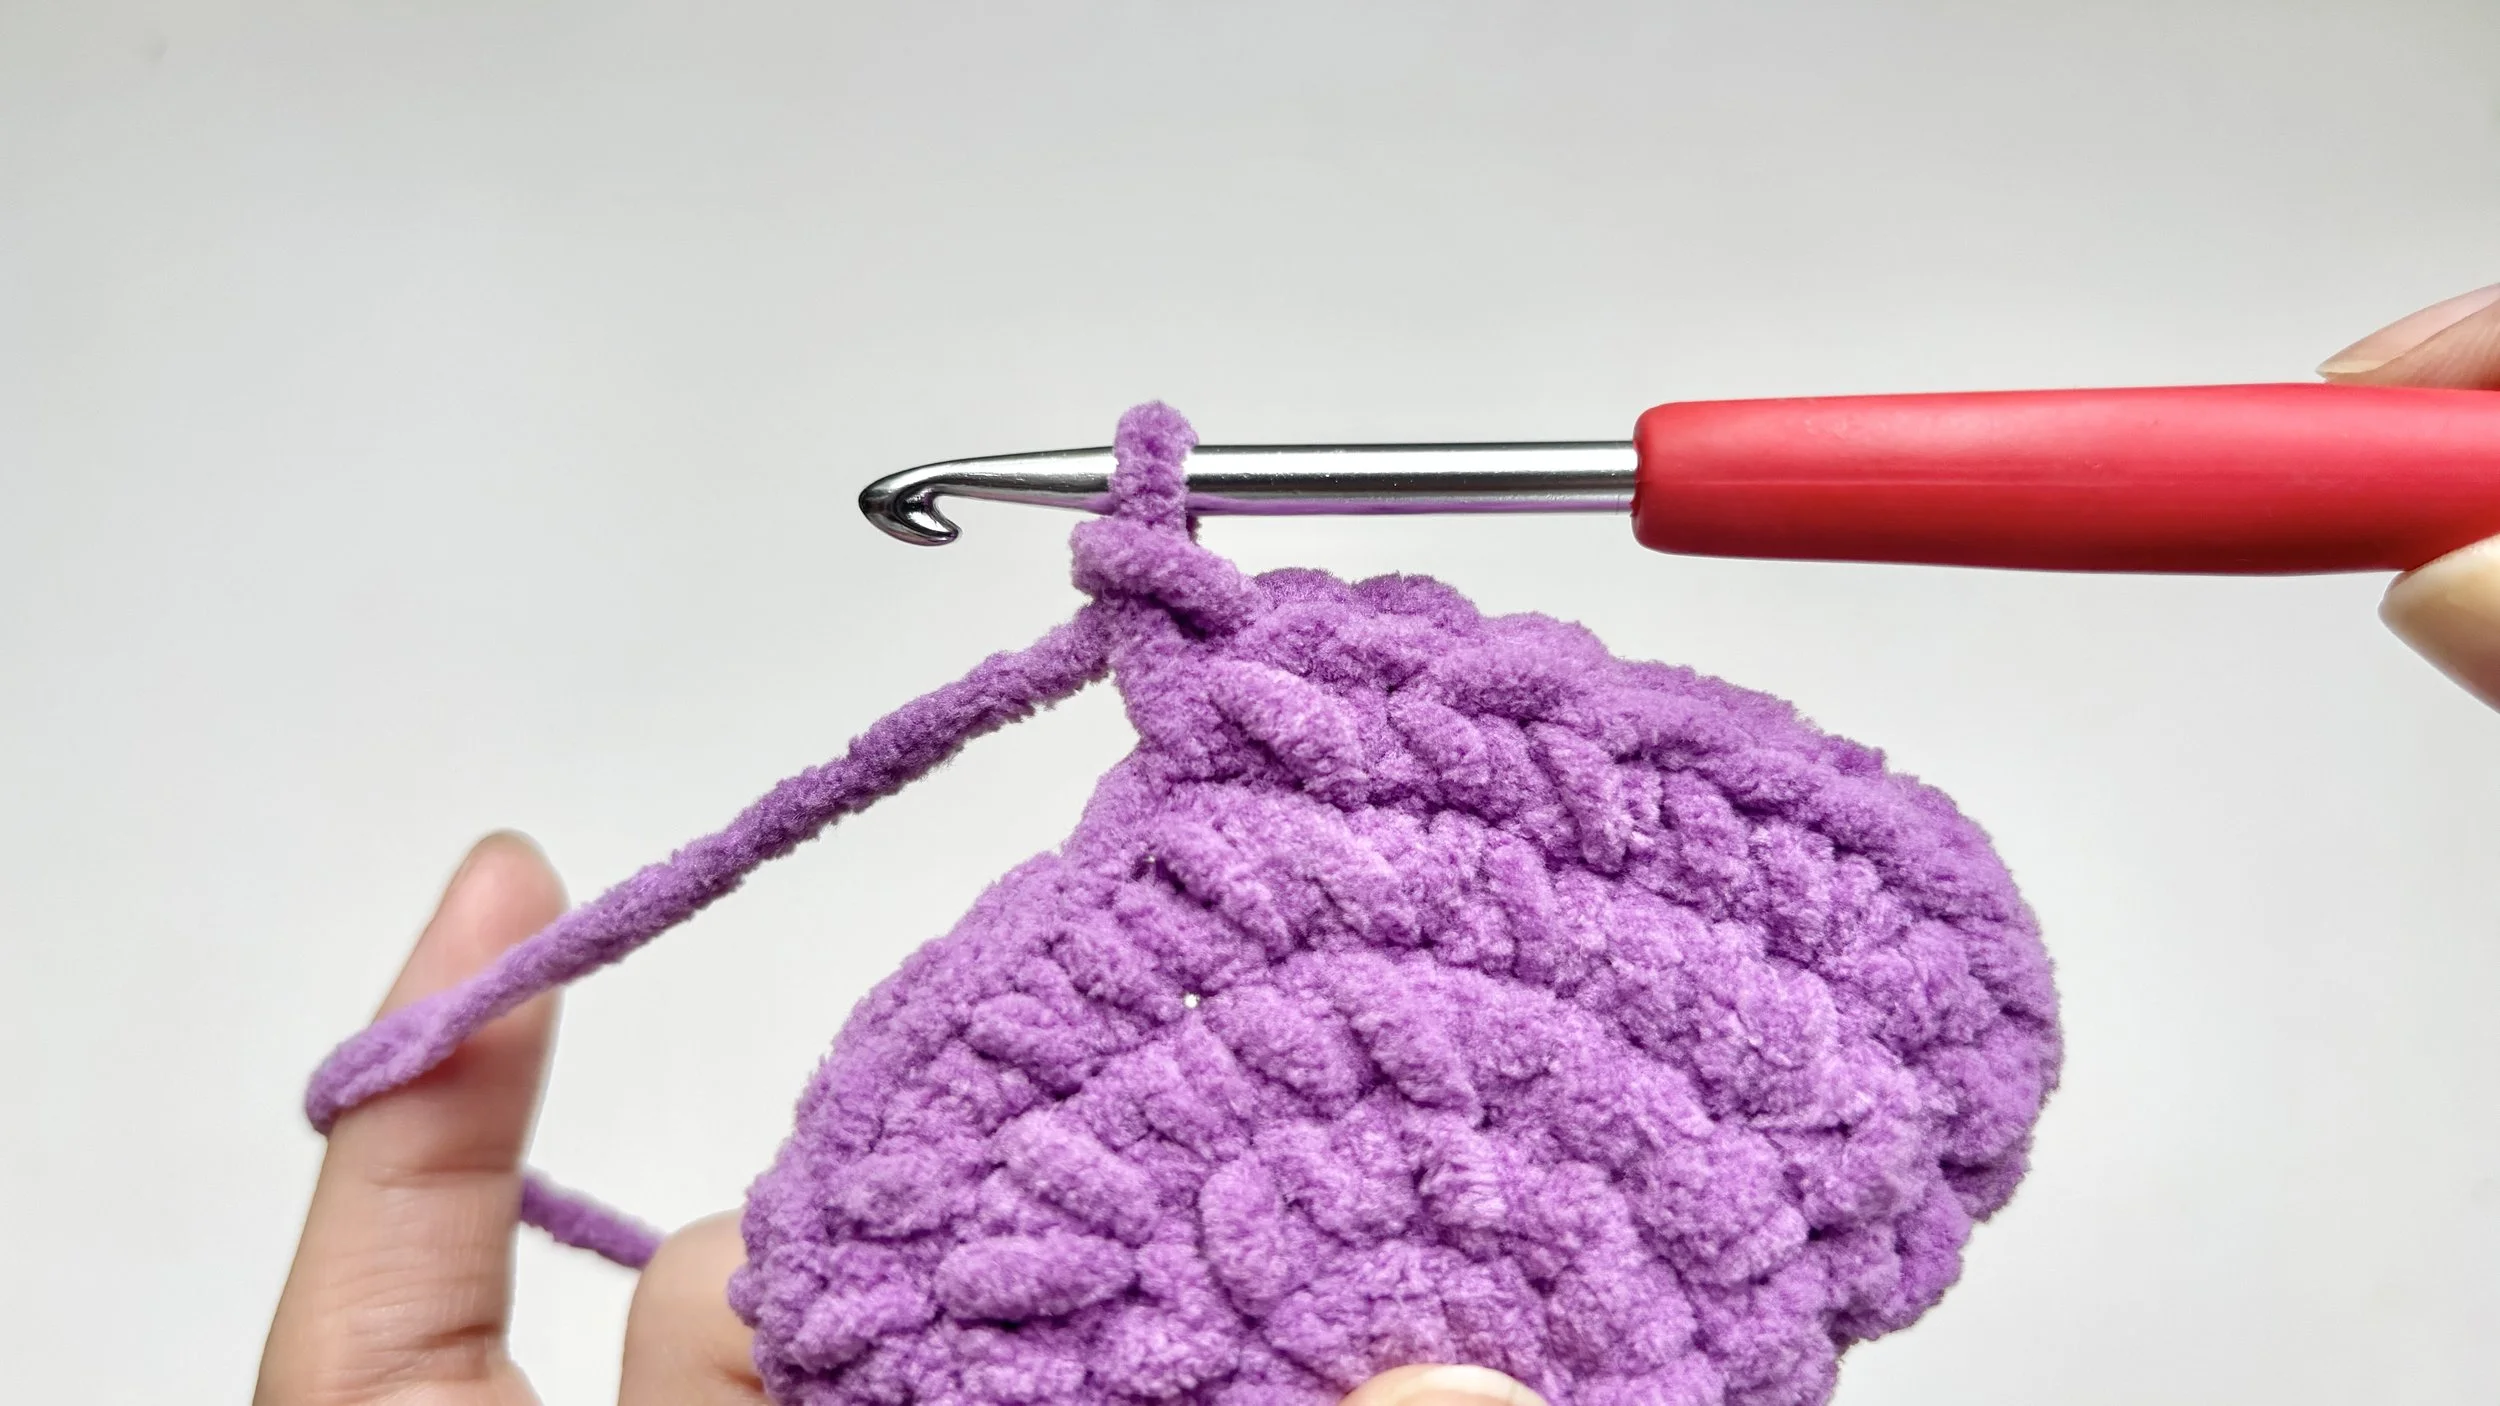
Mark the first stitch
Crochet the first stitch of your new round.
This is the stitch you’ll mark, so you can find where the round begins.
Step 2:
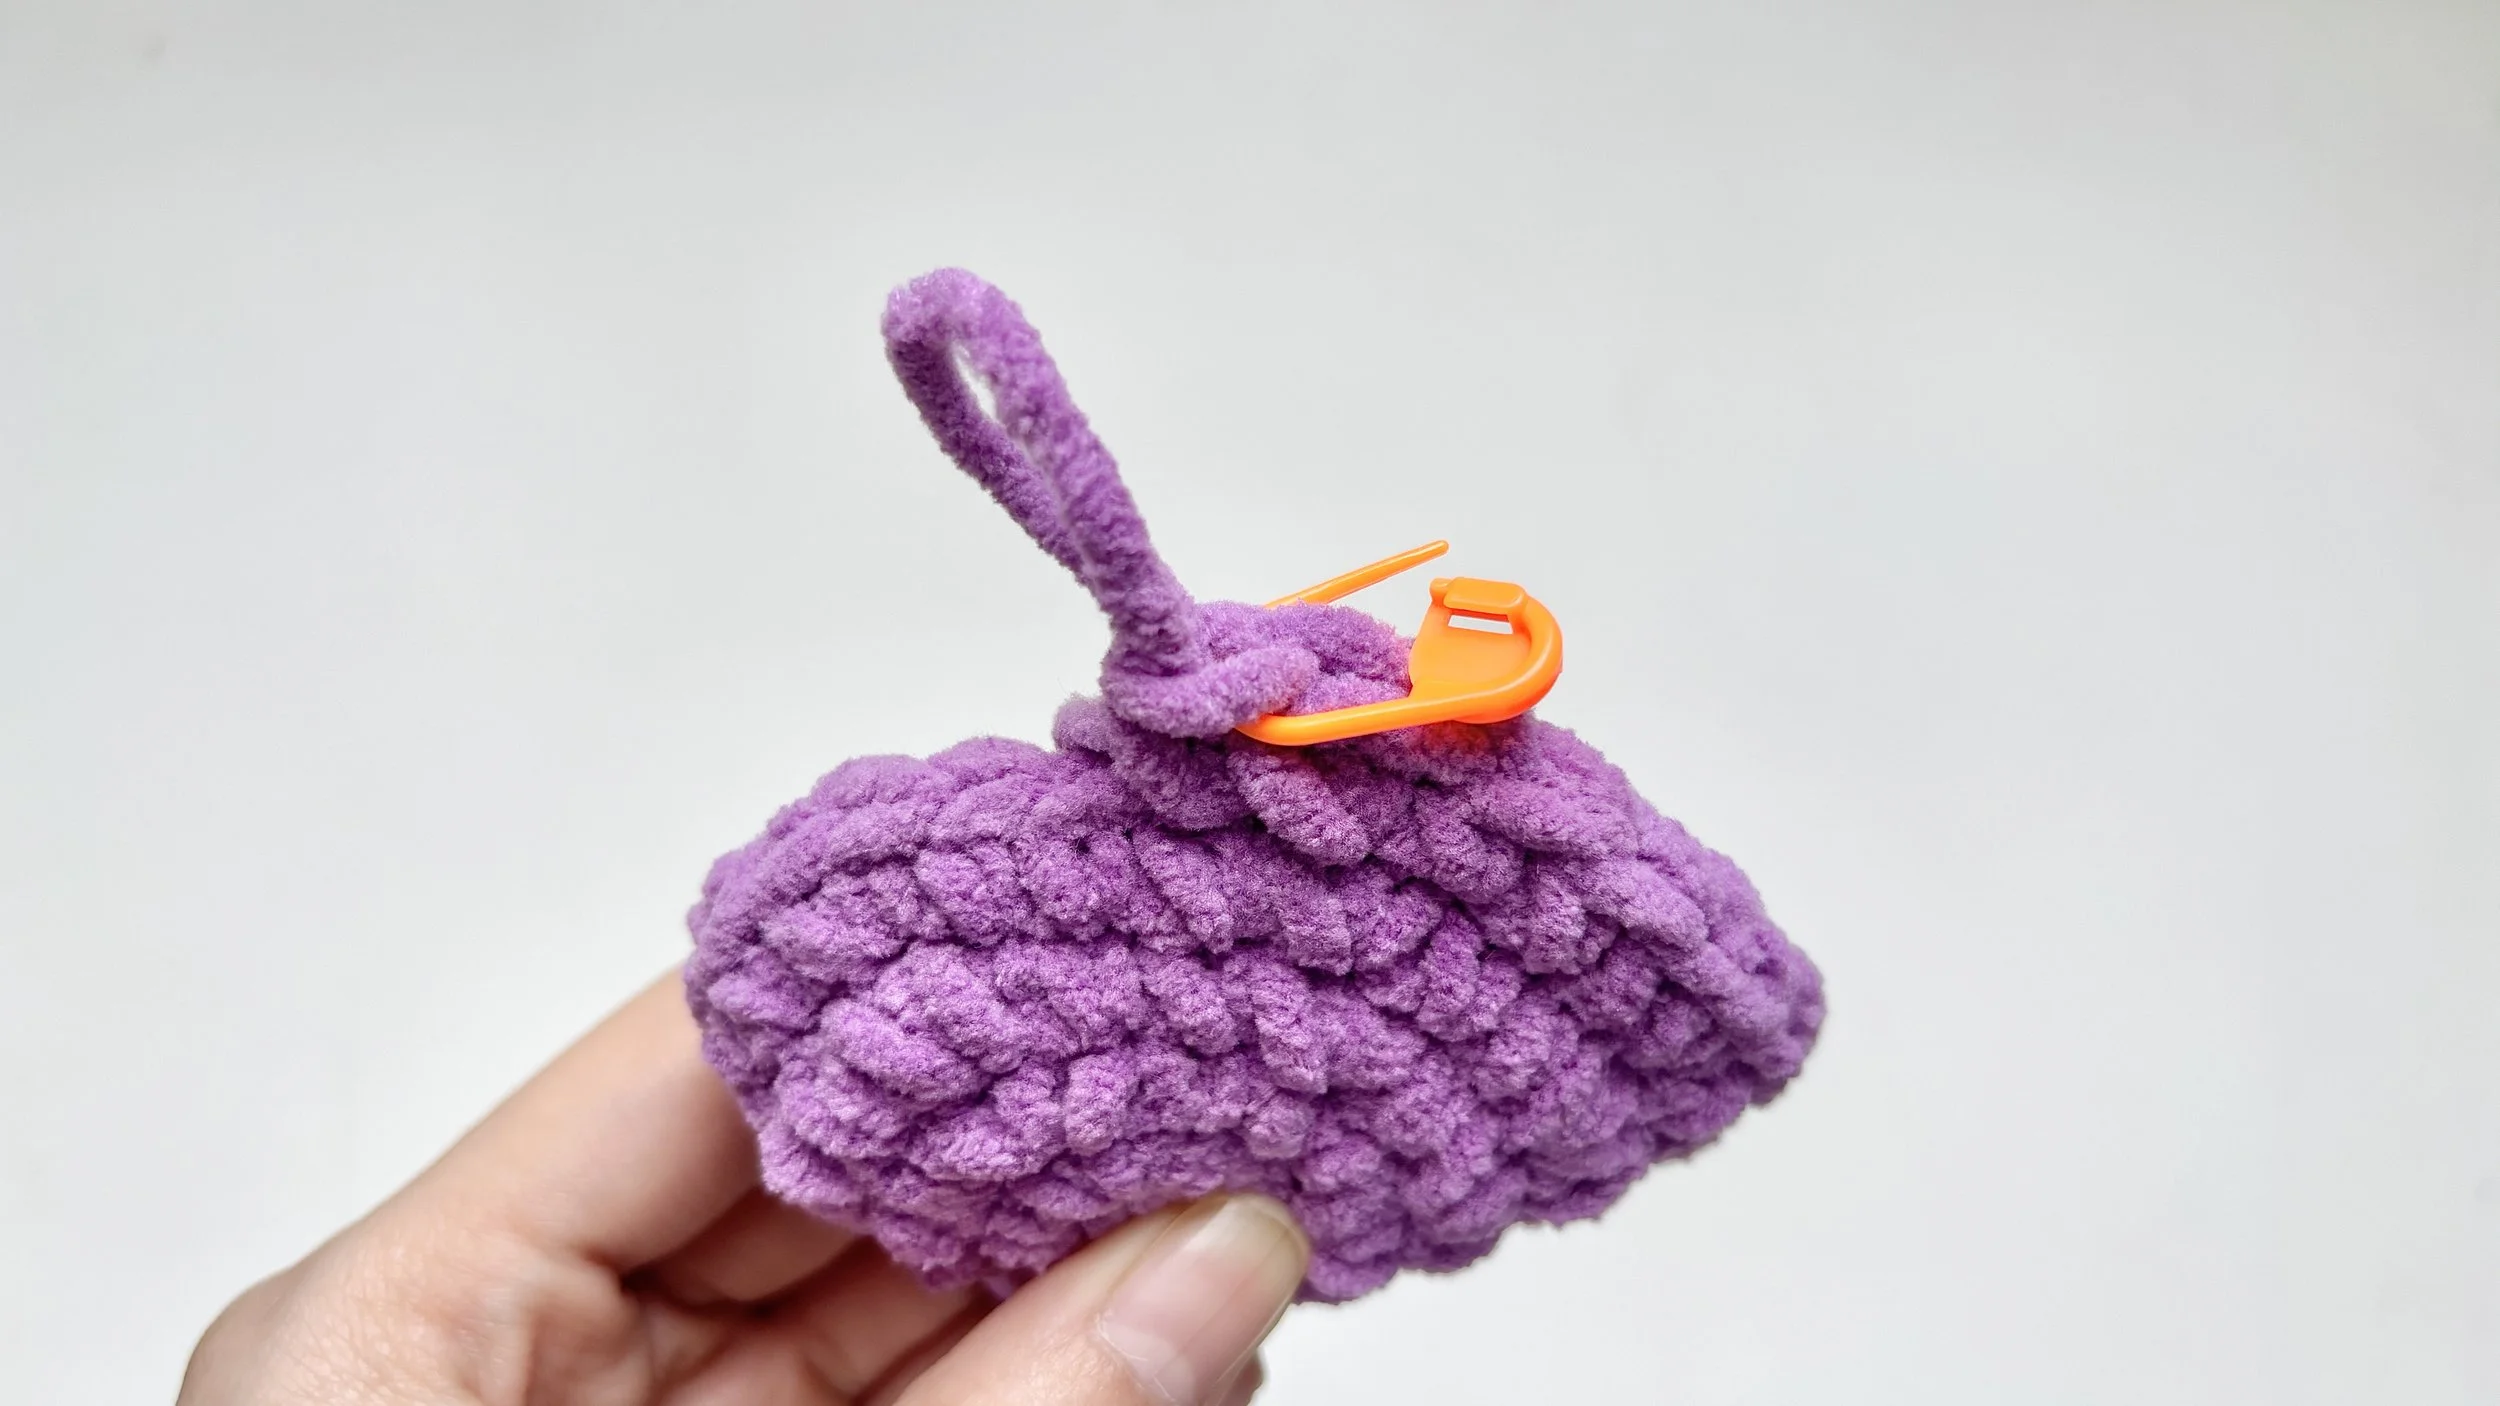
Slot the marker in
Insert the stitch marker under both top loops of that stitch — the two strands that form the little V on top.
It works like a small safety pin: slip the tip through the loops.
Step 3:

Close the marker
Press it gently to close so it locks in place.
This stops it slipping out while you crochet.
Step 4:
Carry on crocheting the rest of the round as usual.
When you reach the last stitch before the marked one, you’ve completed the round.
Finish the round
Tip: Now count your stitches to double-check your work.
Start from the marked stitch and count all the way around.
Remember: the loop on your hook doesn’t count as a stitch.
If the total matches your pattern, your round is complete.
Move the stitch marker up to the first stitch of the next round and keep going.
Repeating this each round keeps your work neat and accurate.
That’s all there is to using a stitch marker. With one little marker, you’ll always know where you are in your work.
We’re right here with you every step of the way.