
How to weave in ends
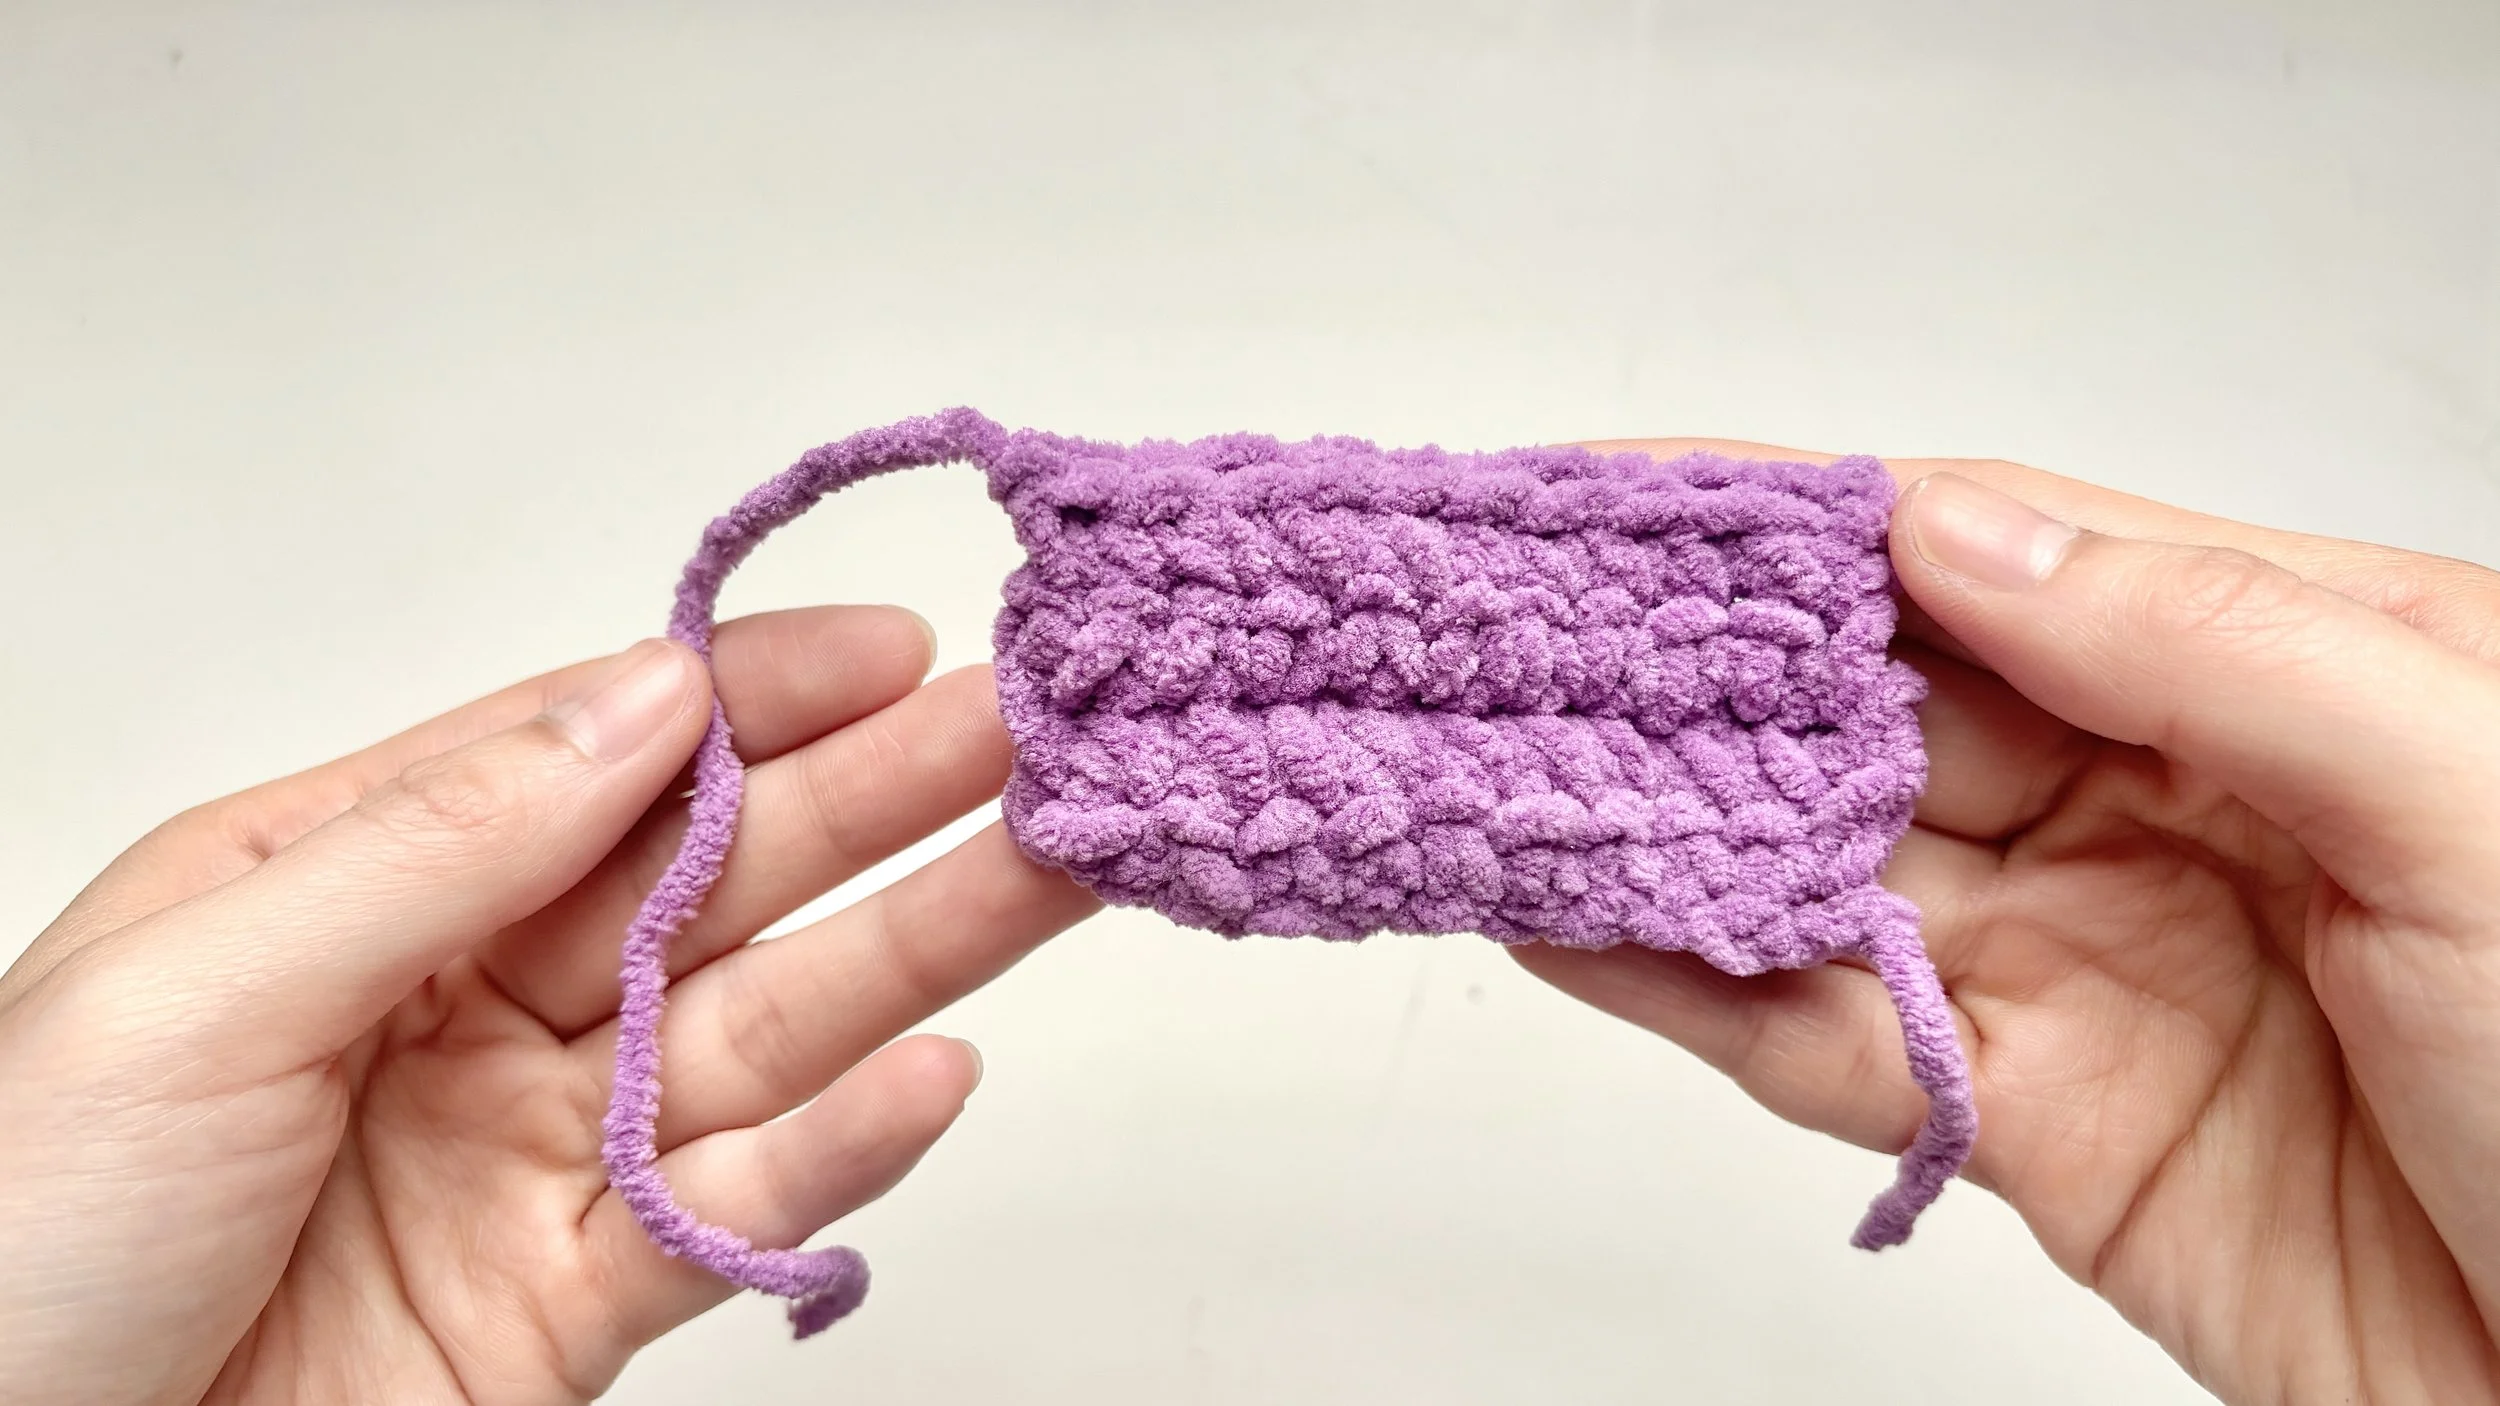
After you fasten off (FO) and leave a long tail, most patterns will tell you to weave in the ends. That just means hiding the yarn tail inside the stitches you’ve made, so your piece looks clean and neat with no loose yarn showing.
Watch the lesson
The heart of it
Weaving in ends isn’t just tidy - it’s what keeps your fasten-off from working loose over time. Change direction at least once so the tail can’t slip back out.
Step-by-step instructions
Step 1:
Thread the needle
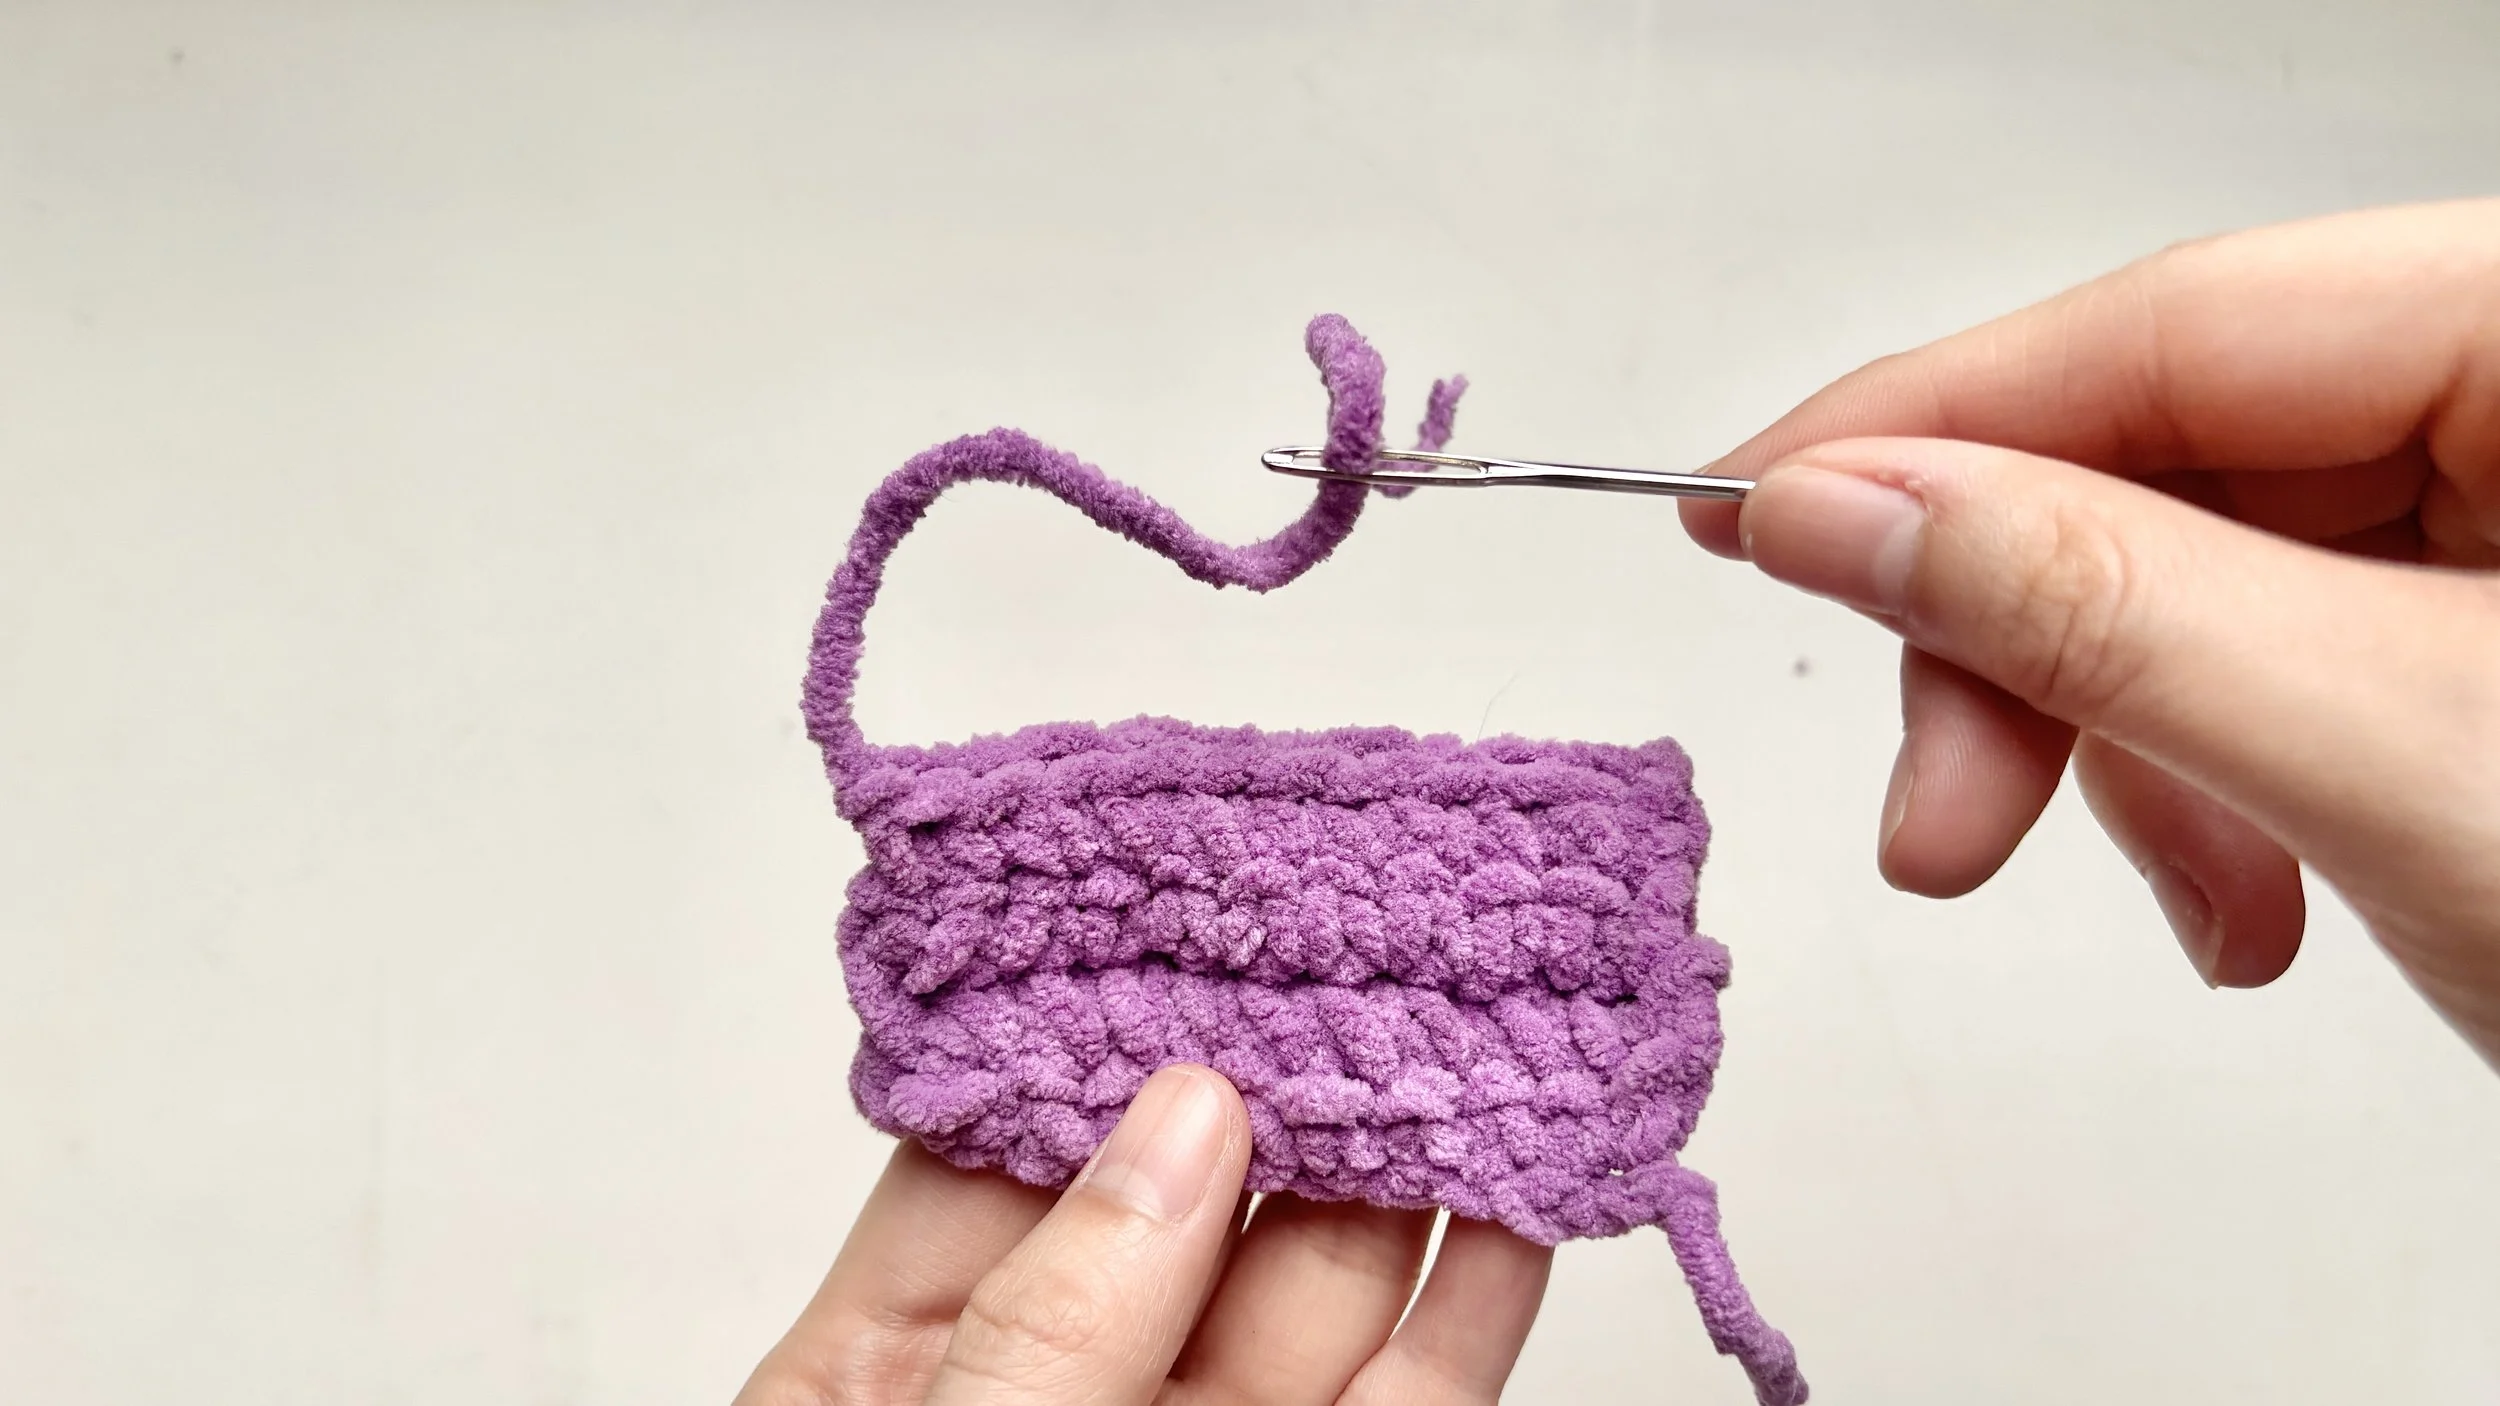
Thread the yarn tail through a yarn needle.
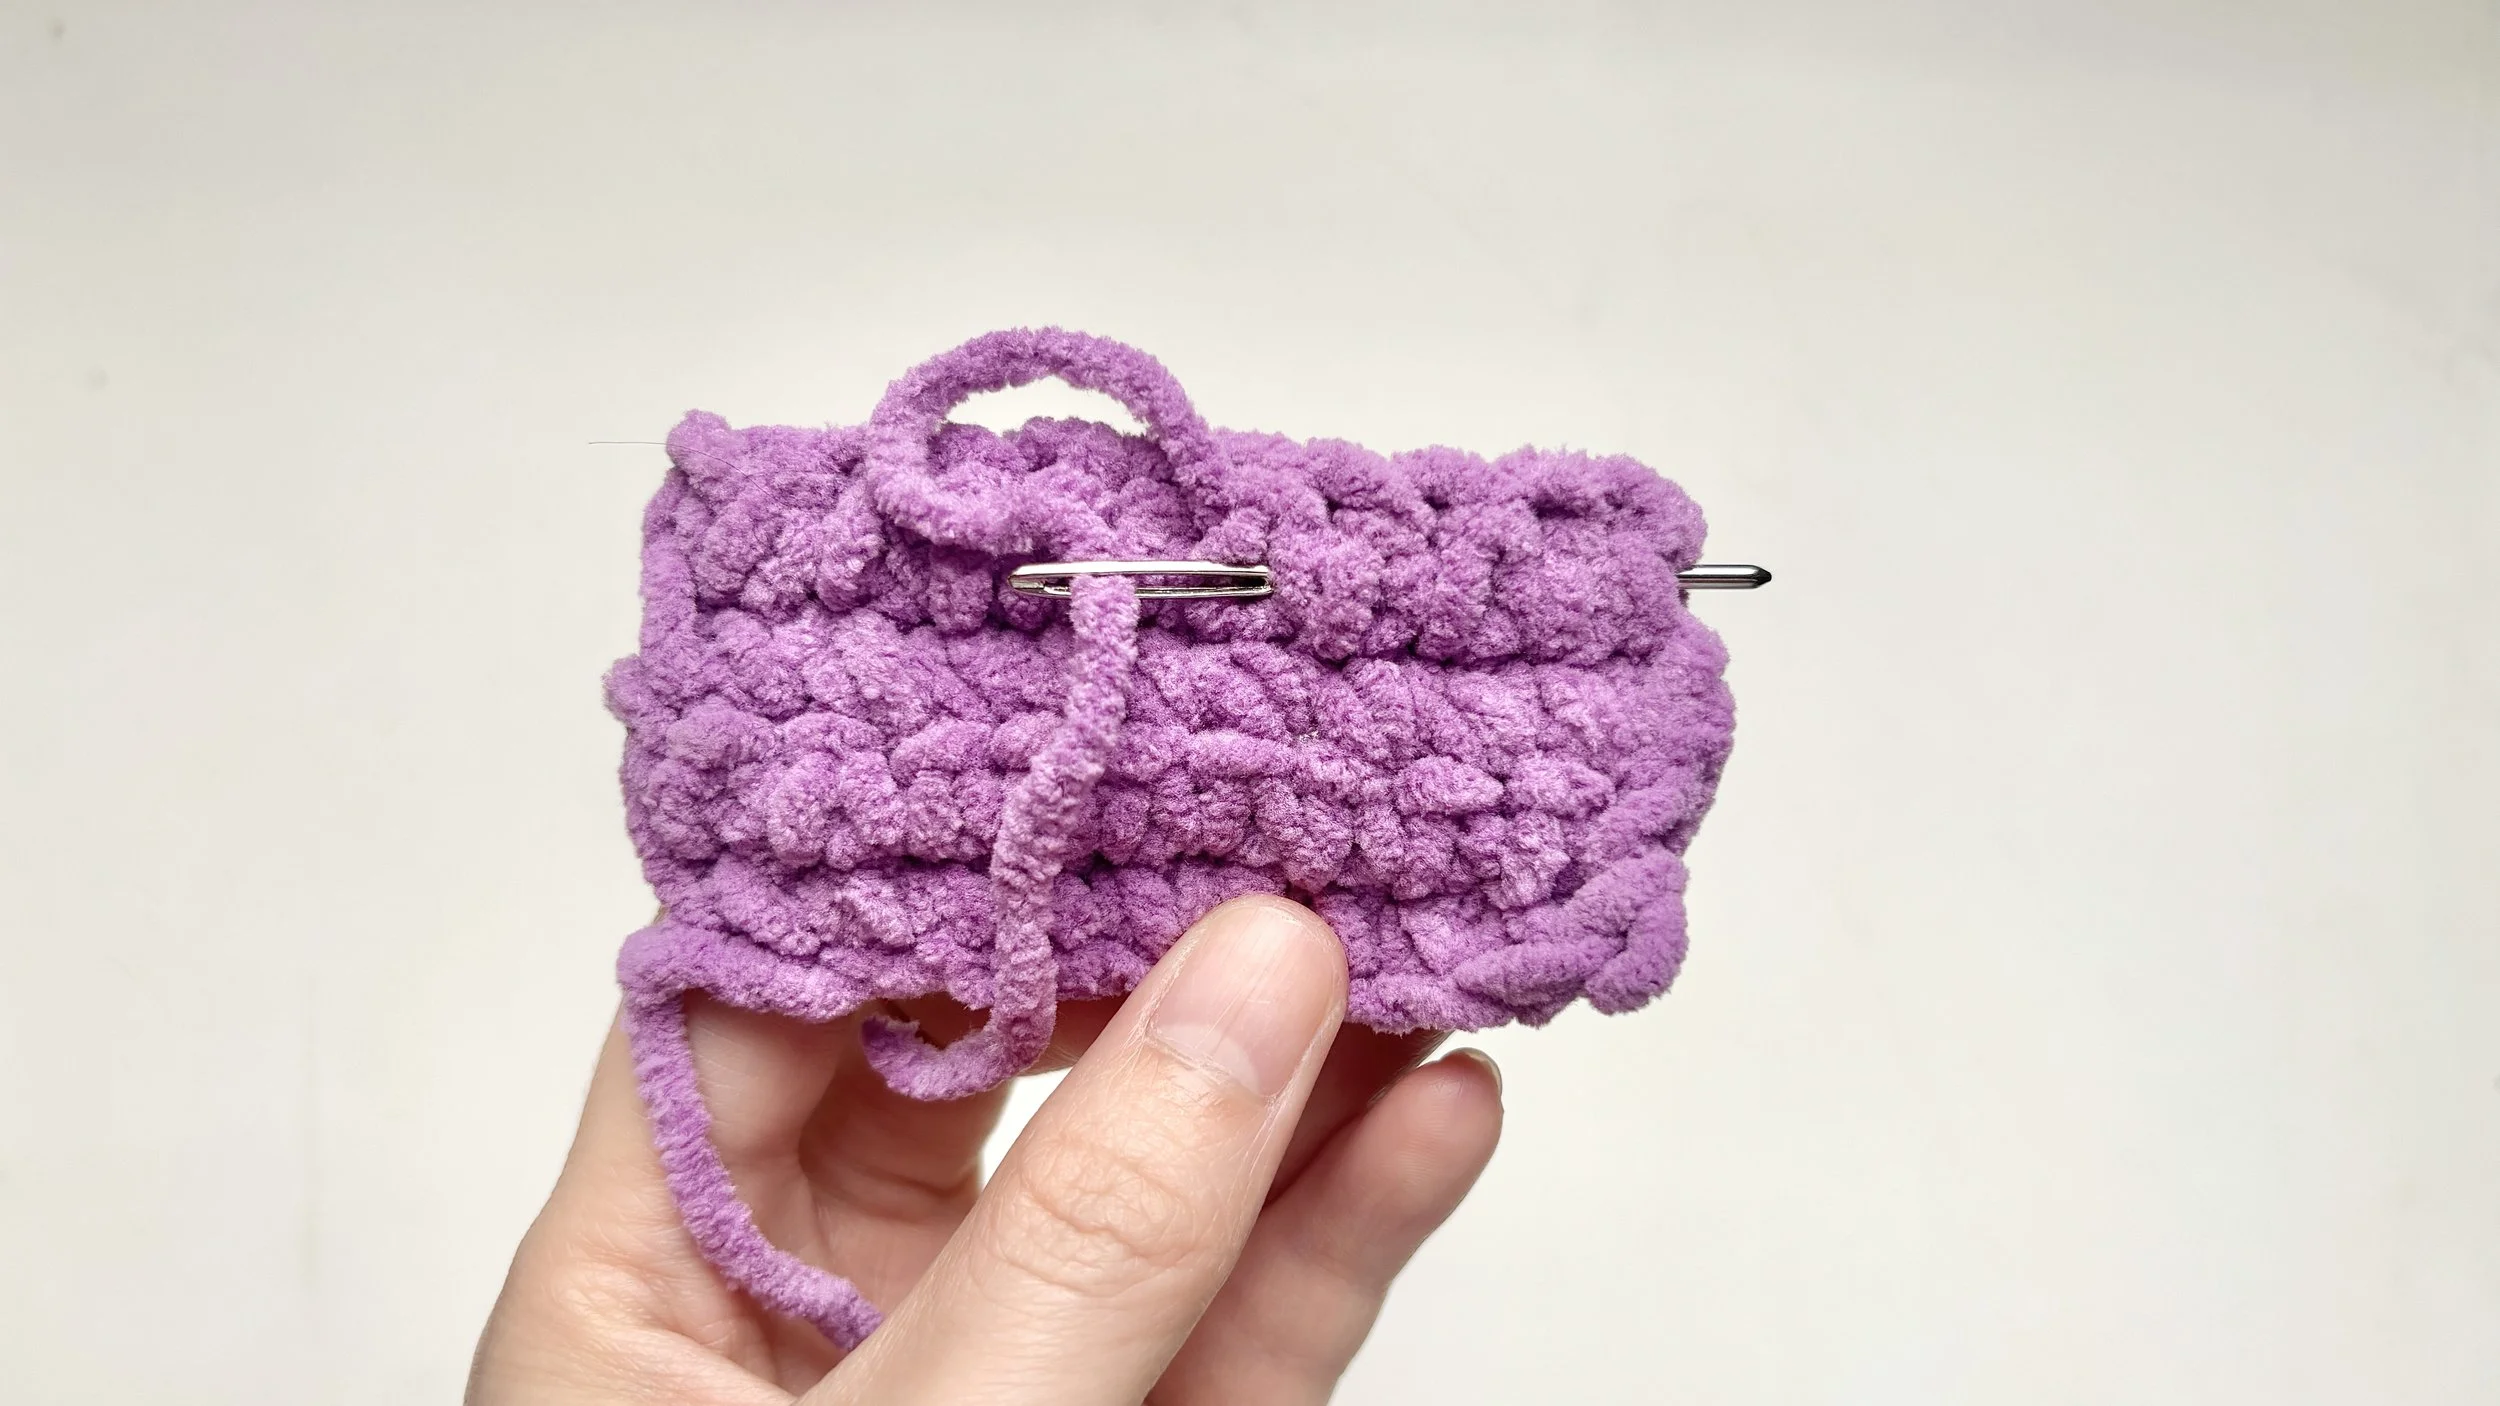
Step 2:
Weave through a few stitches
Slide the needle through a few stitches of the last row.
Keep it inside the piece so it doesn’t show on the other side, then pull the yarn through gently.
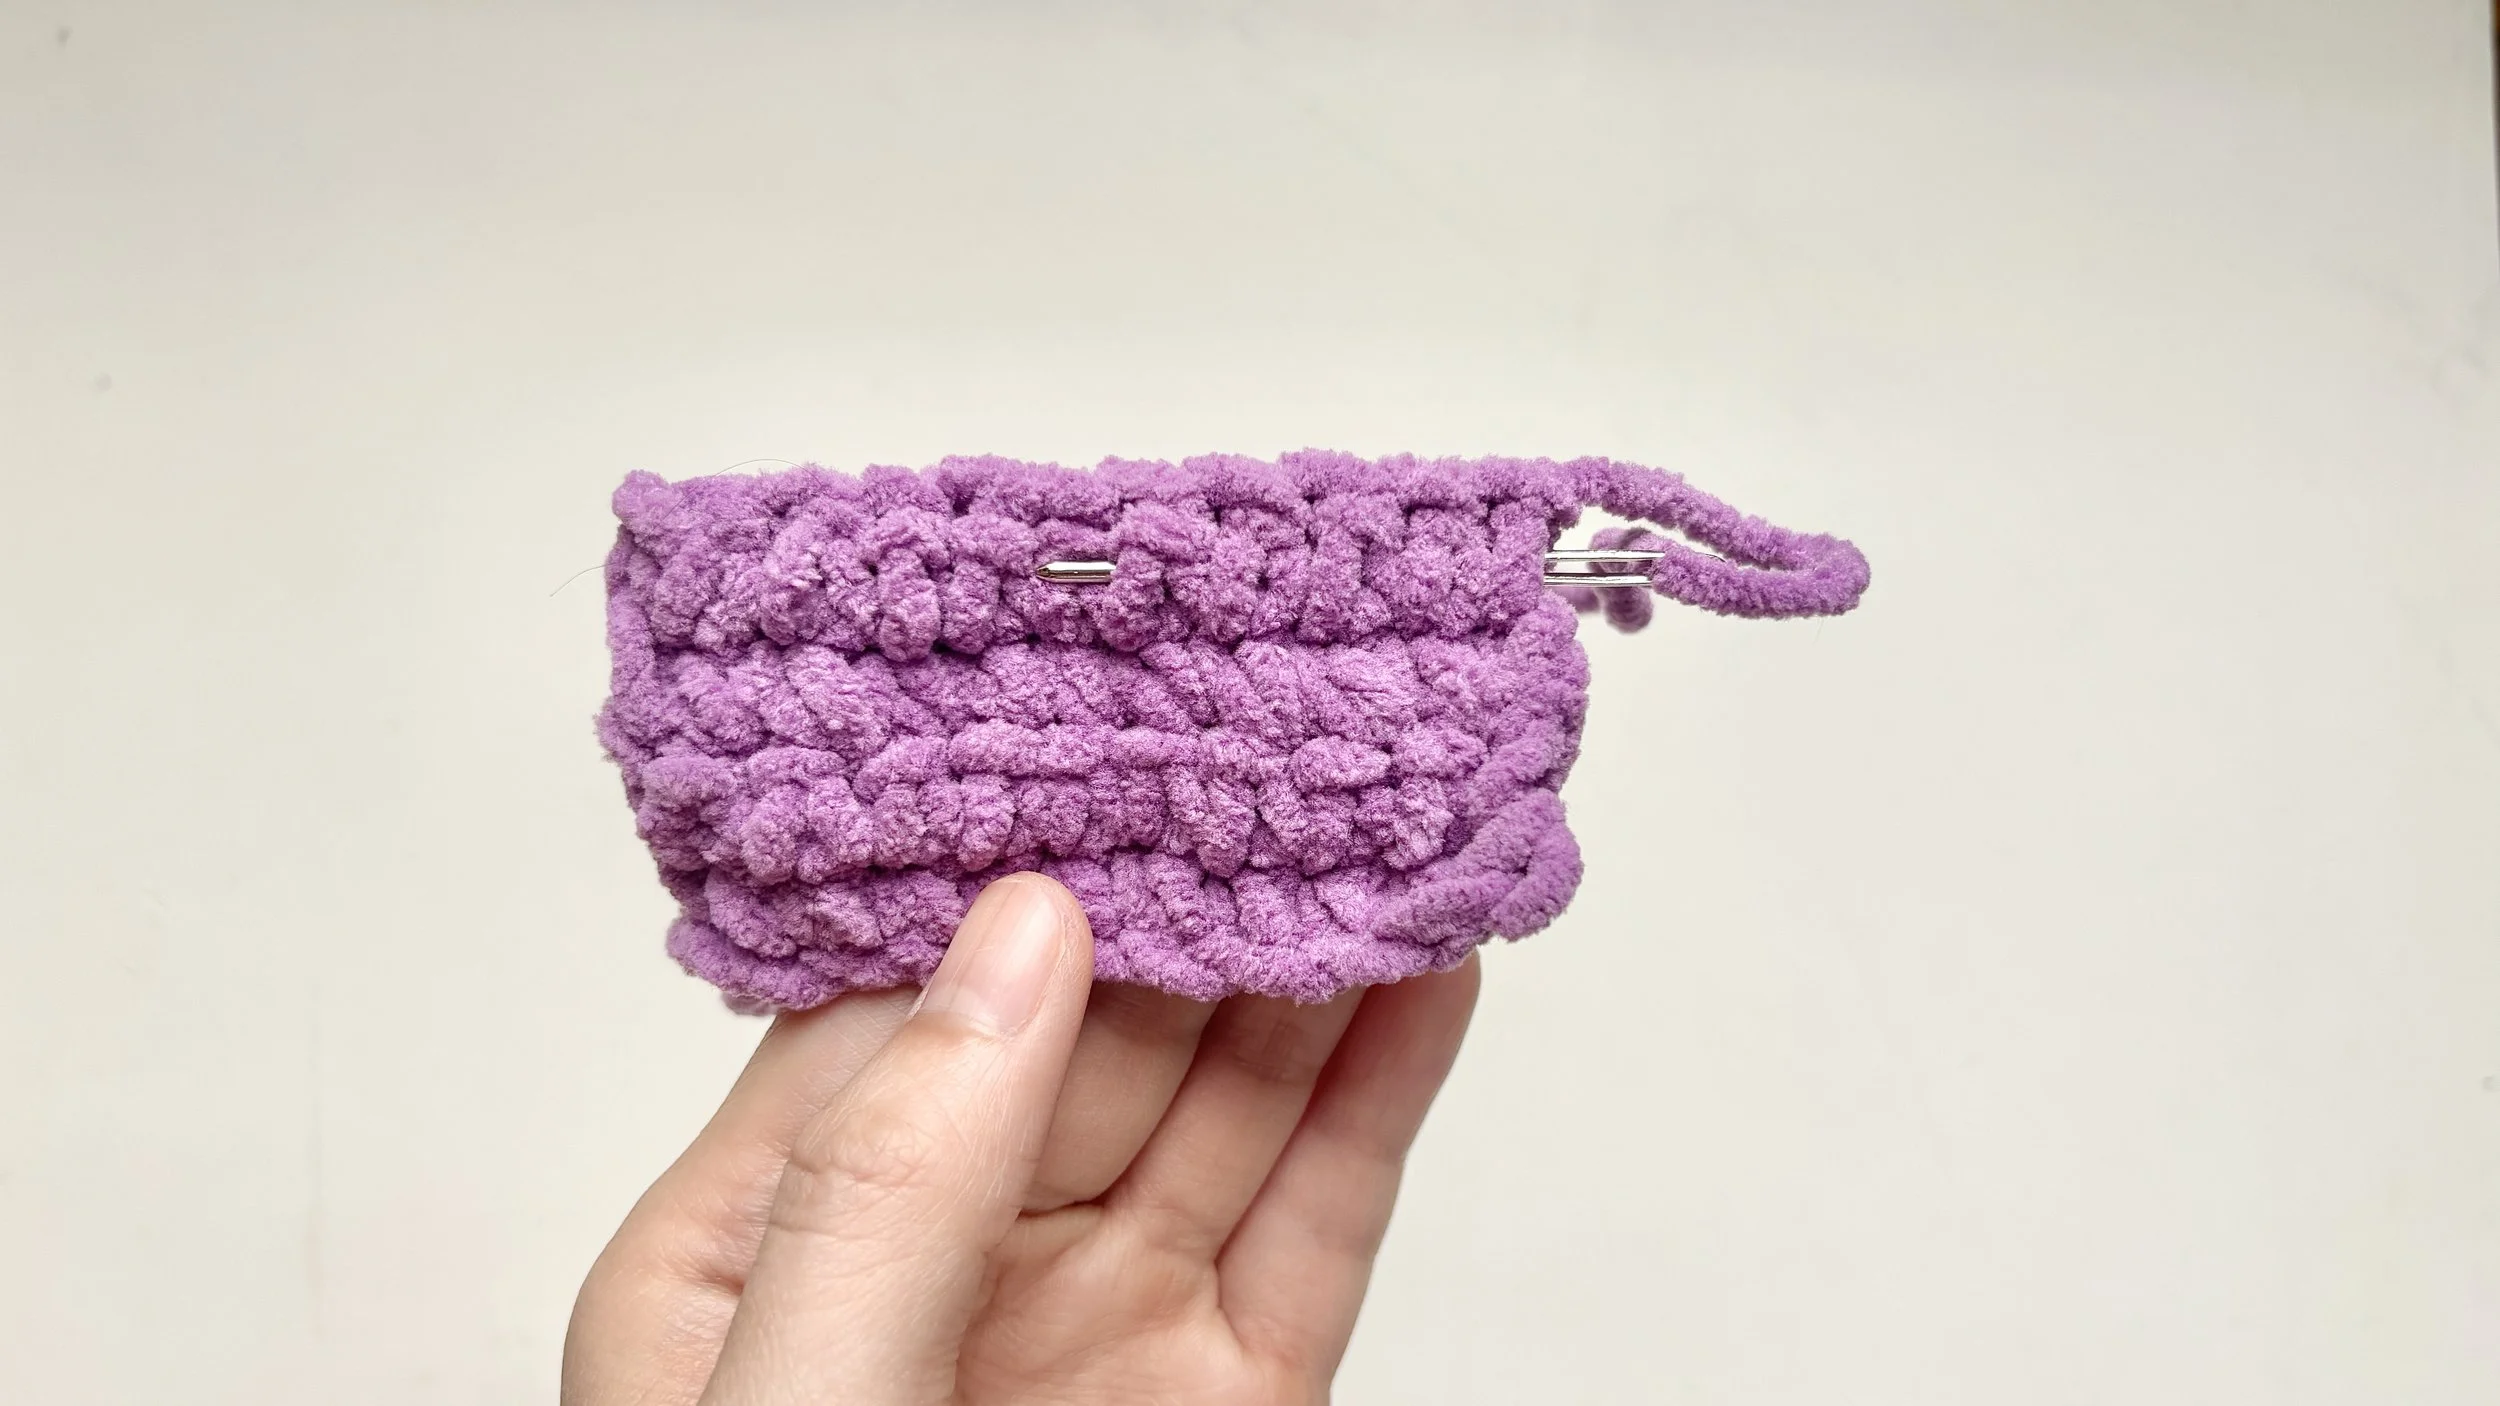
Step 3:
Change direction and go back
Skip the last strand you just went under, then bring the needle back through those same stitches in the other direction.
This little change of direction is what locks the tail in place.
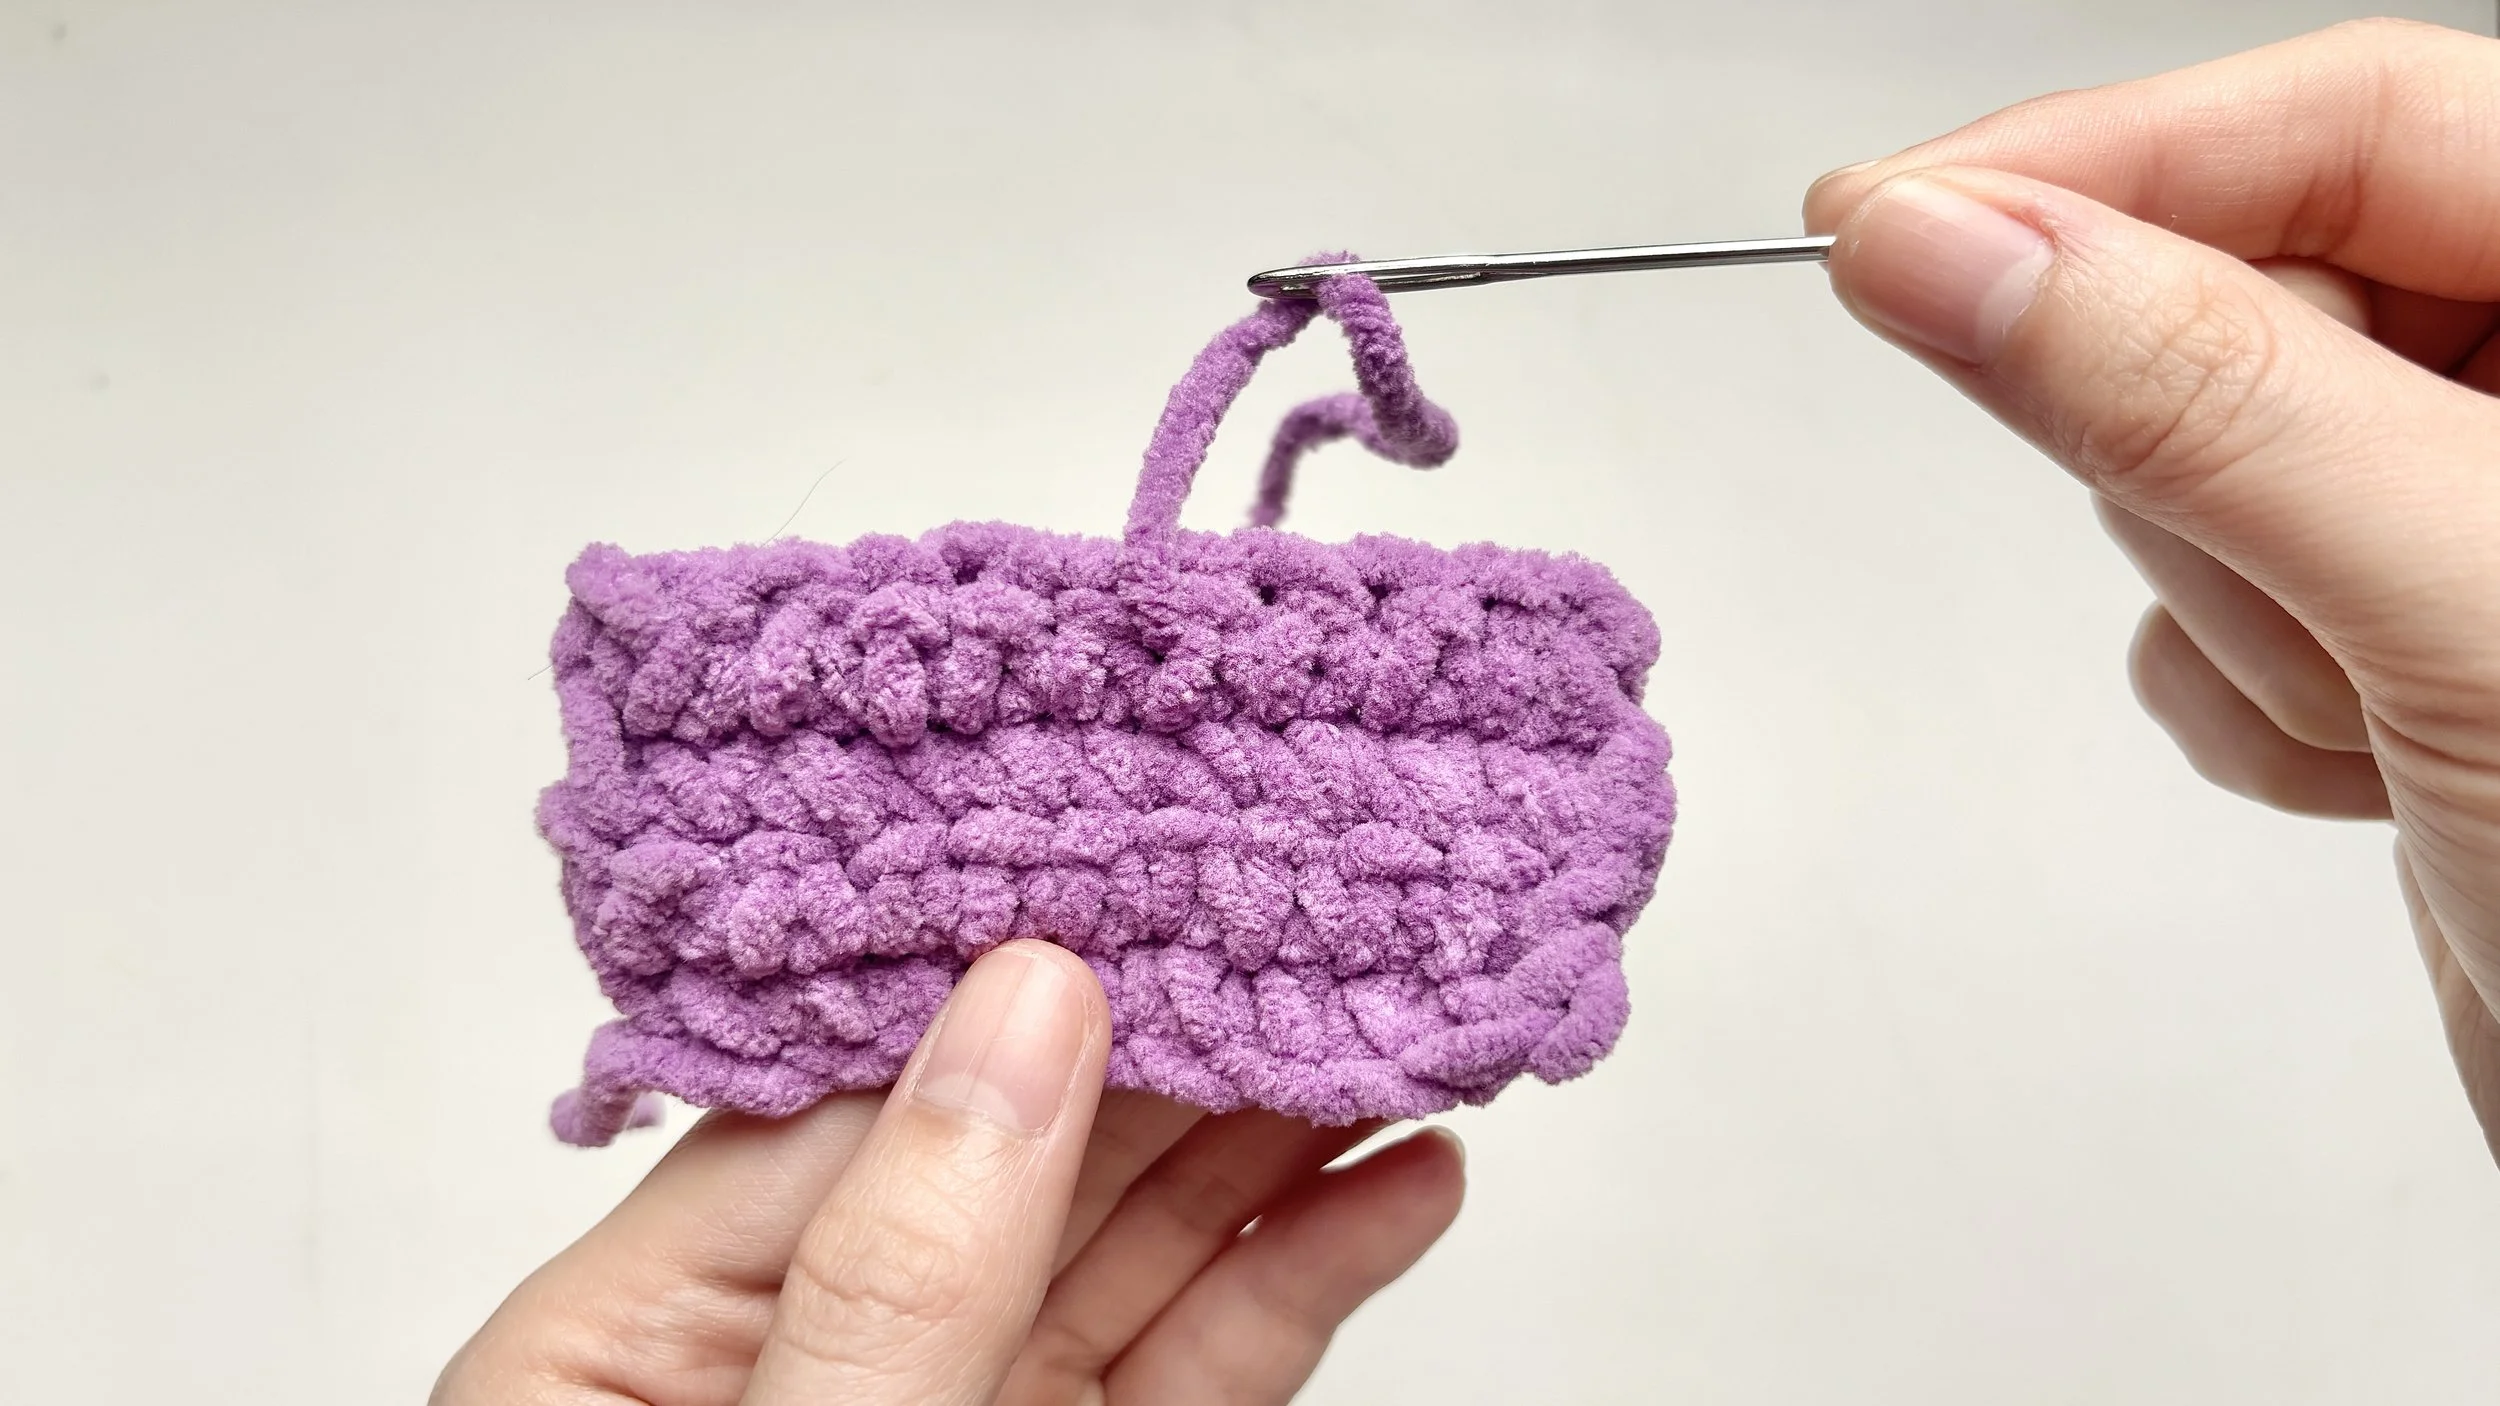
Step 4:
Trim and smooth
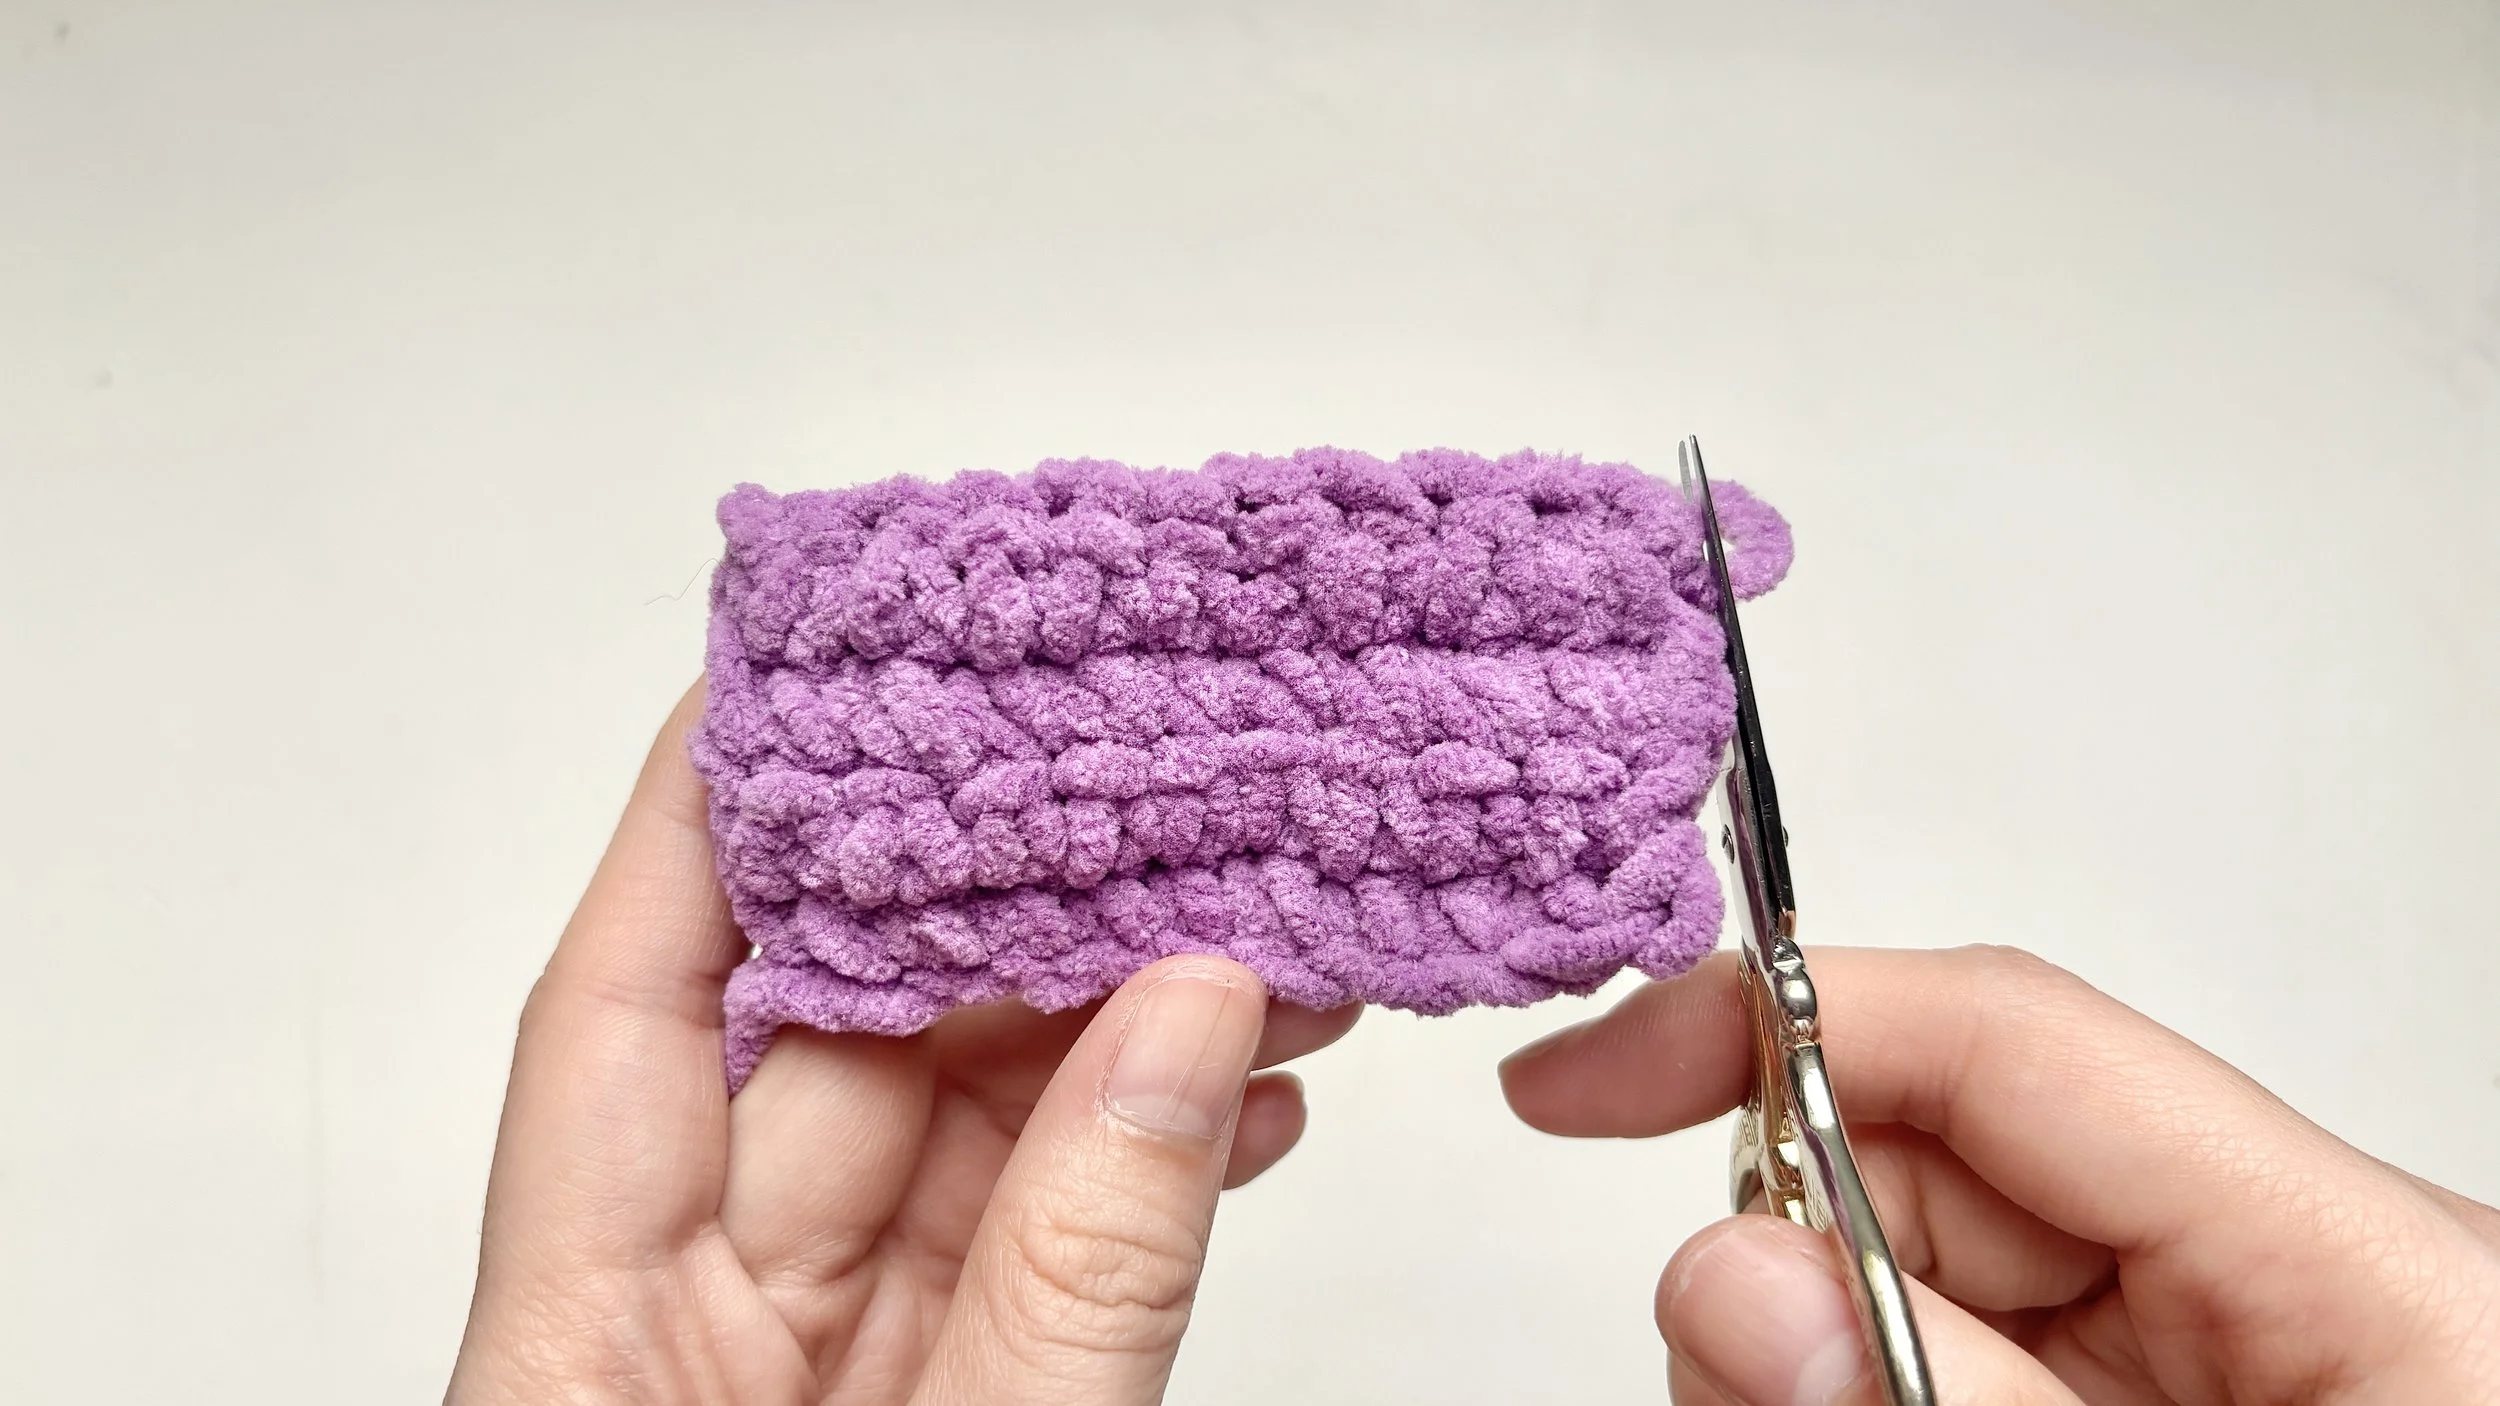
Cut the yarn tail as close to the piece as you can.
Gently smooth the area so the end disappears inside.
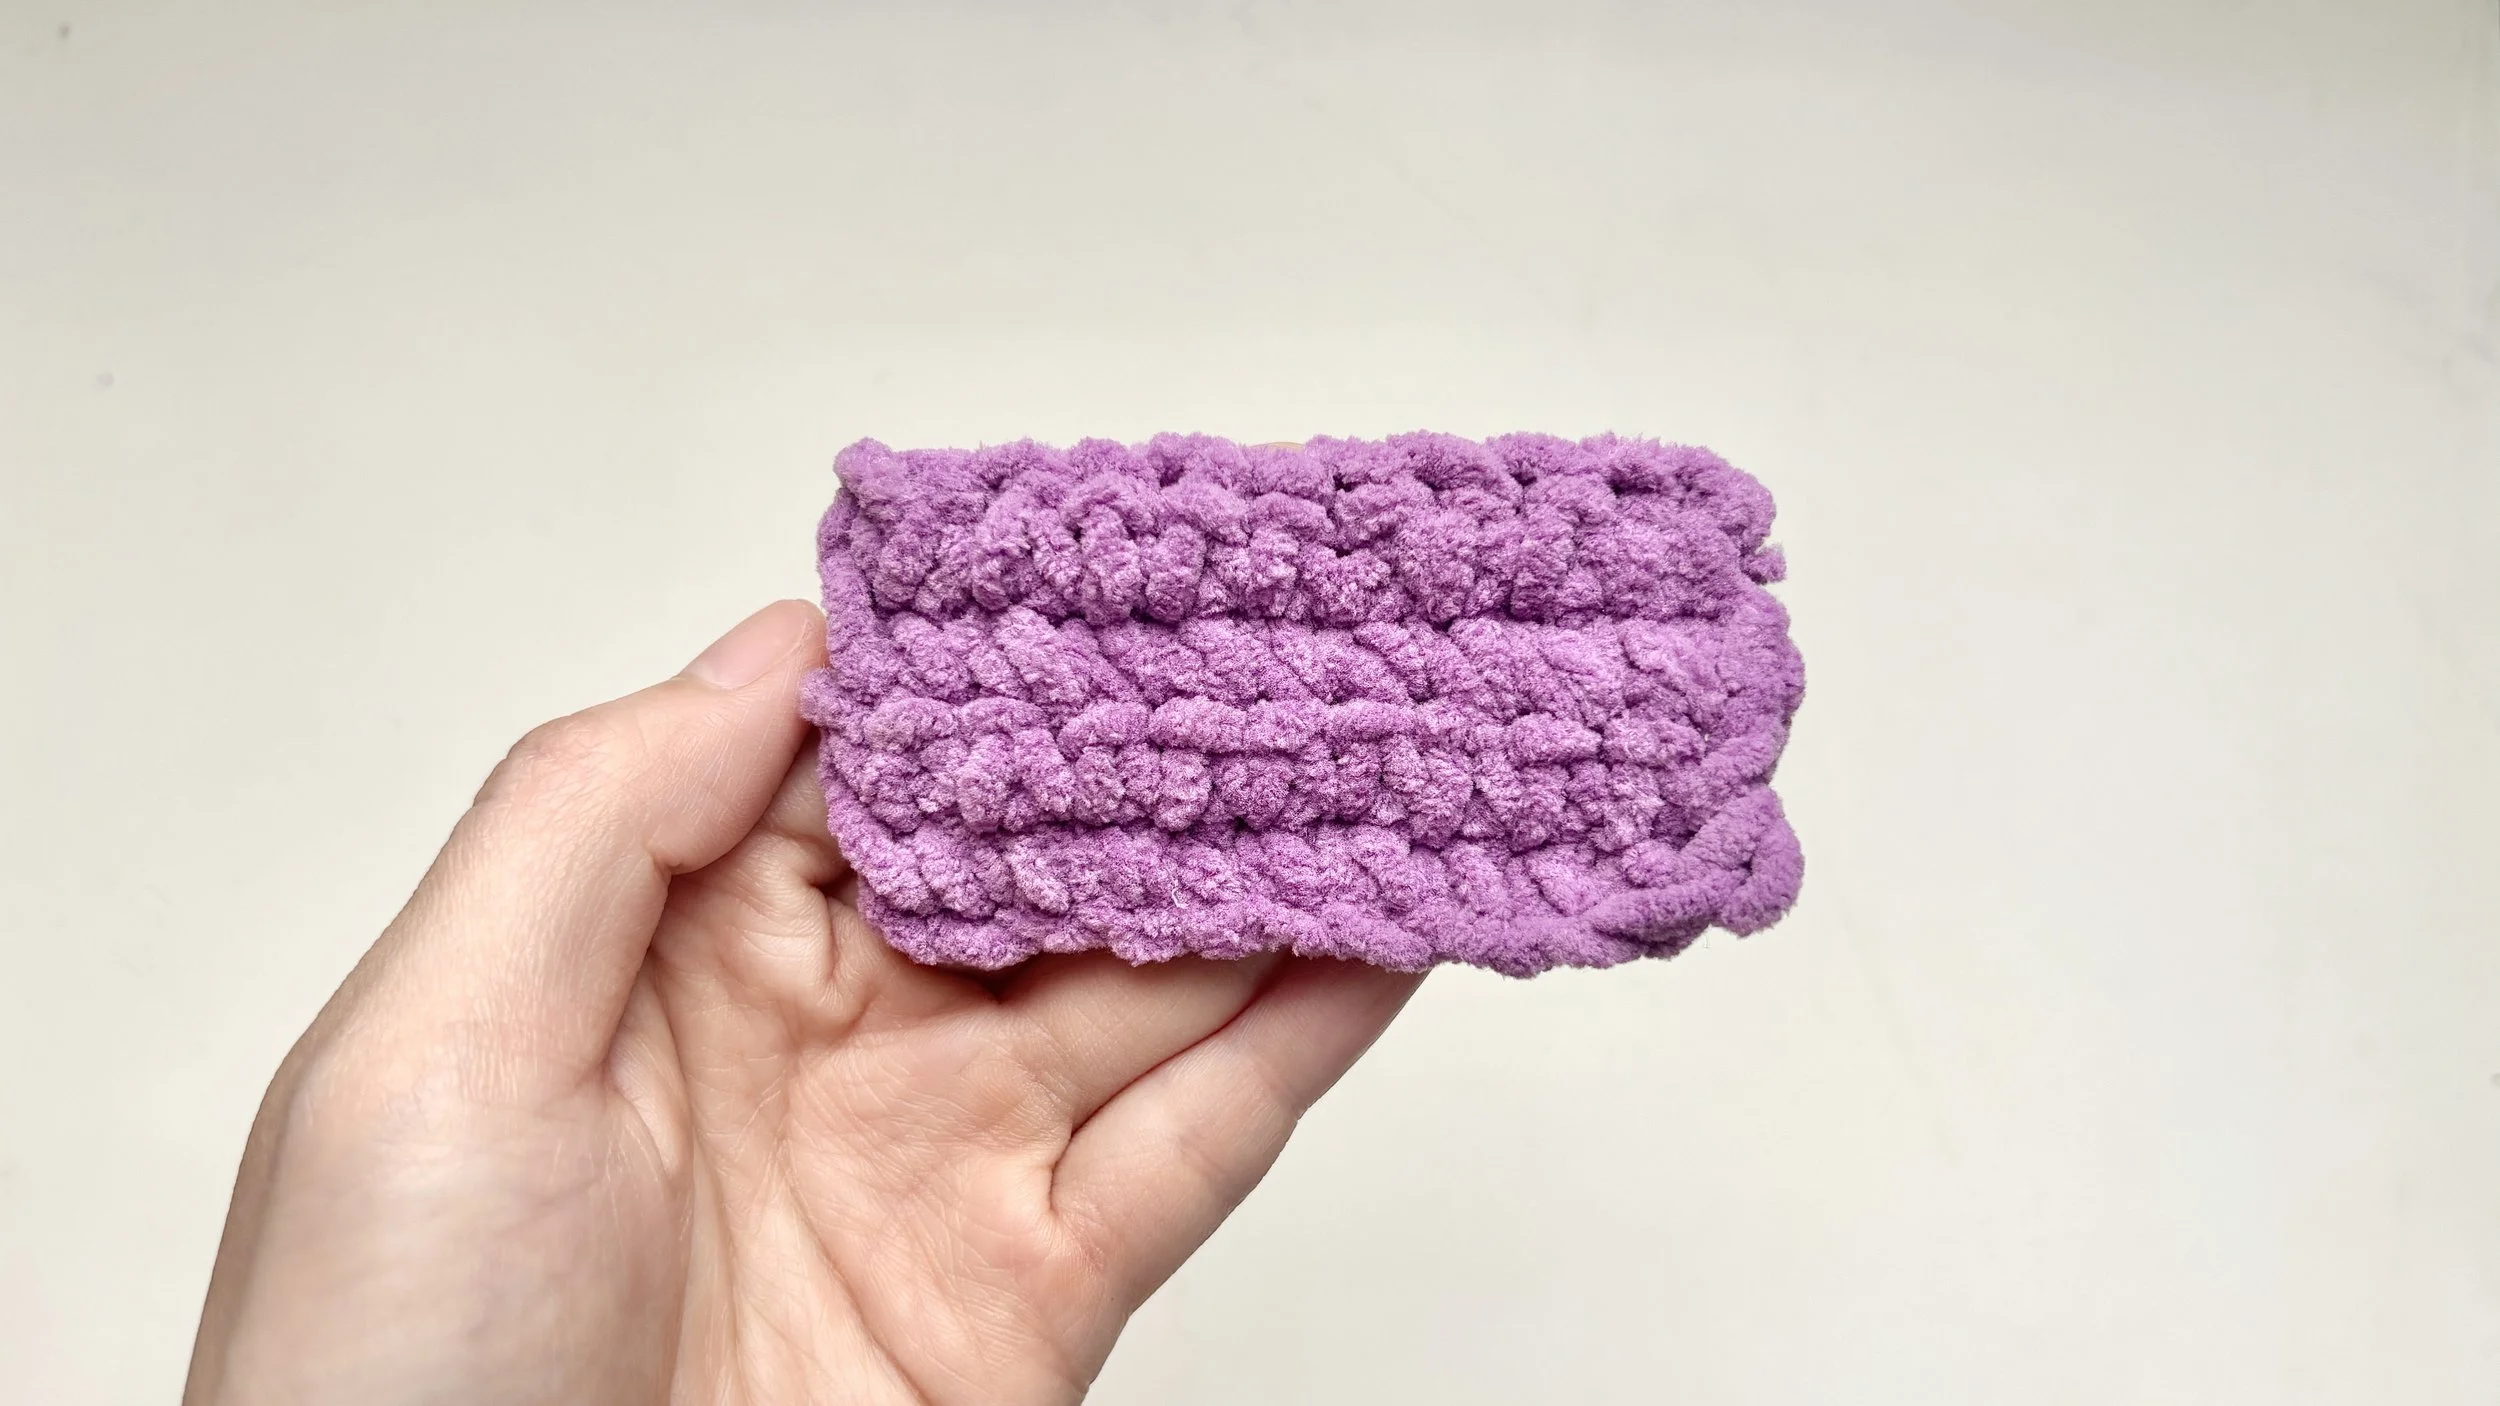
That’s a clean, tidy finish with no loose ends in sight.
Weaving in ends is one of those quiet skills that makes everything you make look more polished.
We’re right here with you every step of the way.