
Step 7 of 10:
Pip’s Wings
You'll crochet 2 identical Wings using purple yarn. Complete the first Wing from start to finish using the instructions below, then repeat the same steps to make the second Wing. You've made a magic ring twice already, so this will feel familiar from the very first stitch.

Watch: Prefer to follow along? The video below shows how to make both of Pip's Wings, from start to finish.
Round
1
Important: Don't forget to place your stitch marker in the first stitch of all rounds!
Start by making a magic ring (MR) with the purple yarn. Then crochet 5 single crochet (sc) into the center of the ring. Gently pull the yarn tail to draw the ring tightly closed.
Total stitches: 5
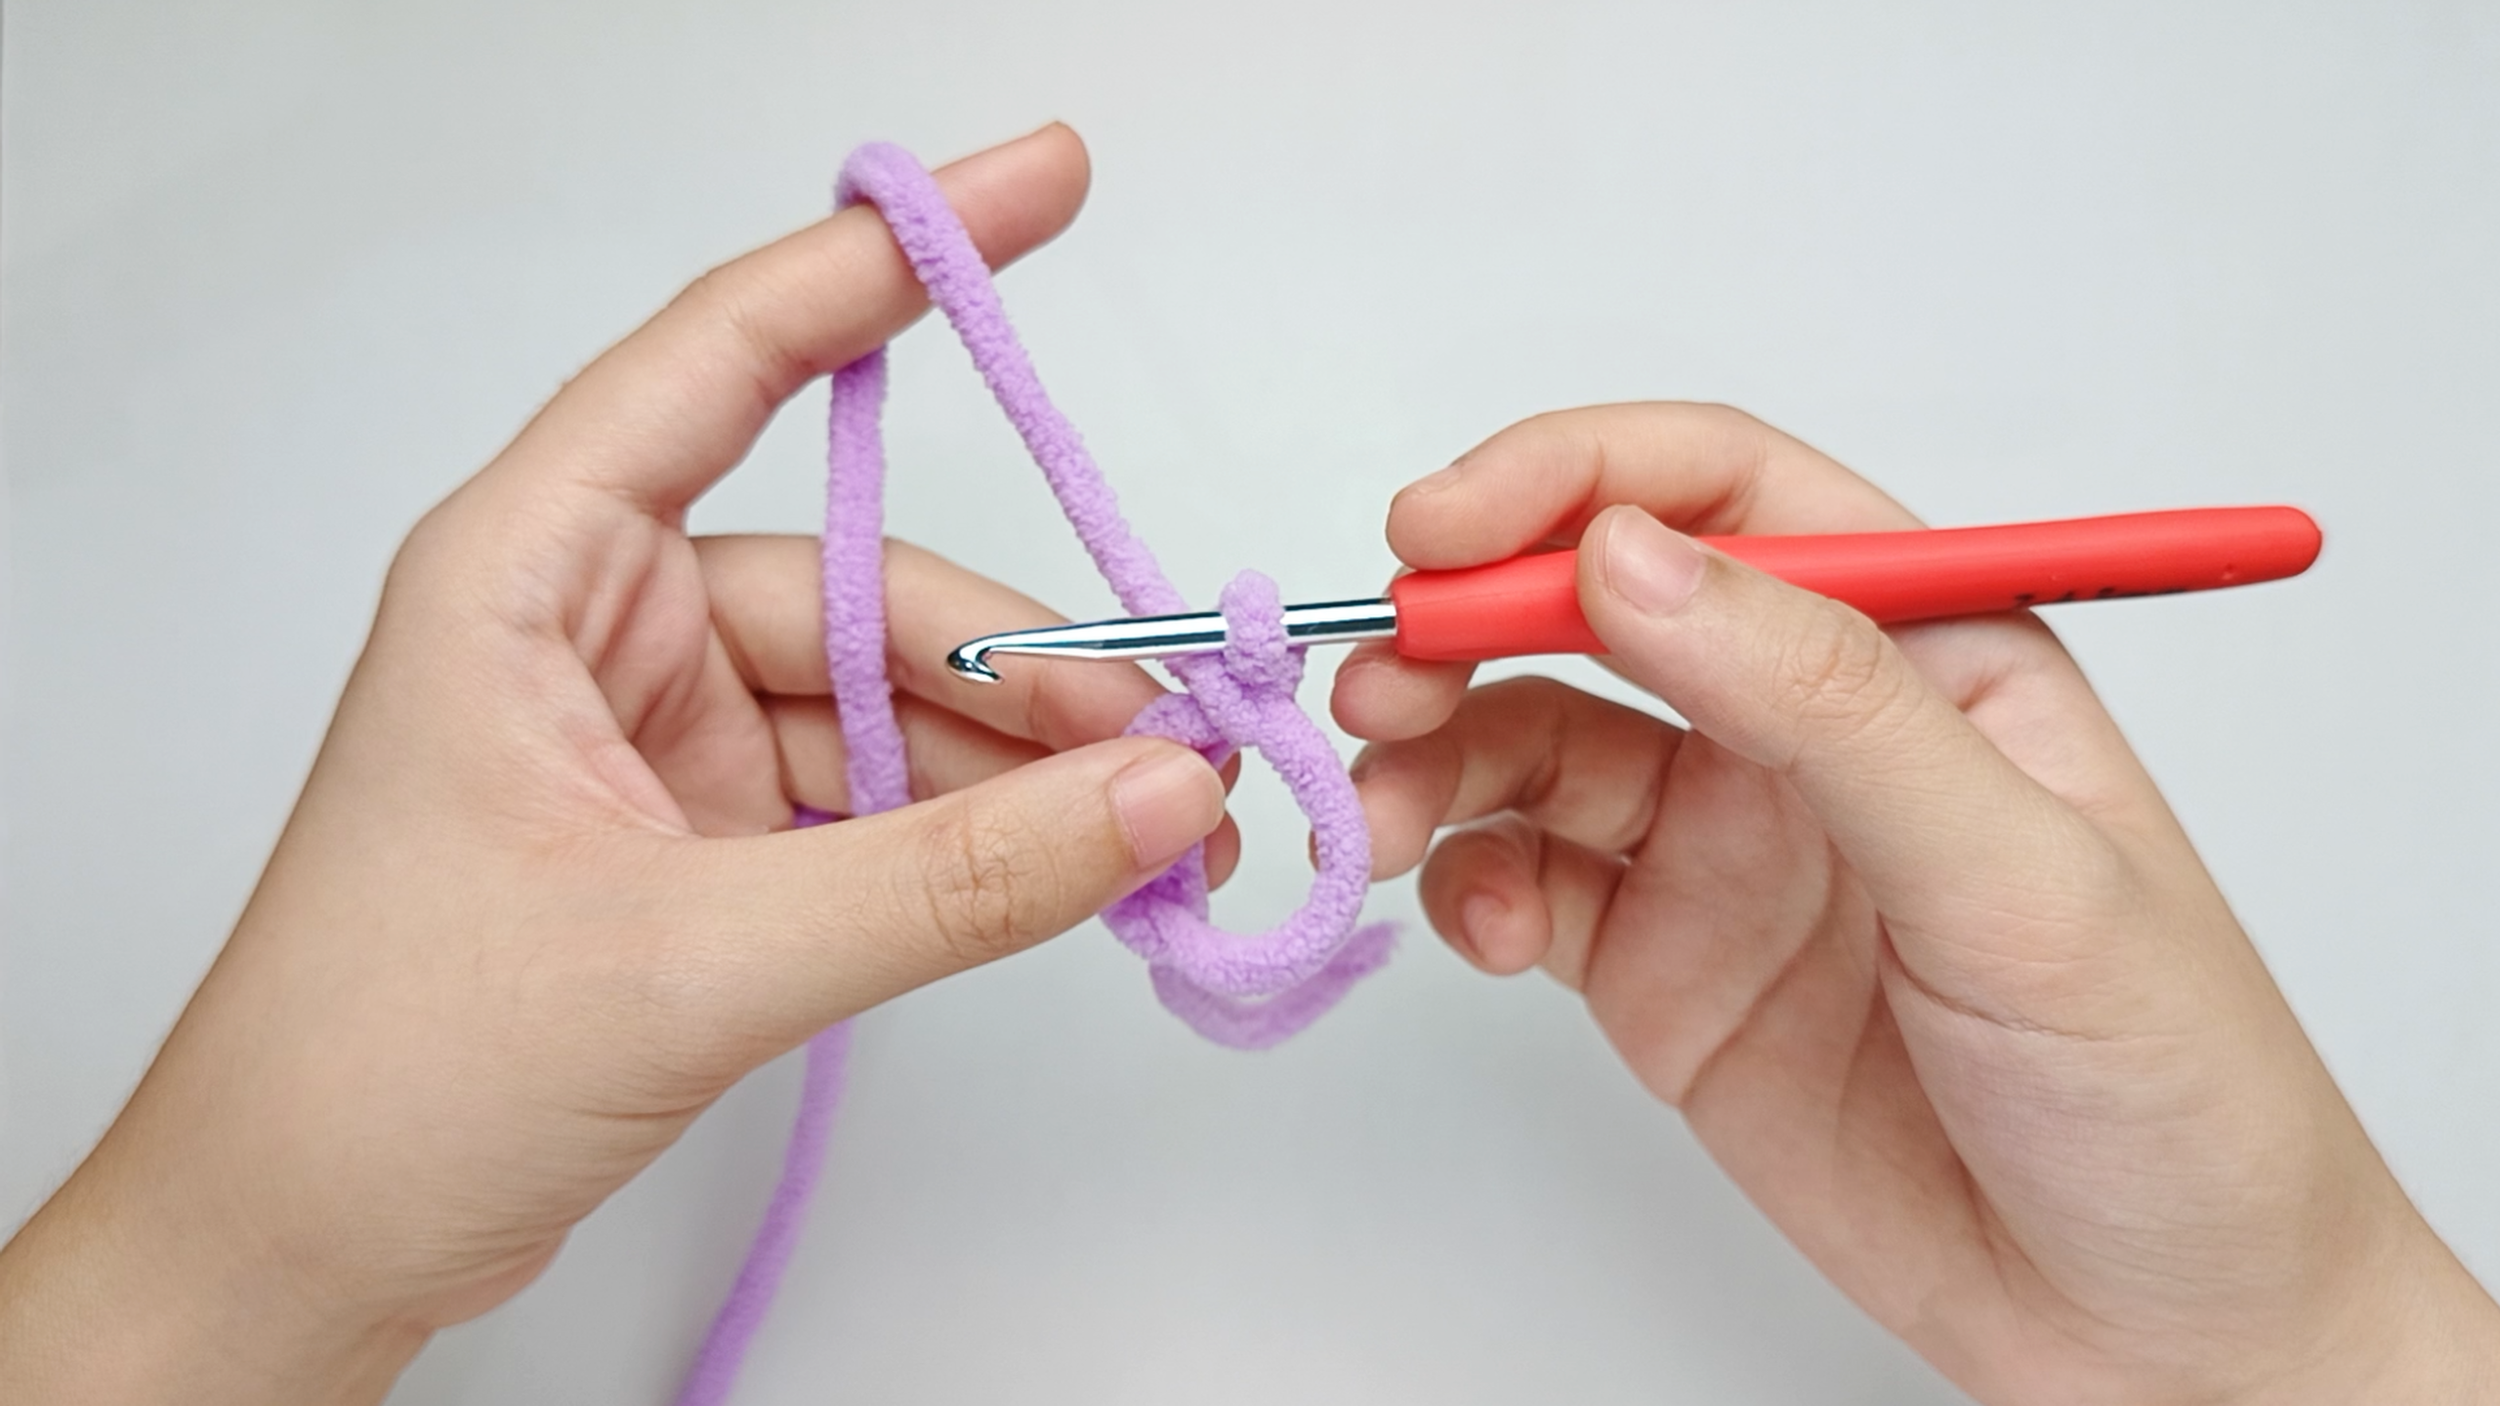
Make a magic ring (MR):
Follow the same magic ring photos from the Body's Round 1 - from 'Hold the yarn tail' through 'Release the ring' - to make your magic ring (MR).
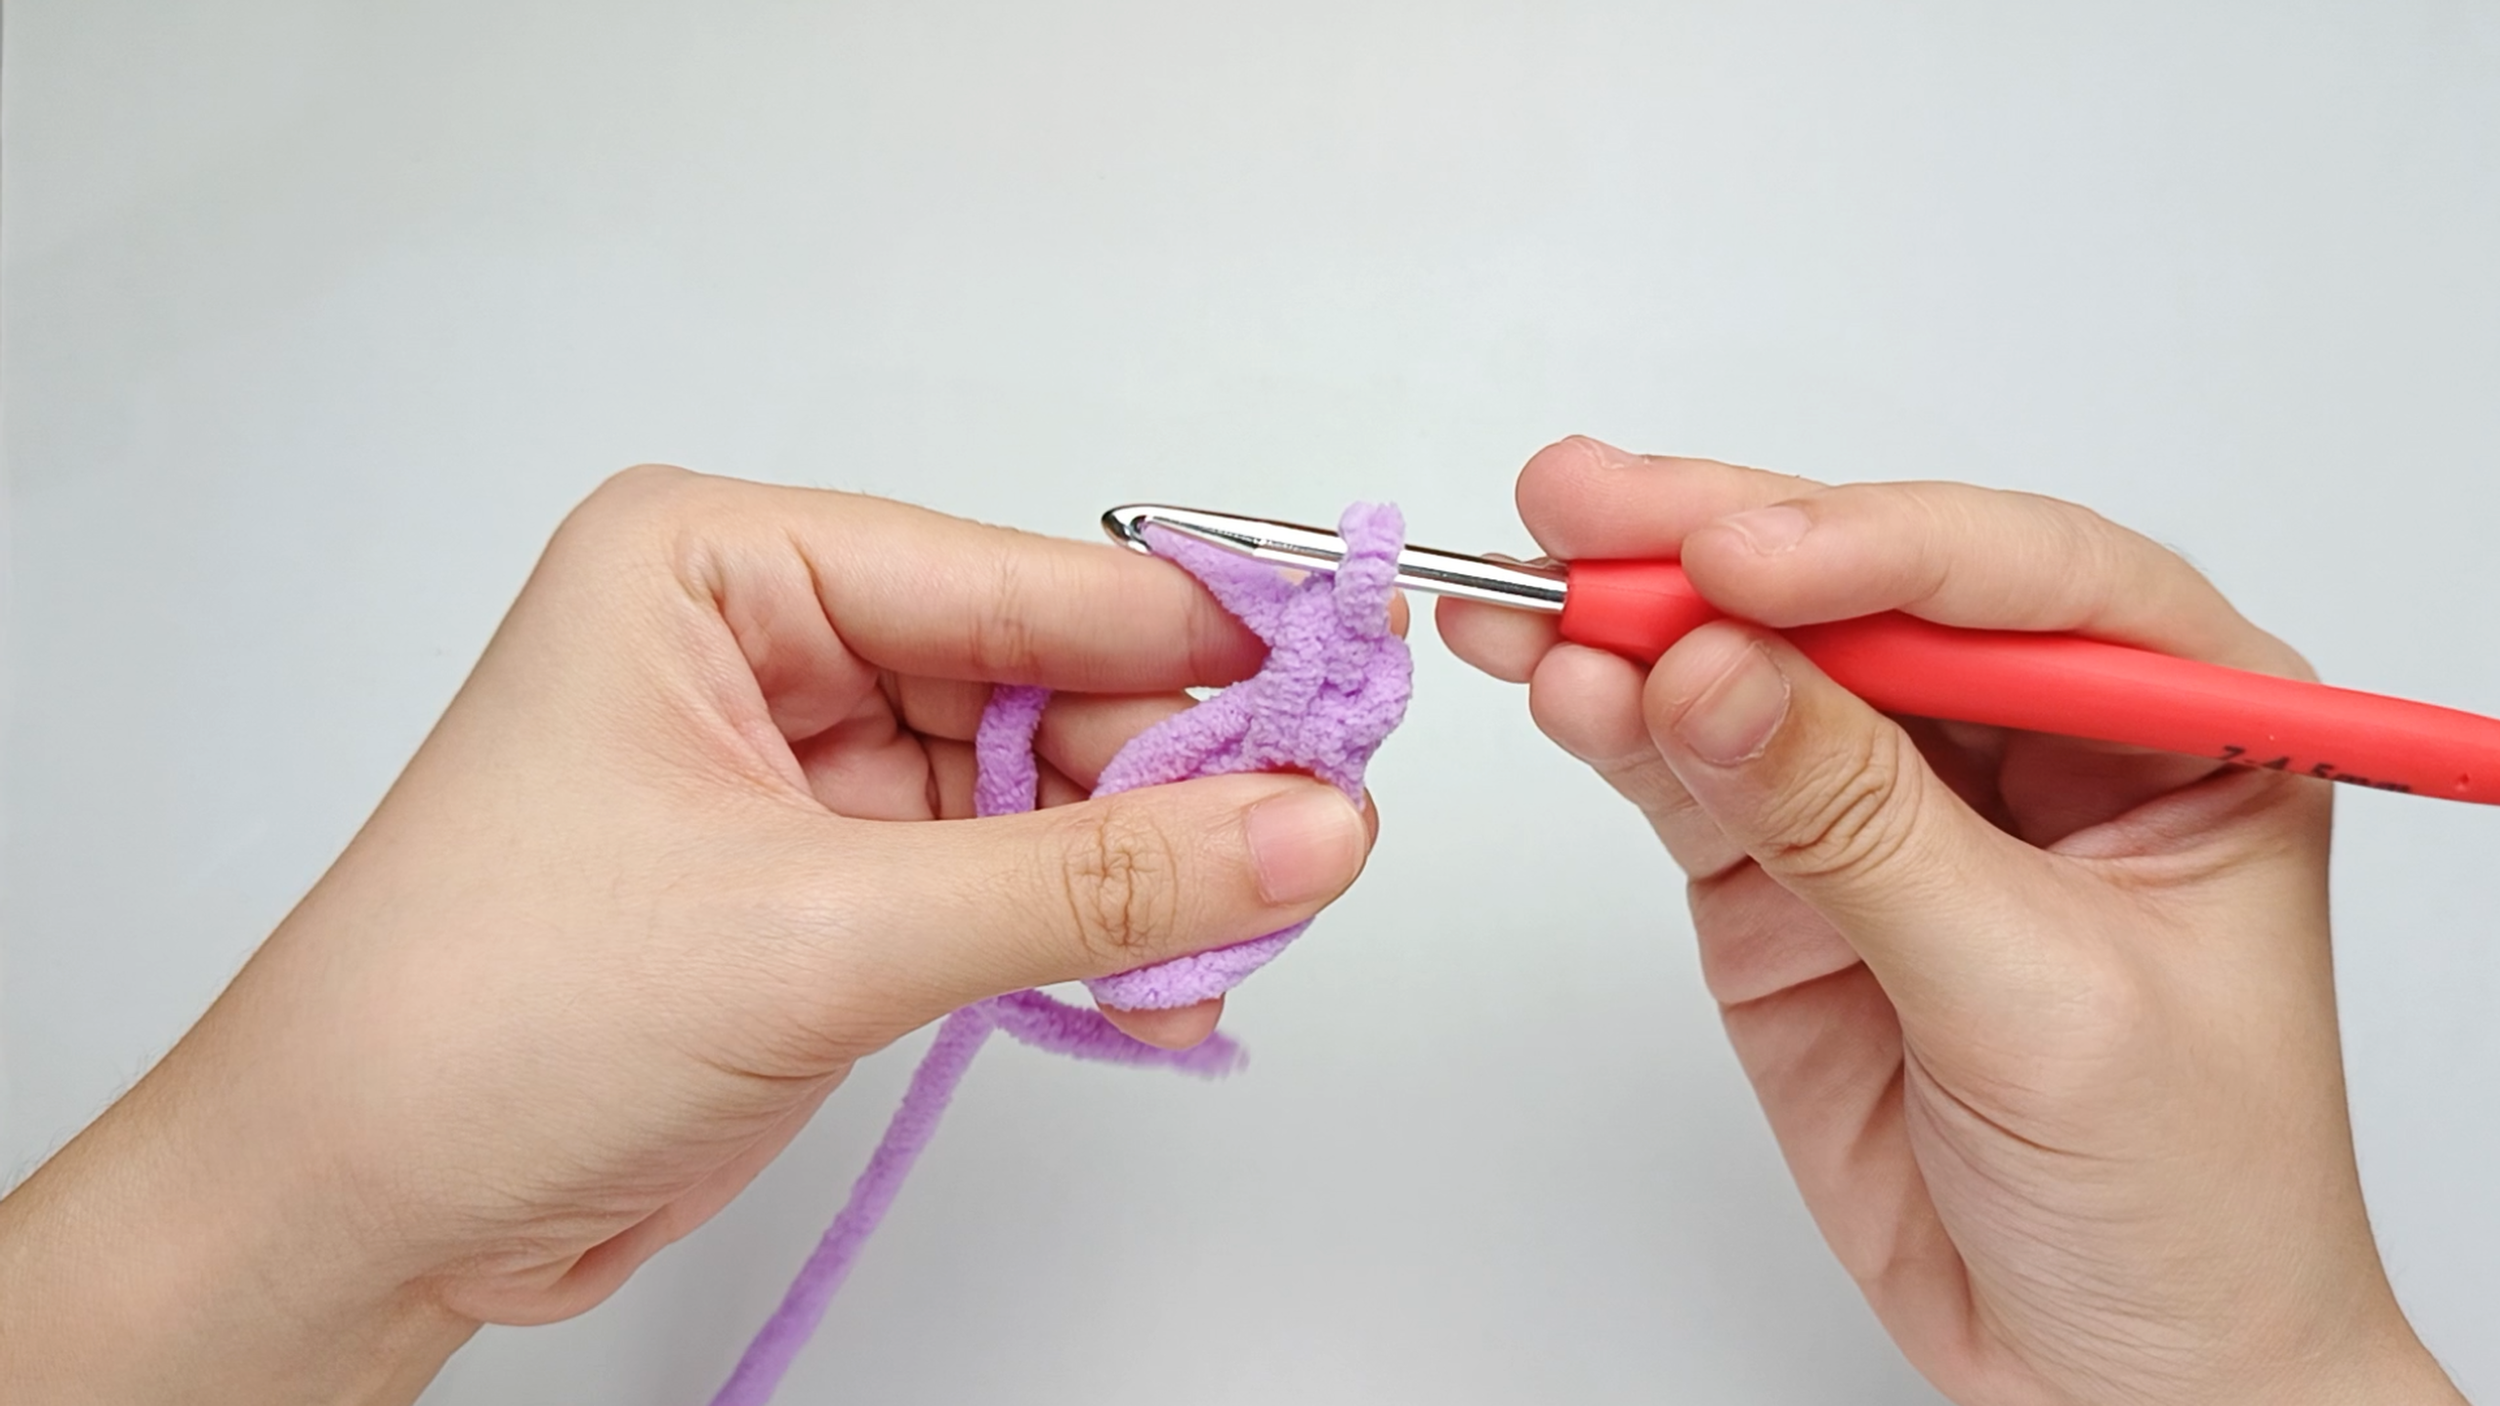
Make 1 single crochet (sc) first:
Make 1 single crochet (sc) into the center of the ring.
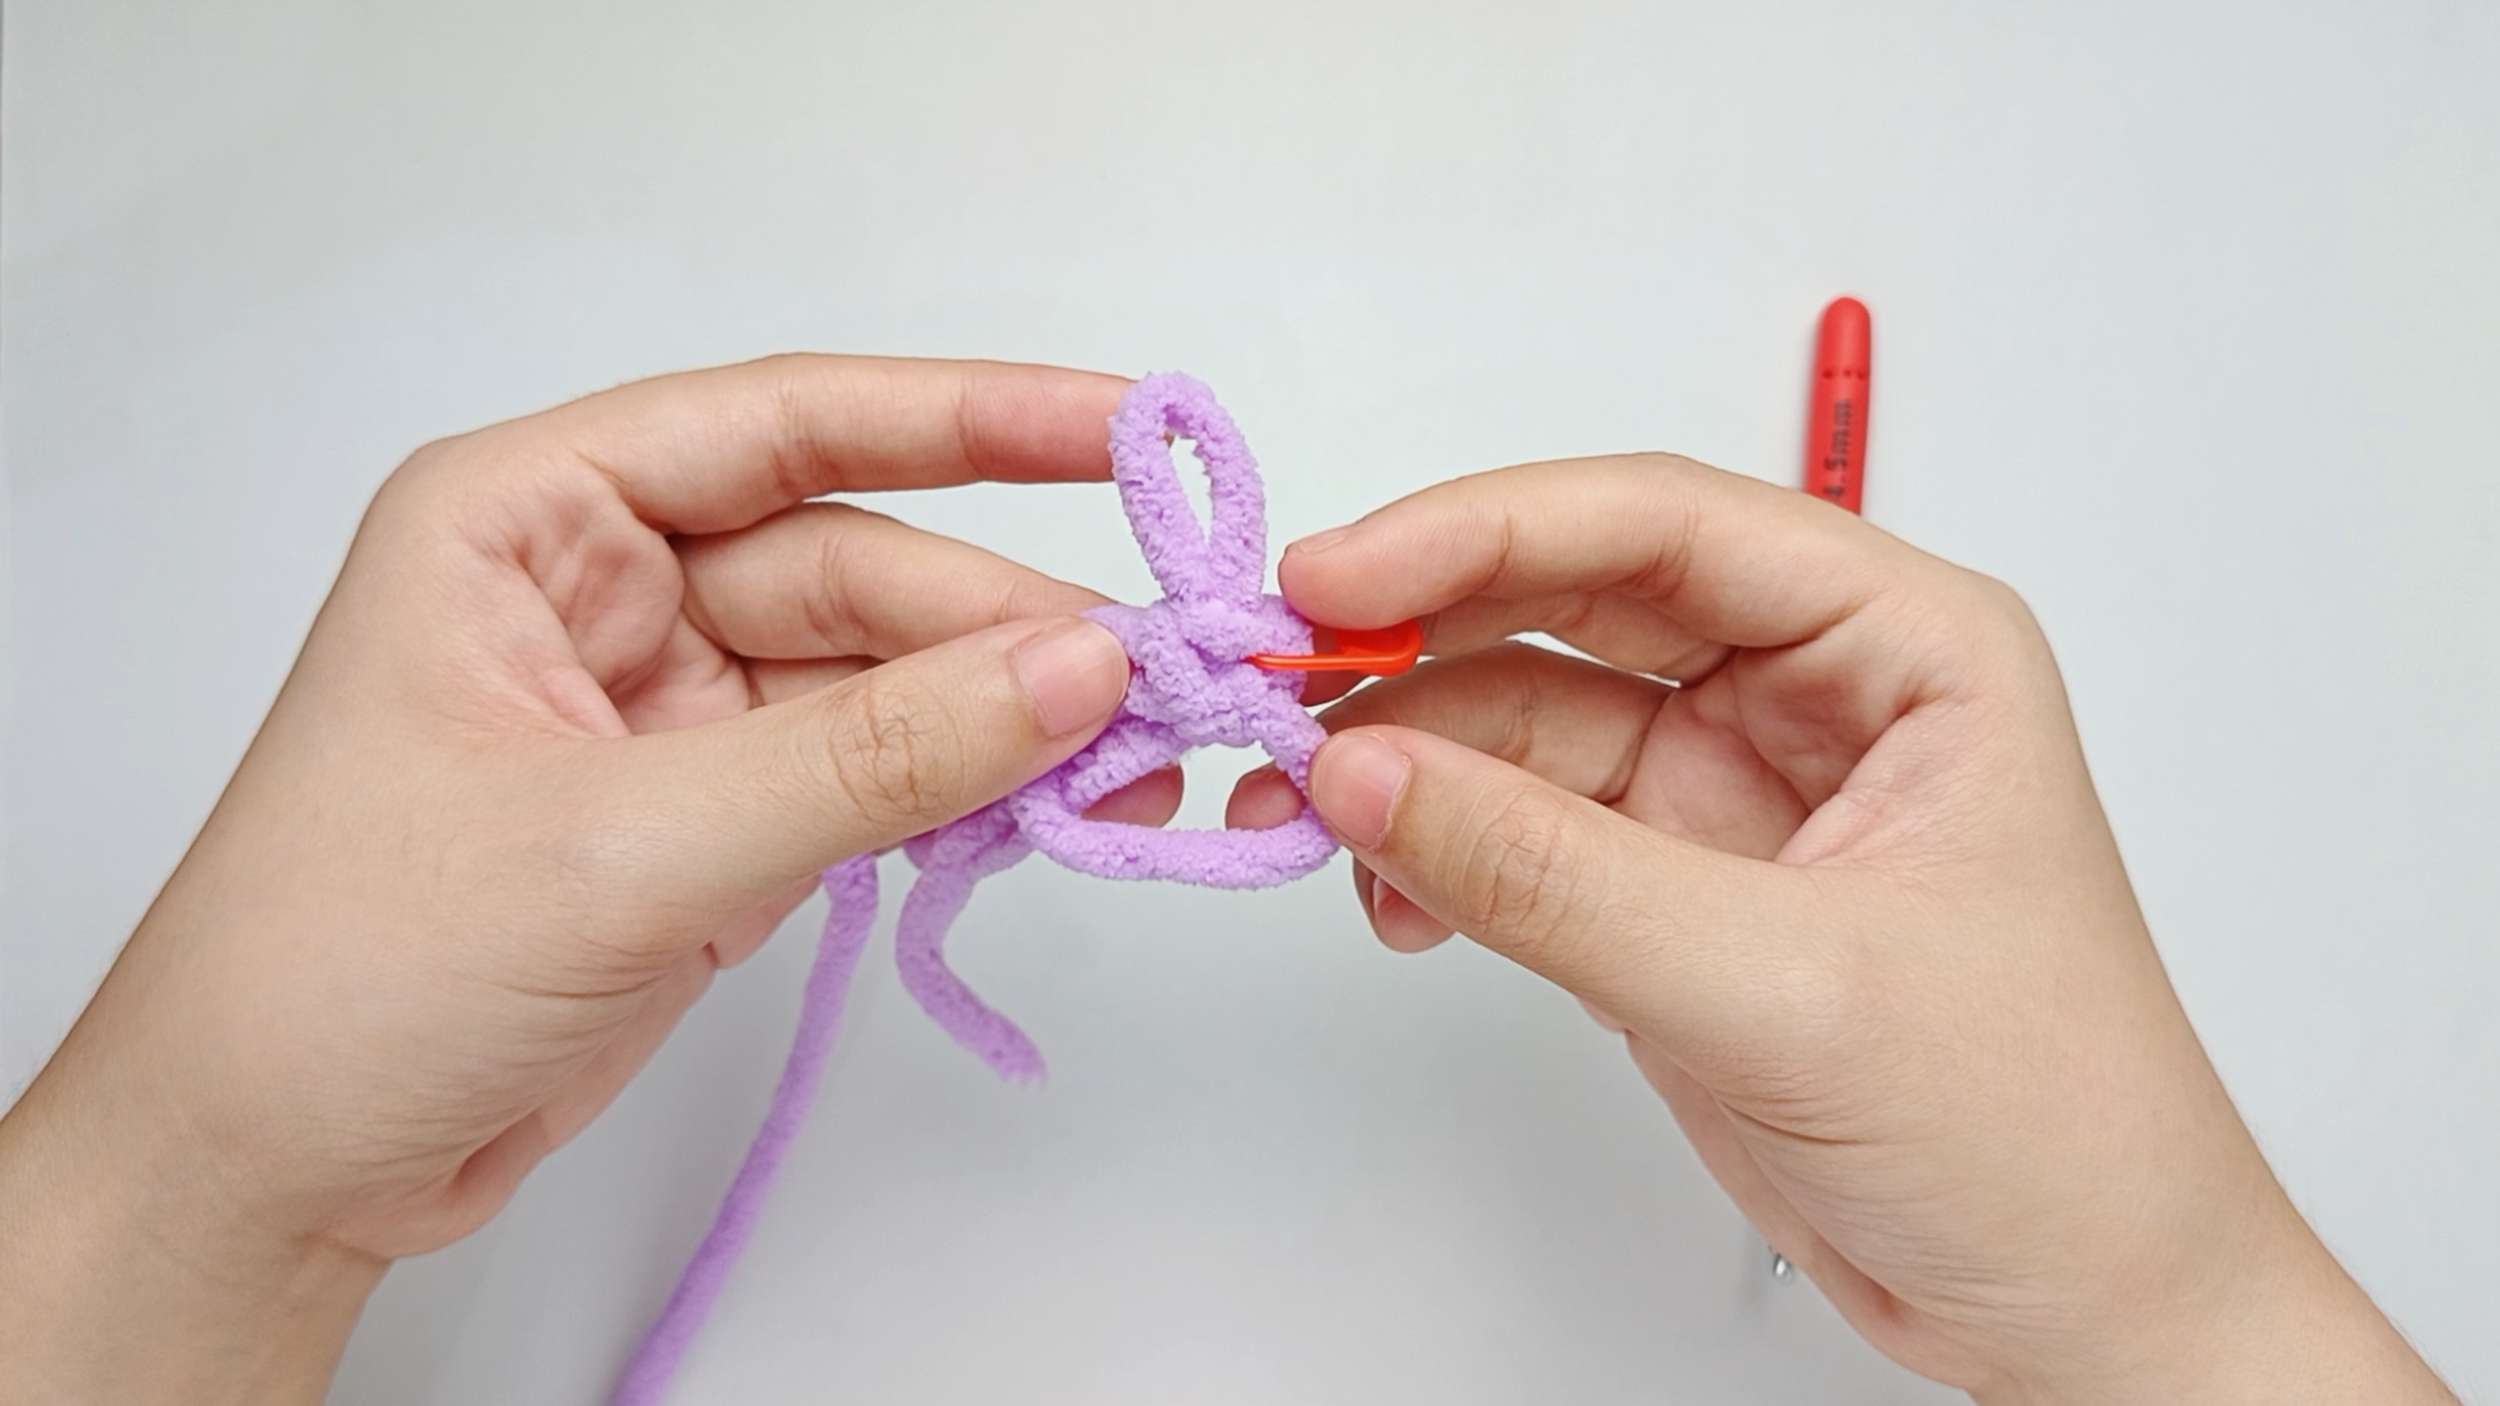
Mark the first stitch:
Remove your hook for a moment, and use the stitch marker to mark this first stitch.
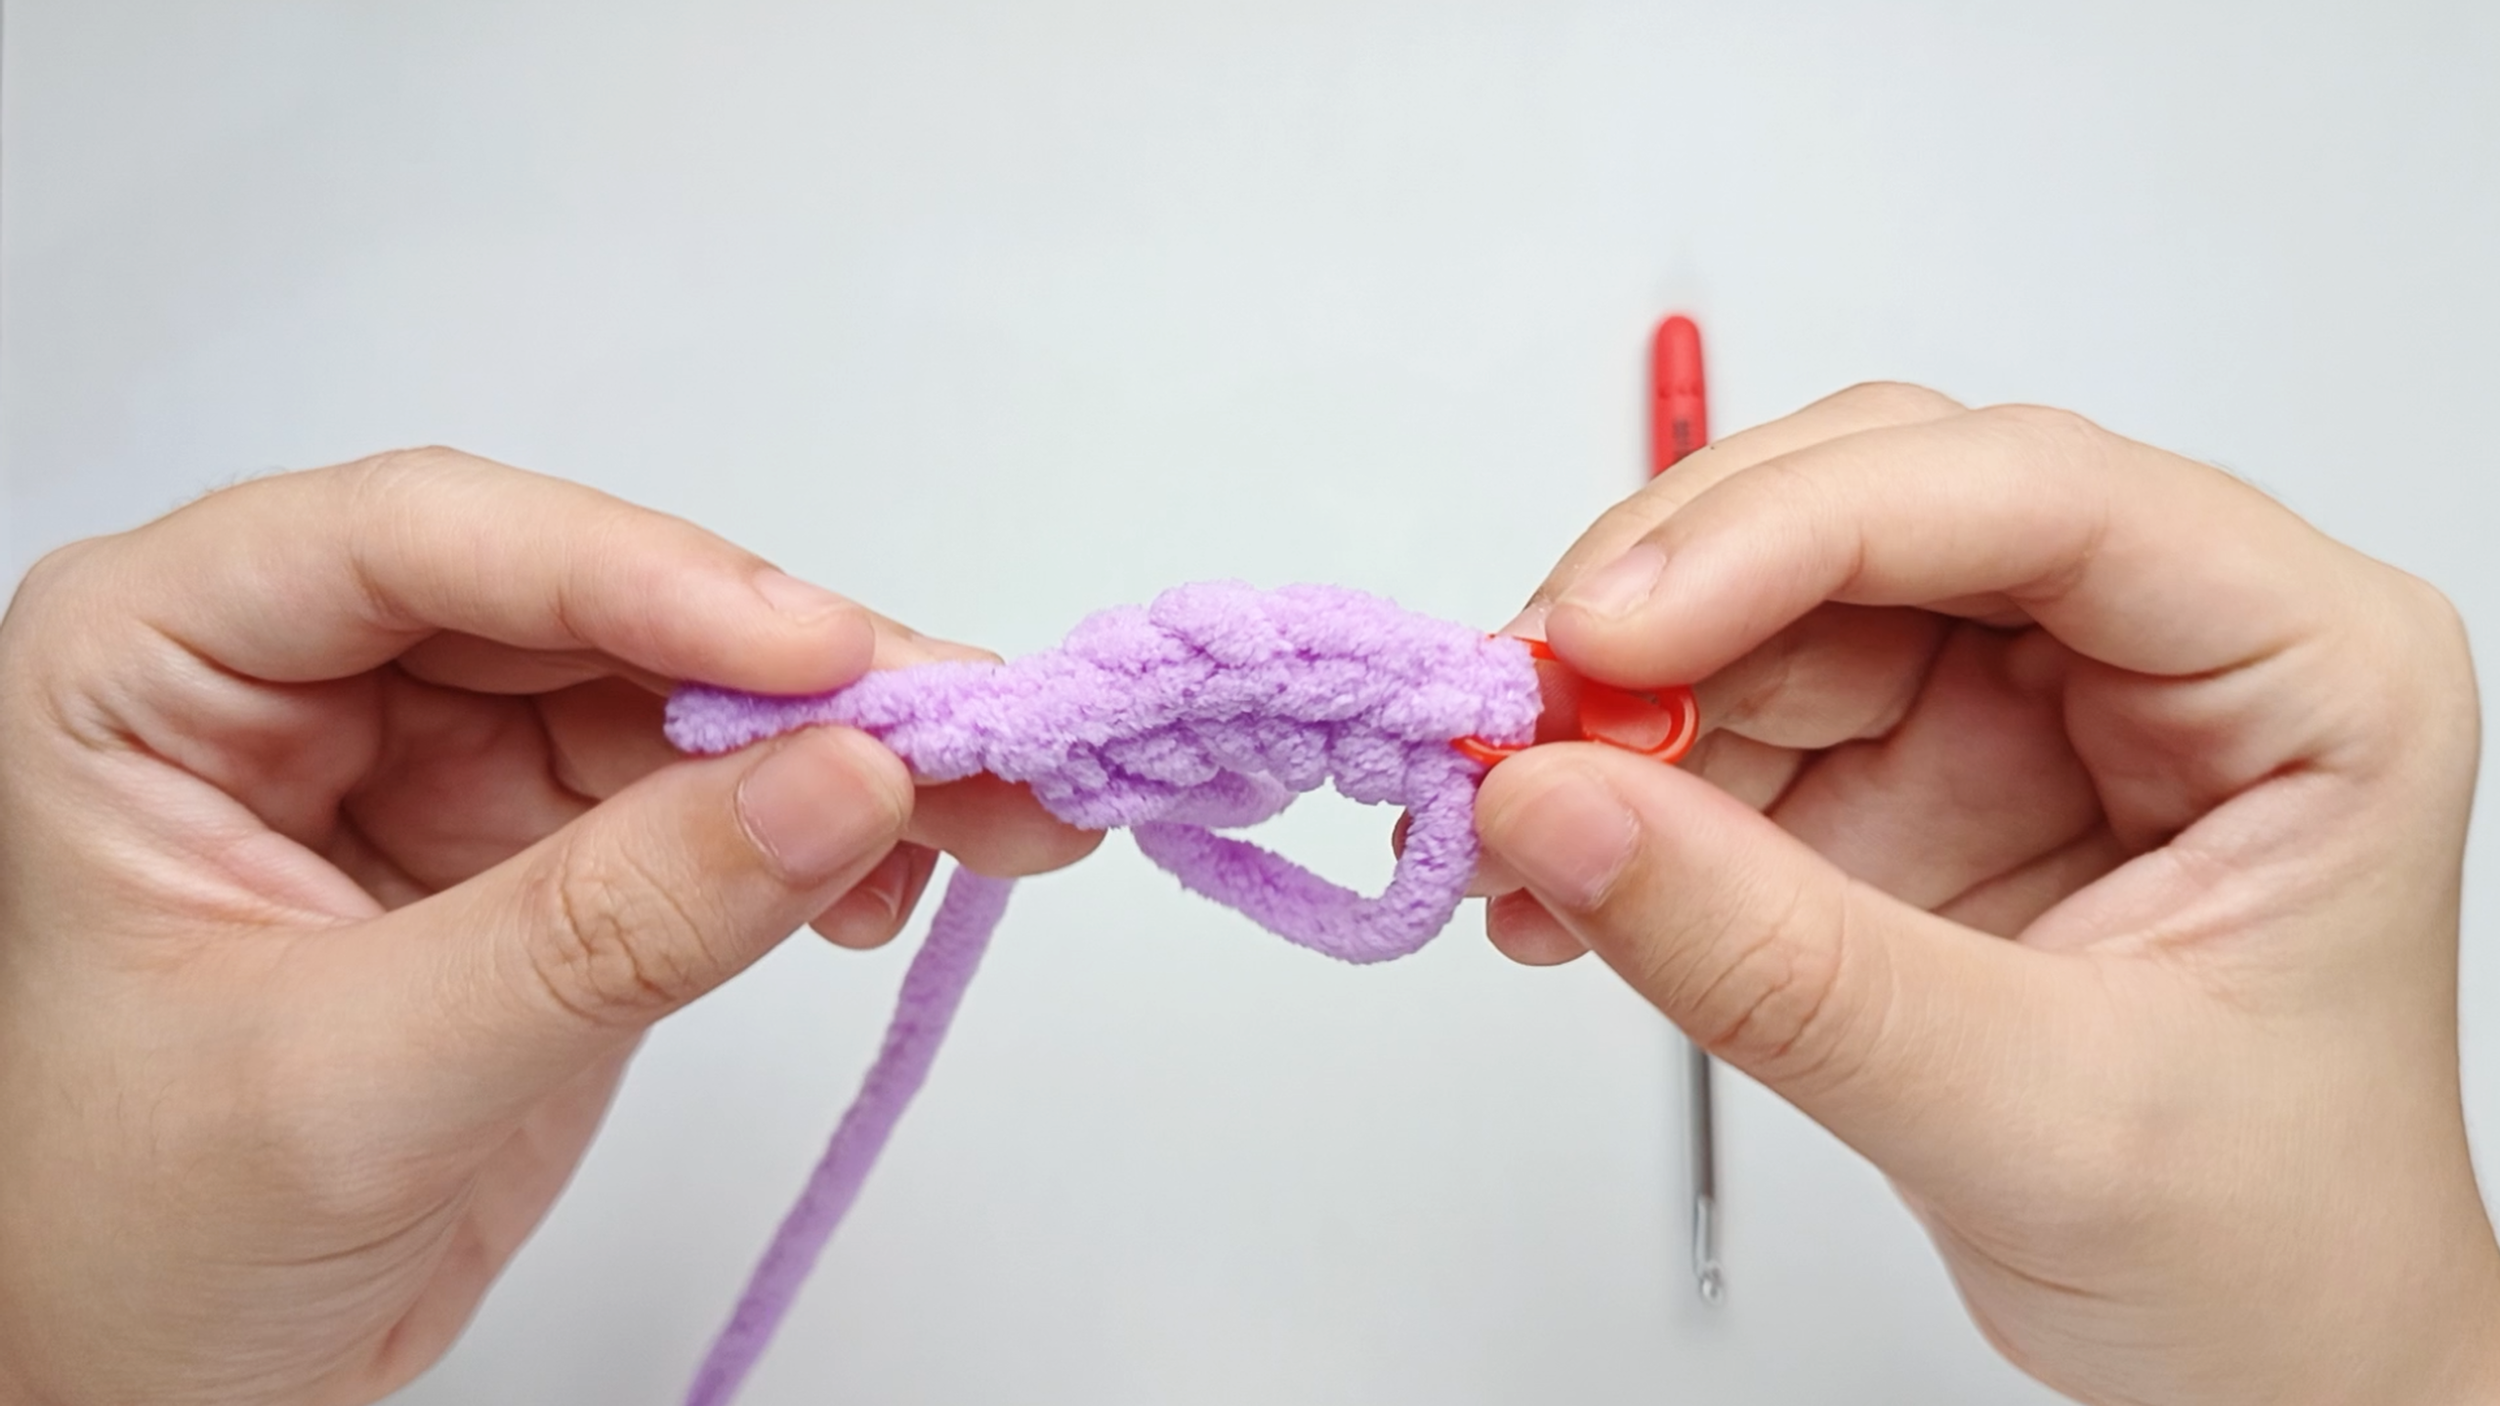
Make all your stitches:
Repeat 1 single crochet (sc) 4 more times into the center of the ring.
There should be 5 stitches in total.
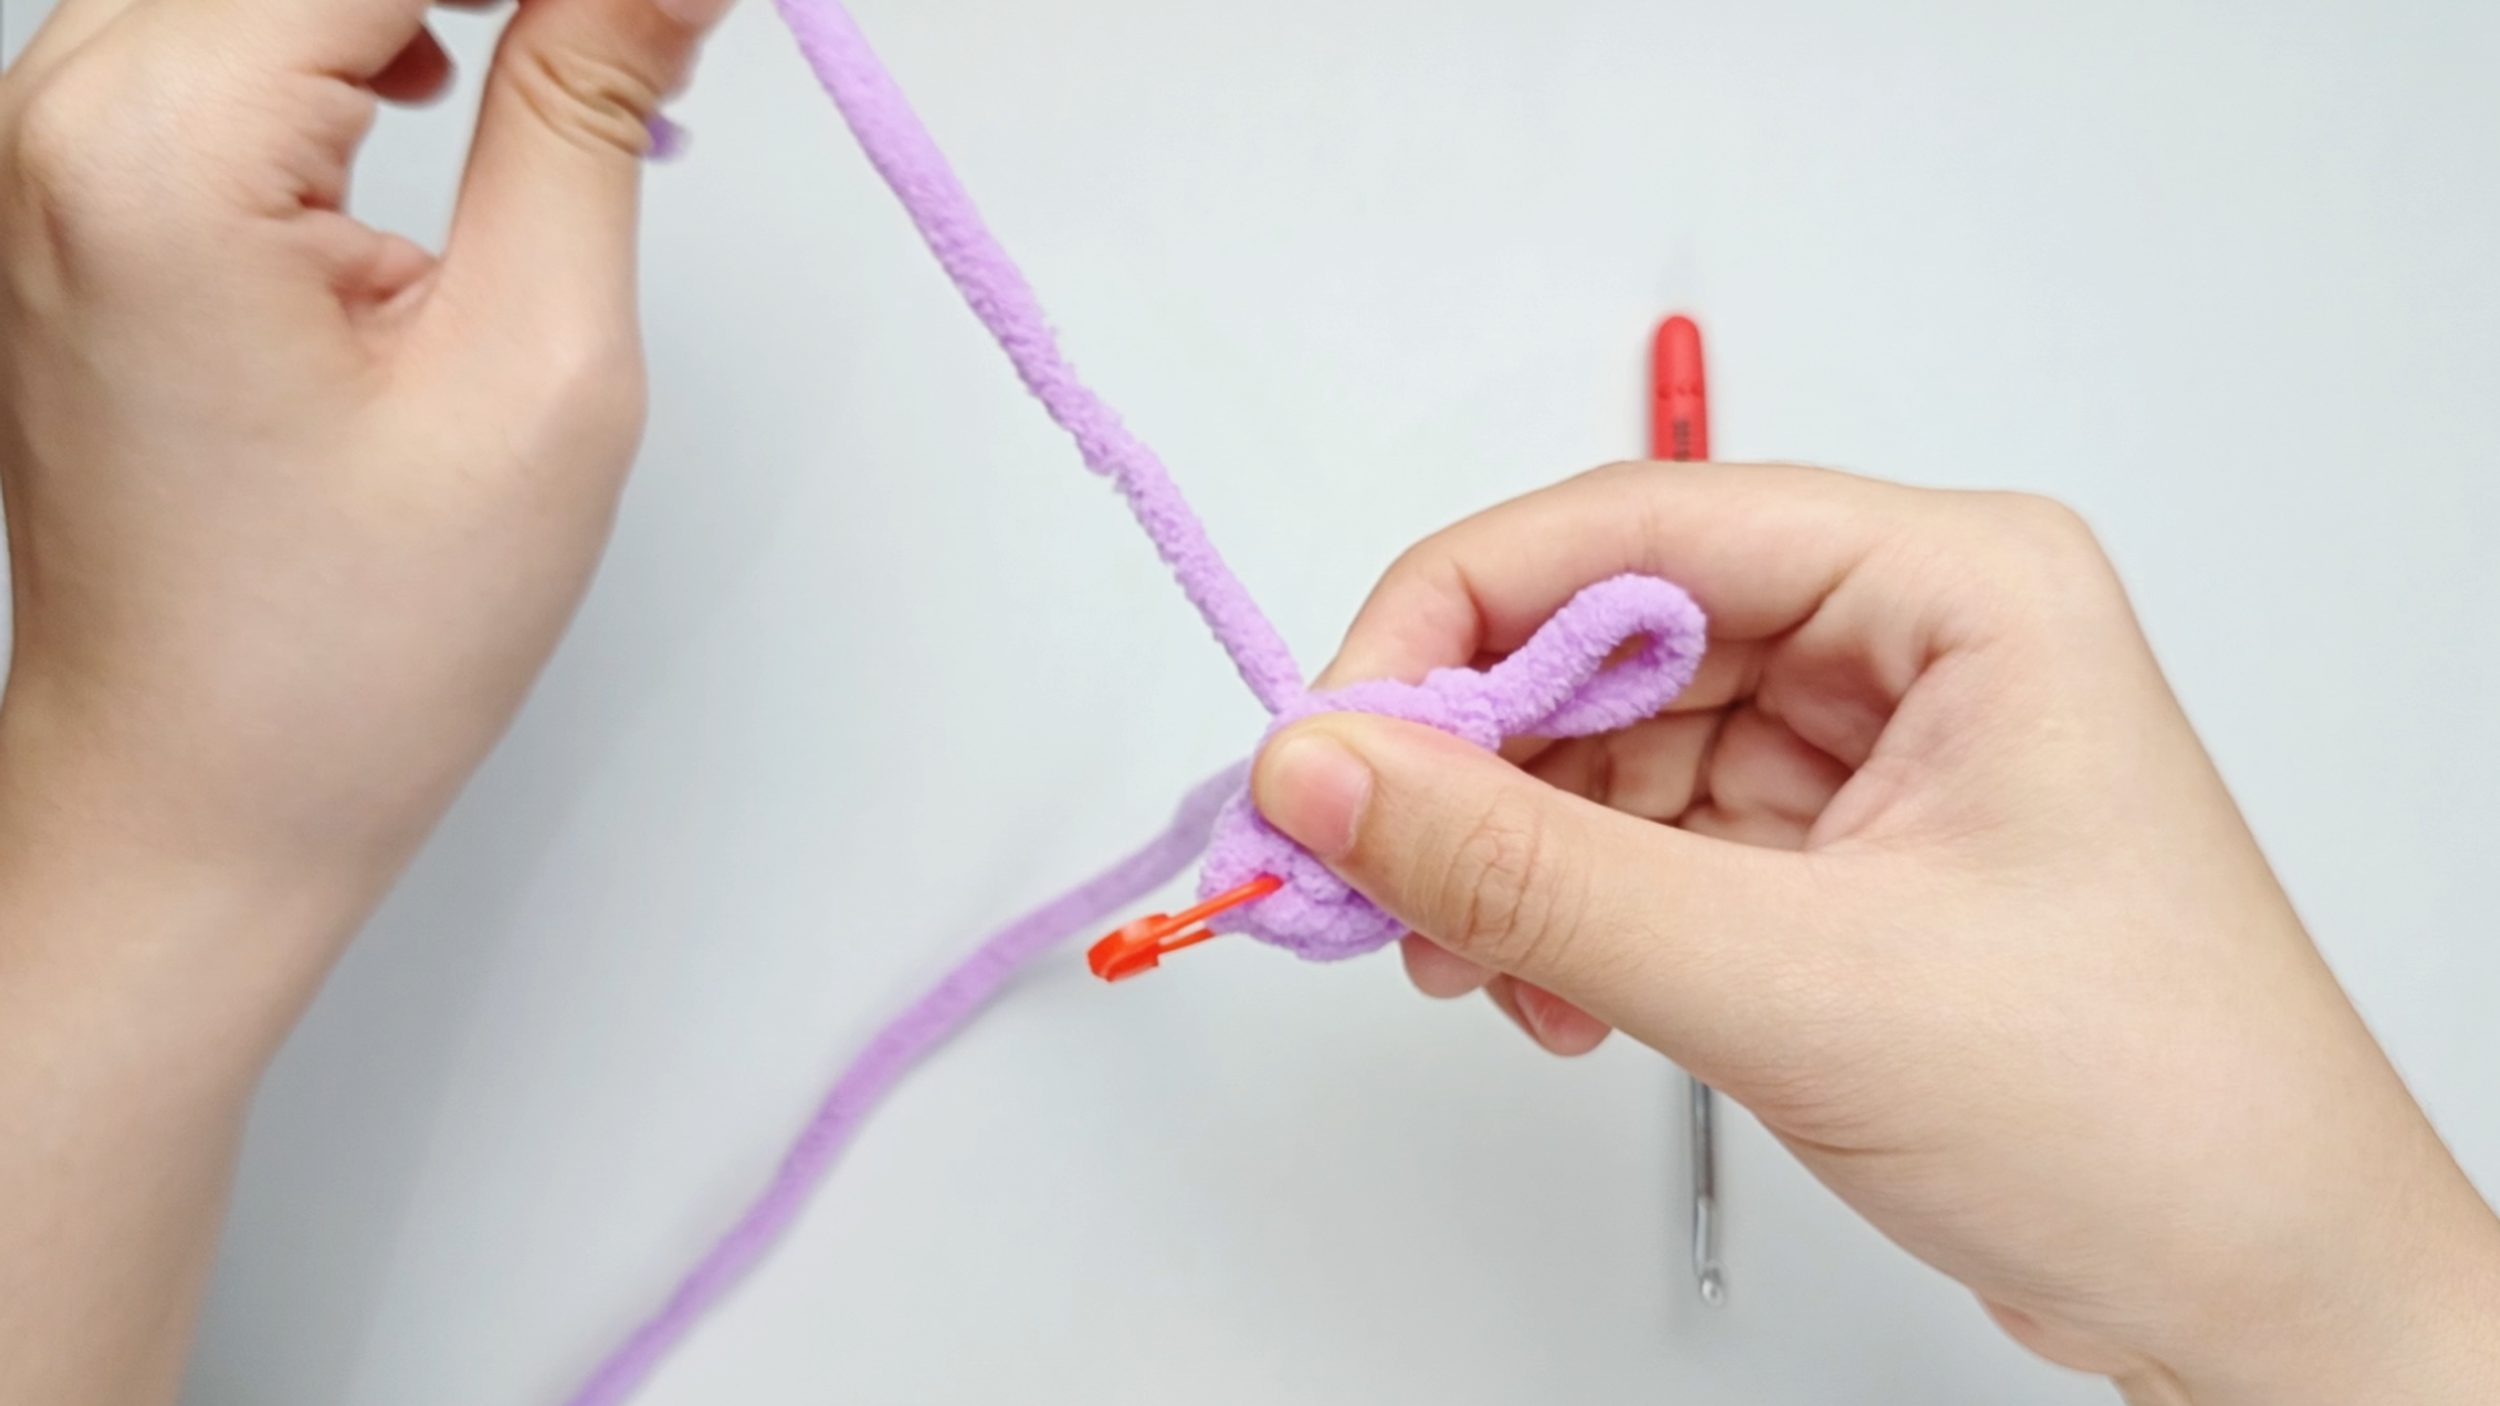
Close the center:
When all your stitches are done, put the hook down. Hold the stitches securely with your right hand, and with your left hand pull the yarn tail firmly to close the center of the ring.
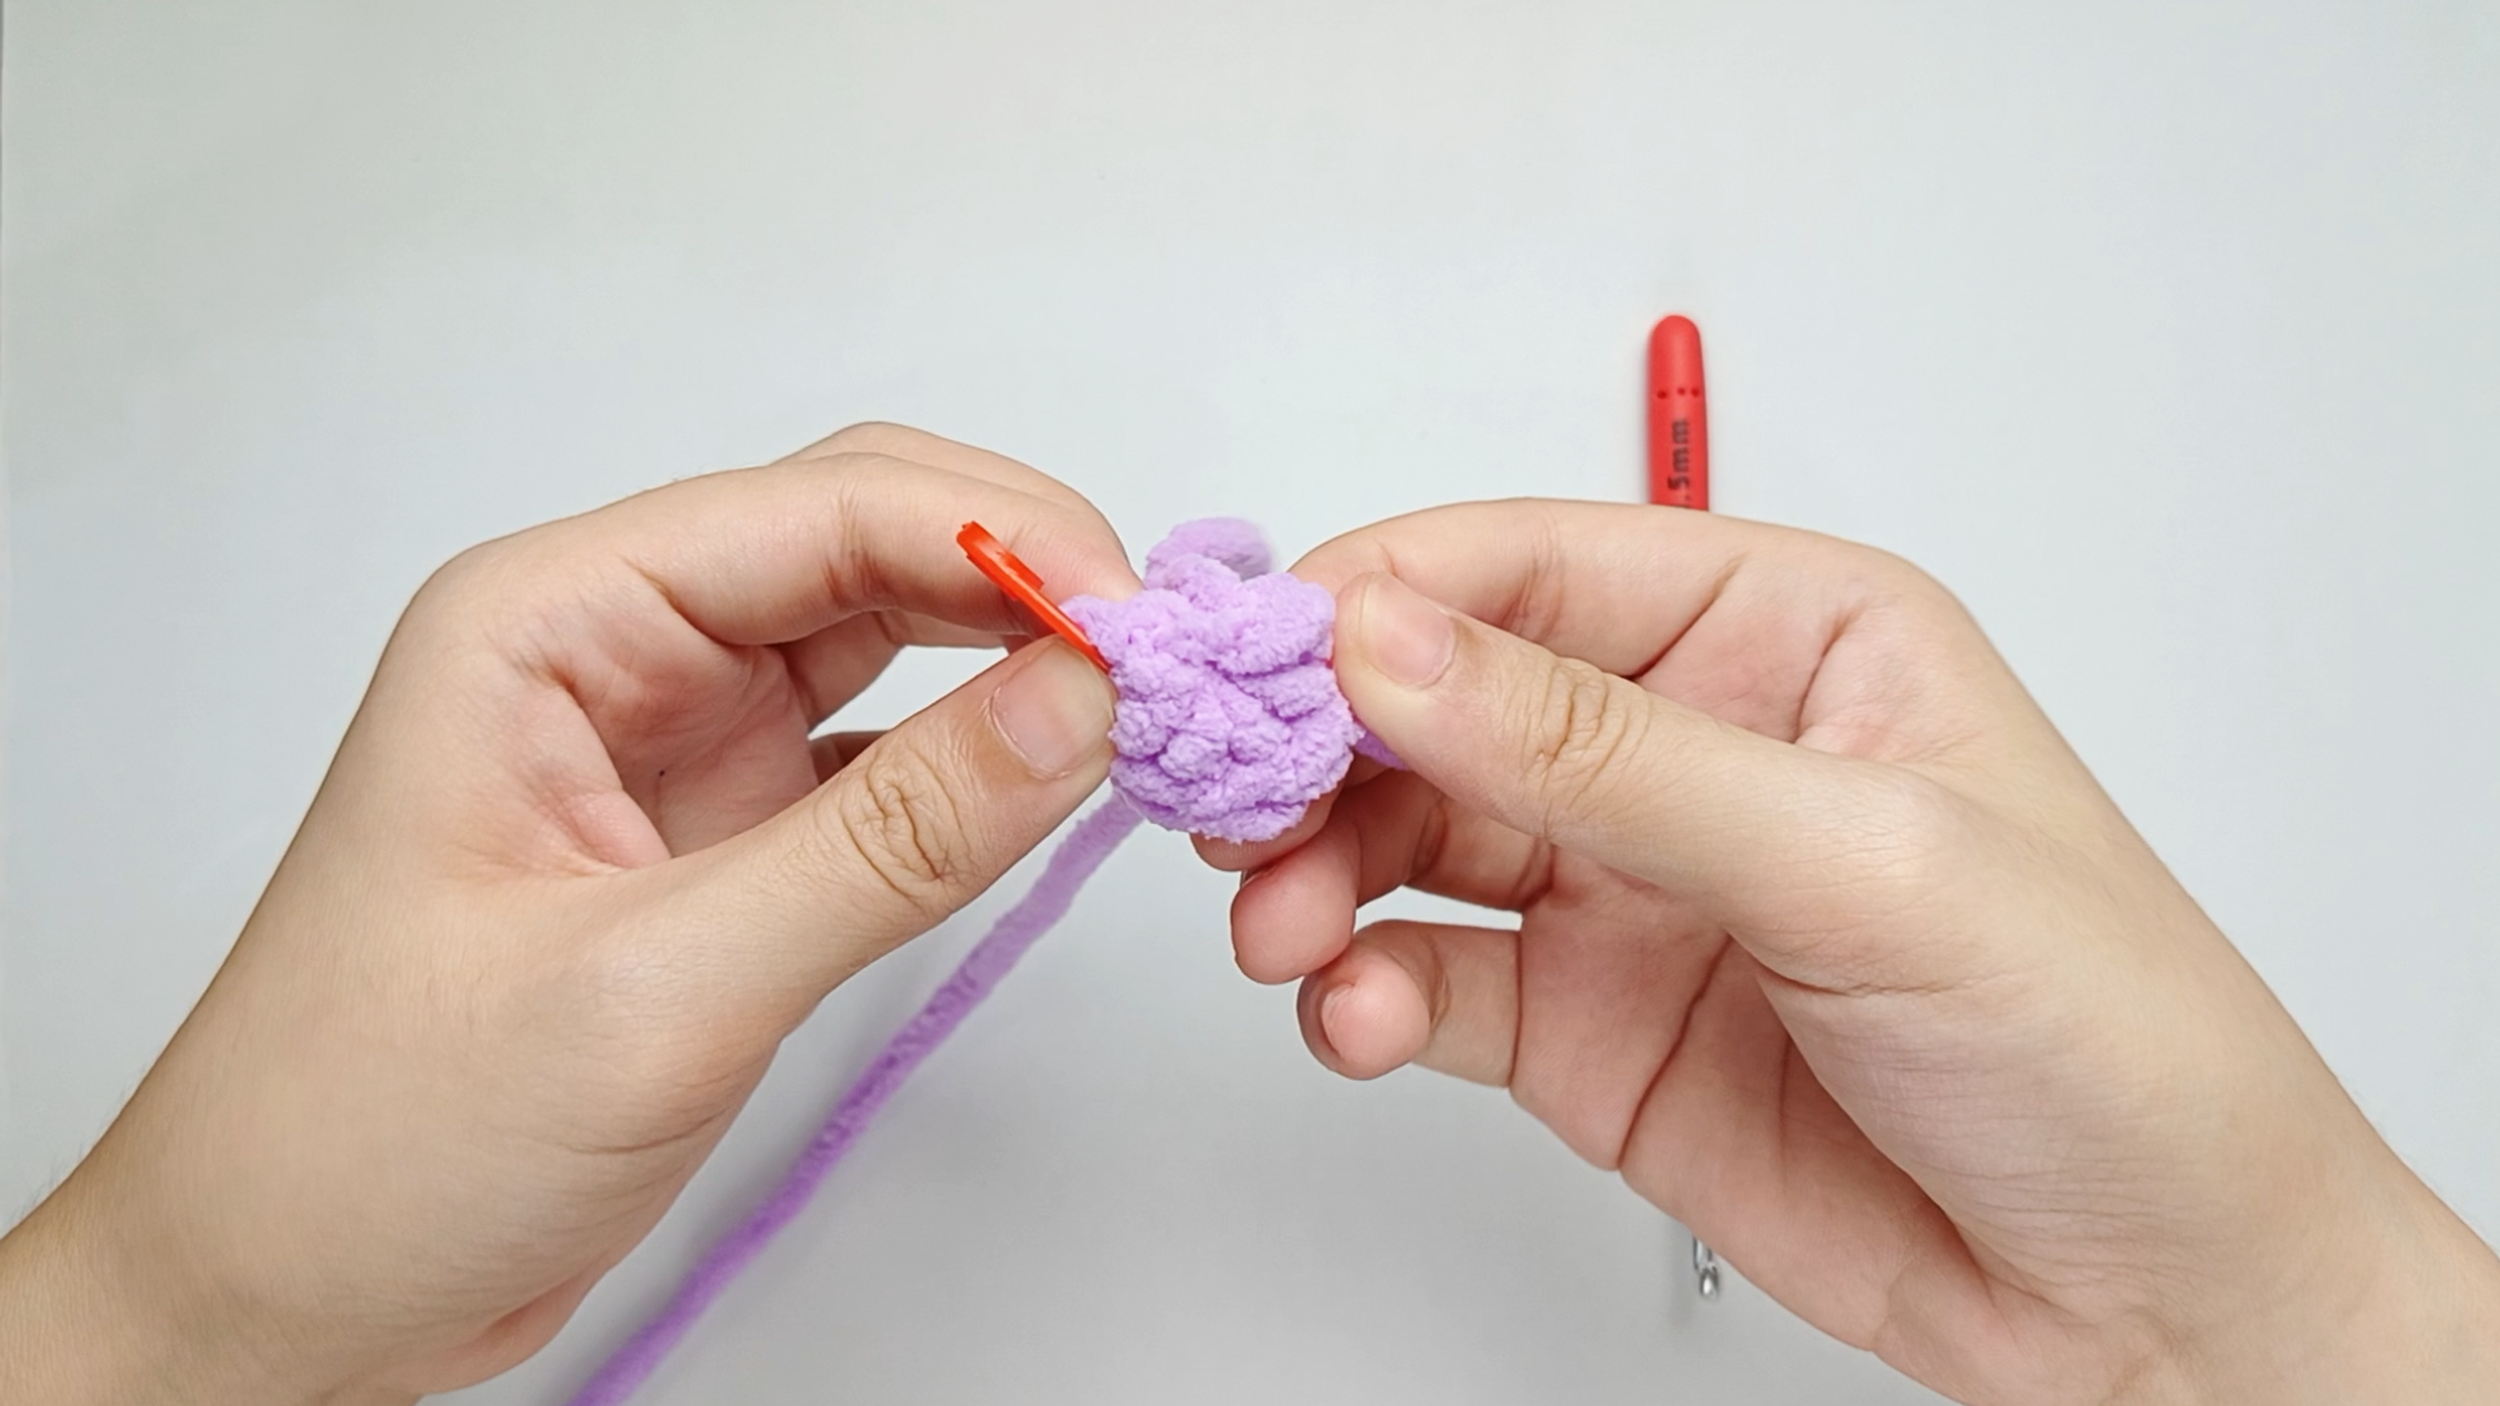
Closed magic ring (MR):
Done right, it closes with no visible hole, giving you a smooth, even foundation. Round 1 is completed.
Crochet 1 single crochet (sc) in each stitch around.
Total stitches: 5
Round
2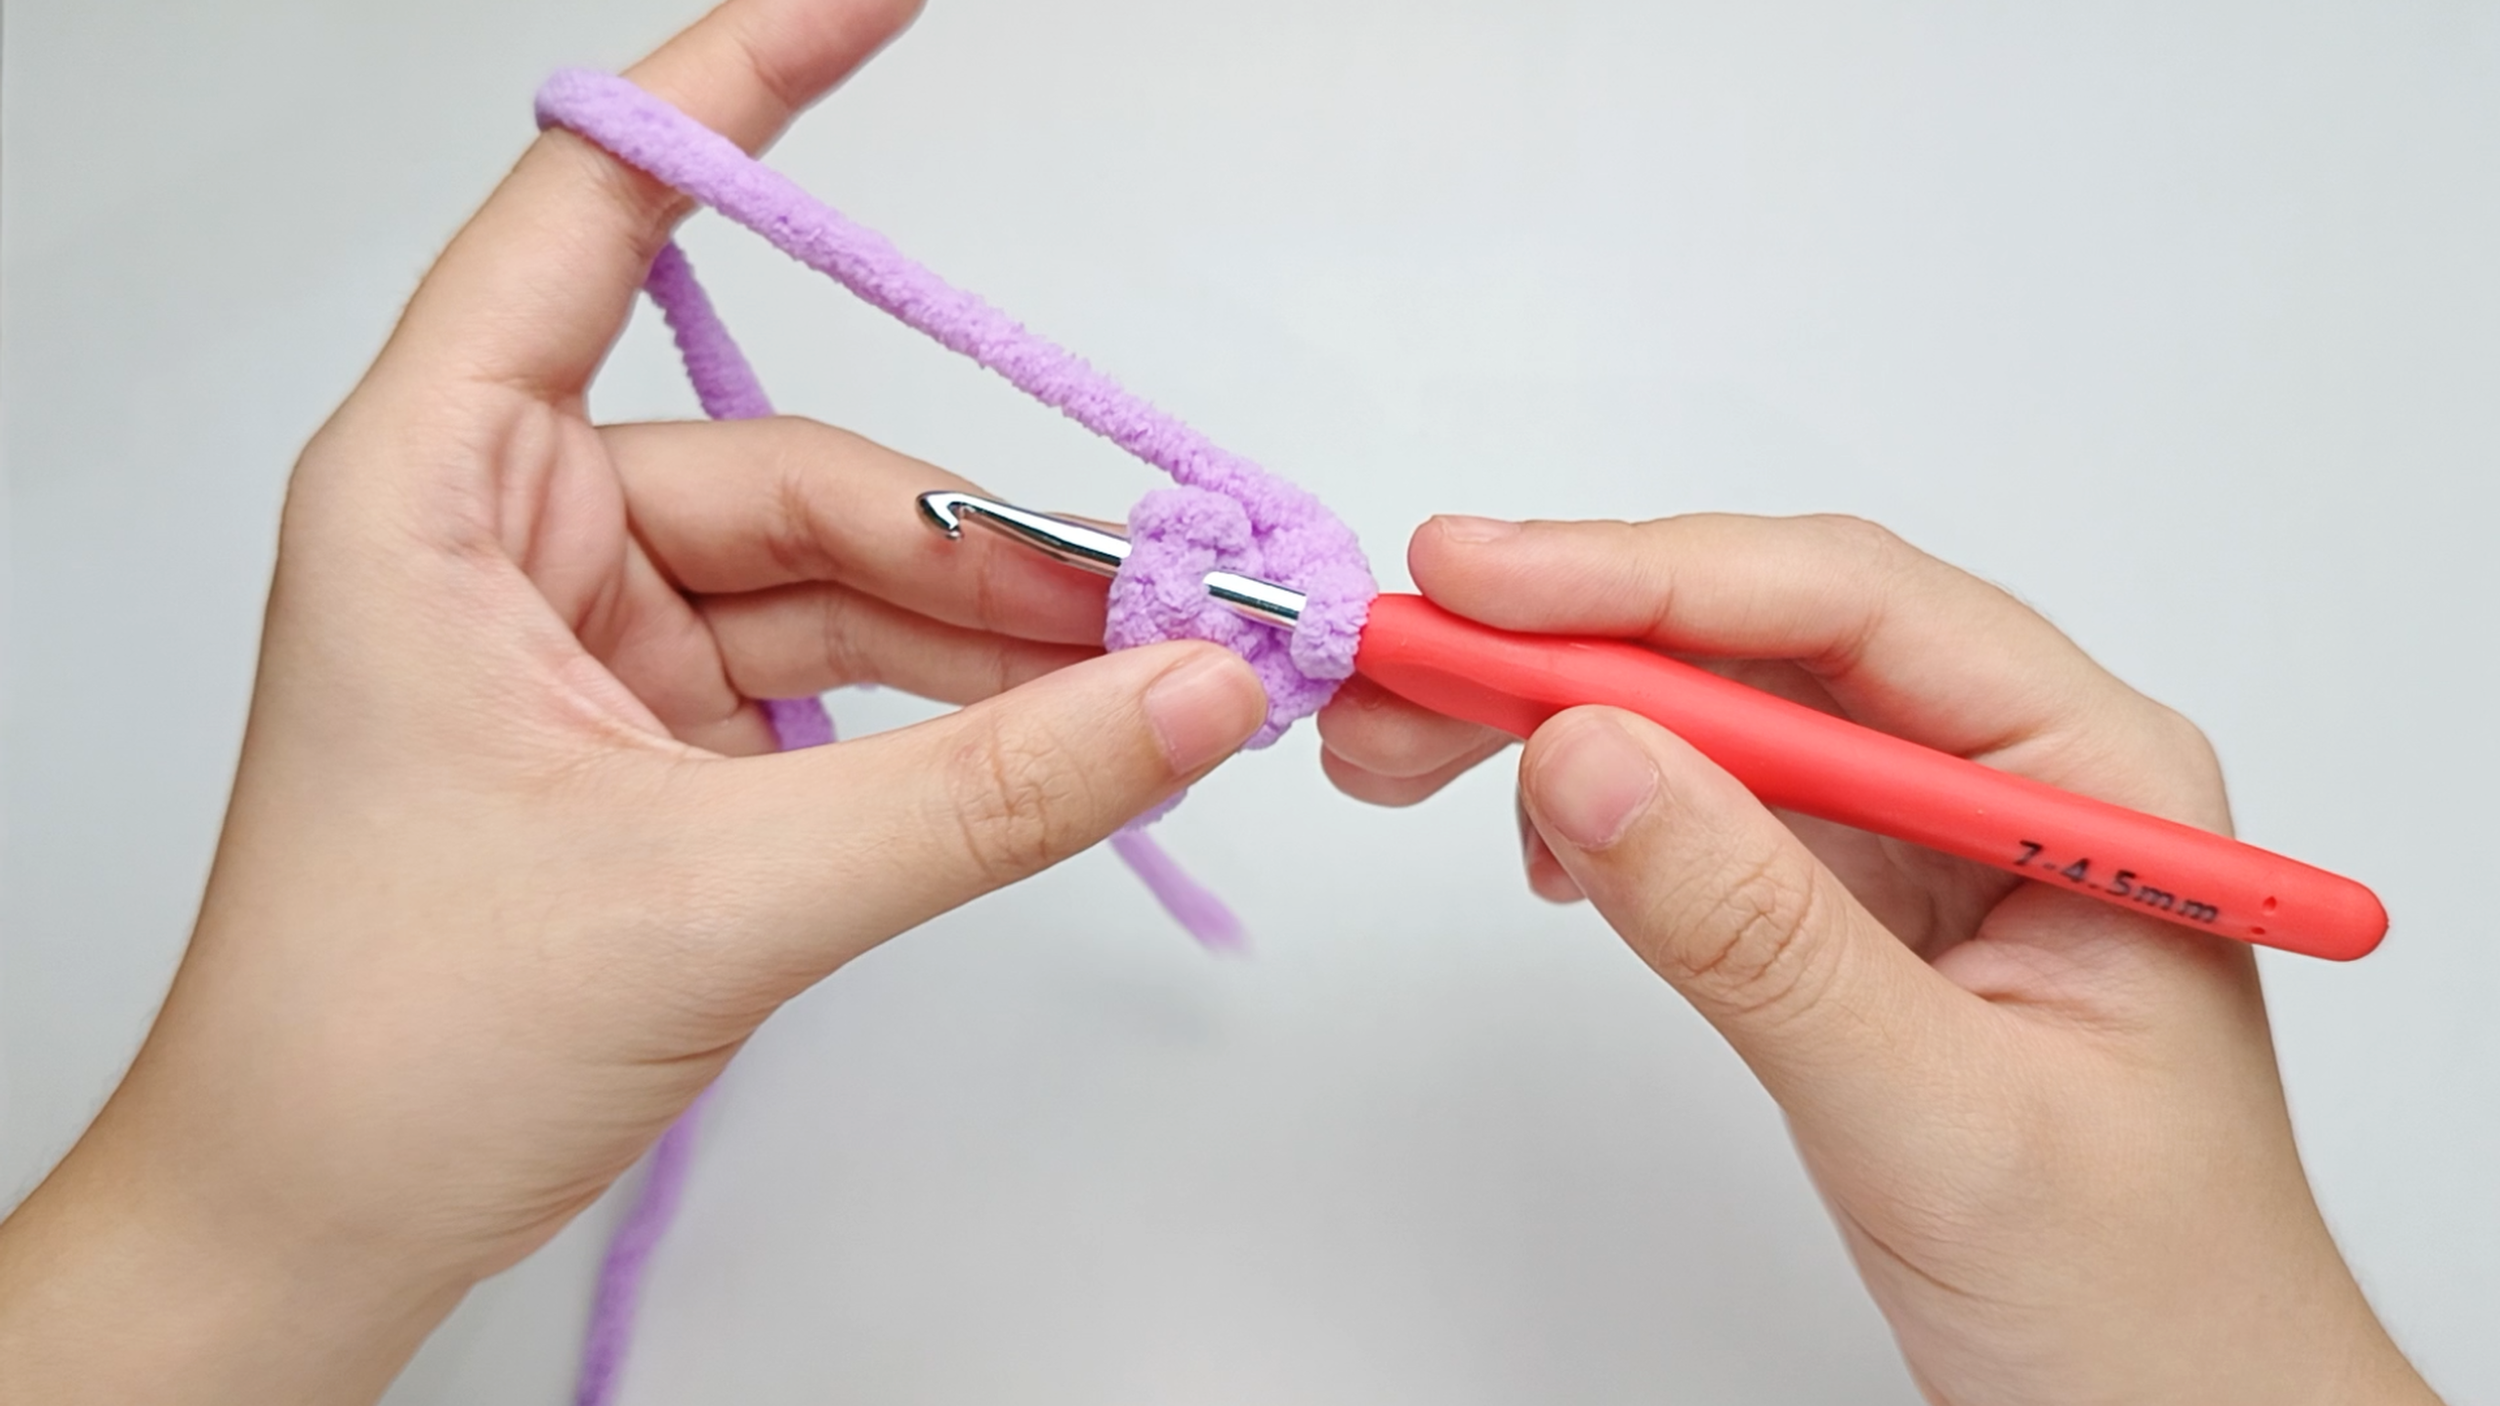
Hook back in:
Insert your hook into that marked stitch to begin Round 2. Remove the stitch marker so the stitch is easier to work into.
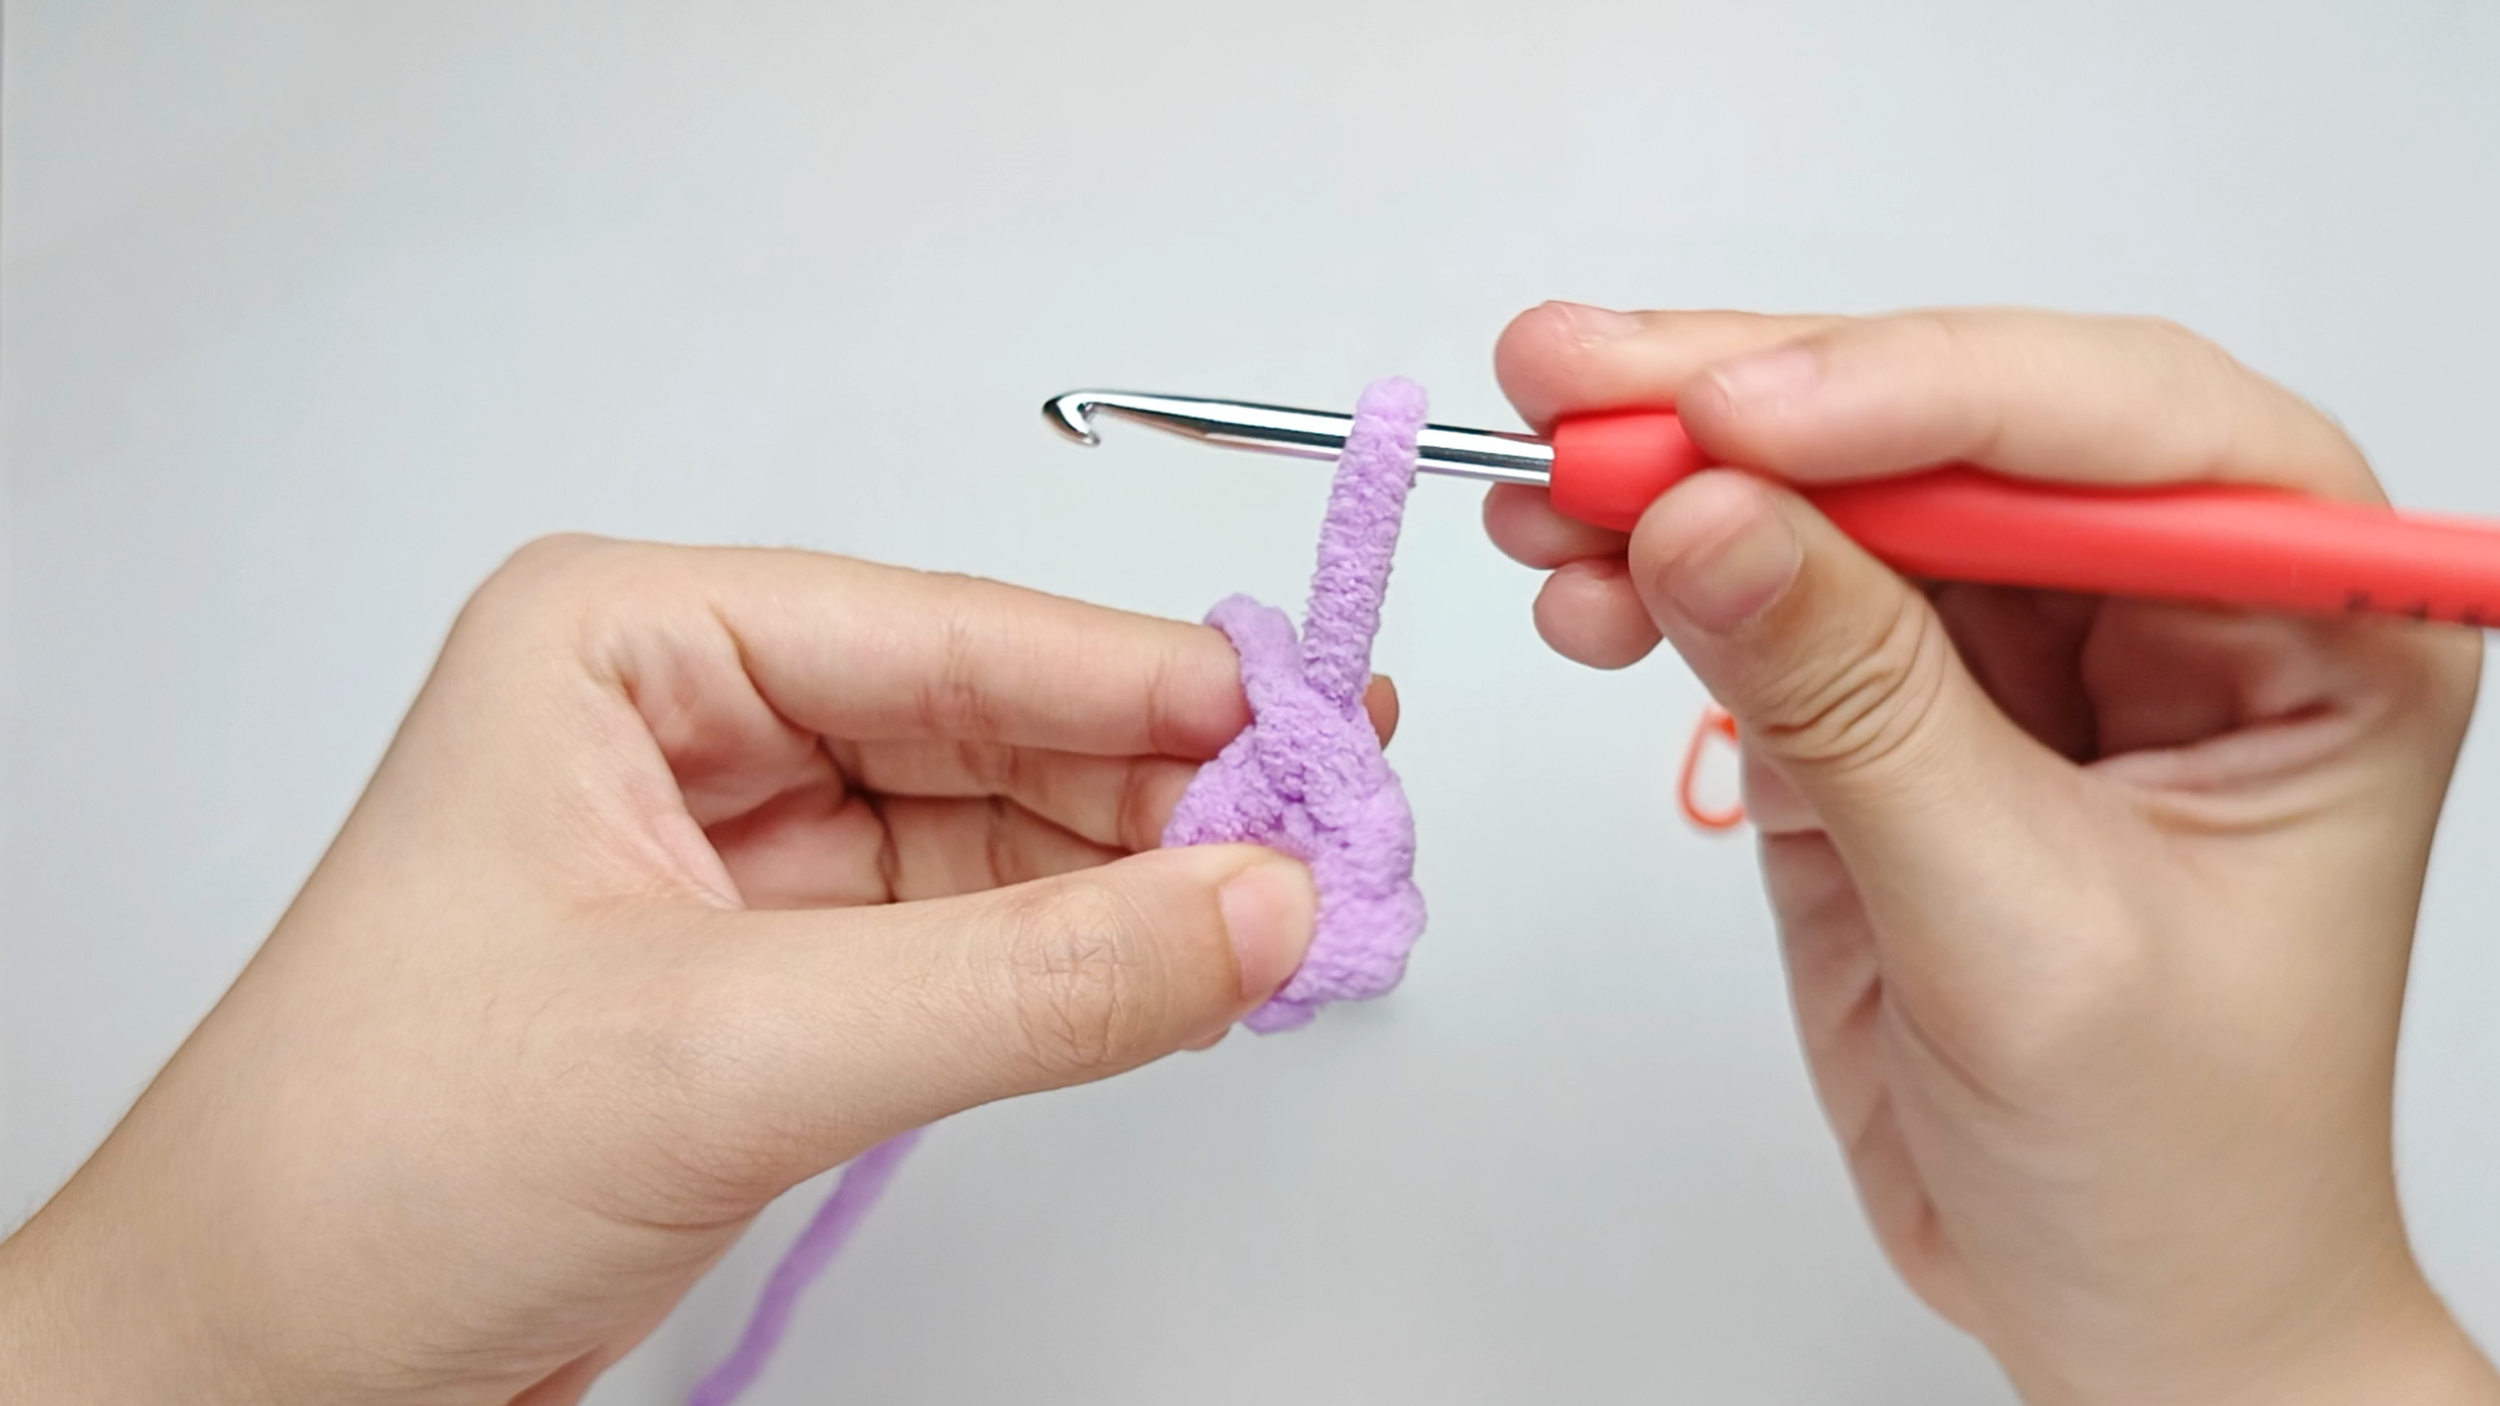
Make 1 single crochet (sc) first:
Yarn over, pull through, yarn over again, and pull through both loops.
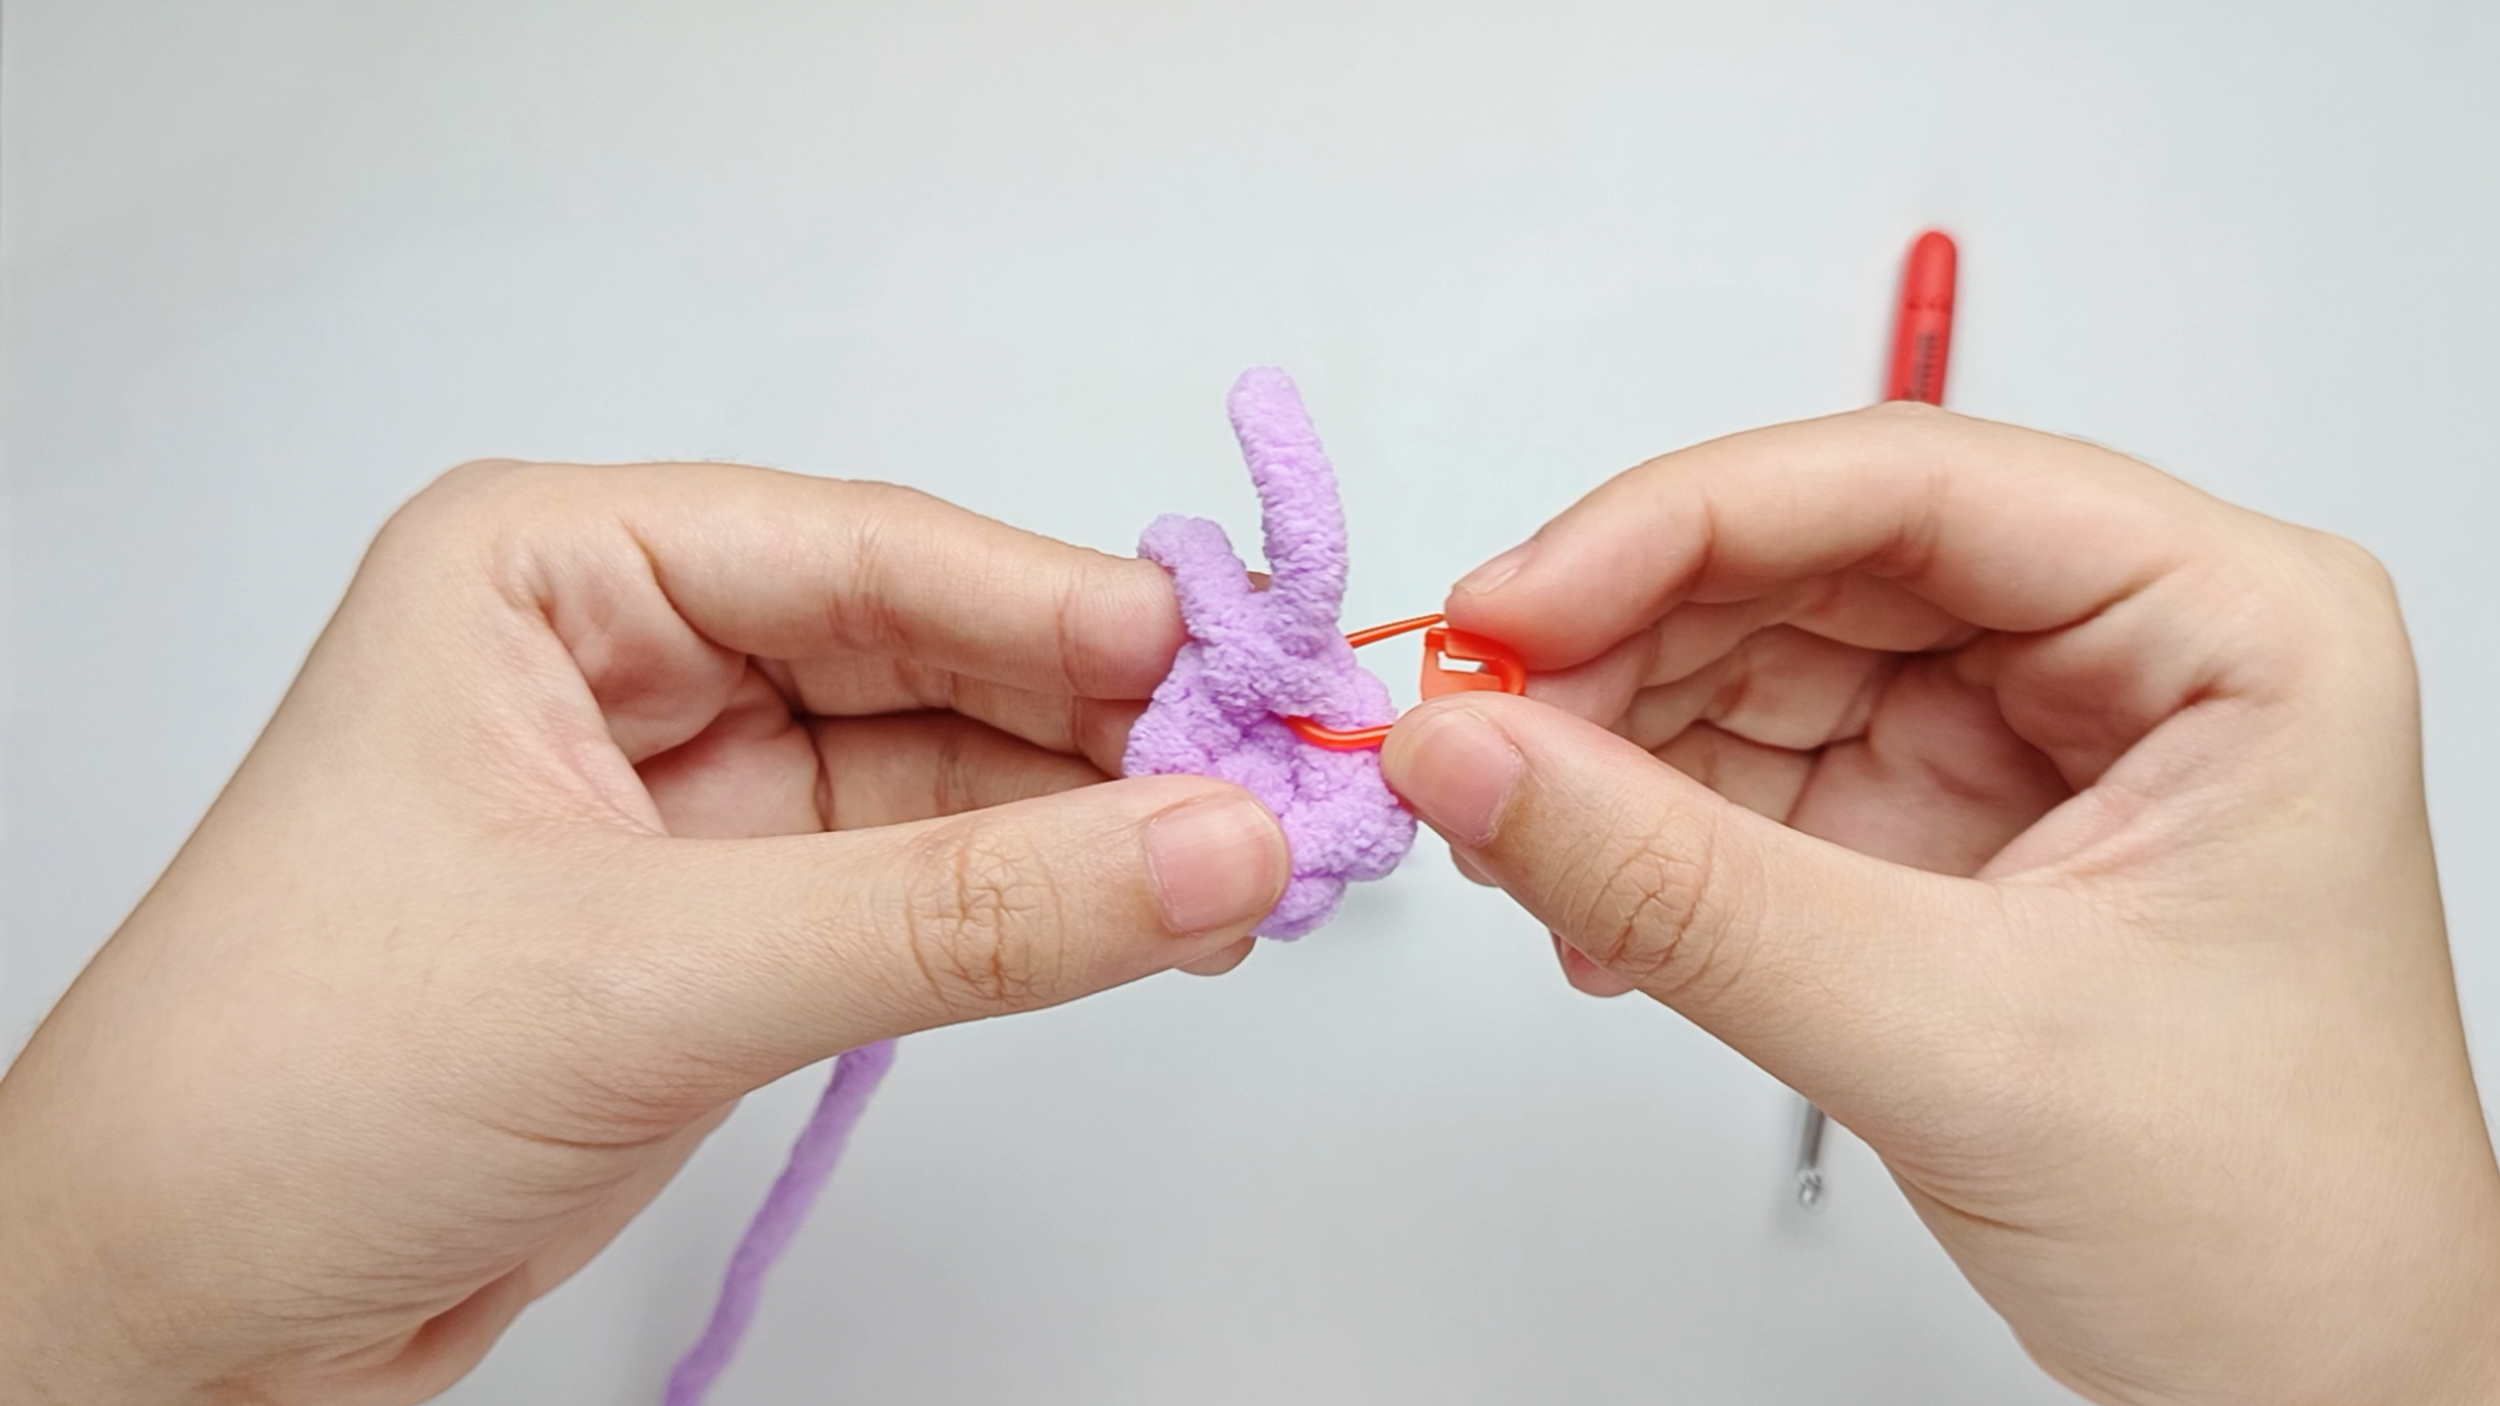
Mark the first stitch:
Remove your hook for a moment, and use the stitch marker to mark this first stitch.
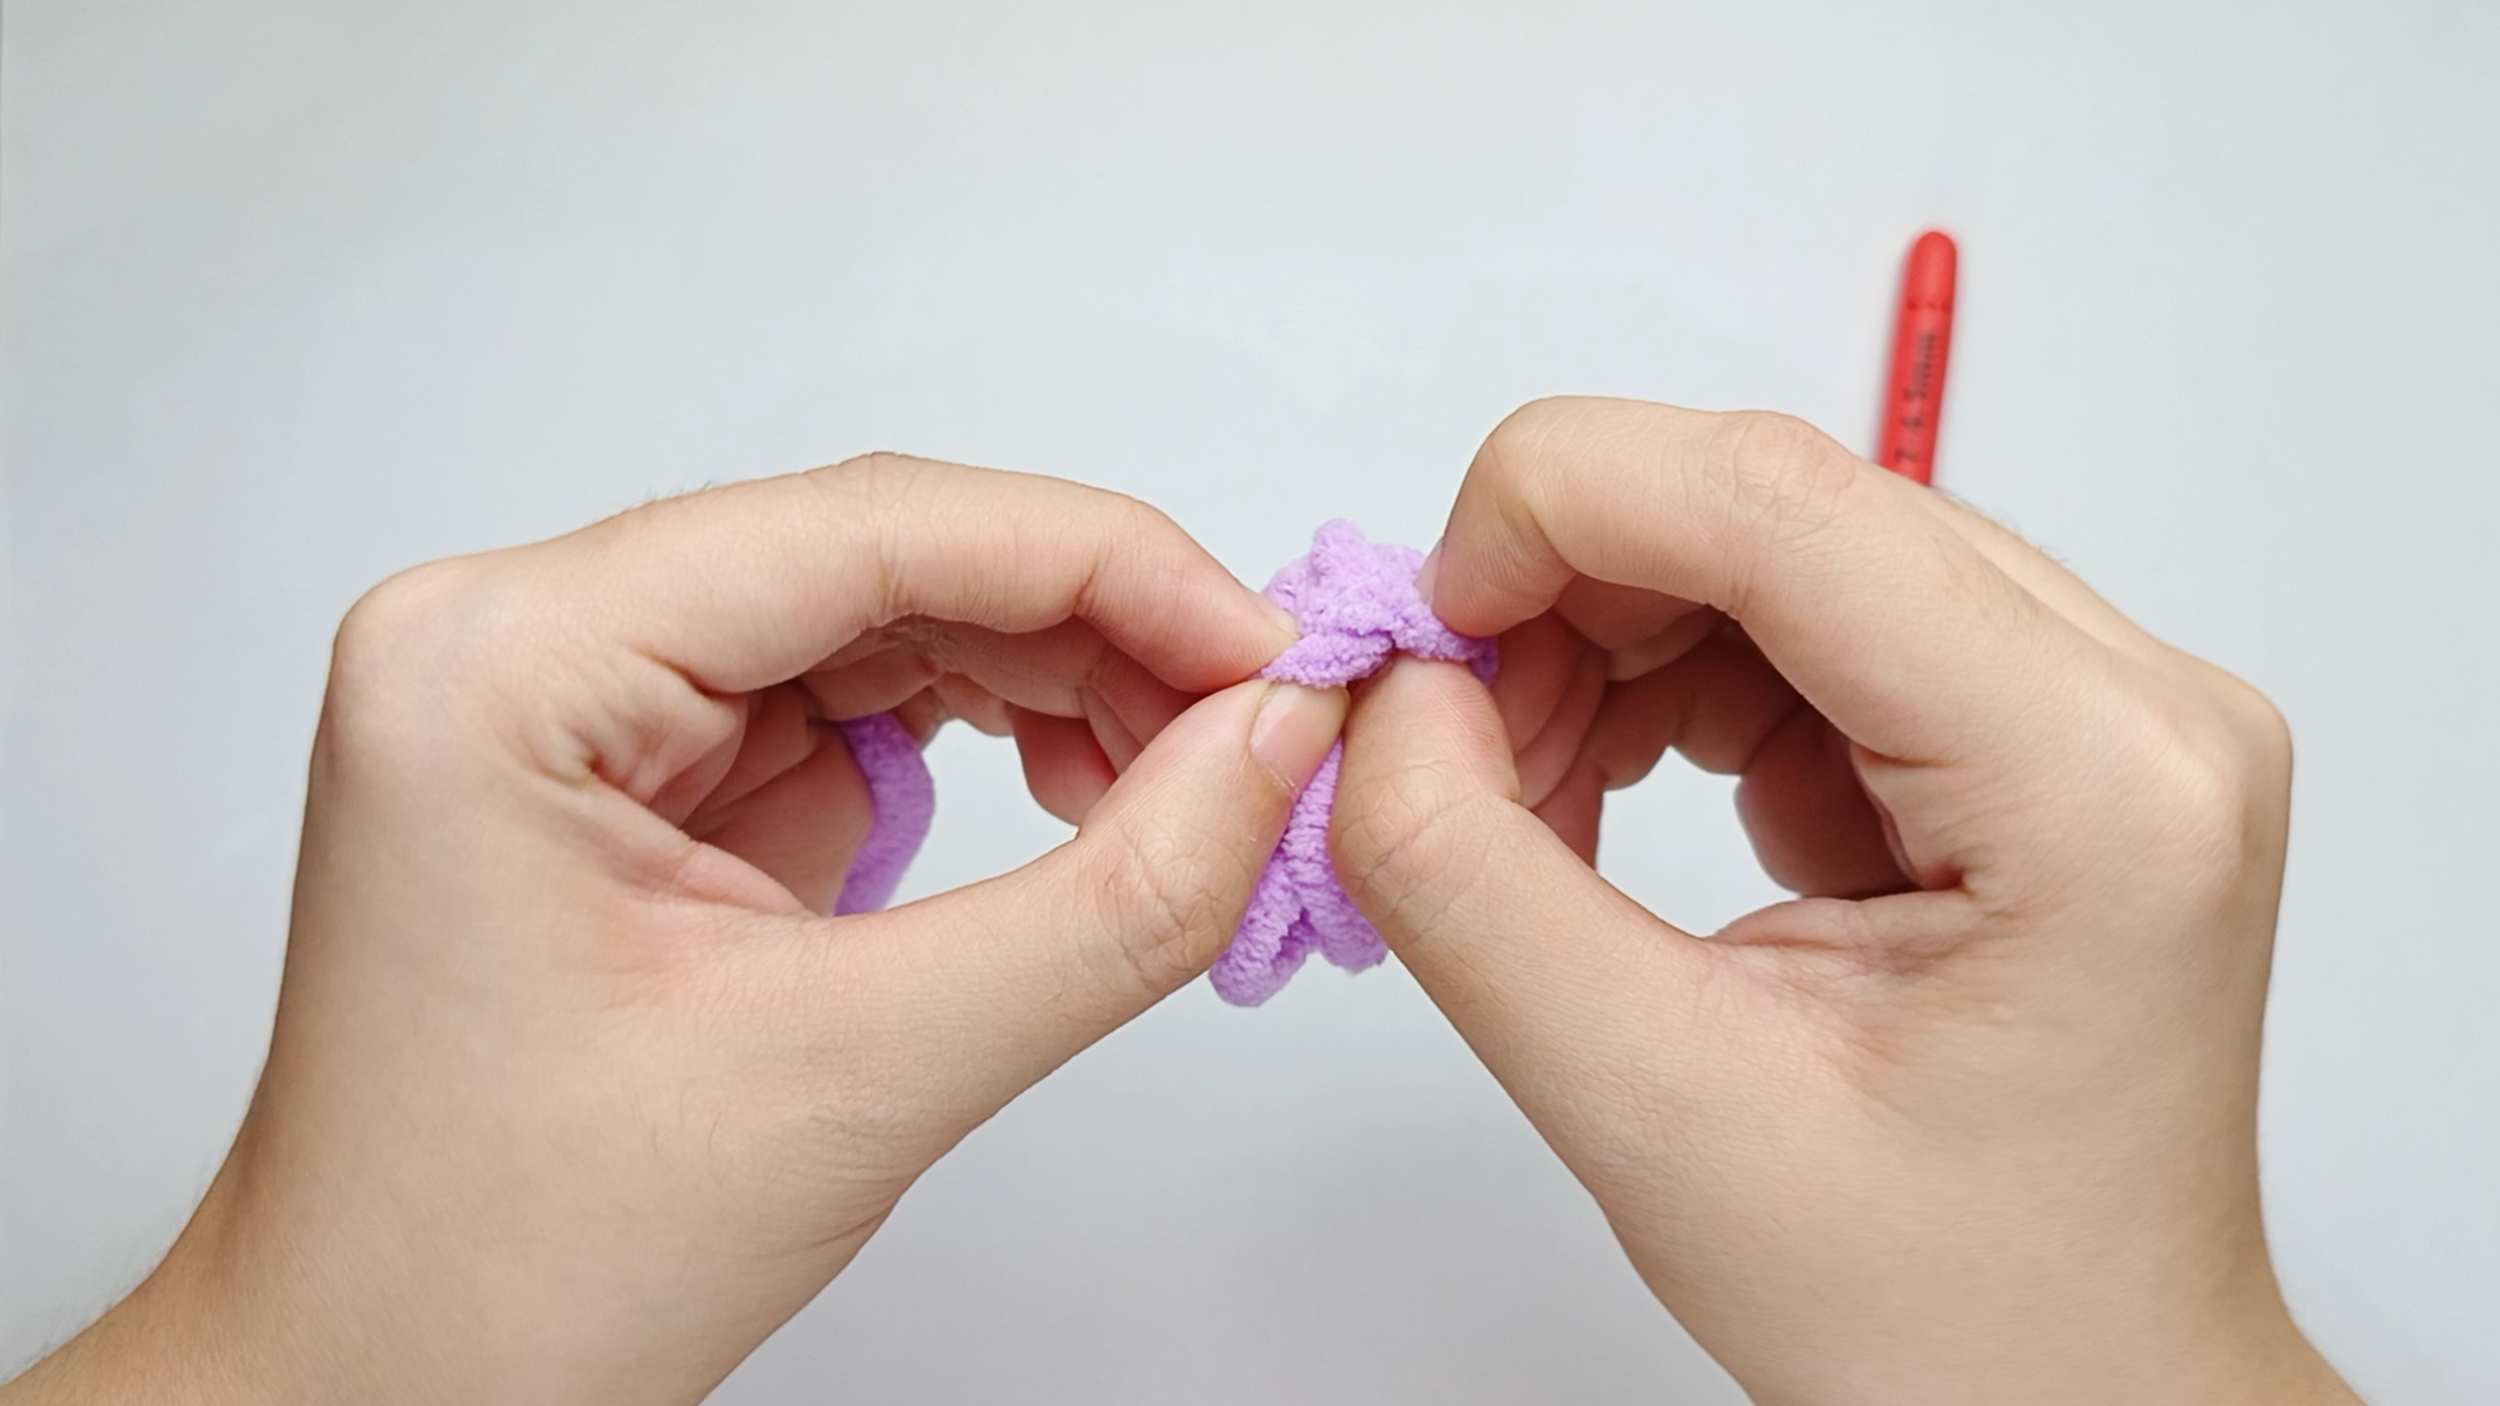
Push the wrong side inward:
Push the wrong side inward so the right side faces outward.
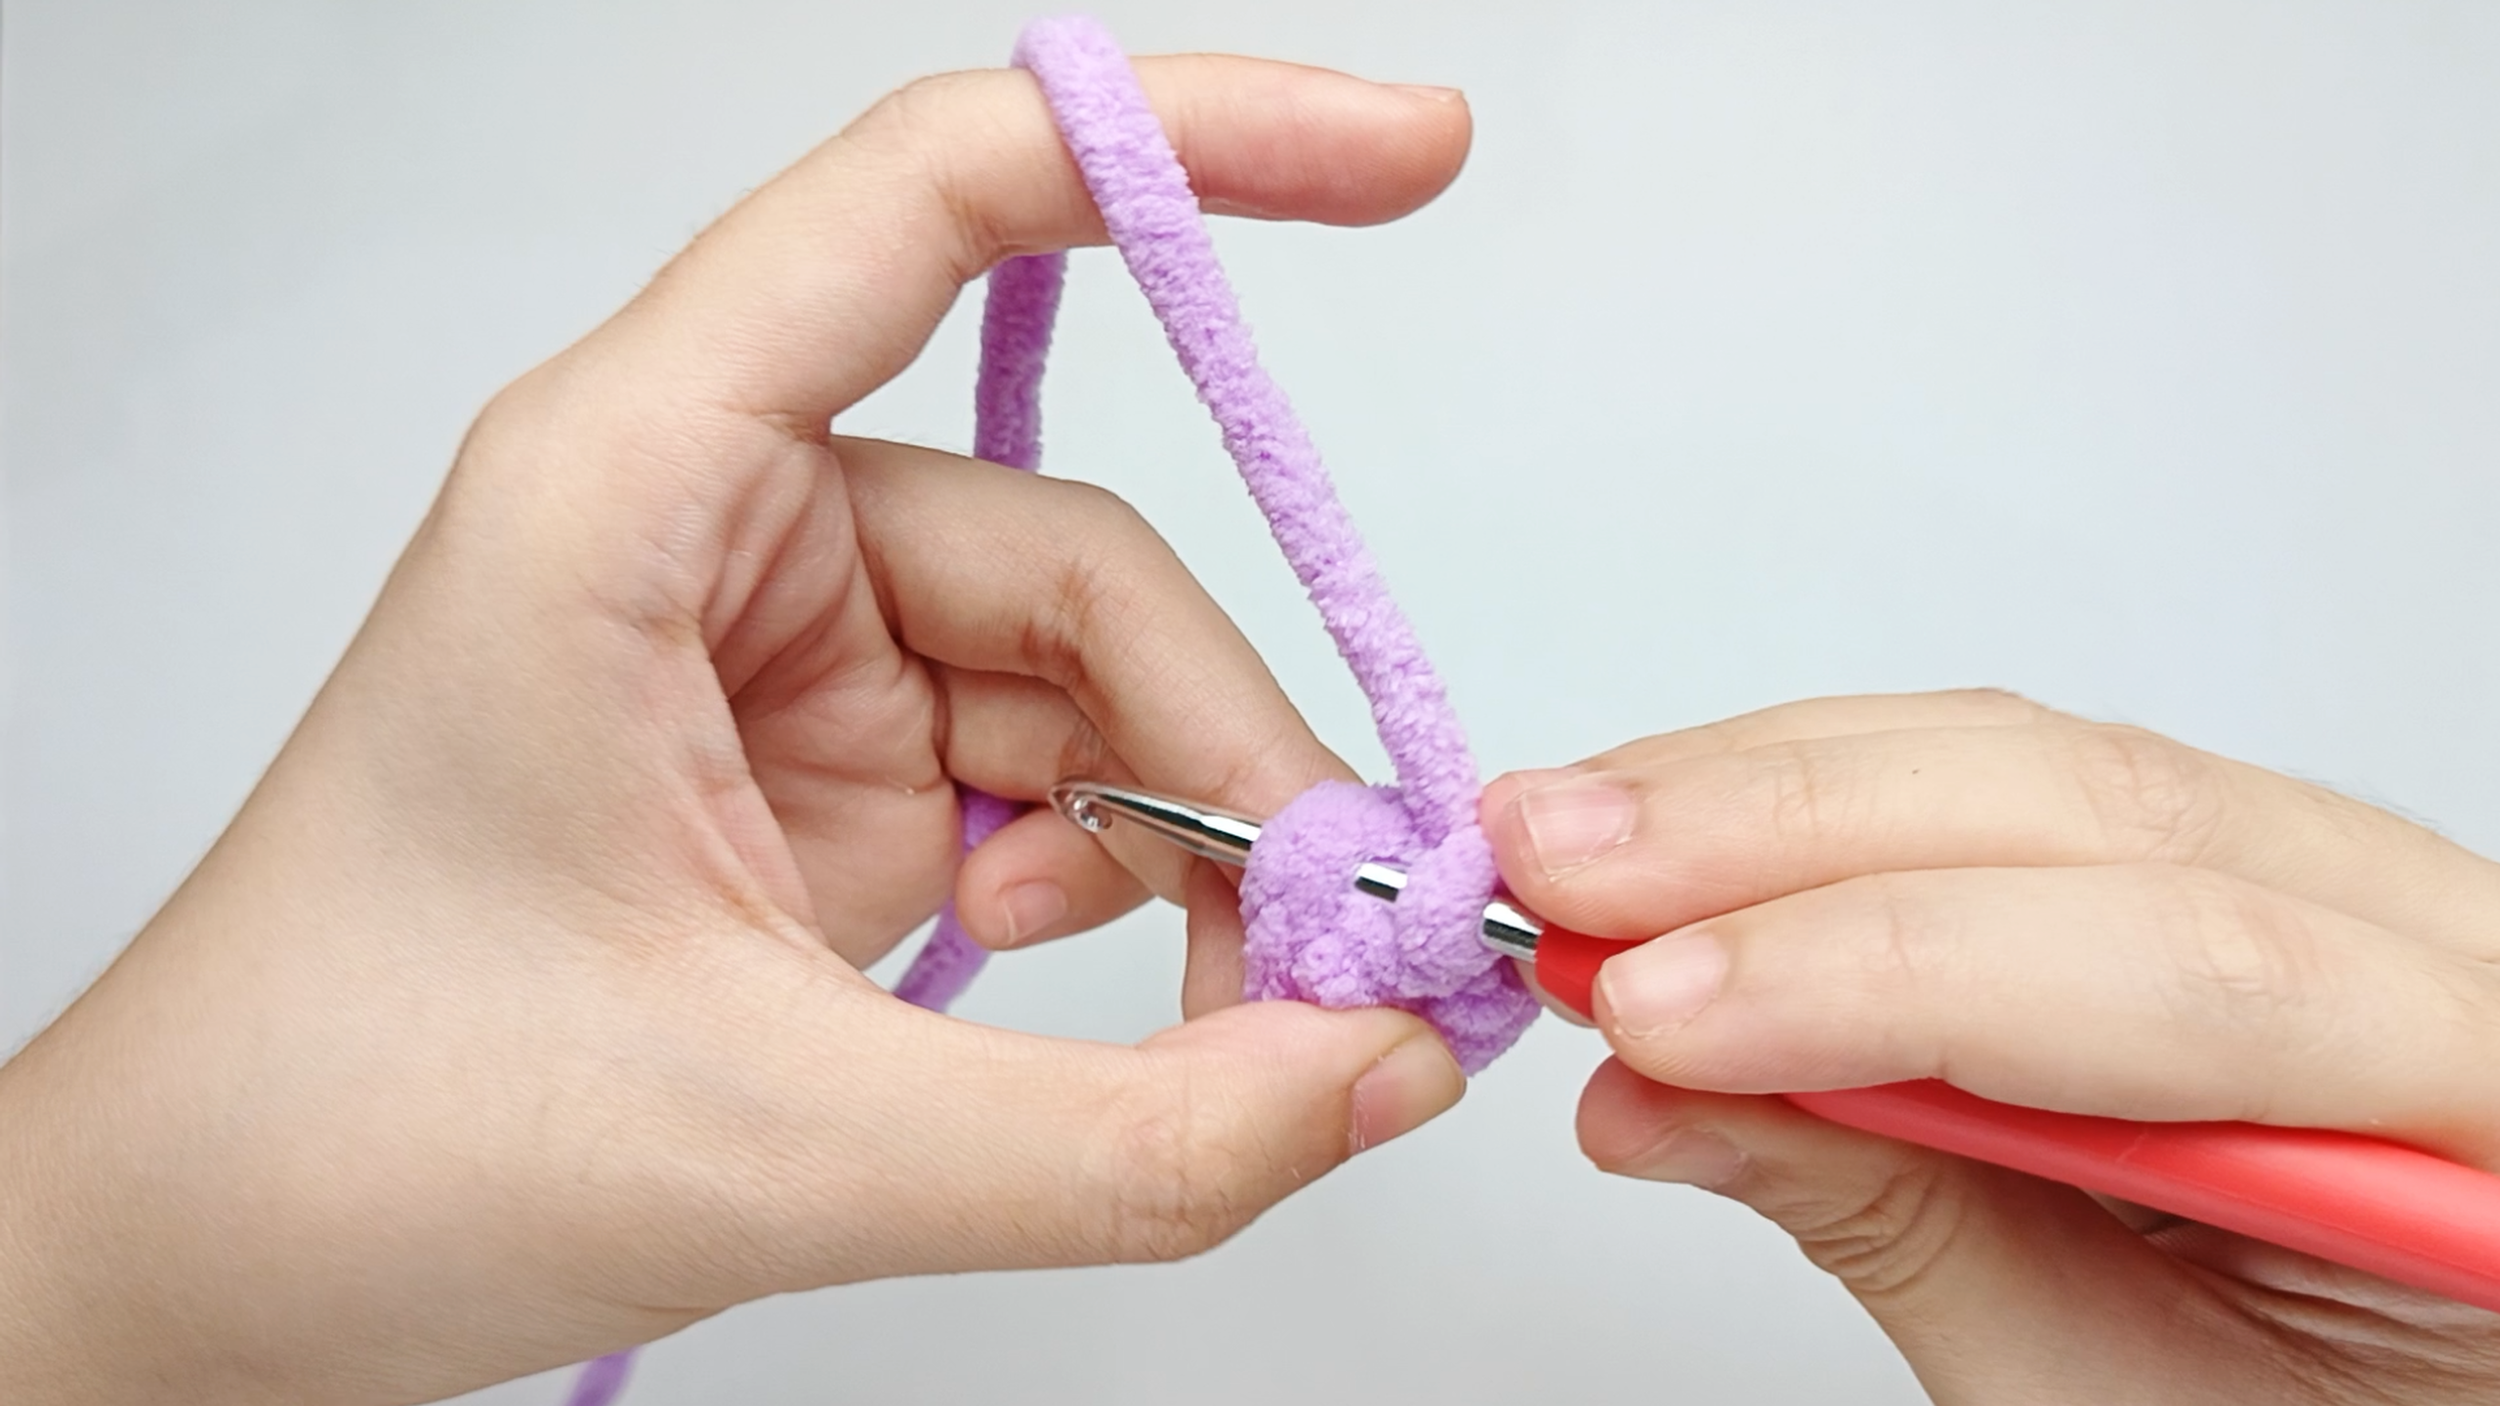
Hook back in:
Insert your hook into the next stitch.
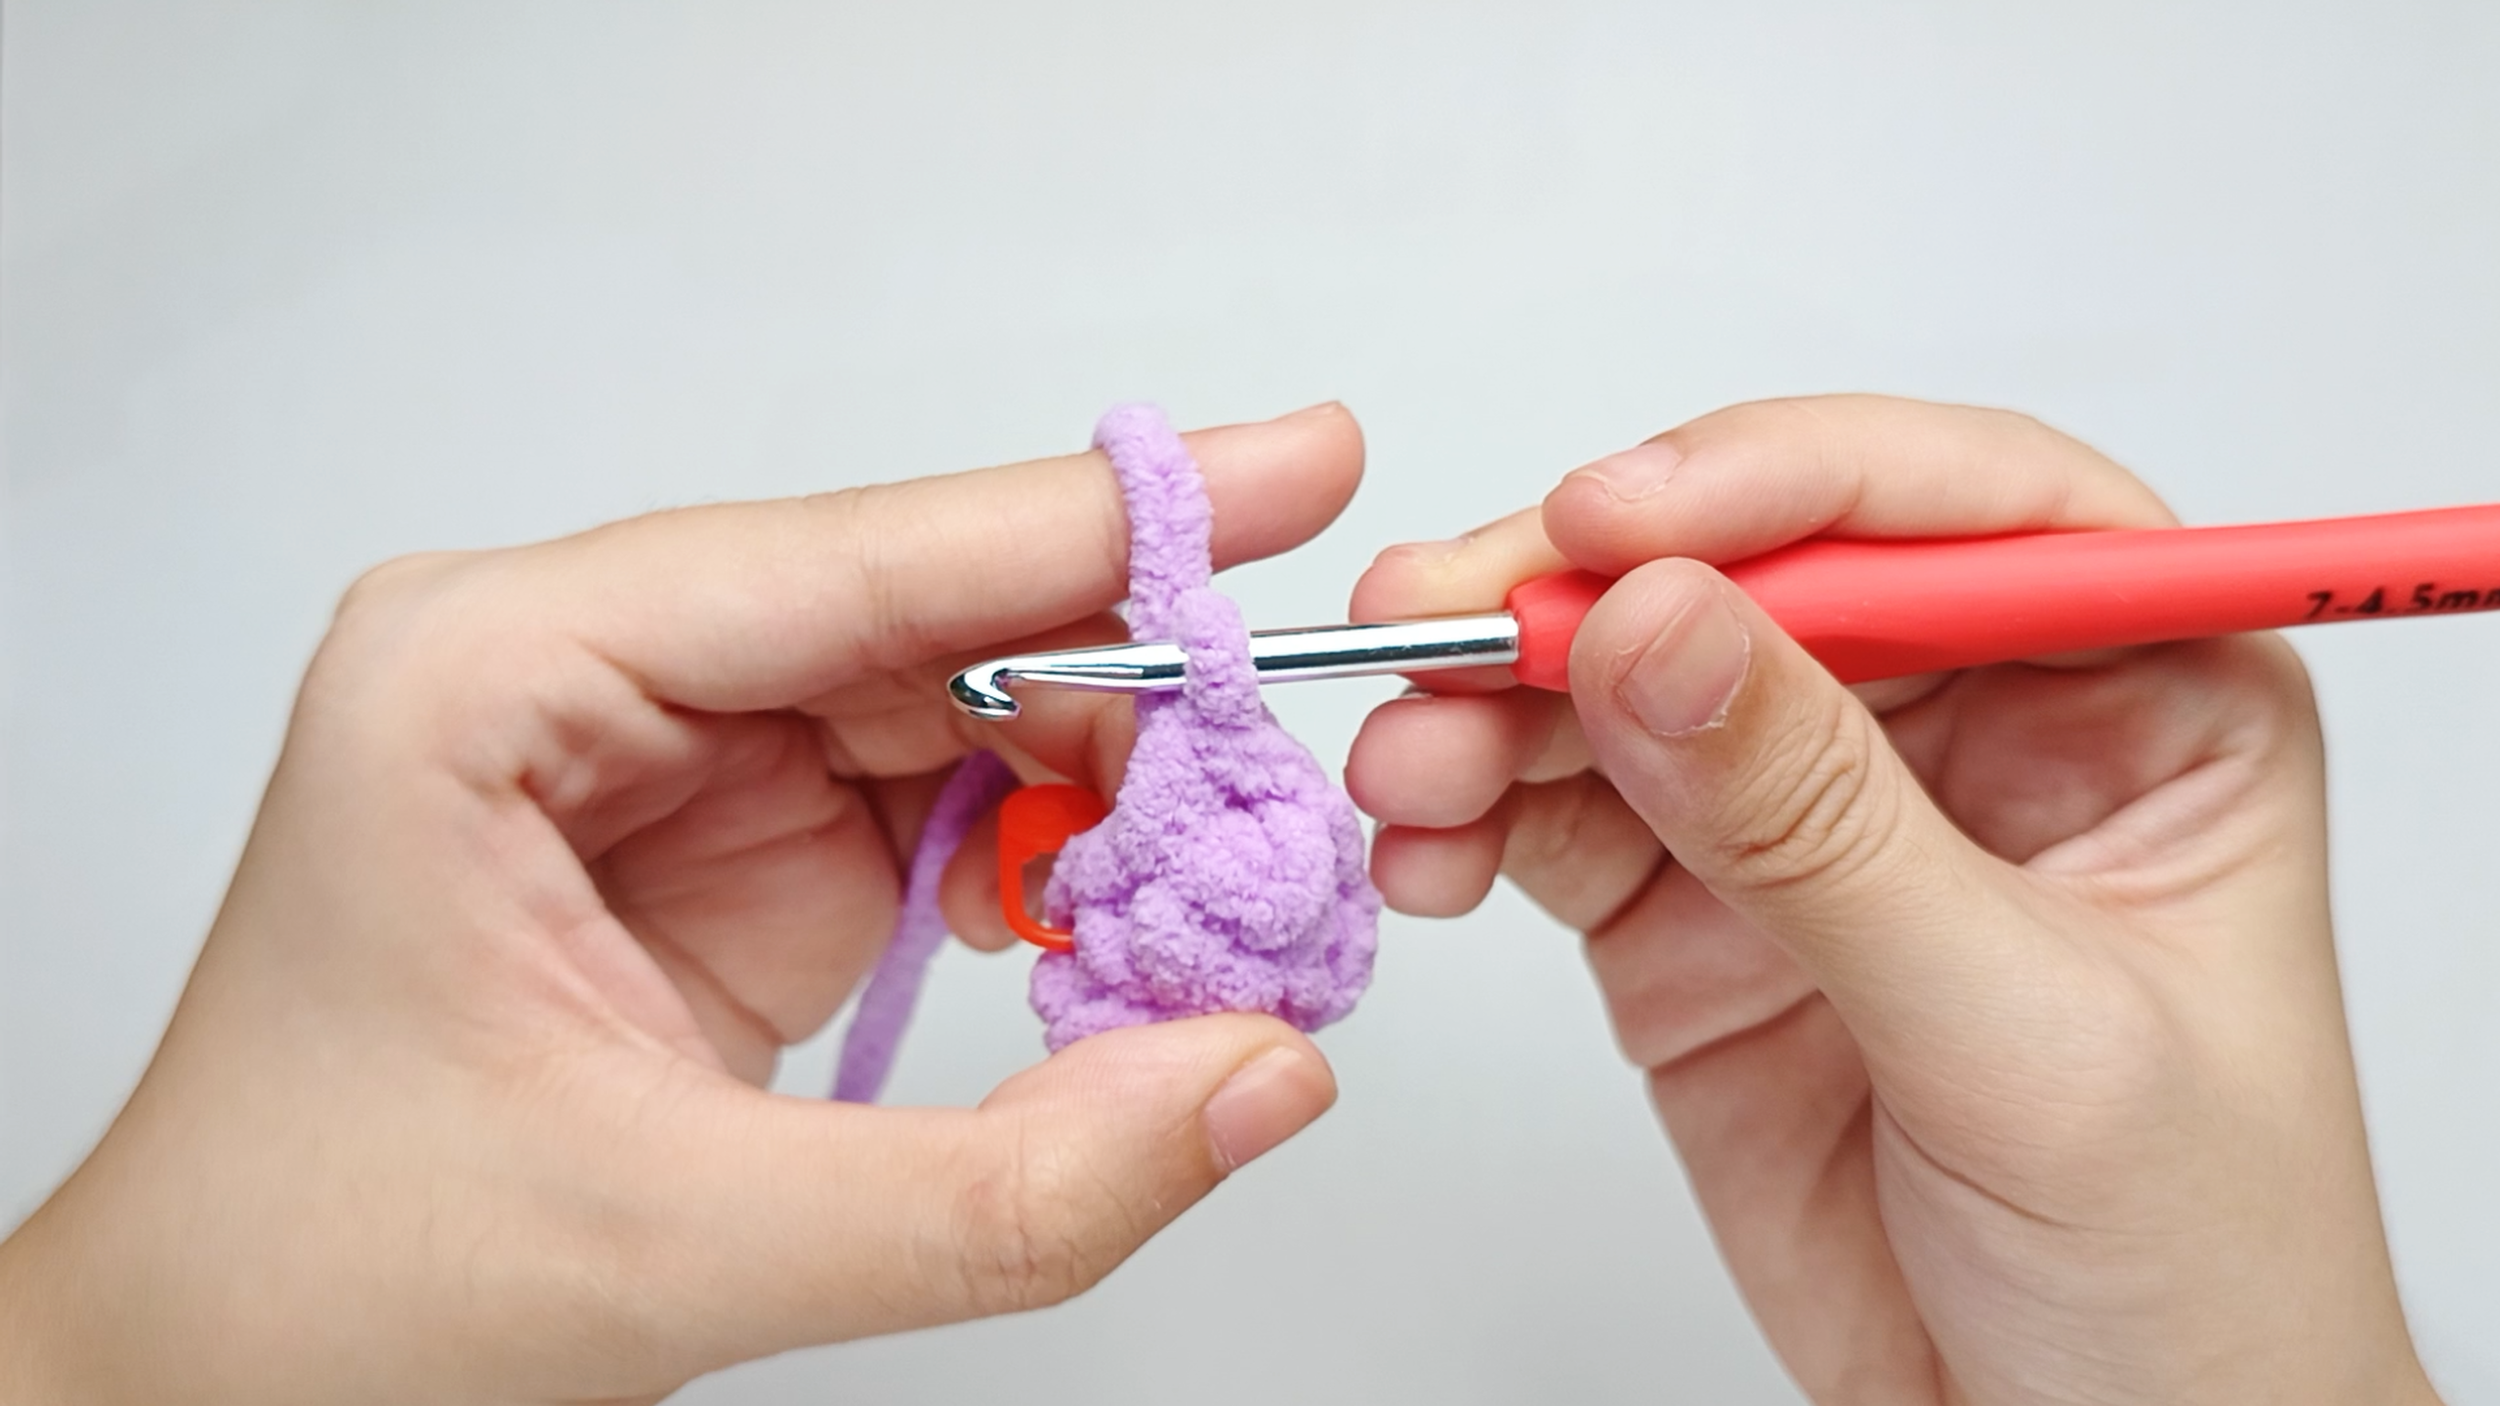
Make all your stitches:
Crochet 1 single crochet (sc) in each stitch around.
There should be 5 stitches in total.
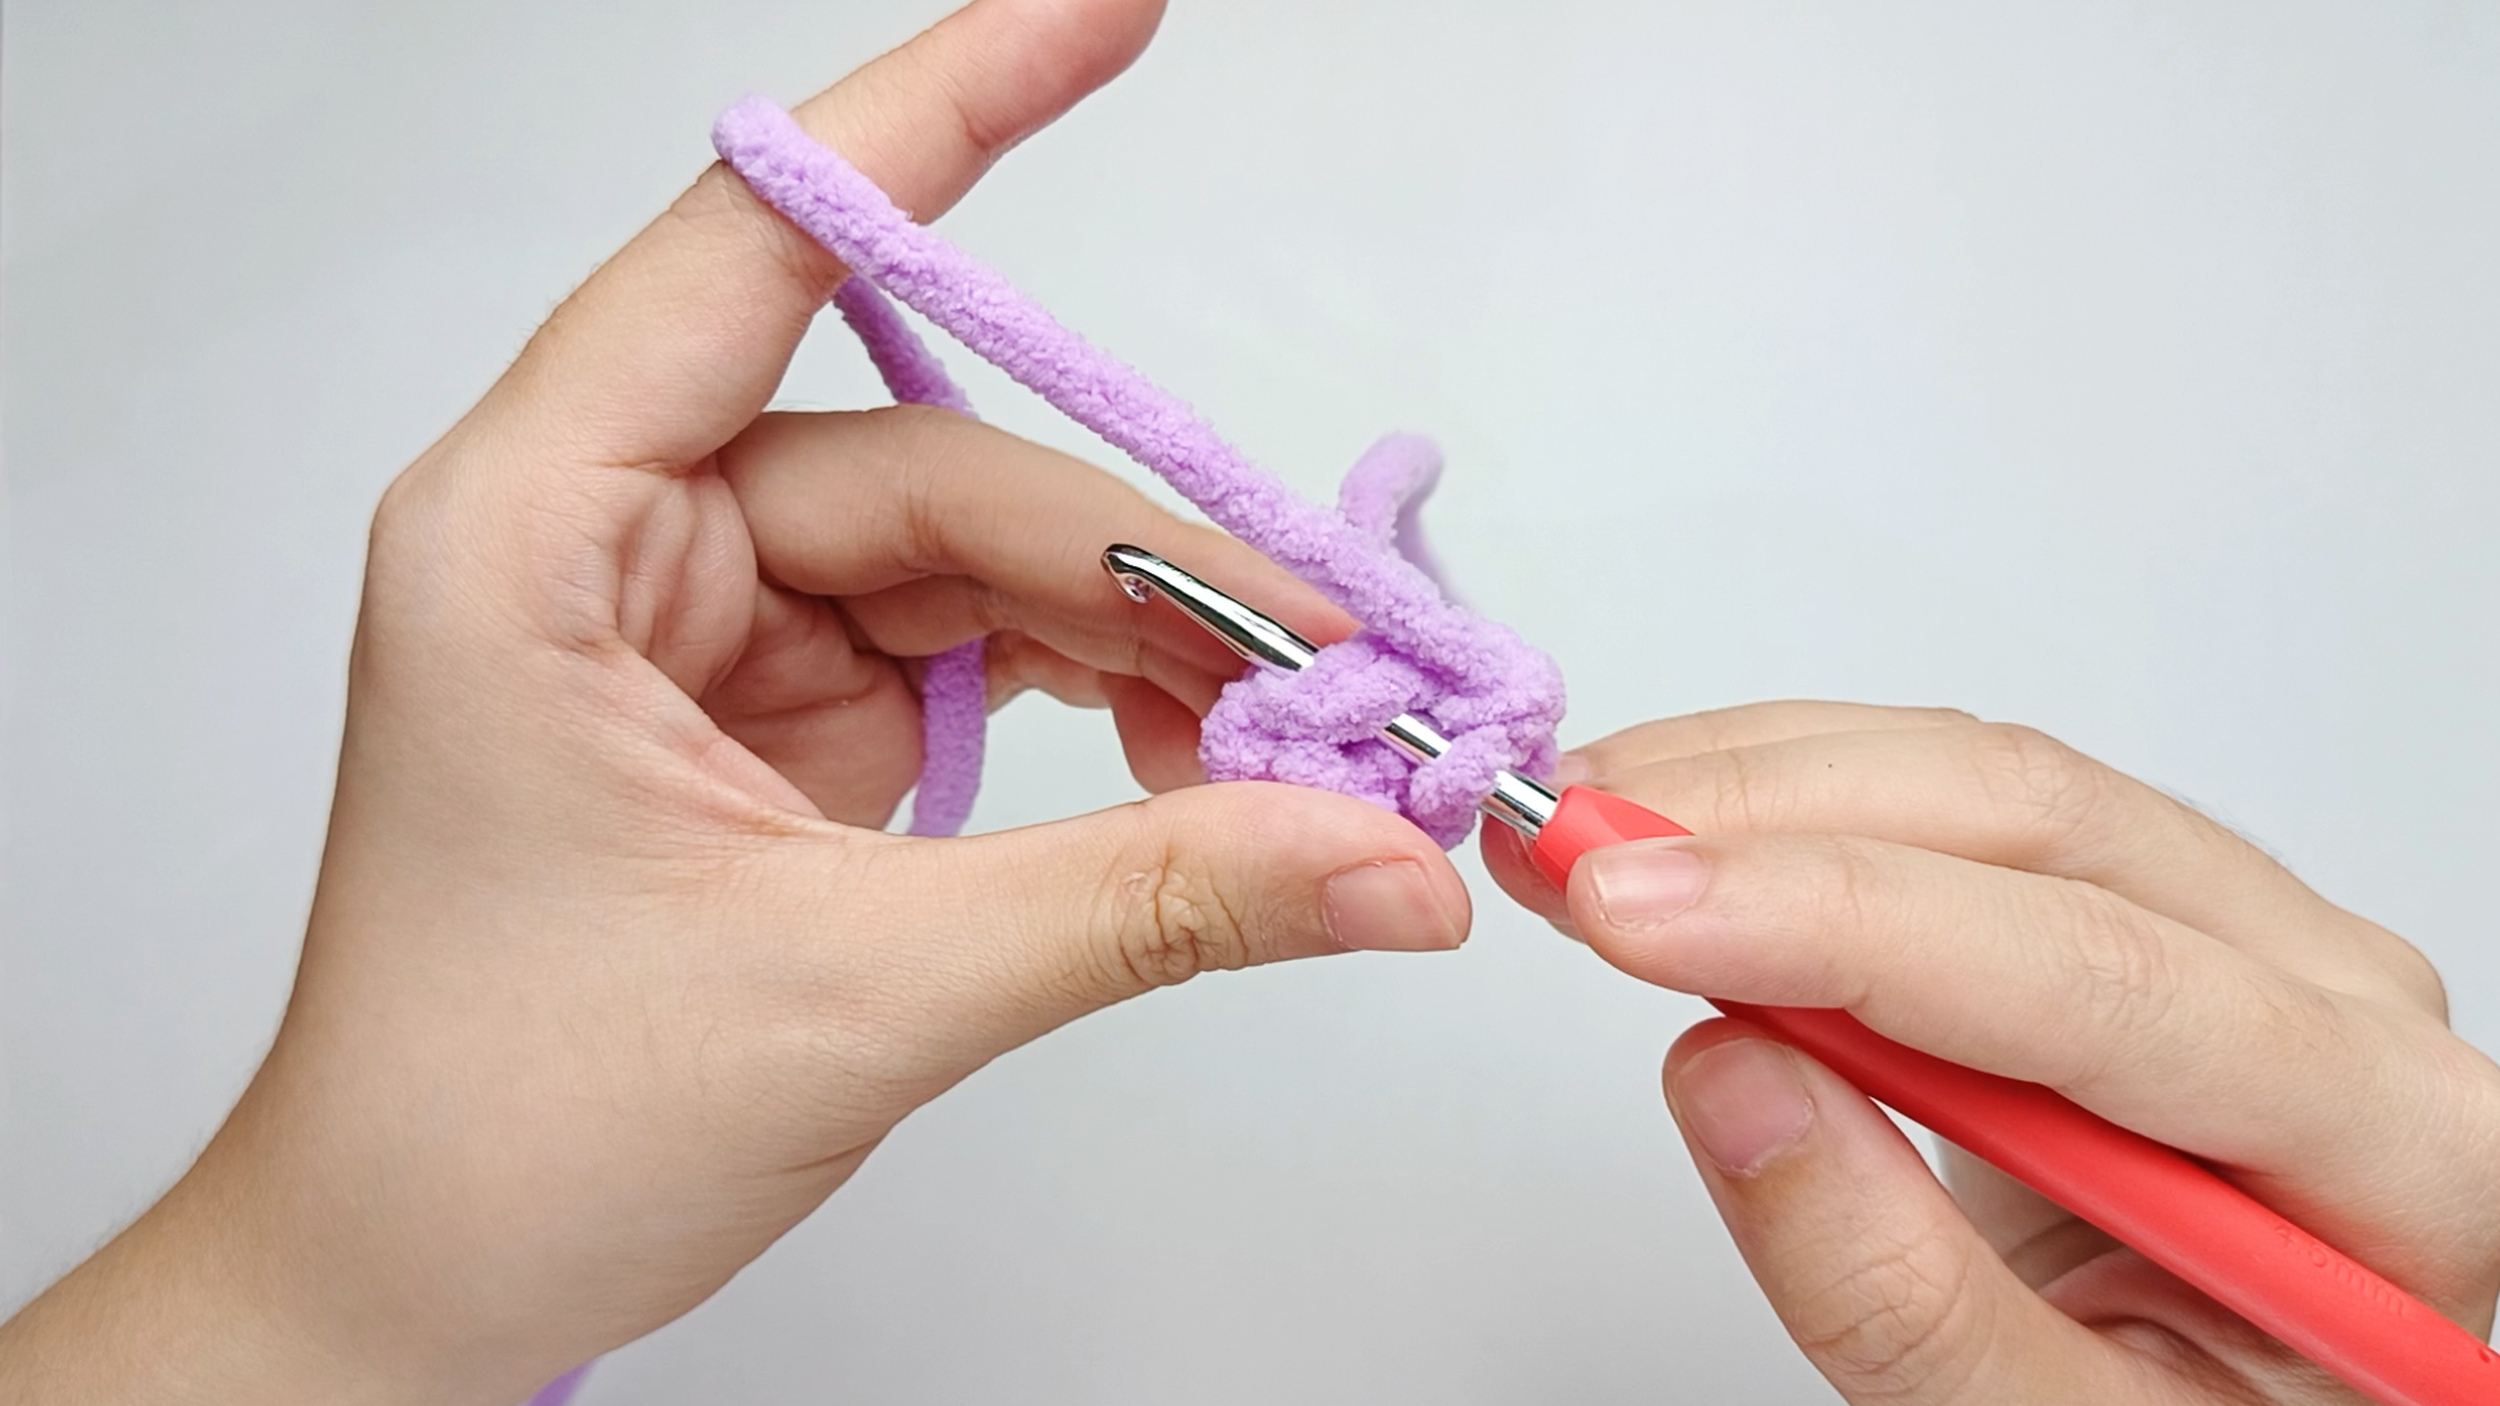
Hook back in:
Insert your hook into that marked stitch to begin Round 3. Remove the stitch marker so the stitch is easier to work into.
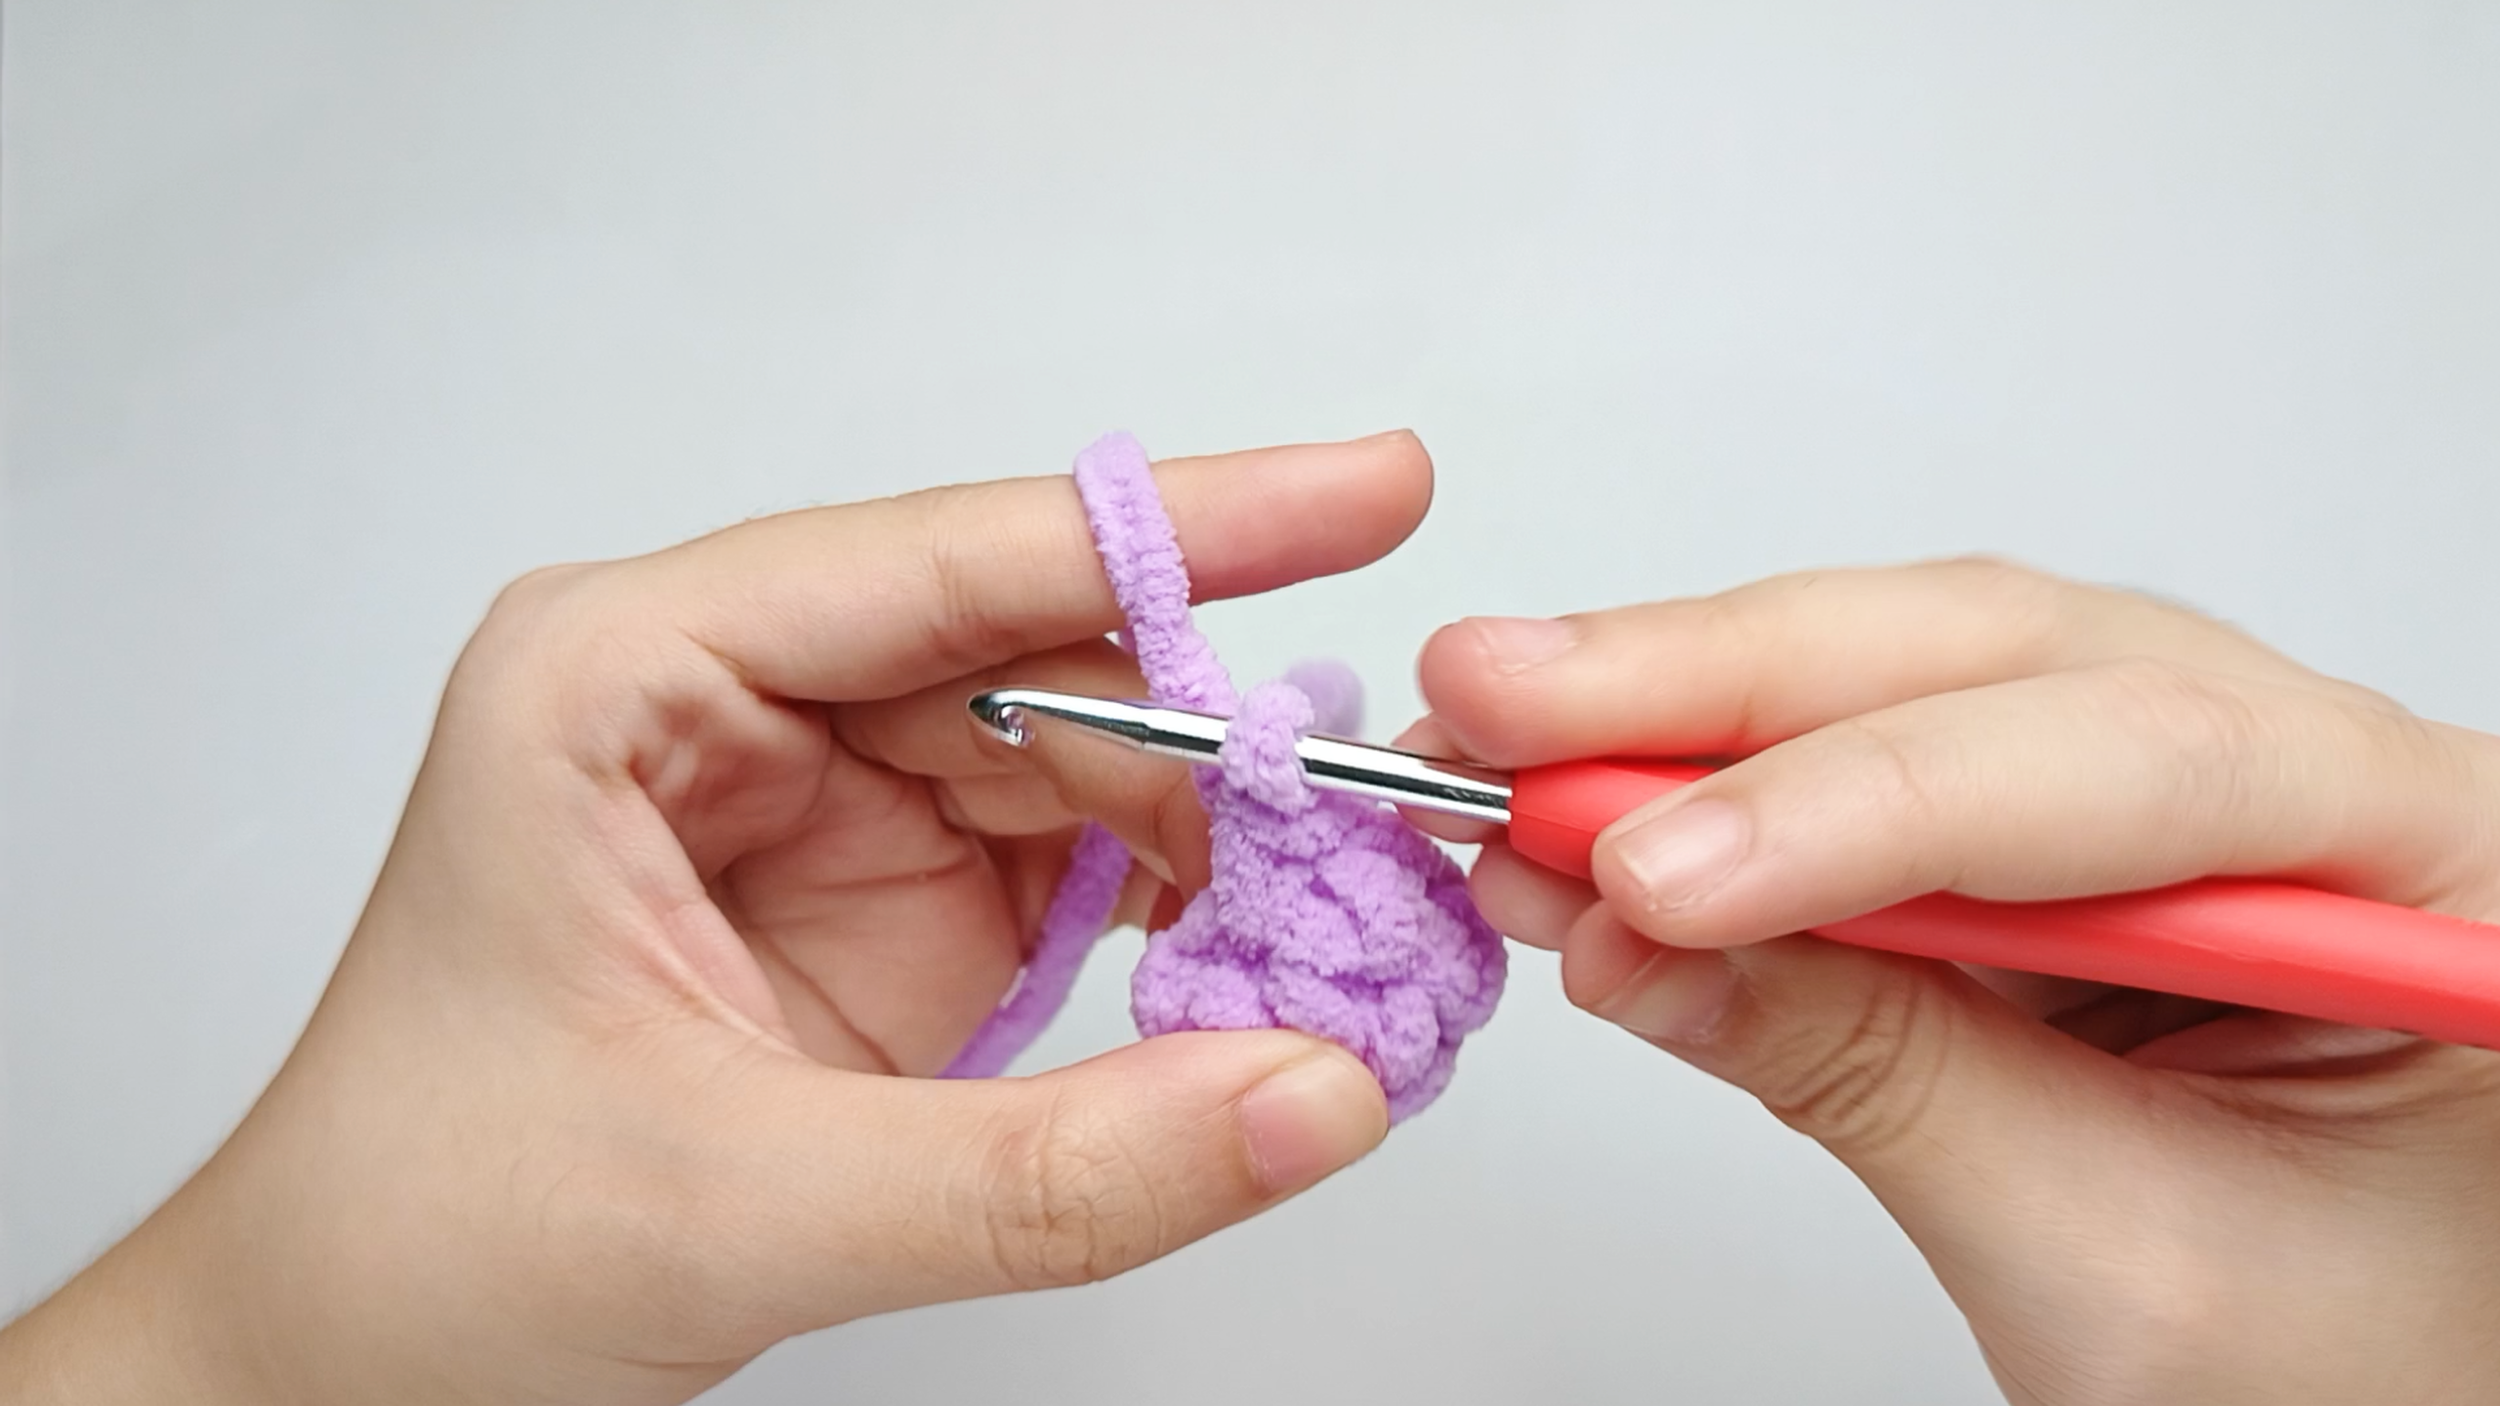
Make 1 single crochet (sc) first:
Yarn over, pull through, yarn over again, and pull through both loops.
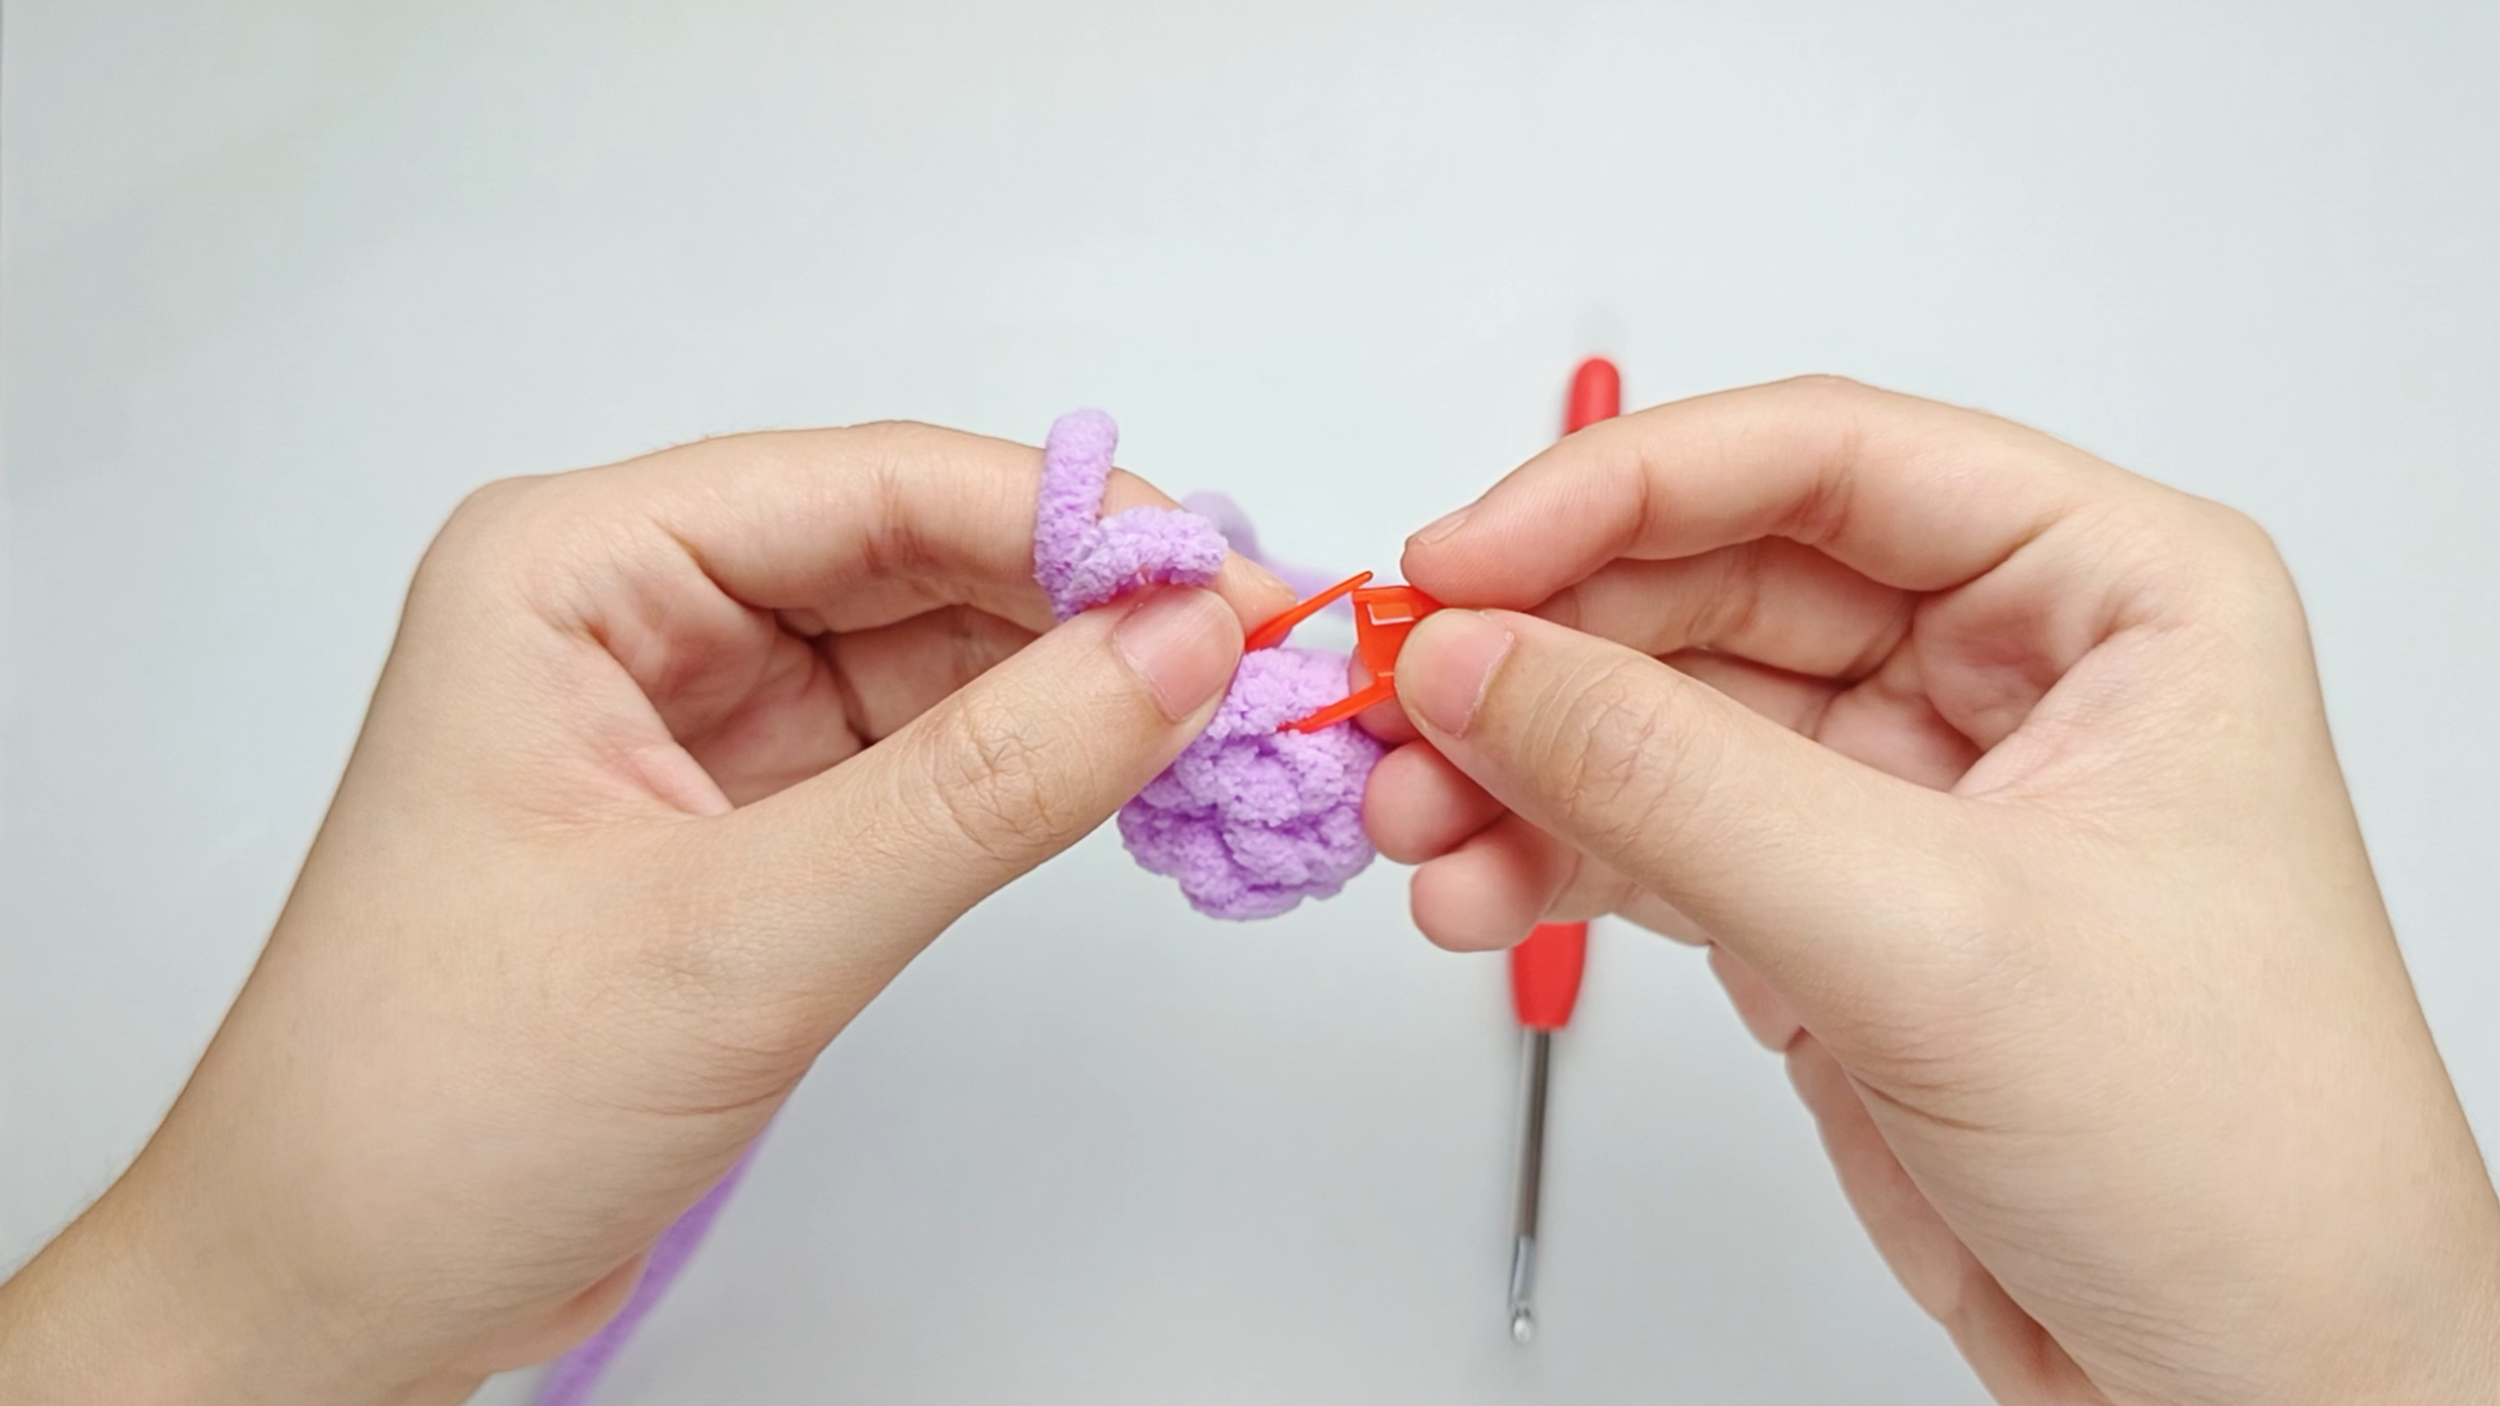
Mark the first stitch:
Remove your hook for a moment, and use the stitch marker to mark this first stitch.
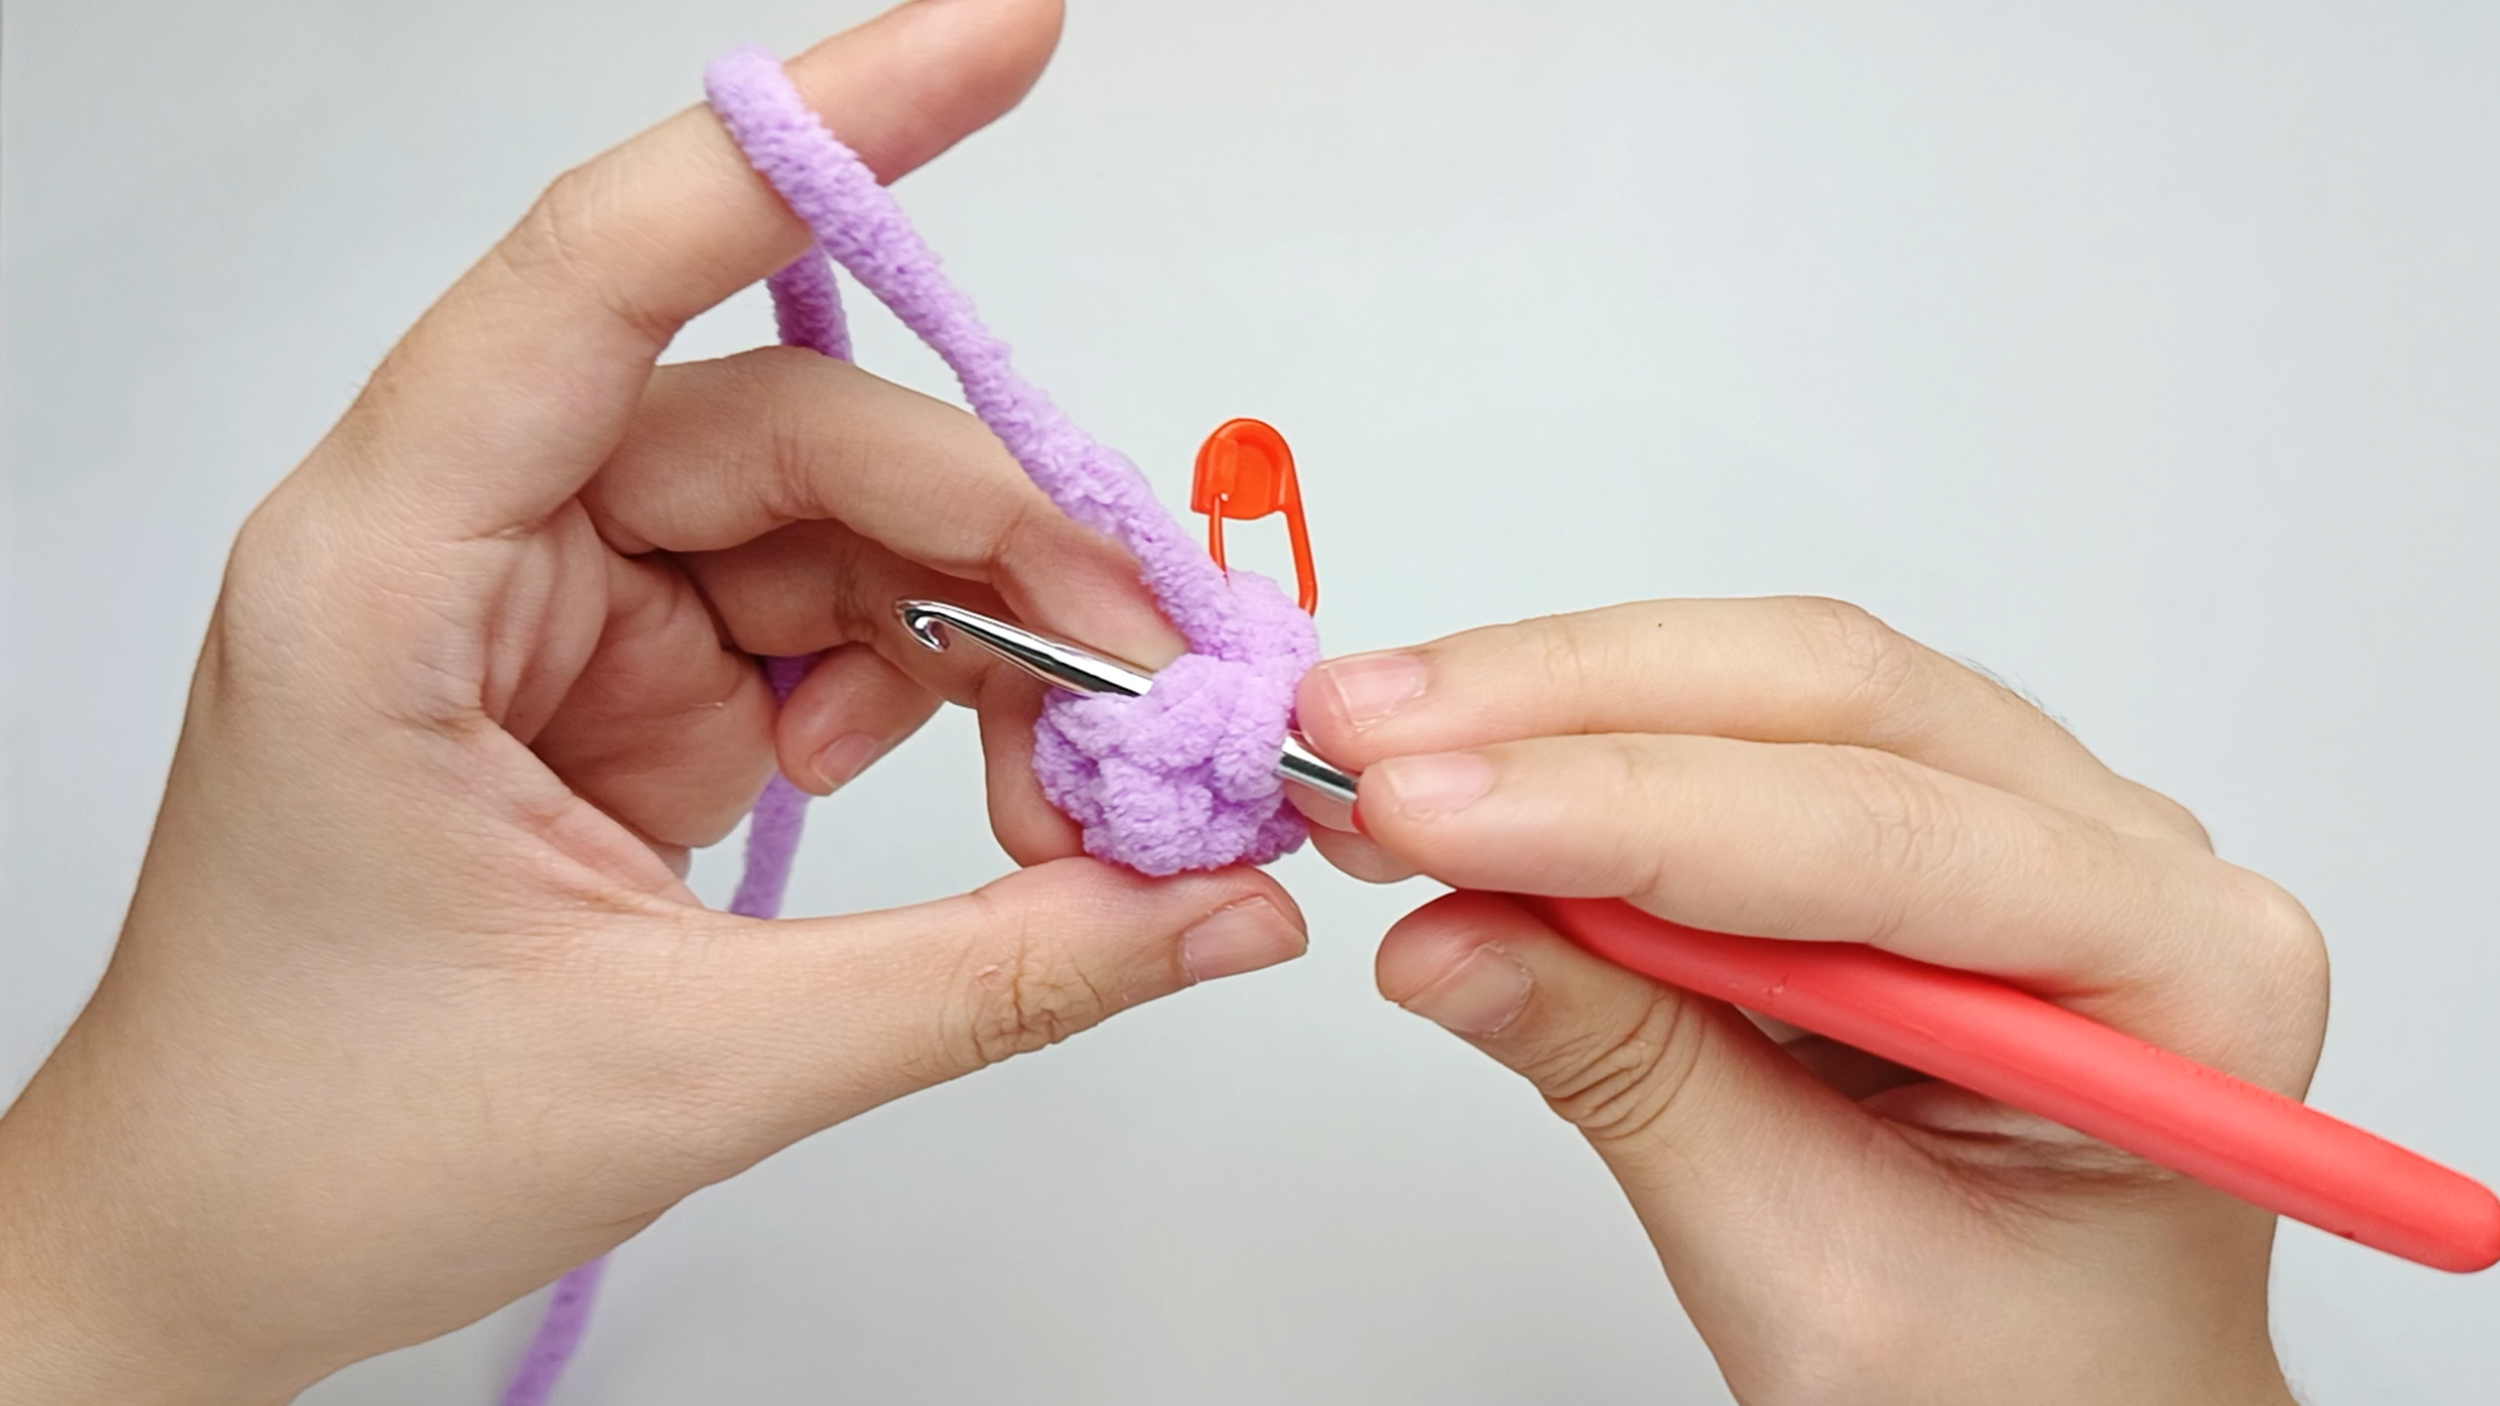
Hook back in:
Insert your hook into the next stitch.
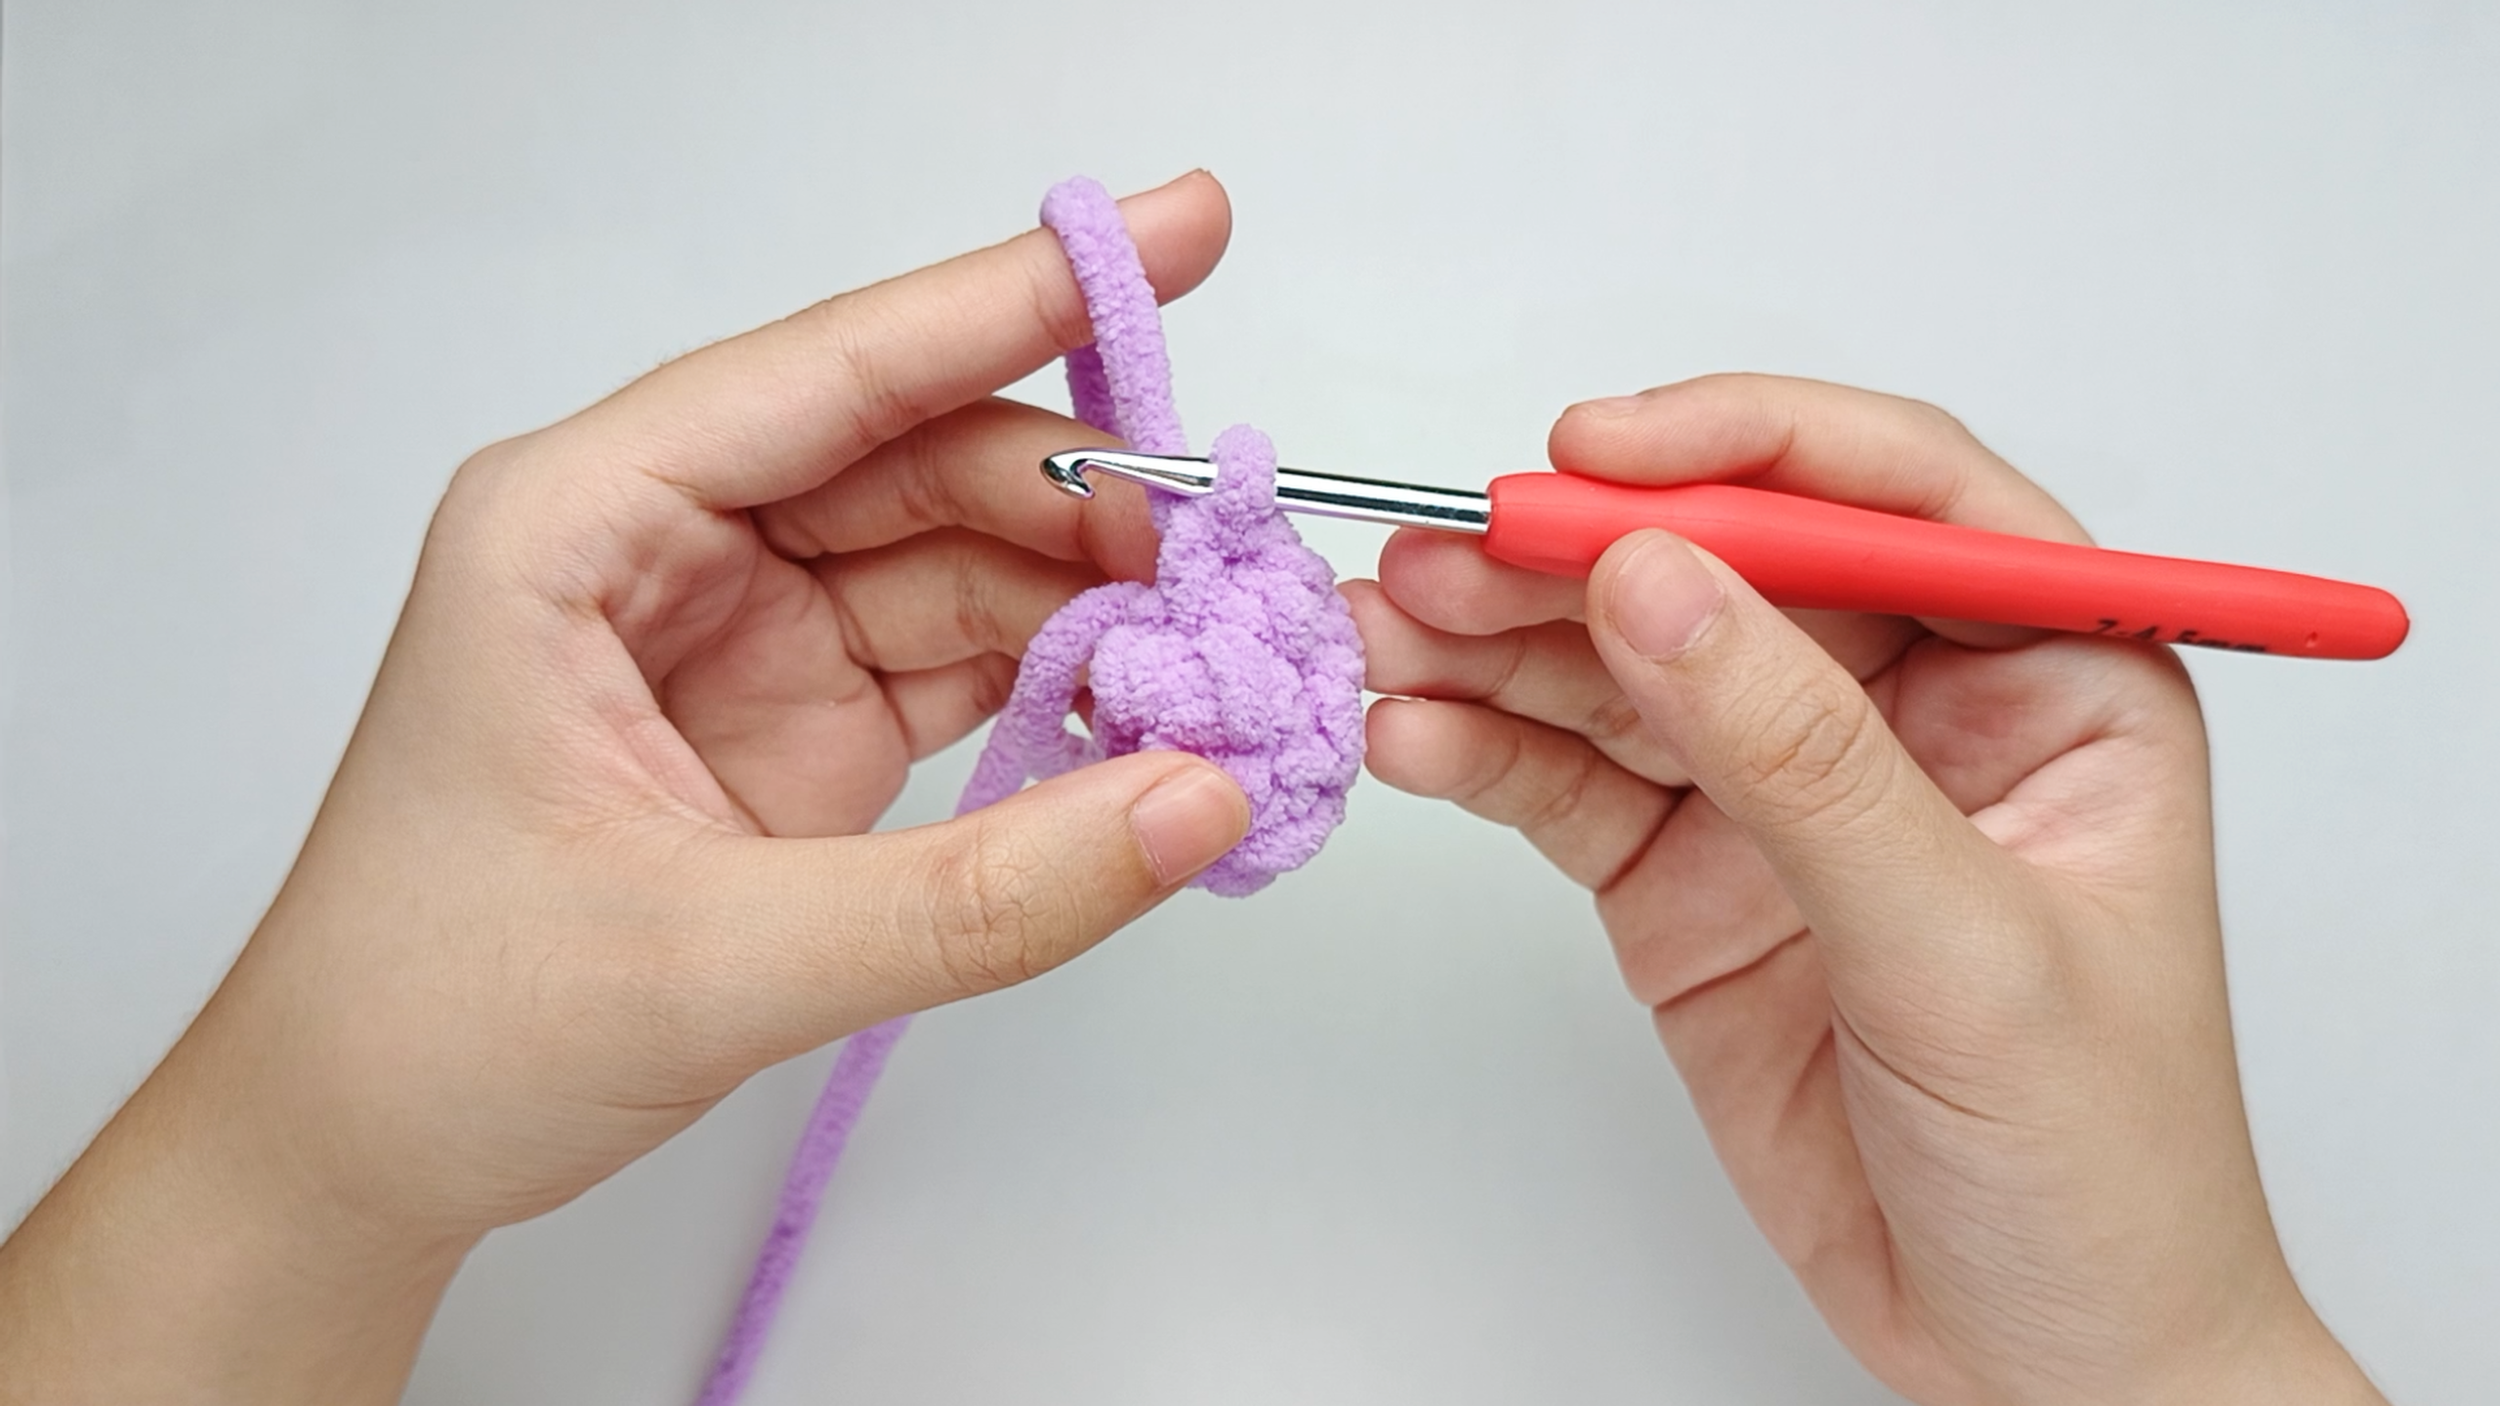
Make all your stitches:
Crochet 1 single crochet (sc) in each stitch around.
There should be 5 stitches in total.
Shaping the Wings
Now let’s give the Wing its special folded shape!
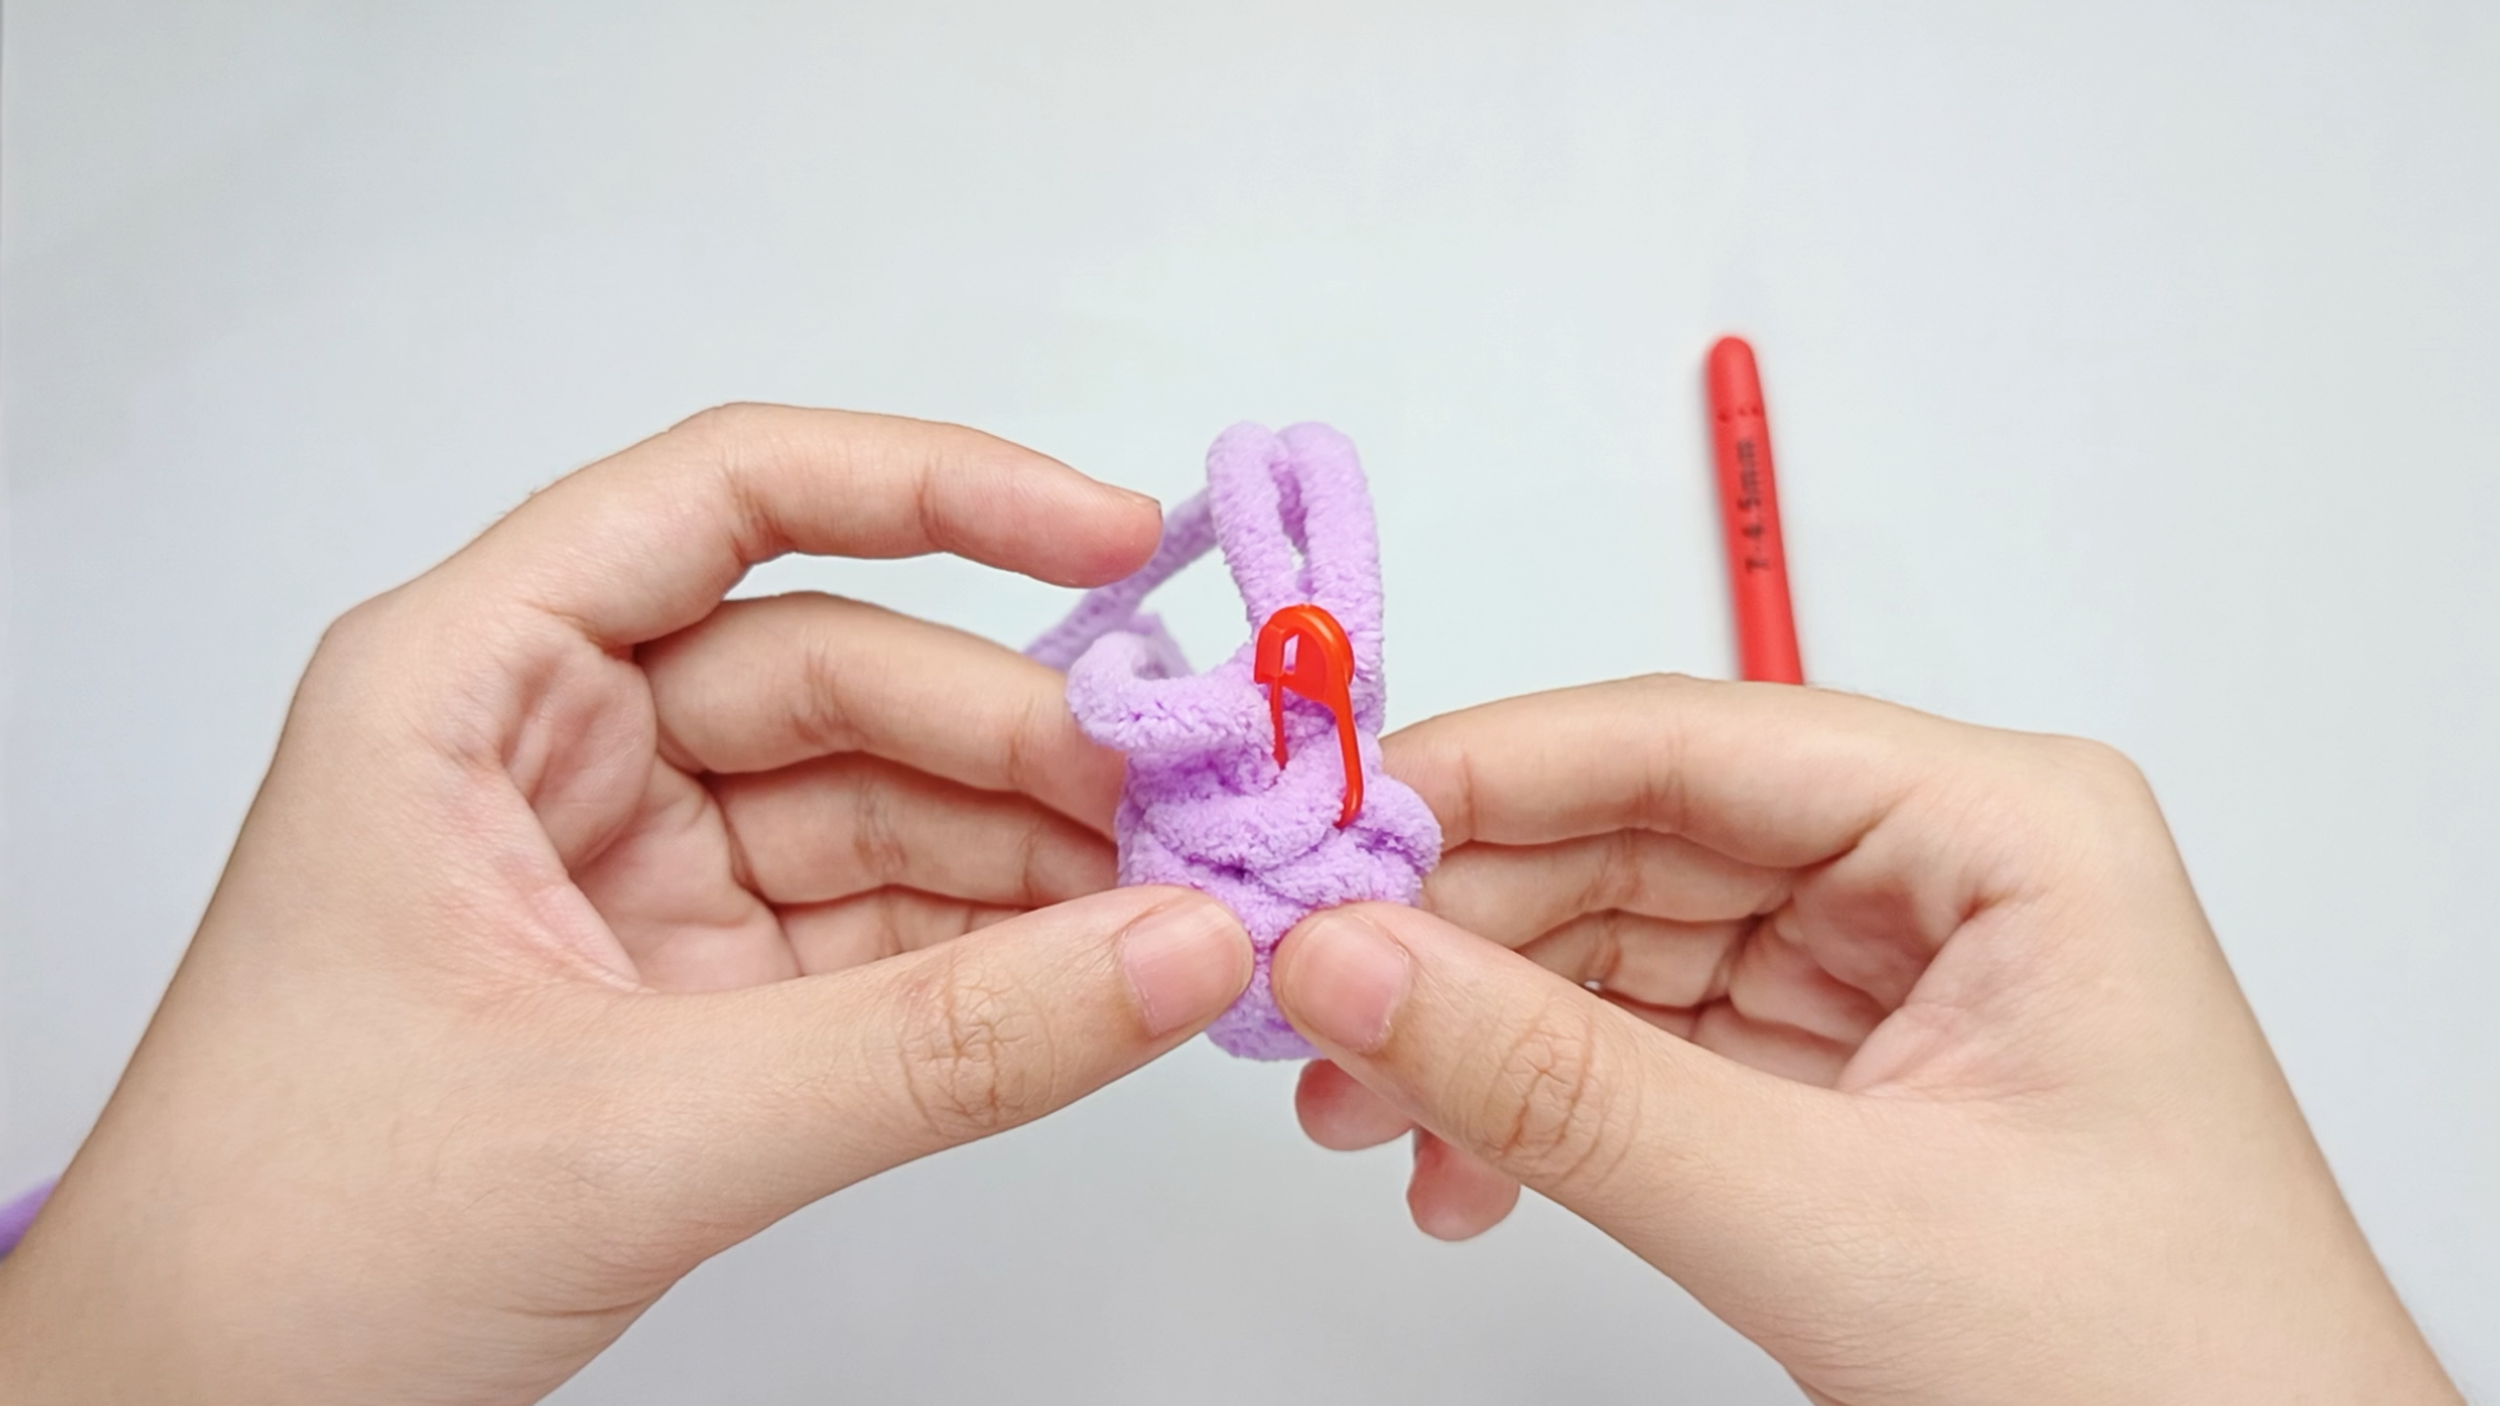
Fold the Wing:
Gently fold the round Wing in half so the first stitch and the last stitch of the round are lined up next to each other. This is why your stitch marker is so useful - it marks your first stitch.
The Wing should now look like a small, folded semicircle.
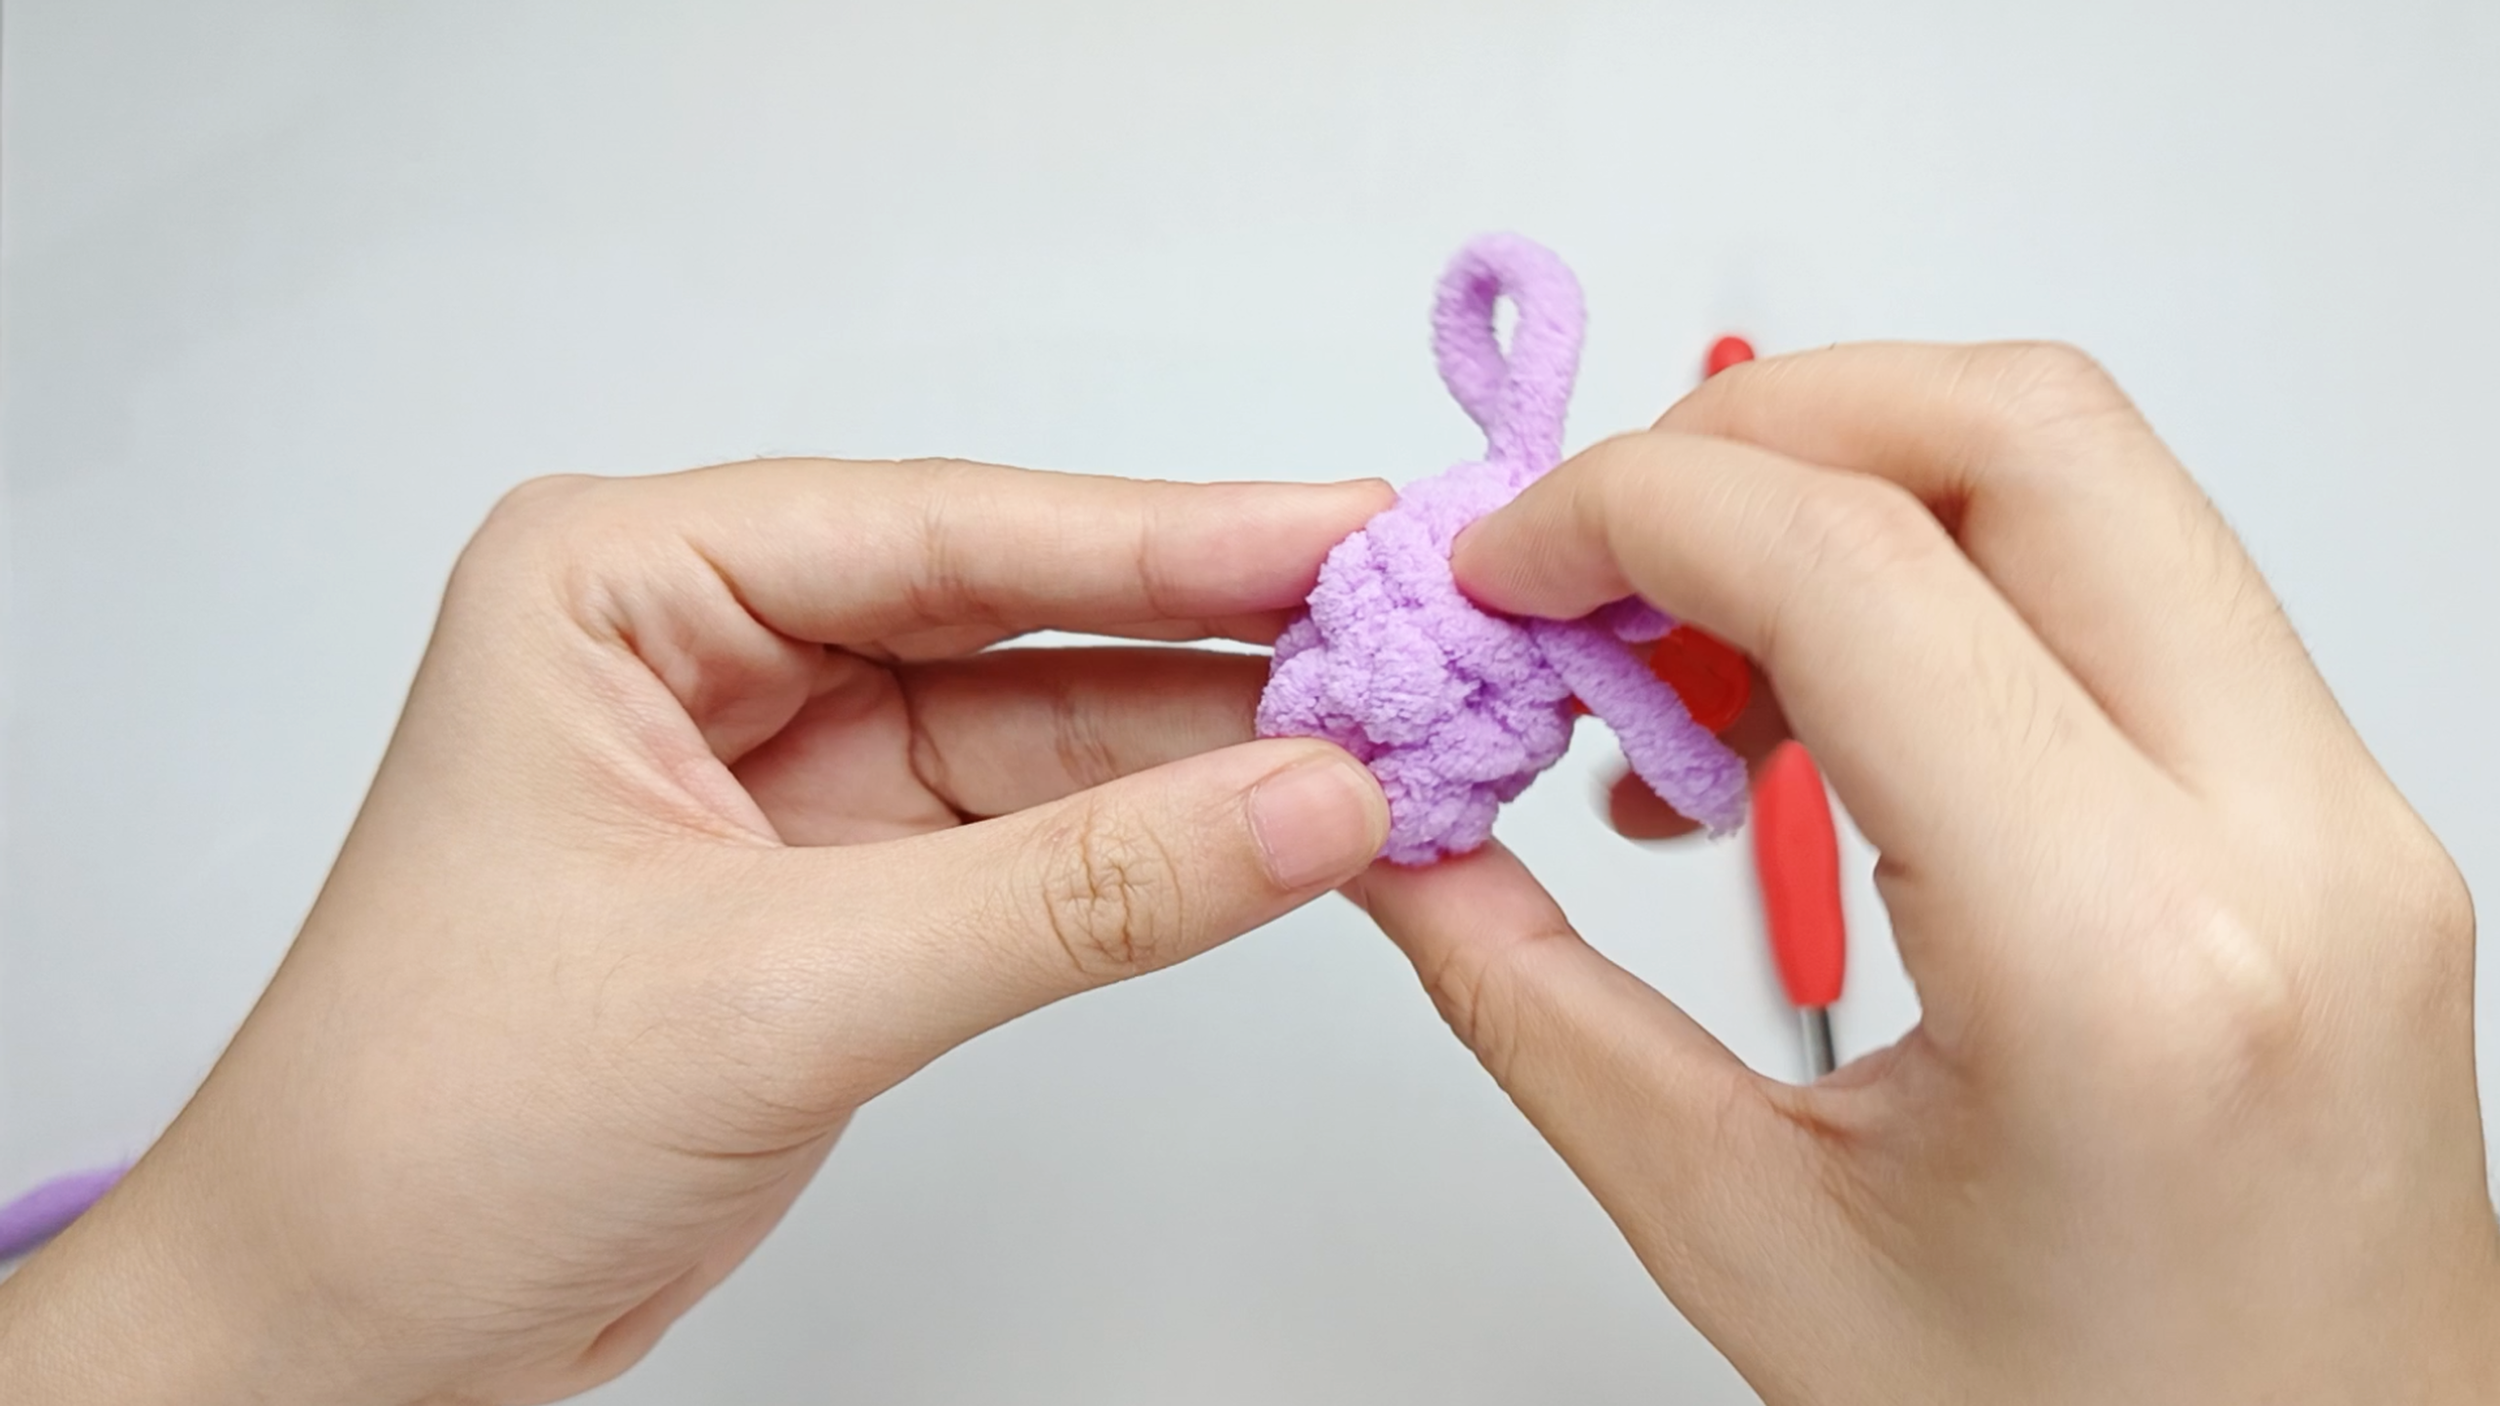
Hide the yarn tail:
Hide the yarn tail from the magic ring (MR) inside the Wing.
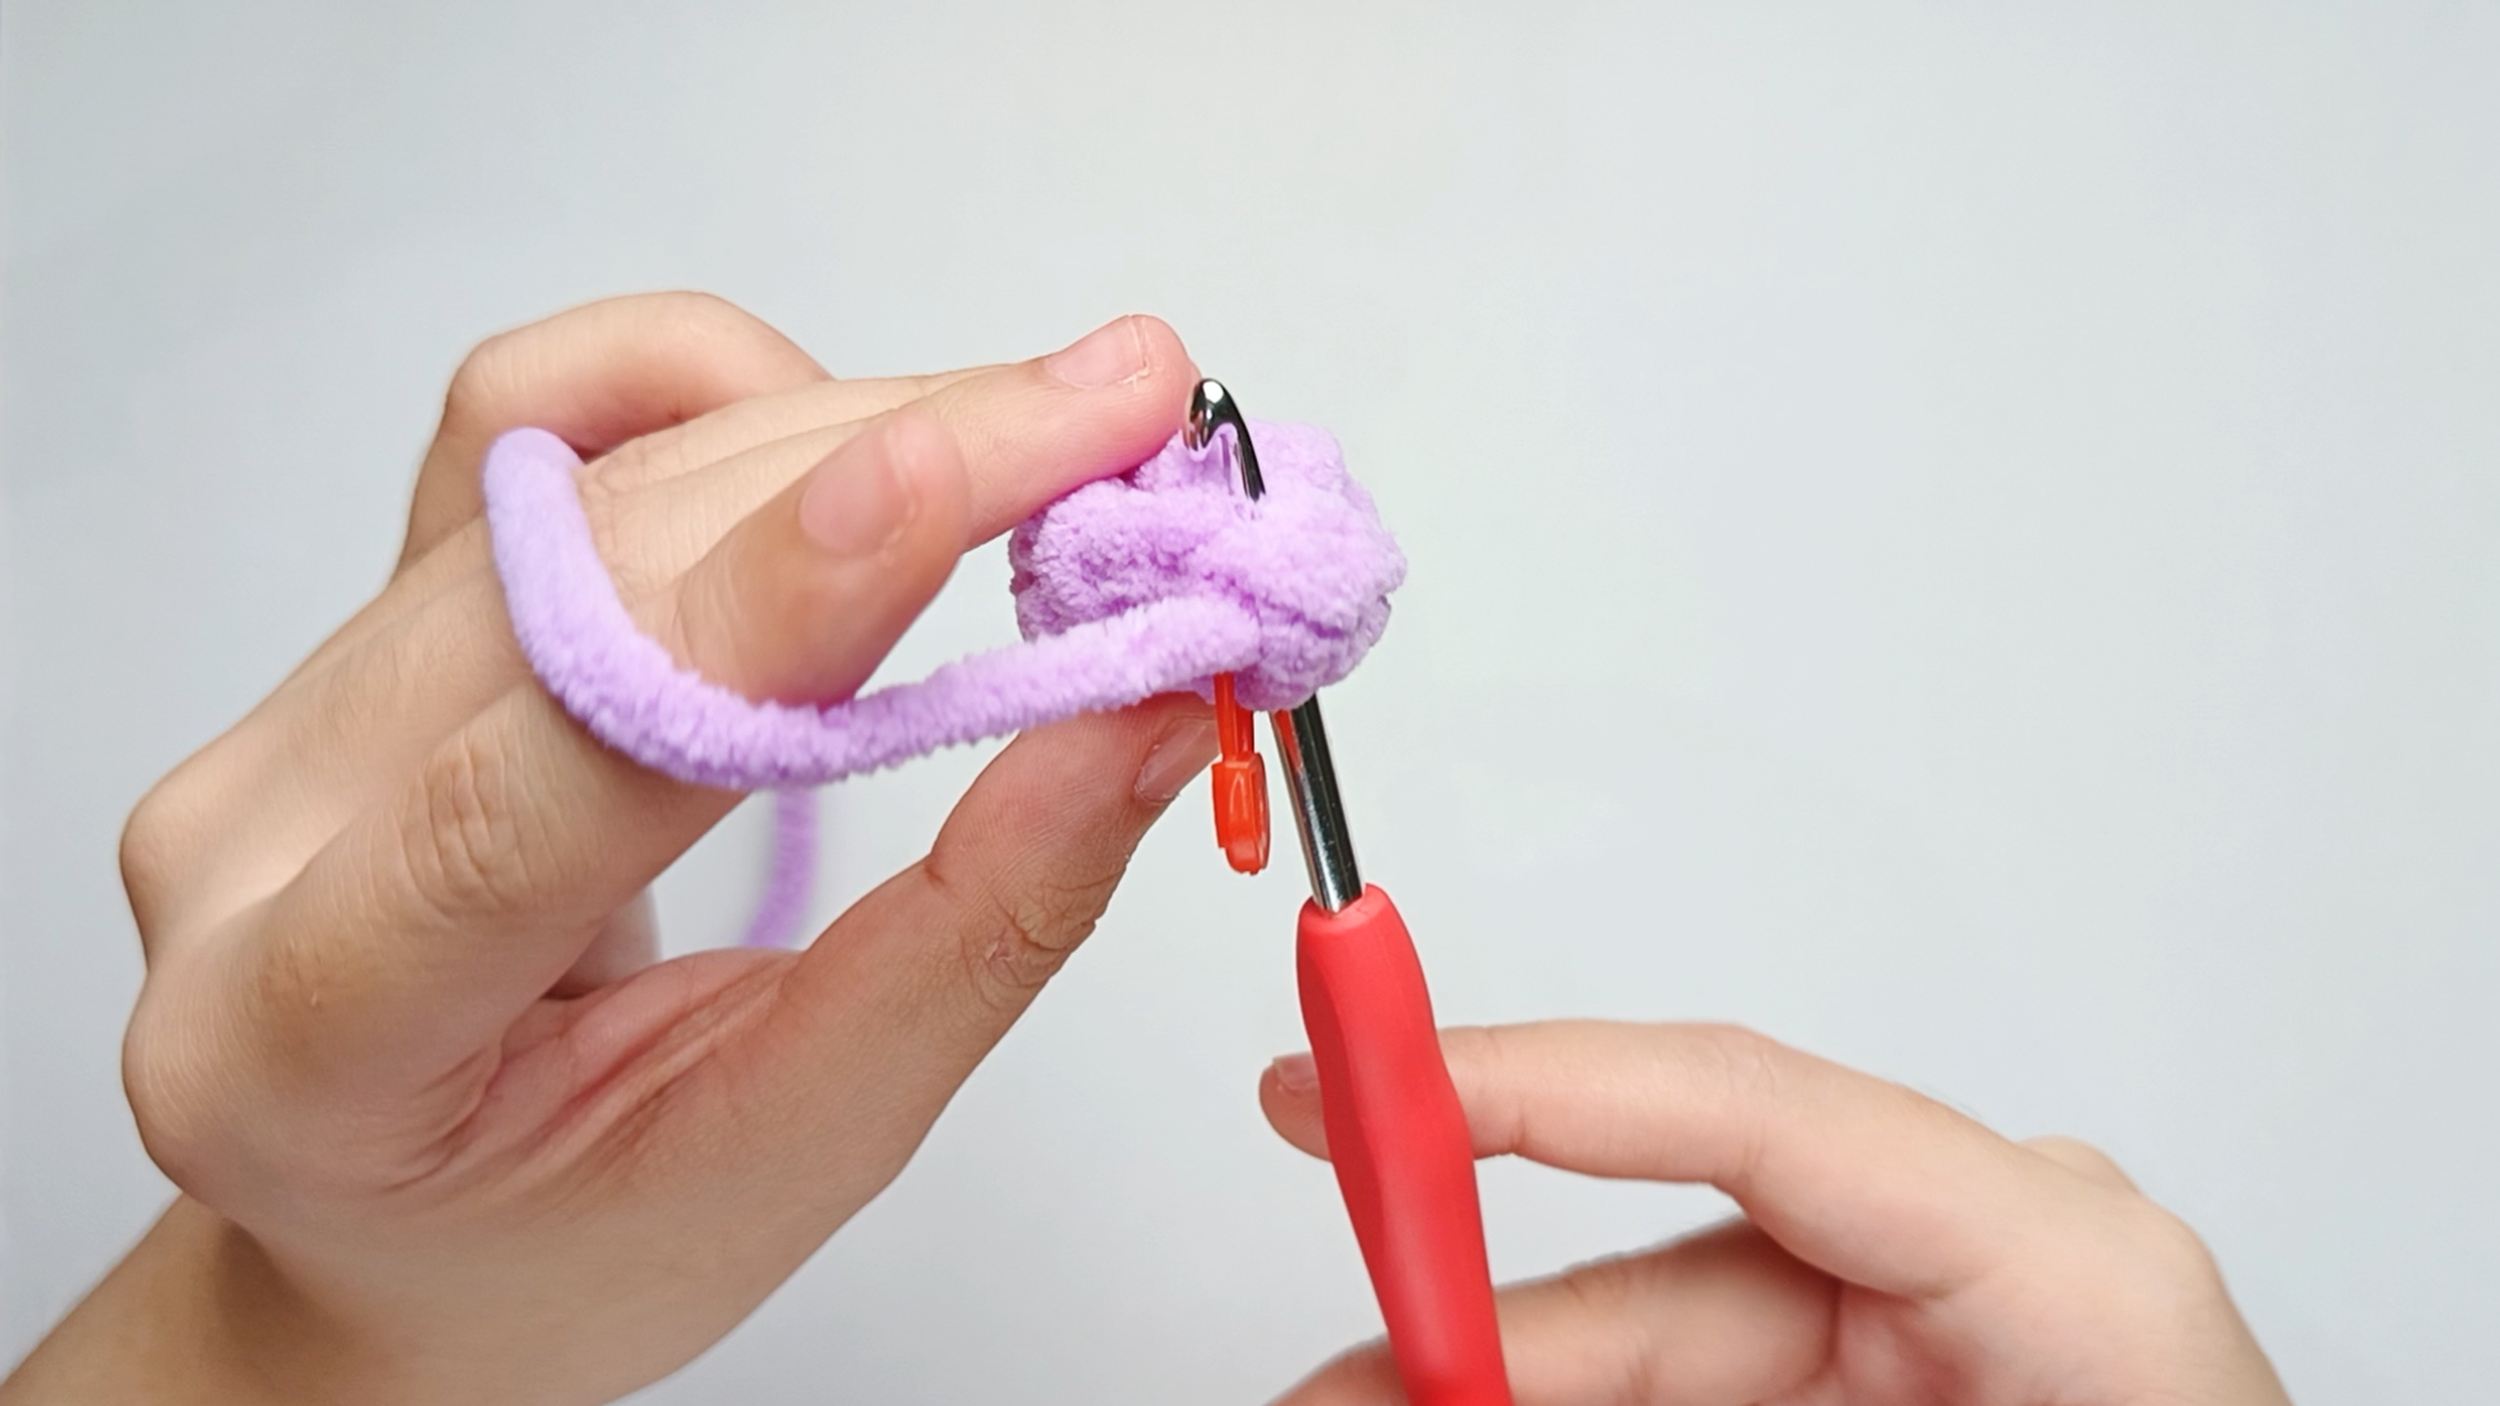
Hook back in:
Insert your hook through both stitches (the first and last). Remove the stitch marker so the stitch is easier to work into.
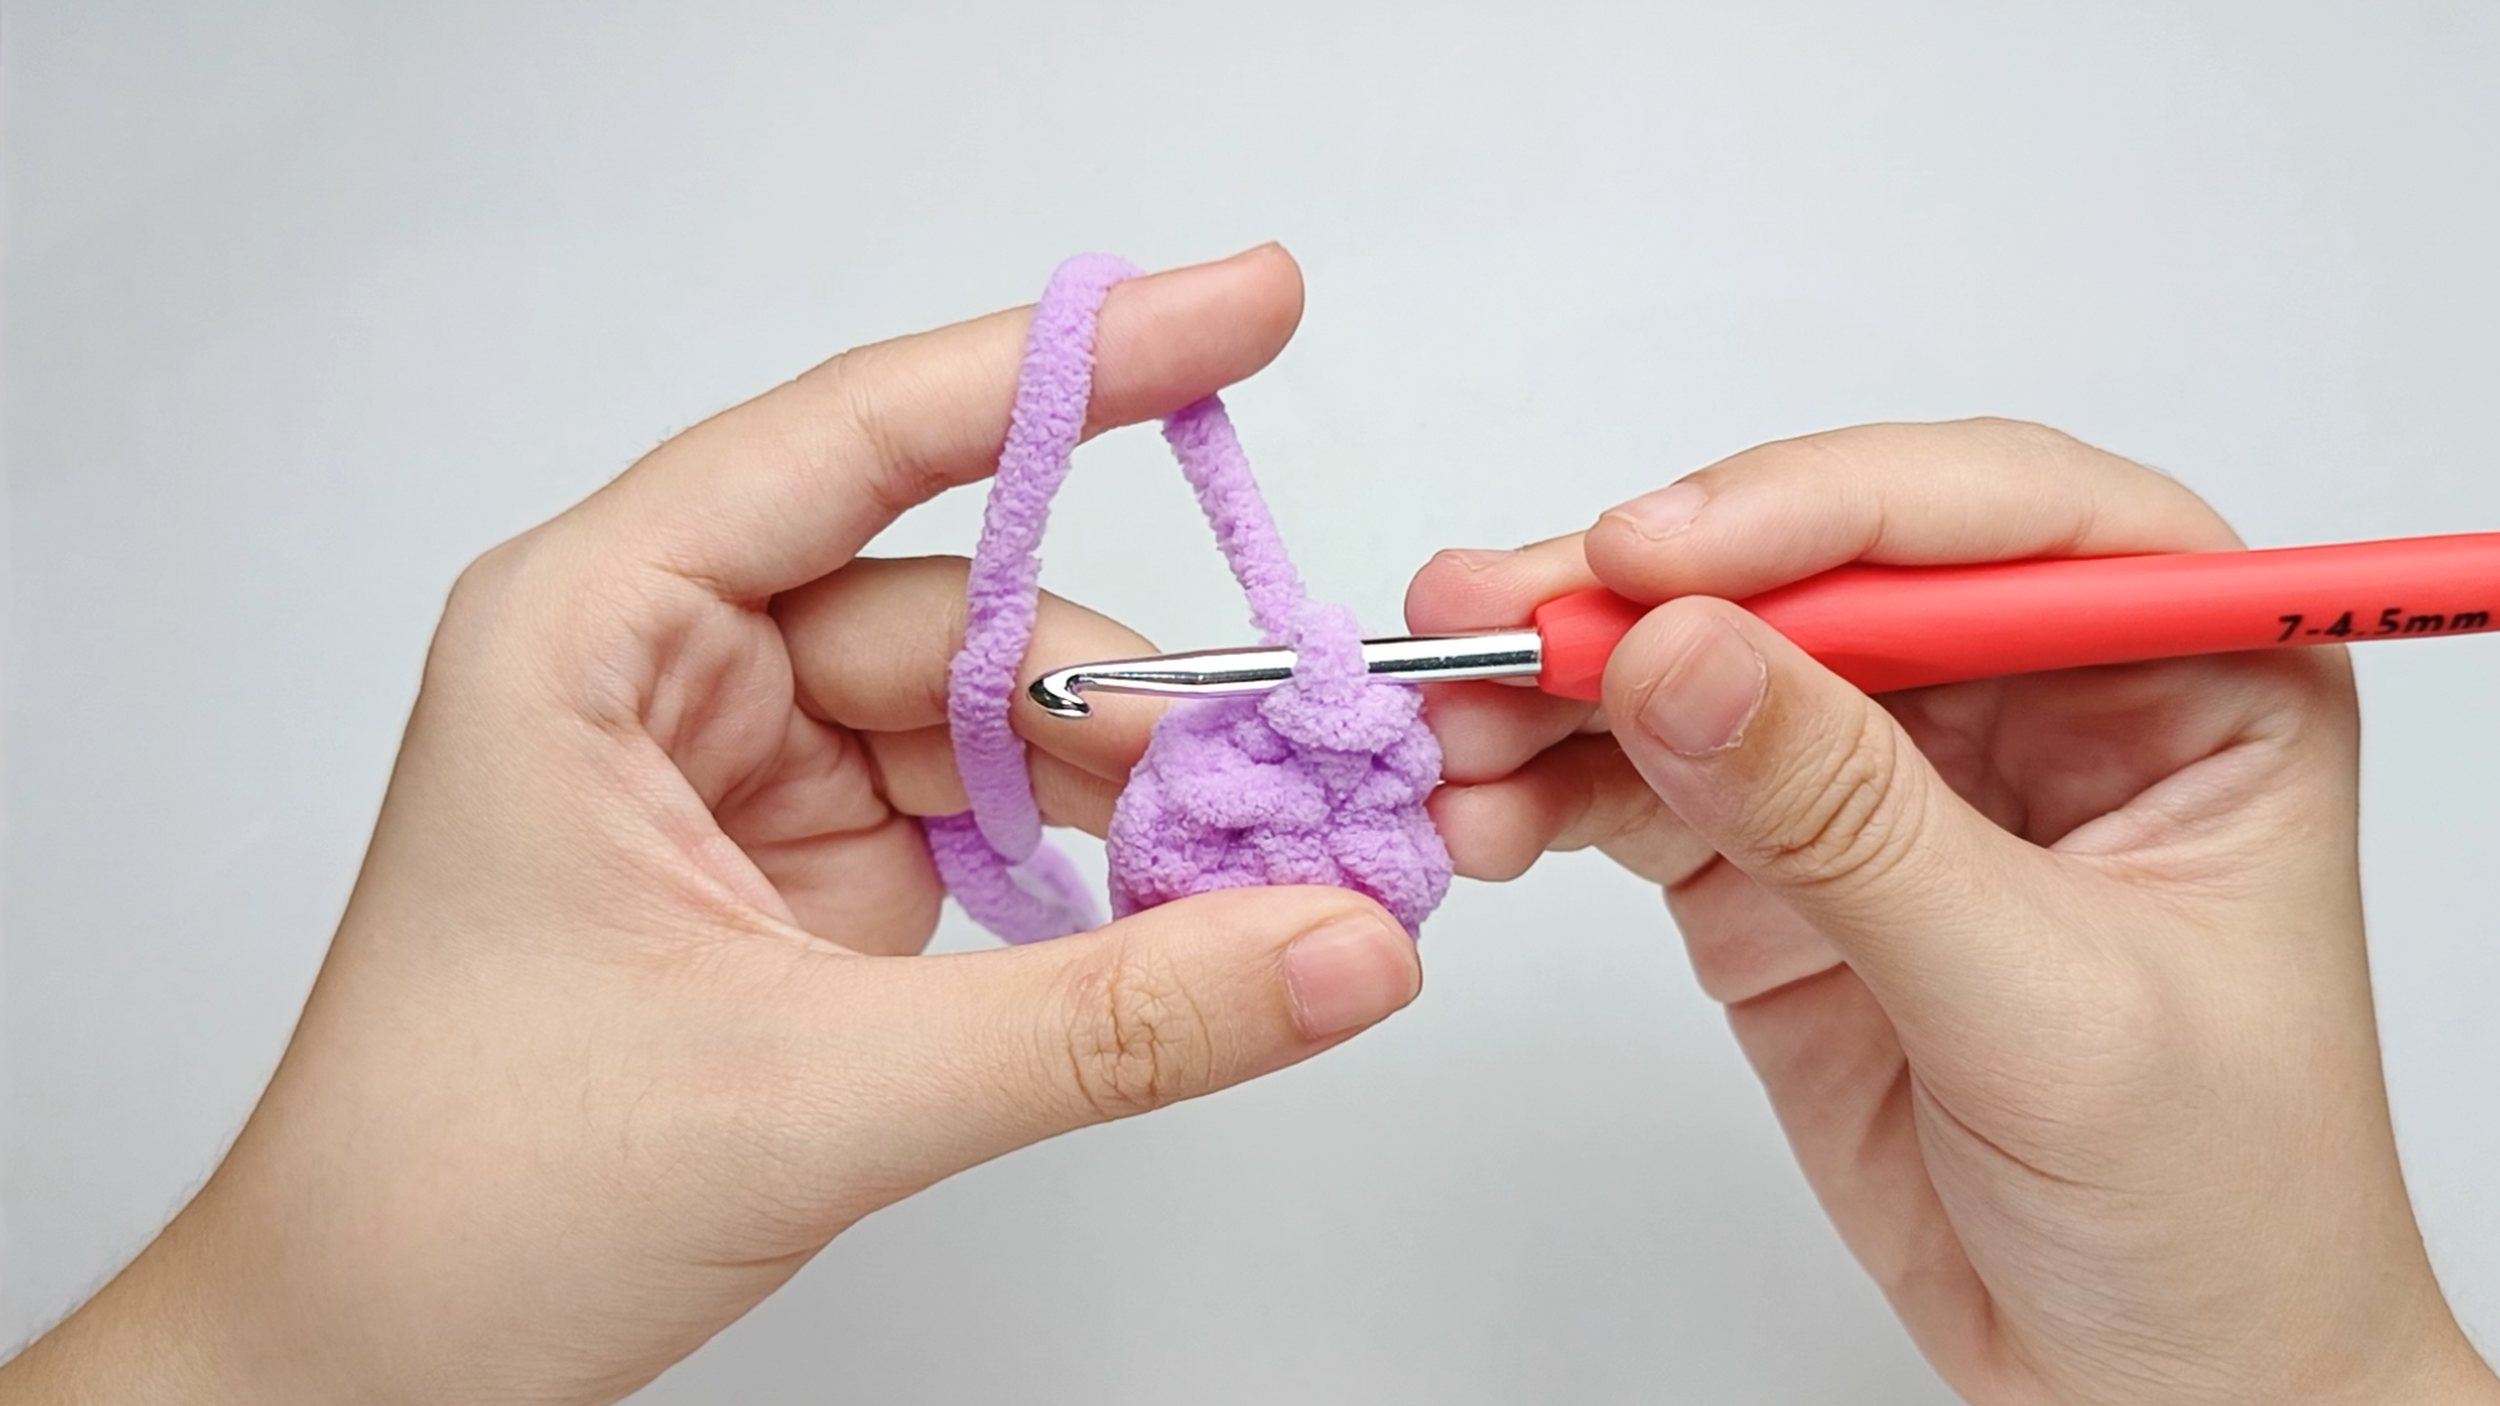
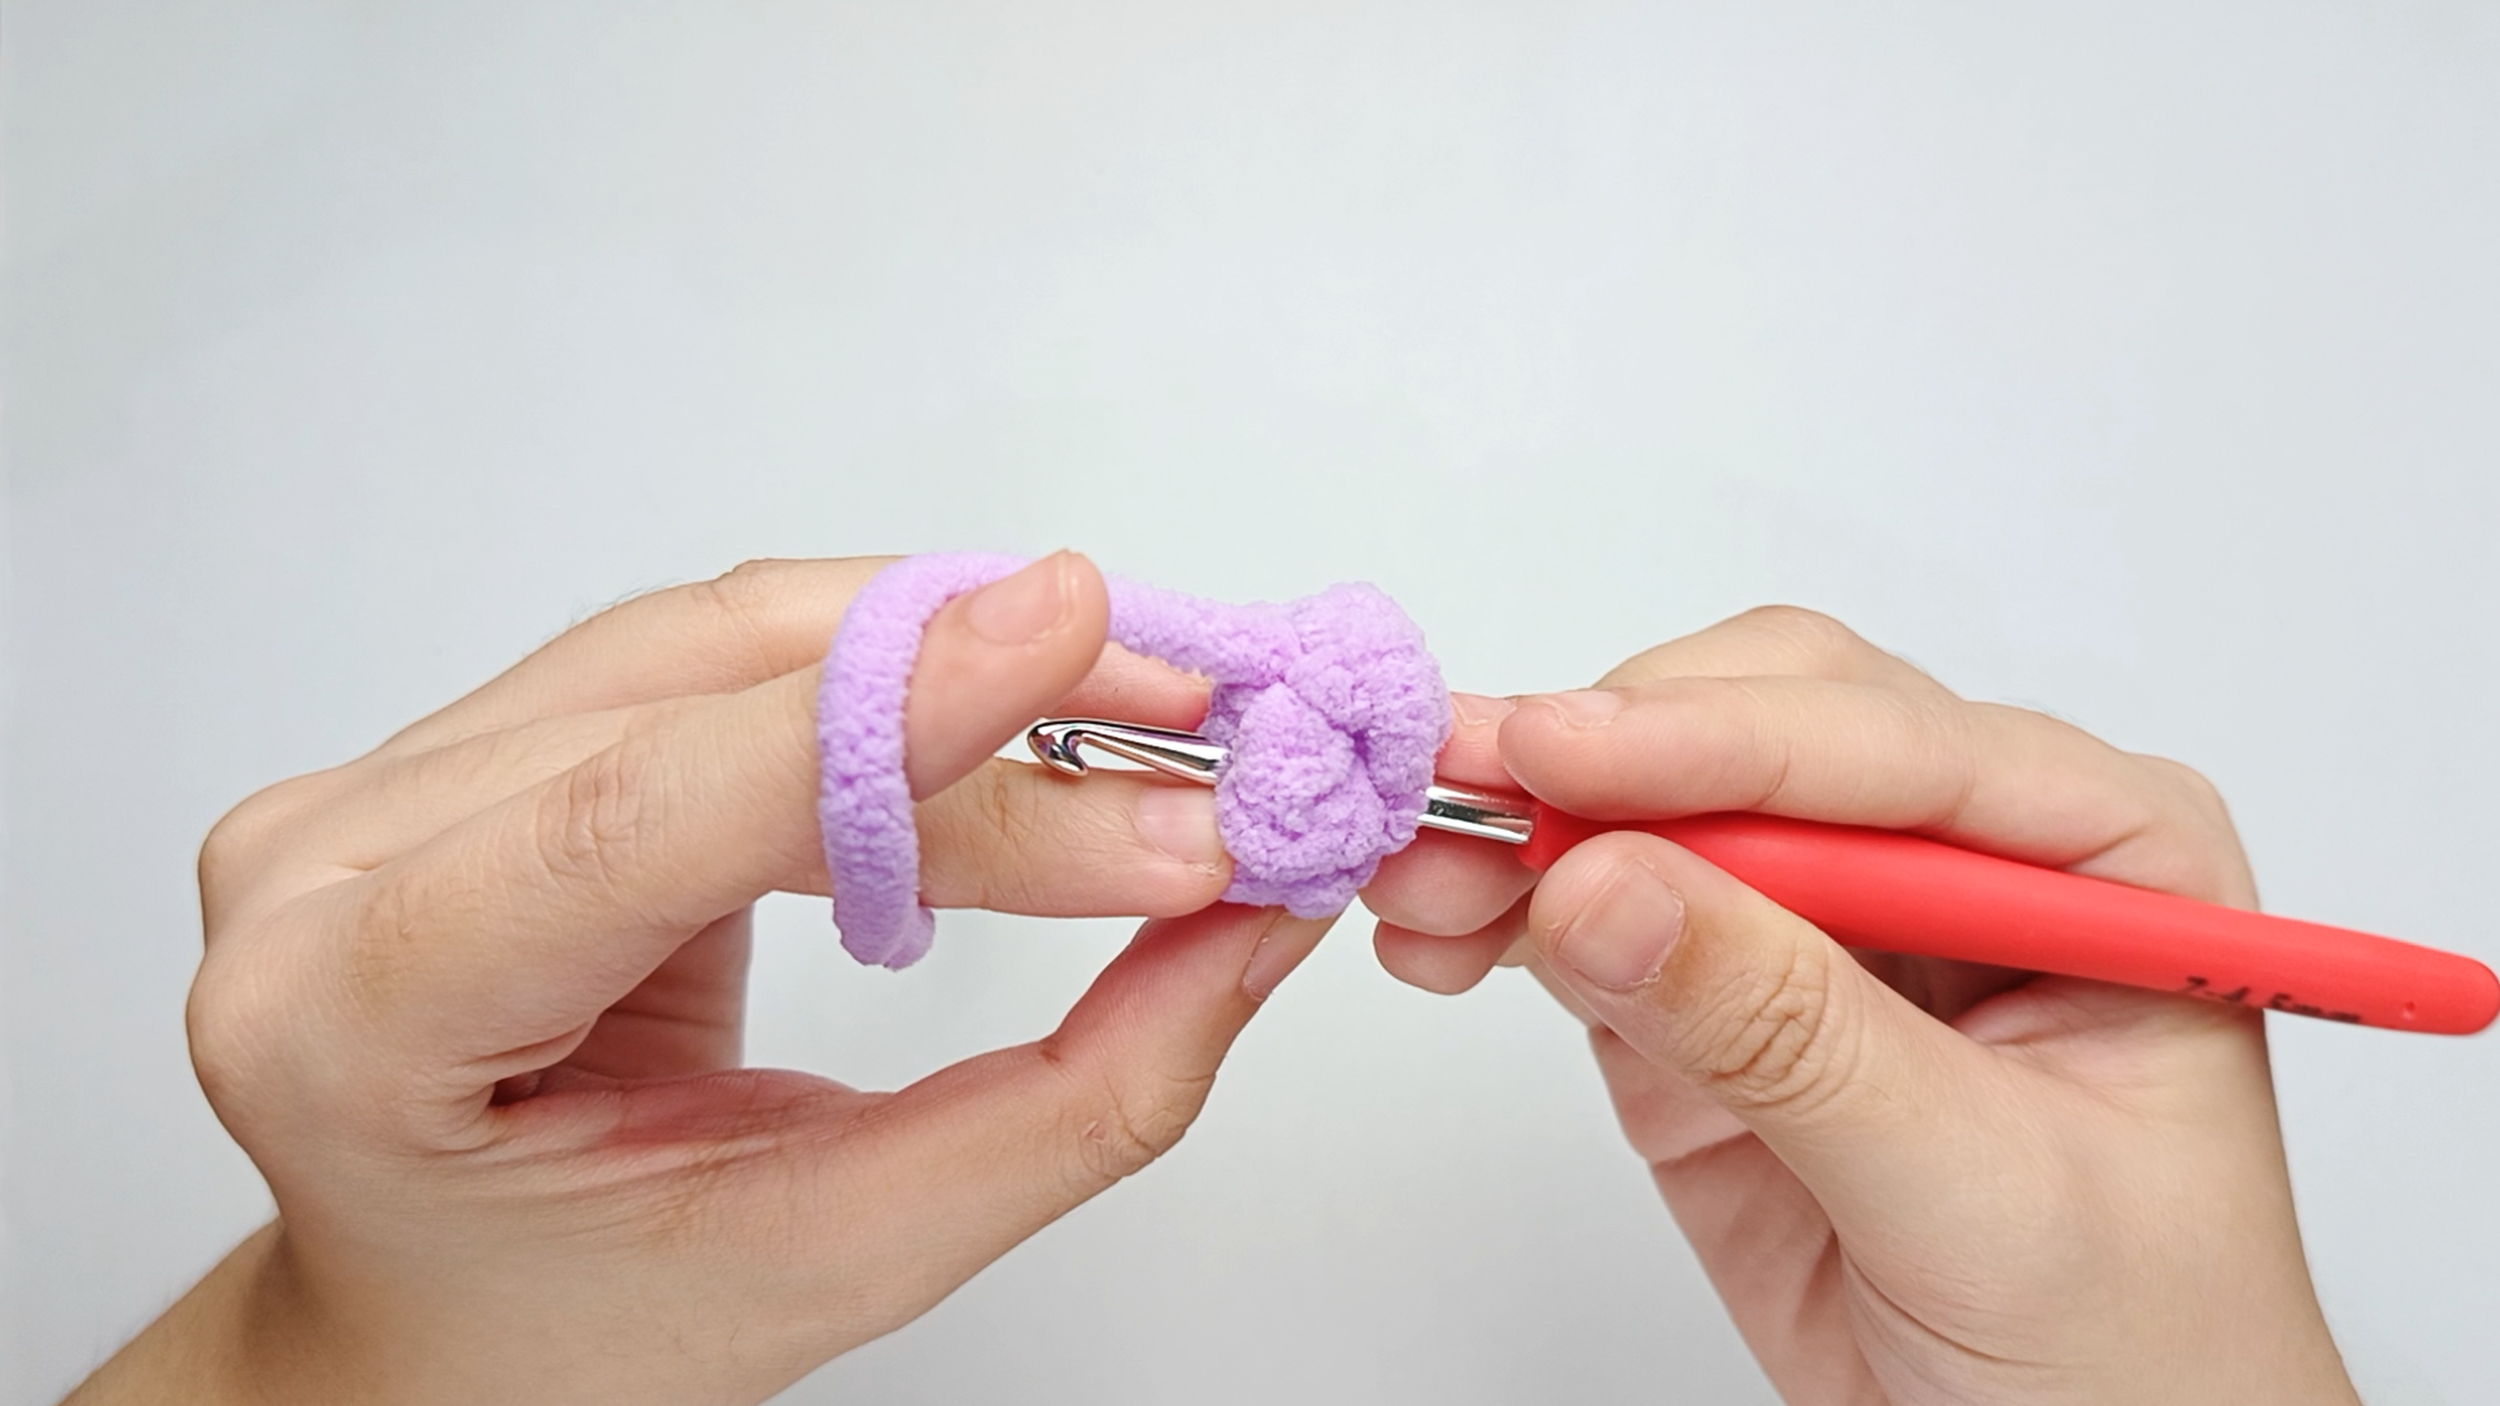
Insert the hook again:
Insert your hook through the next 2 stitches - one from each side of the fold.
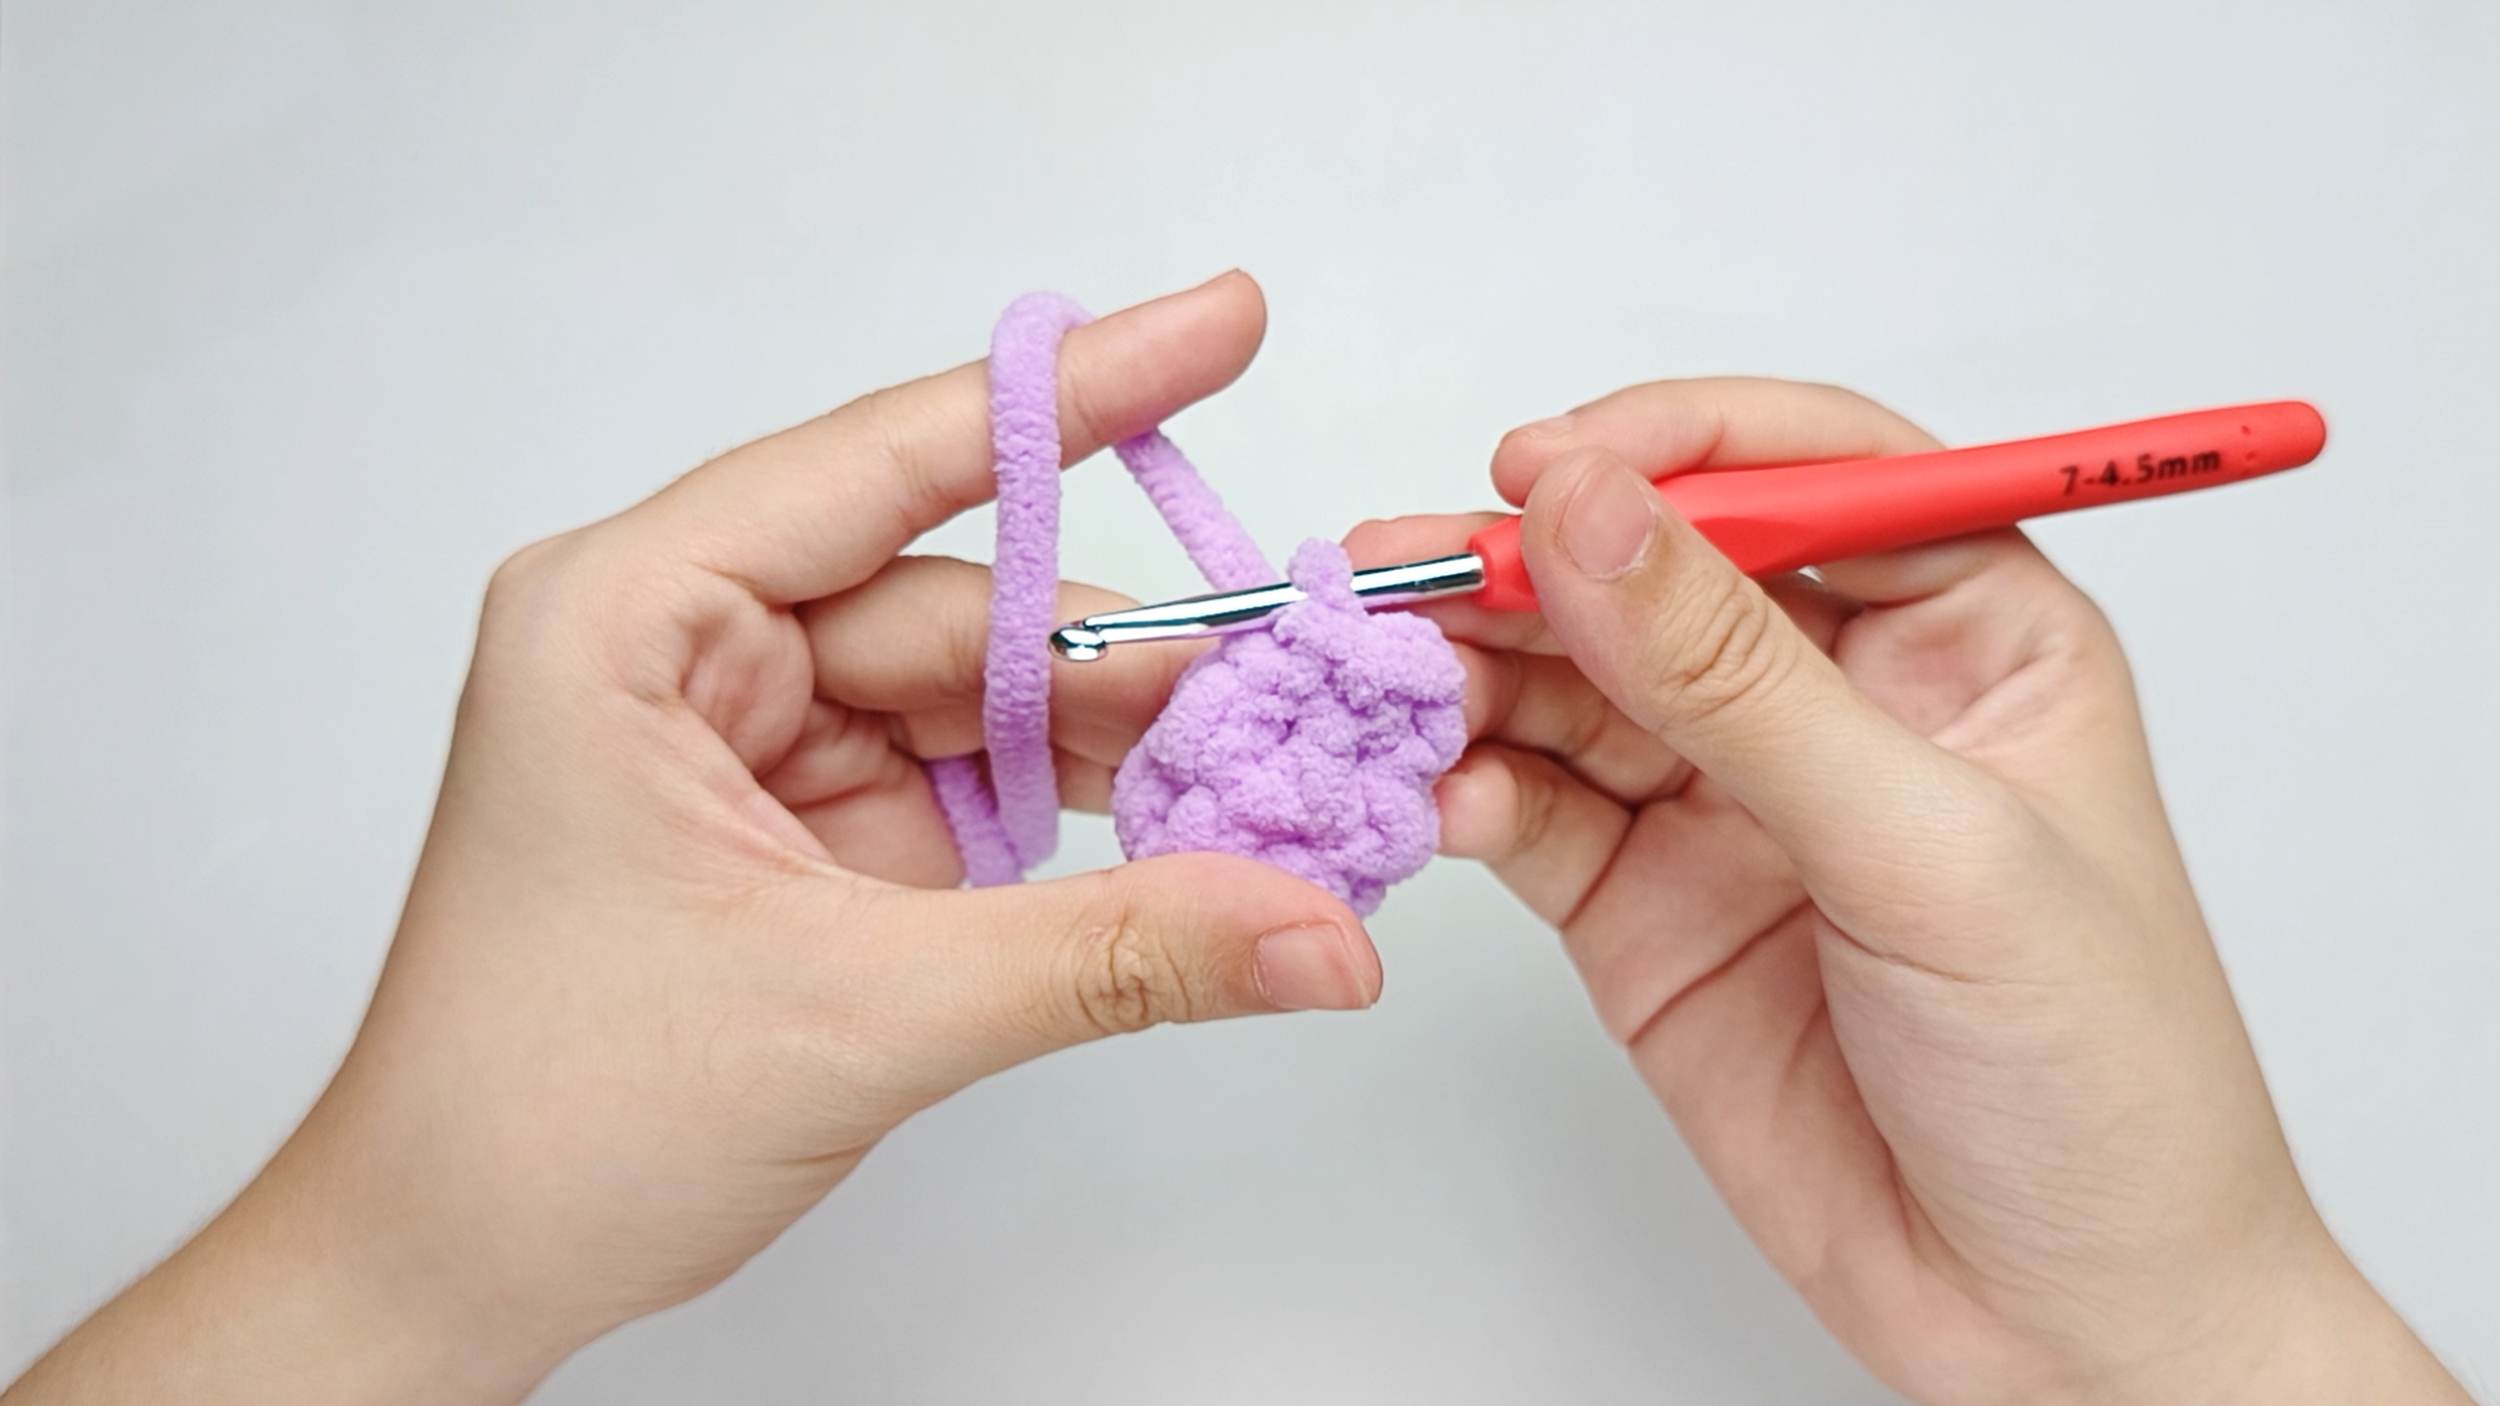
Secure the shape:
Make 1 more slip stitch (sl st). These stitches will keep the Wing neatly folded.
Finishing Off the Wings
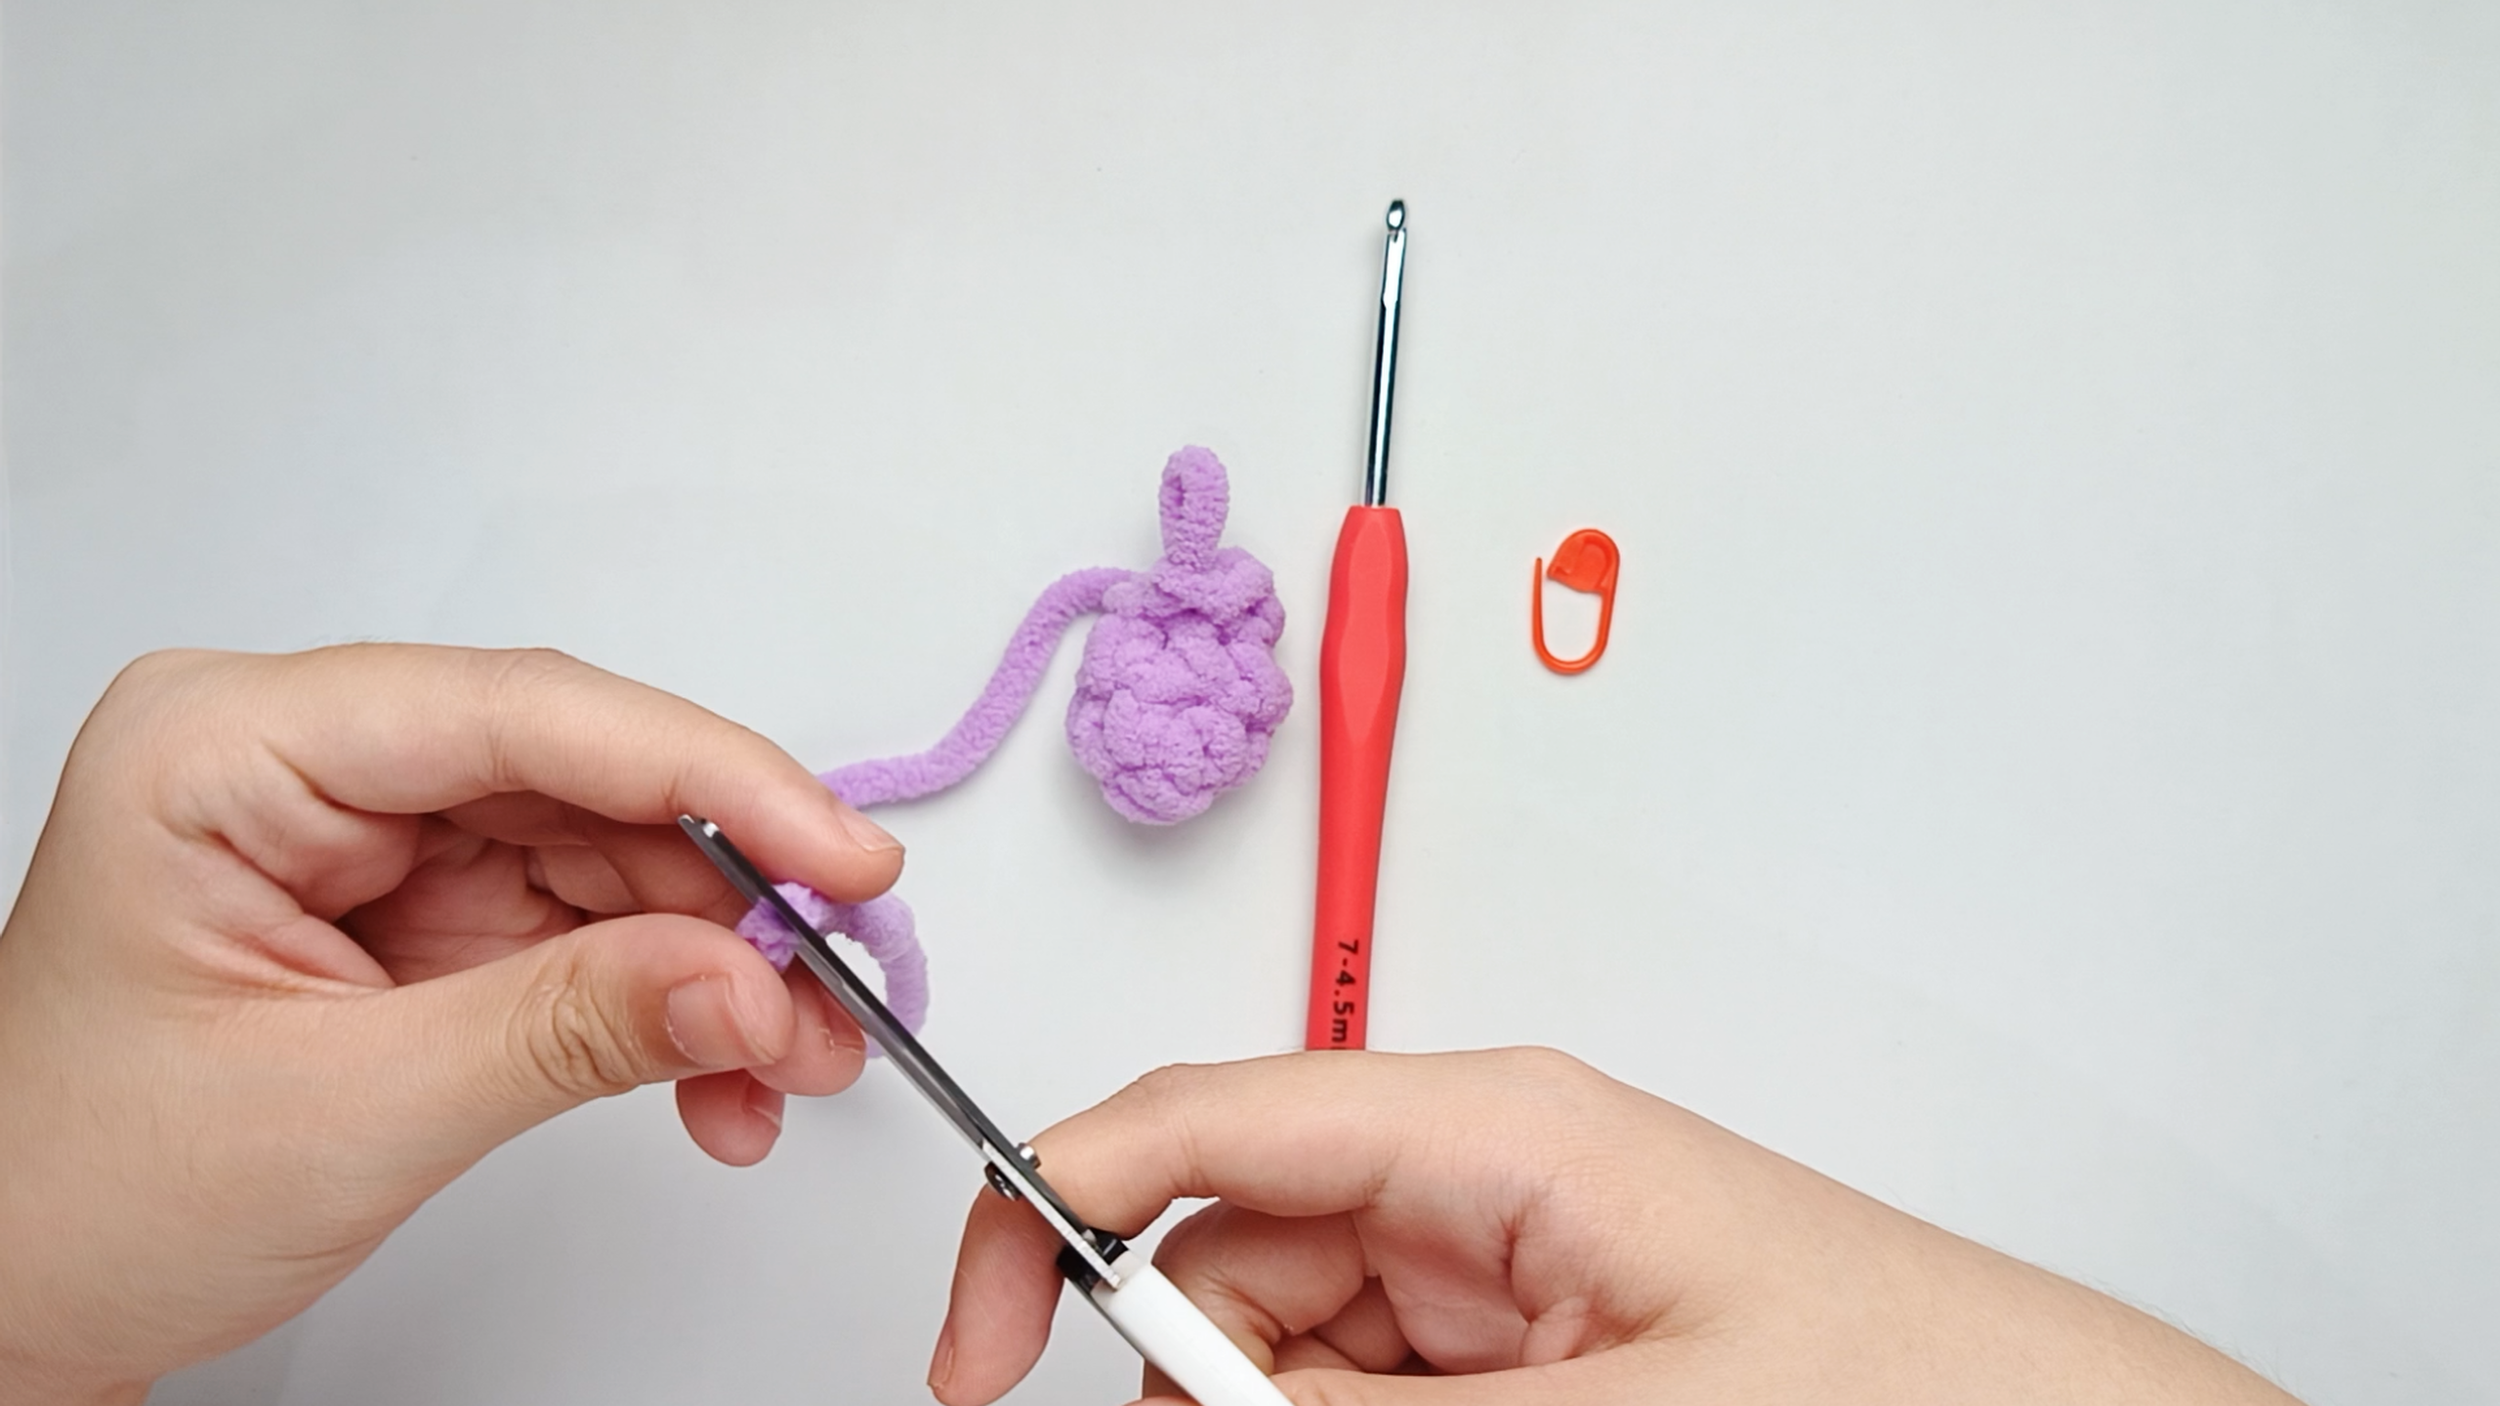
Cut the yarn, leaving about a 6-inch tail. You’ll use this yarn tail later to sew the Wing onto the Body.
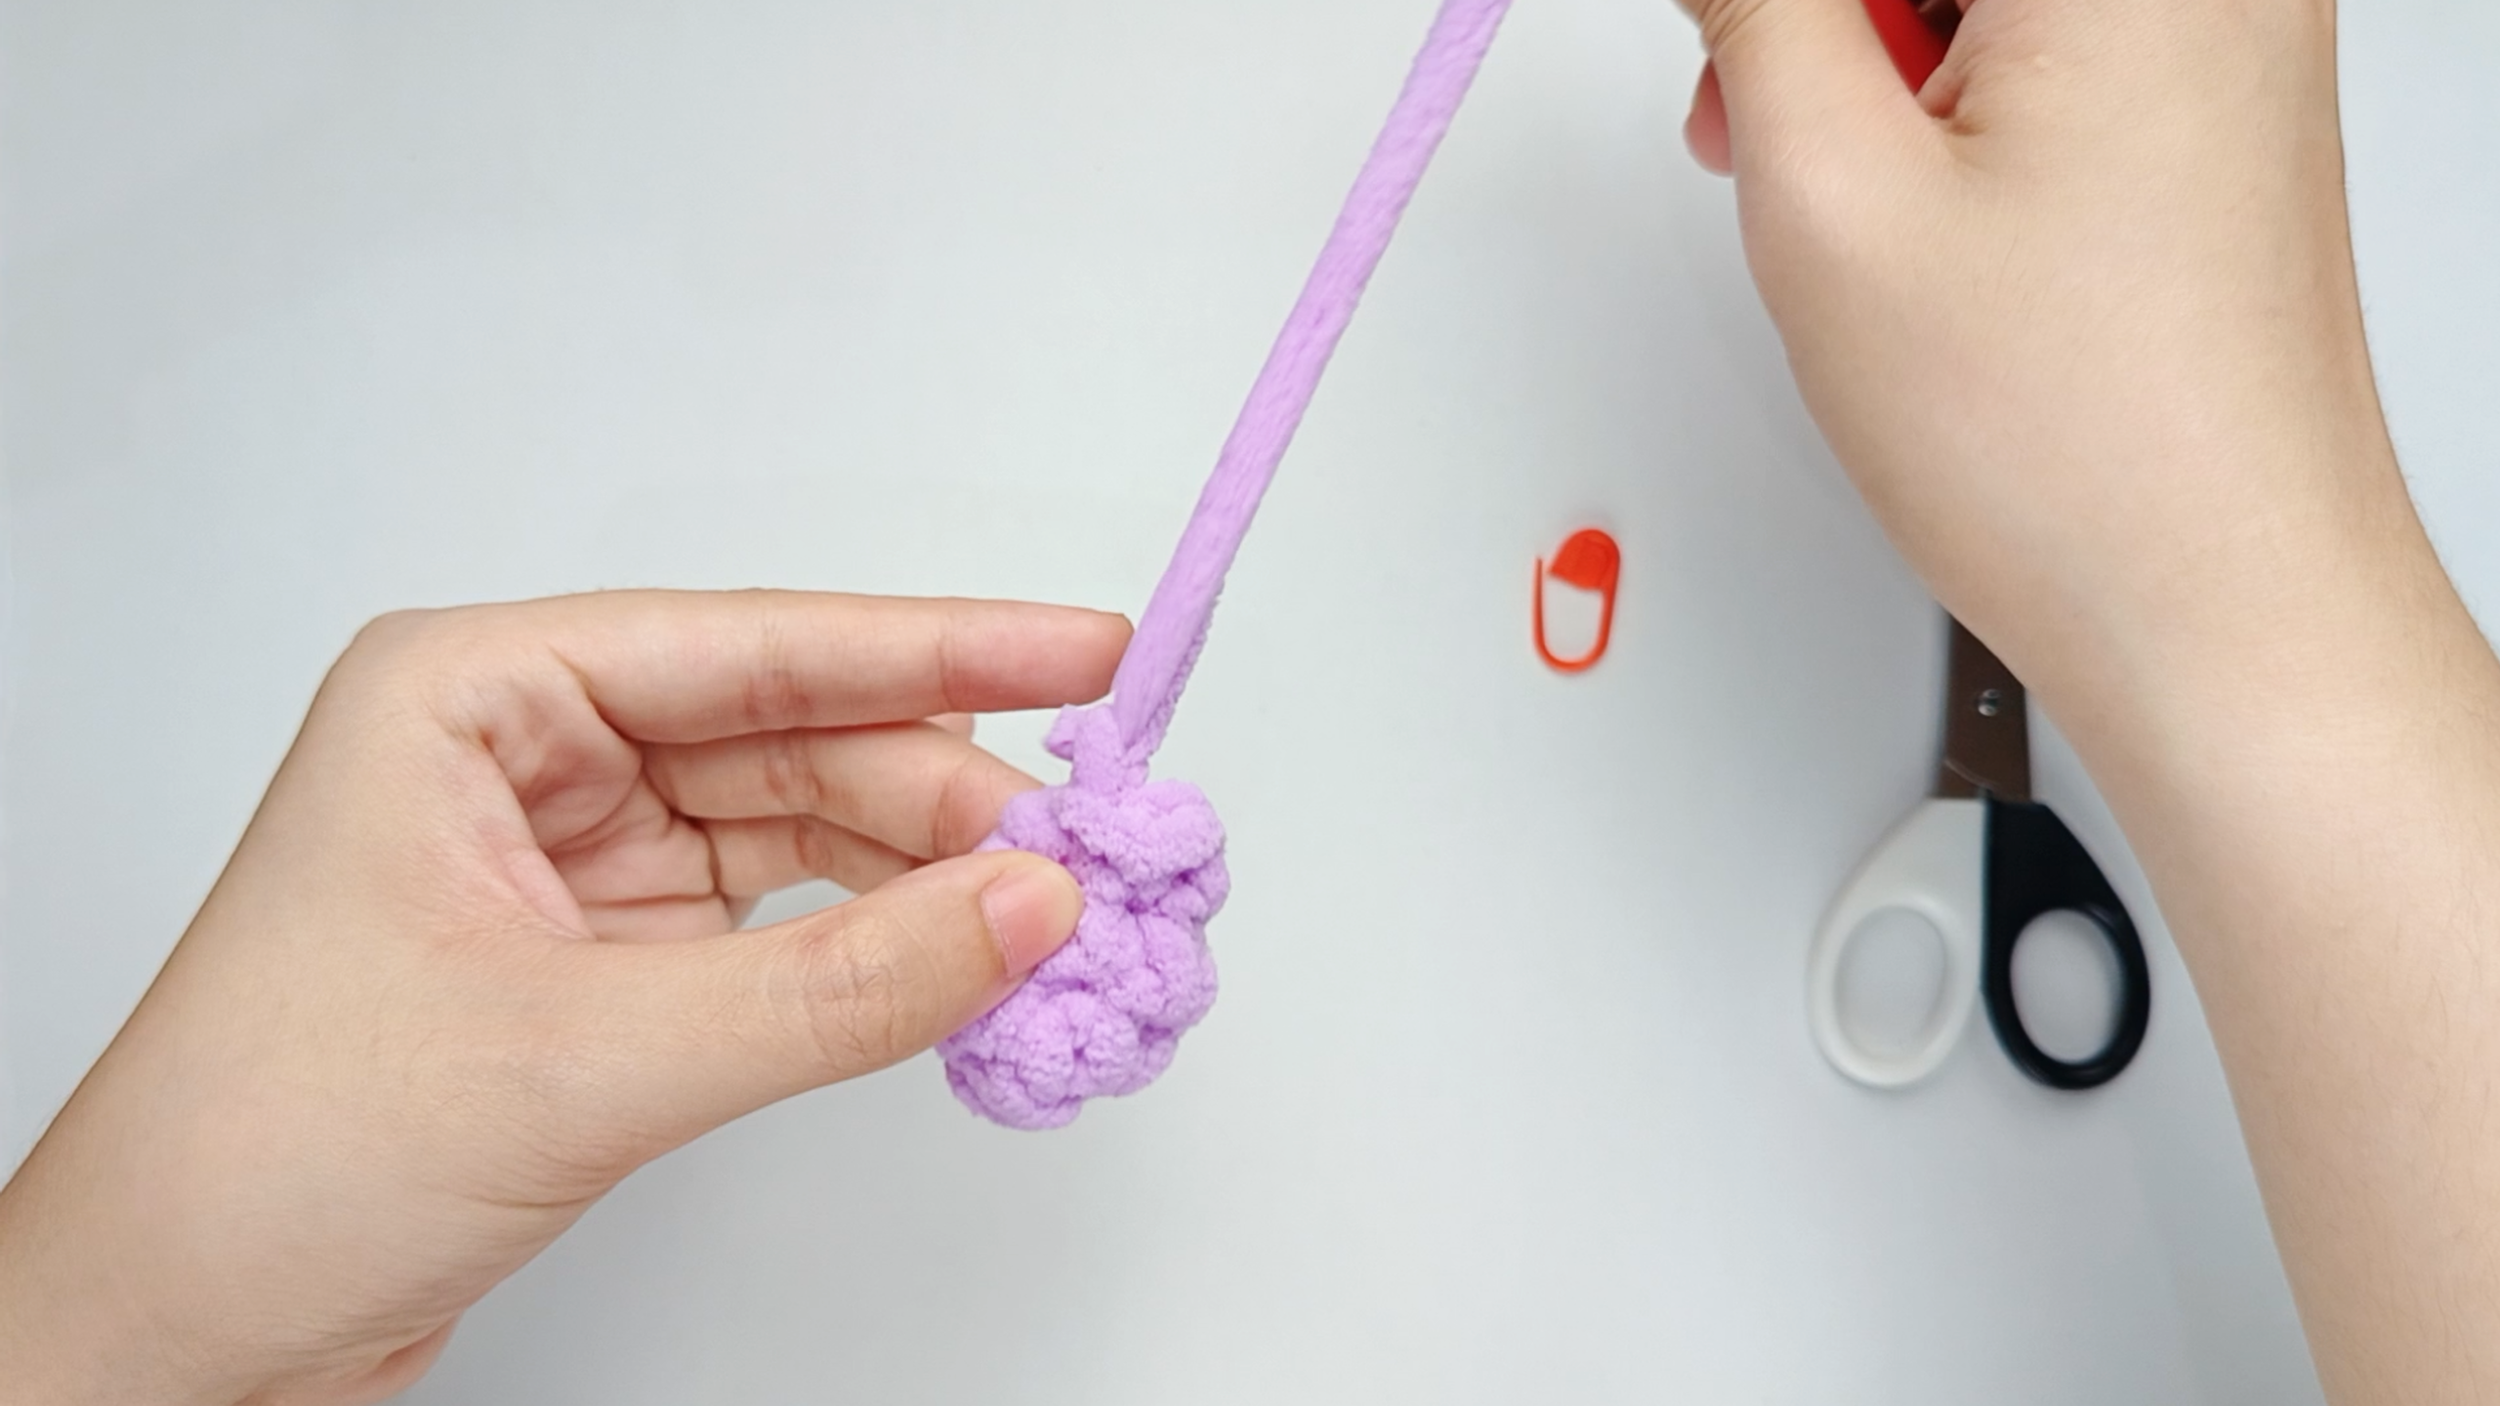
Yarn over and pull the yarn tail tight:
Yarn over with the cut tail. Pull it all the way through that loop. Keep pulling until the tail comes all the way through and forms a small knot.
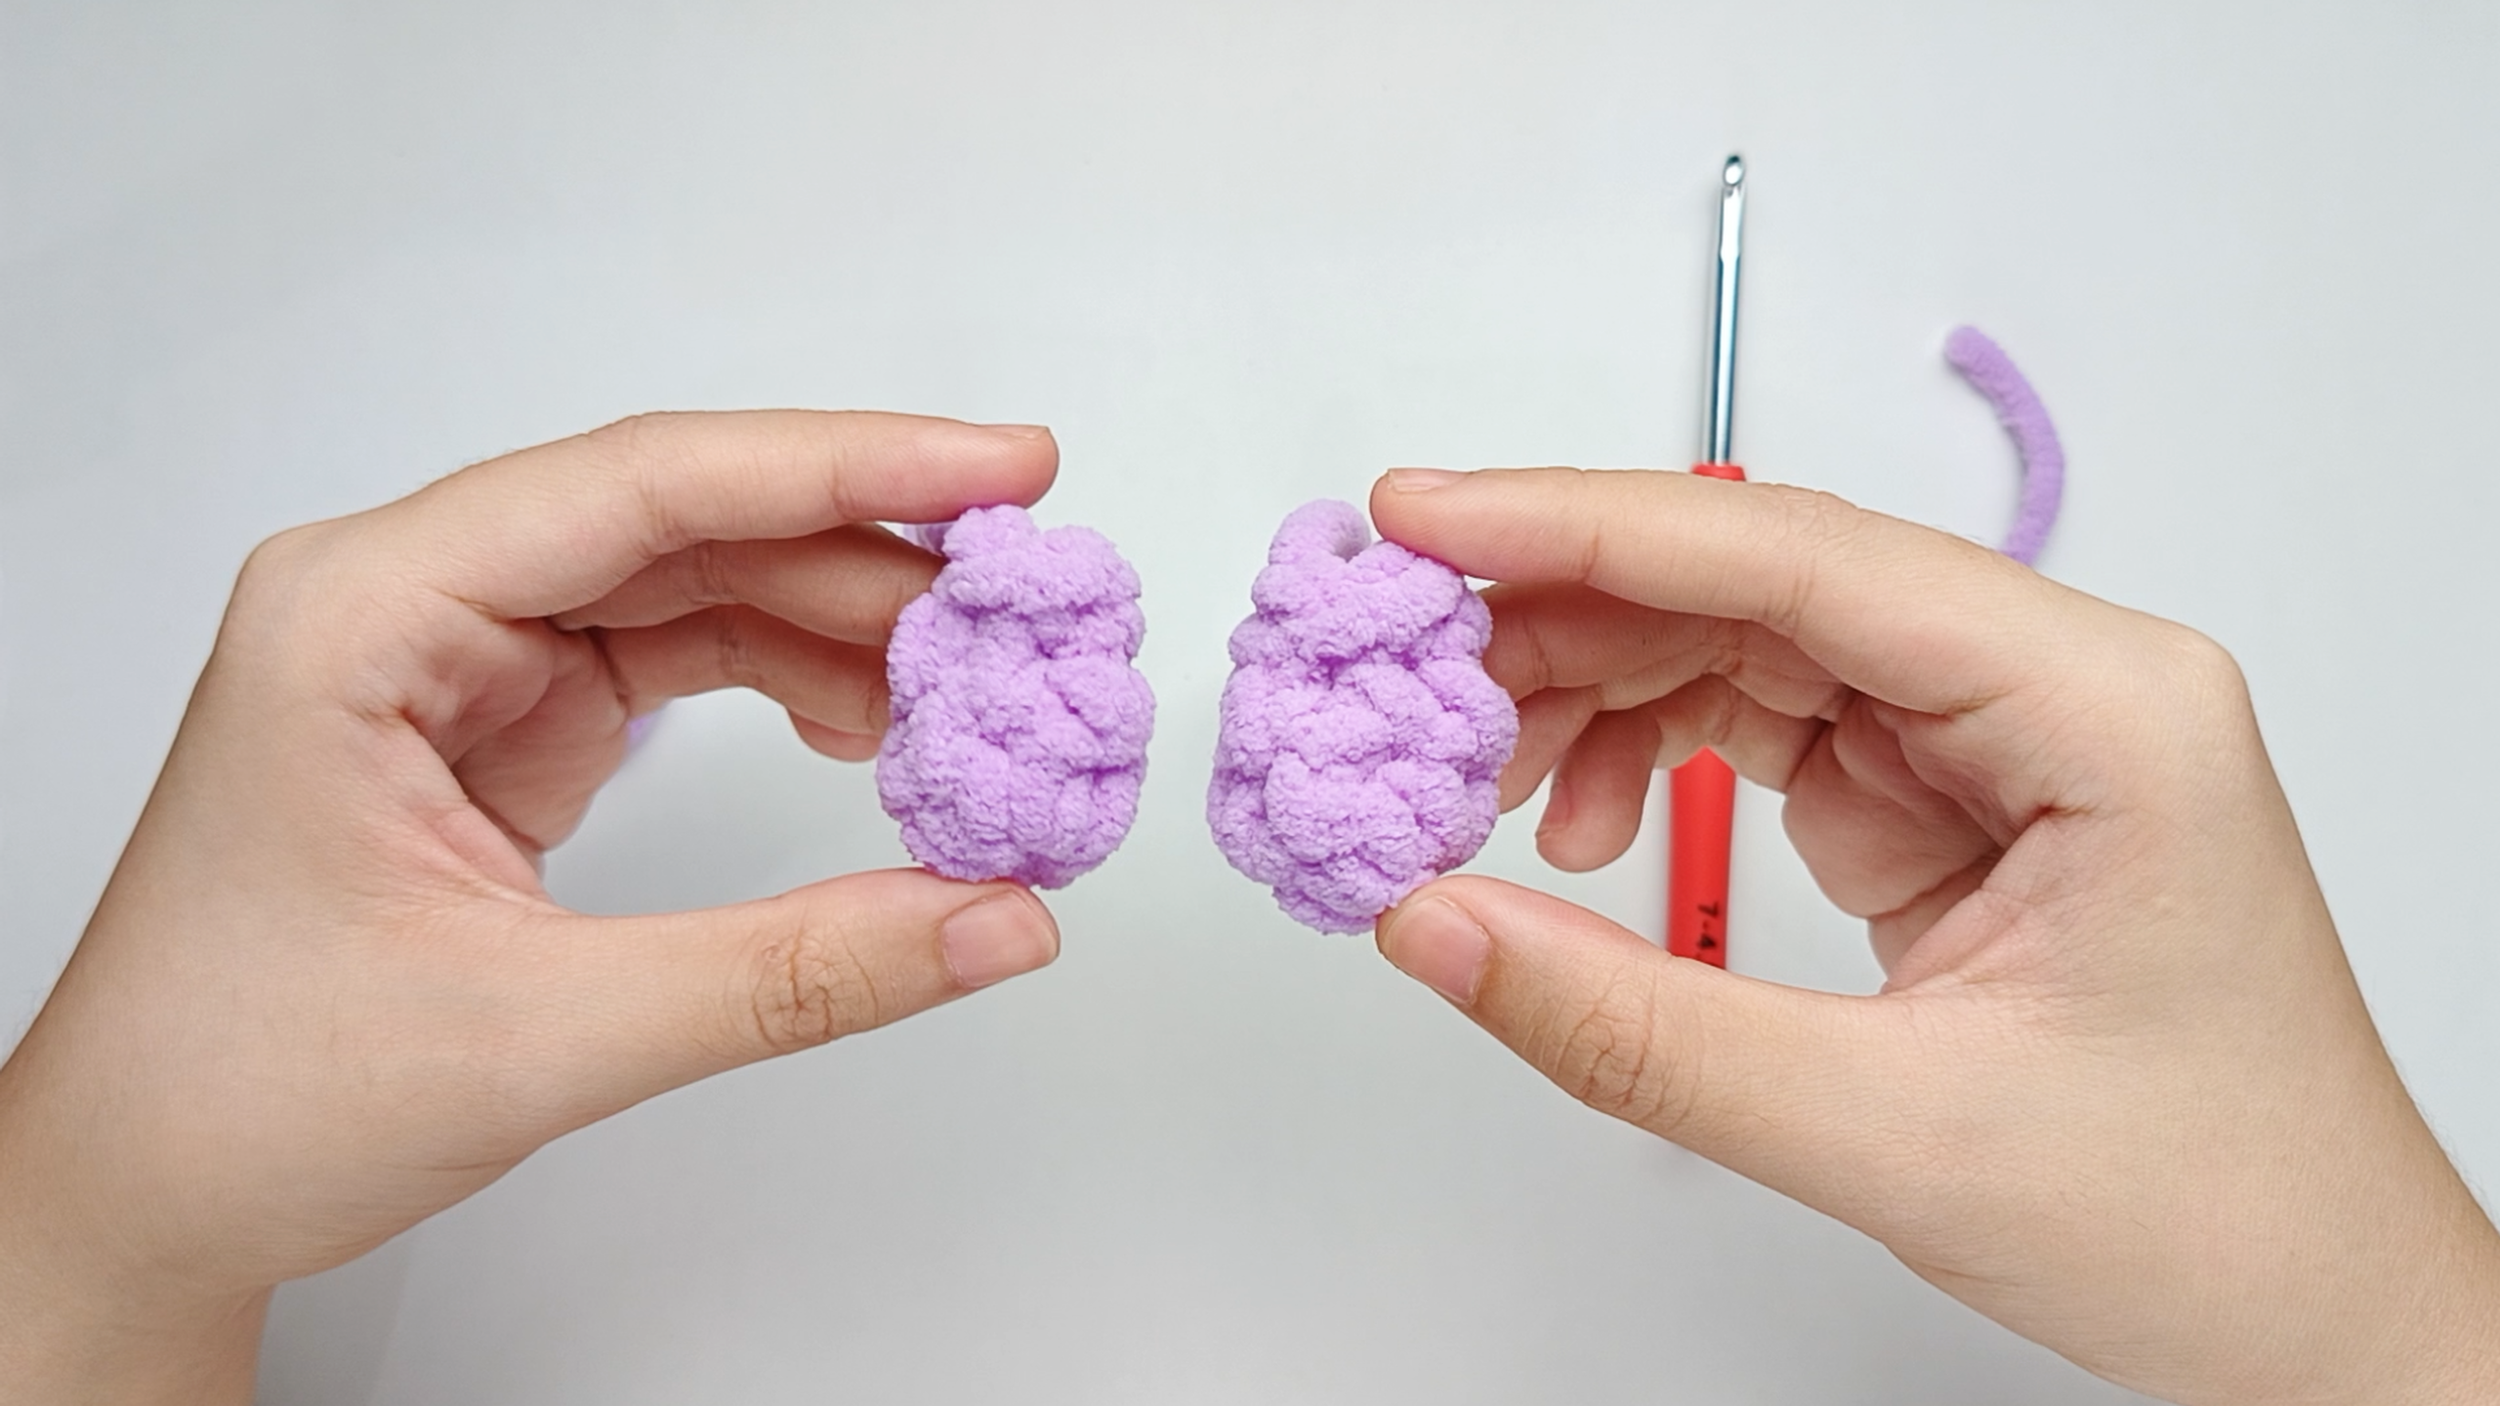
Complete the second Wing:
Repeat these steps to make a second Wing. Once both are completed, set them aside.