
Step 6 of 10:
Pip’s Nose
You'll make the Nose using blue yarn. It's a tiny piece, just one round, but it gives Pip her most important feature!

Watch: Prefer to follow along? The video below shows how to make Pip's Nose from start to finish.
Round
1Start by making a magic ring (MR) with the blue yarn. Then crochet 4 single crochet (sc) into the center of the ring. Gently pull the yarn tail to draw the ring tightly closed.
Total stitches: 4
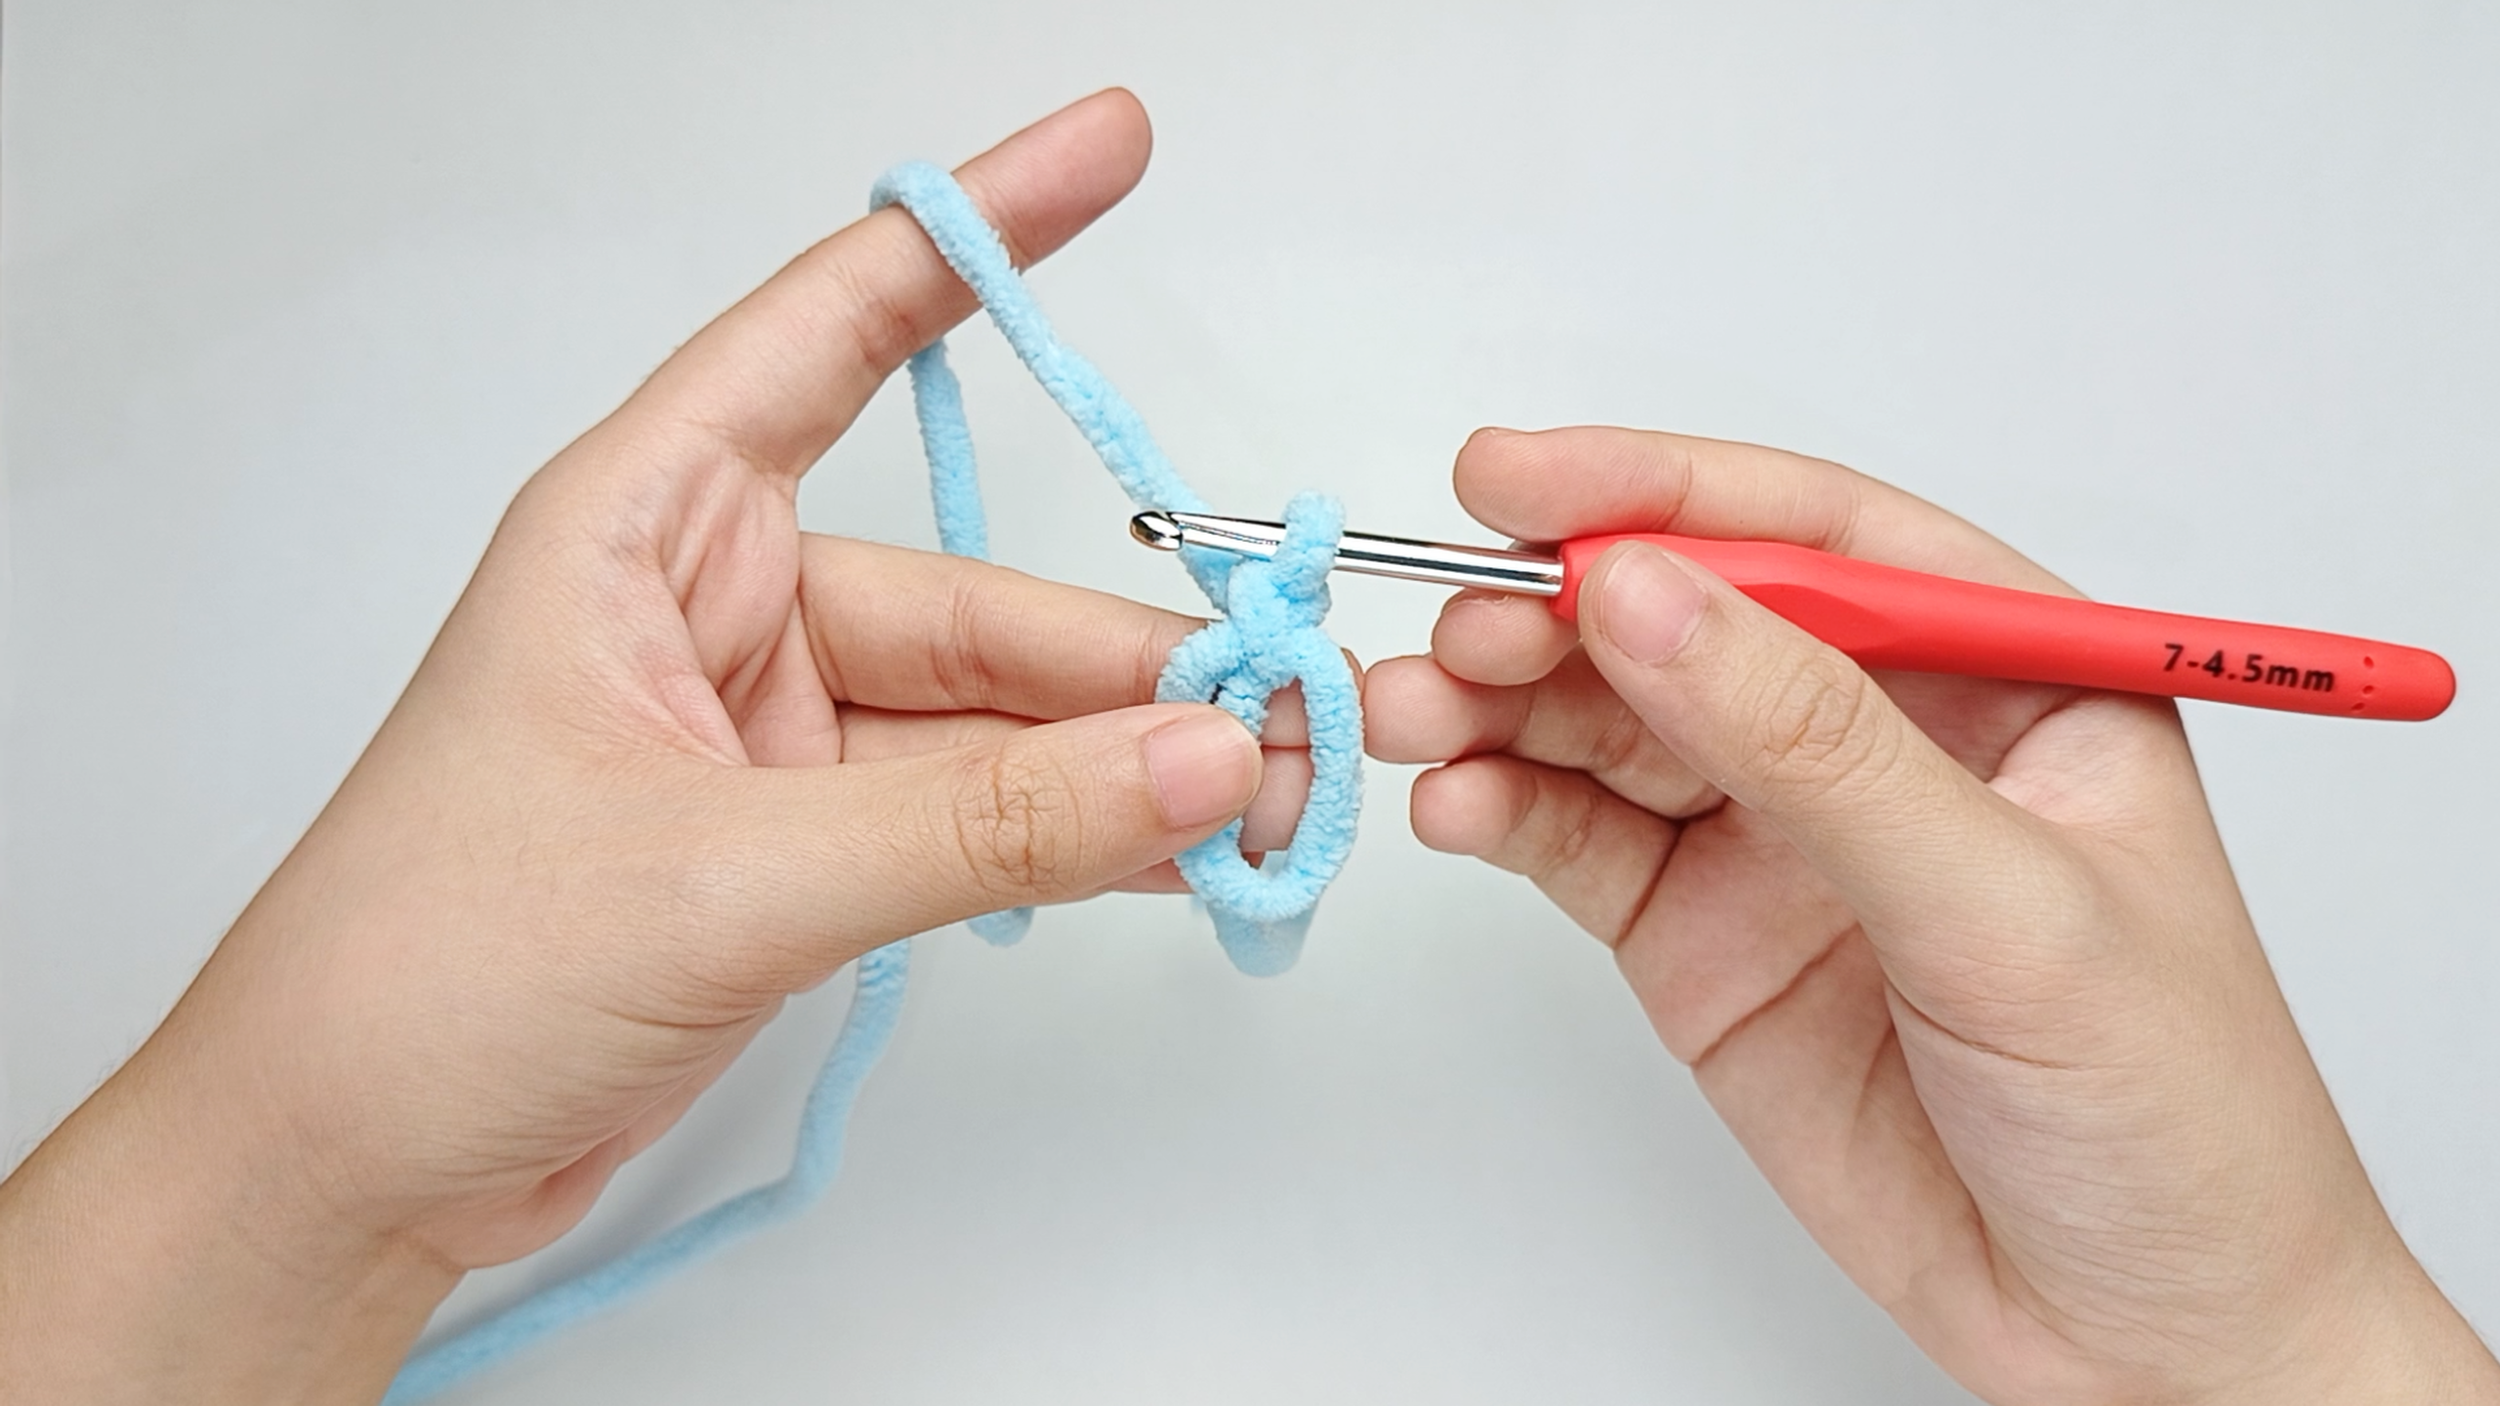
Make a magic ring (MR):
Follow the same magic-ring photos from the Body's Round 1 - from 'Hold the yarn tail' through 'Release the ring' - to make your magic ring (MR).
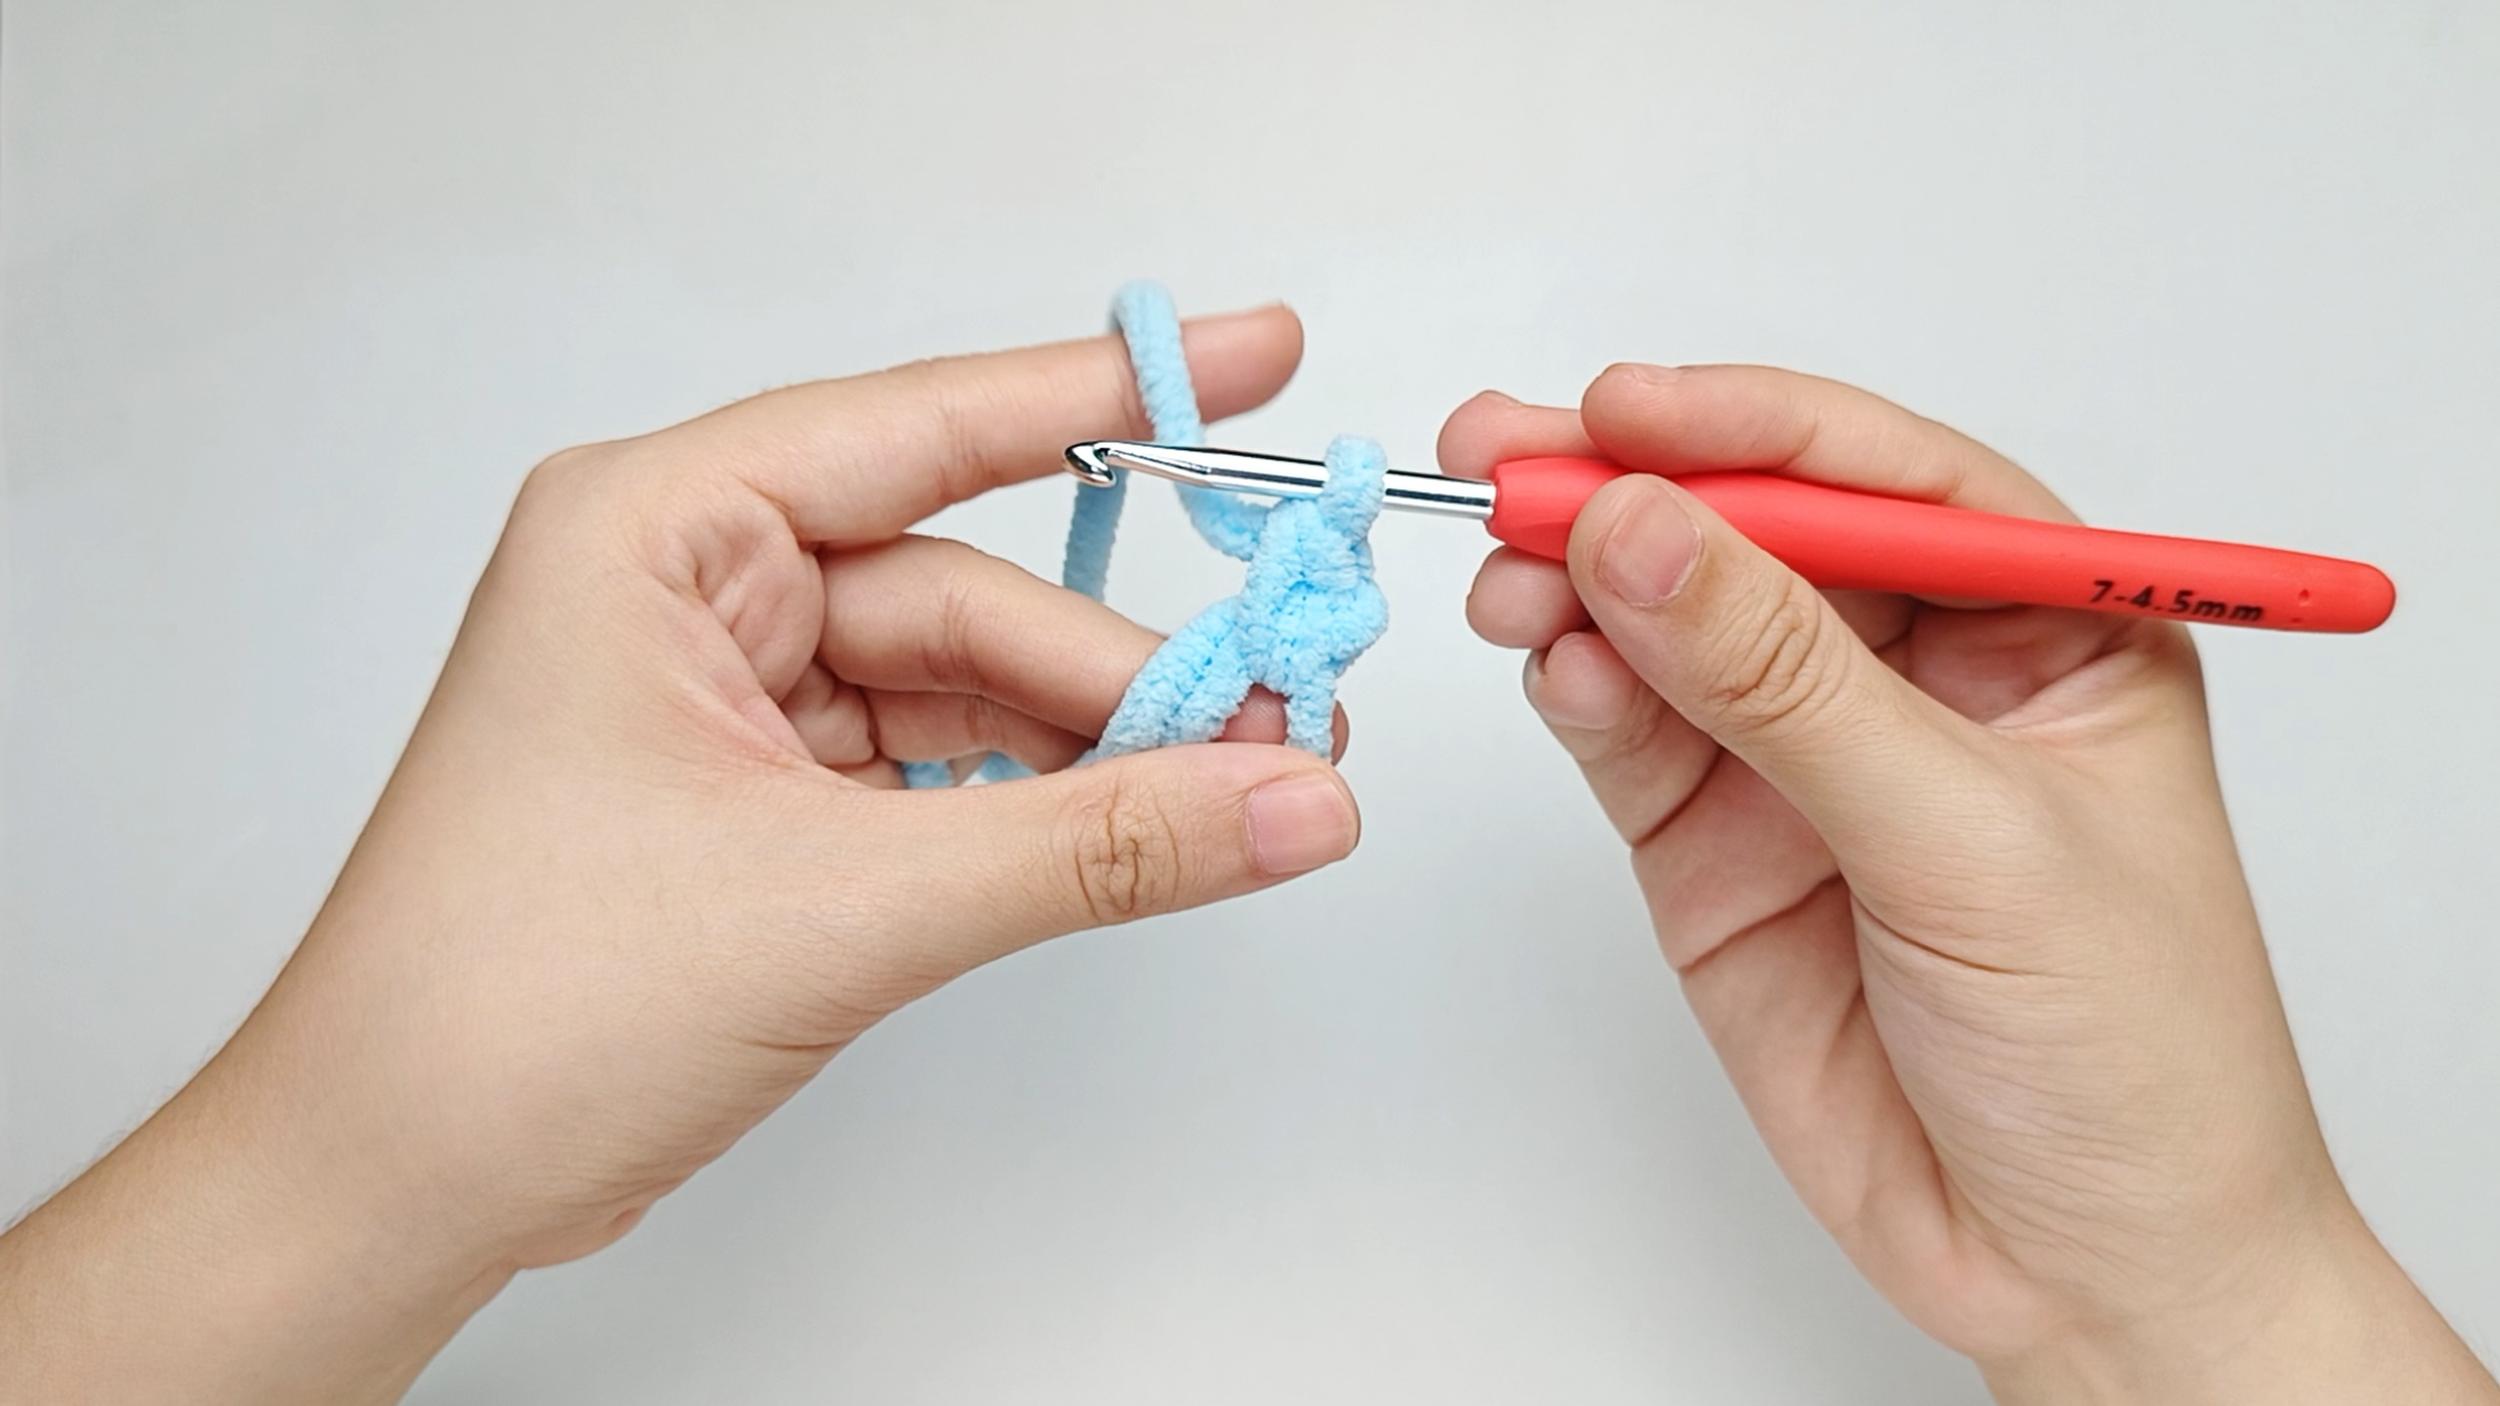
Make 1 single crochet (sc) first:
Make 1 single crochet (sc) into the center of the ring.
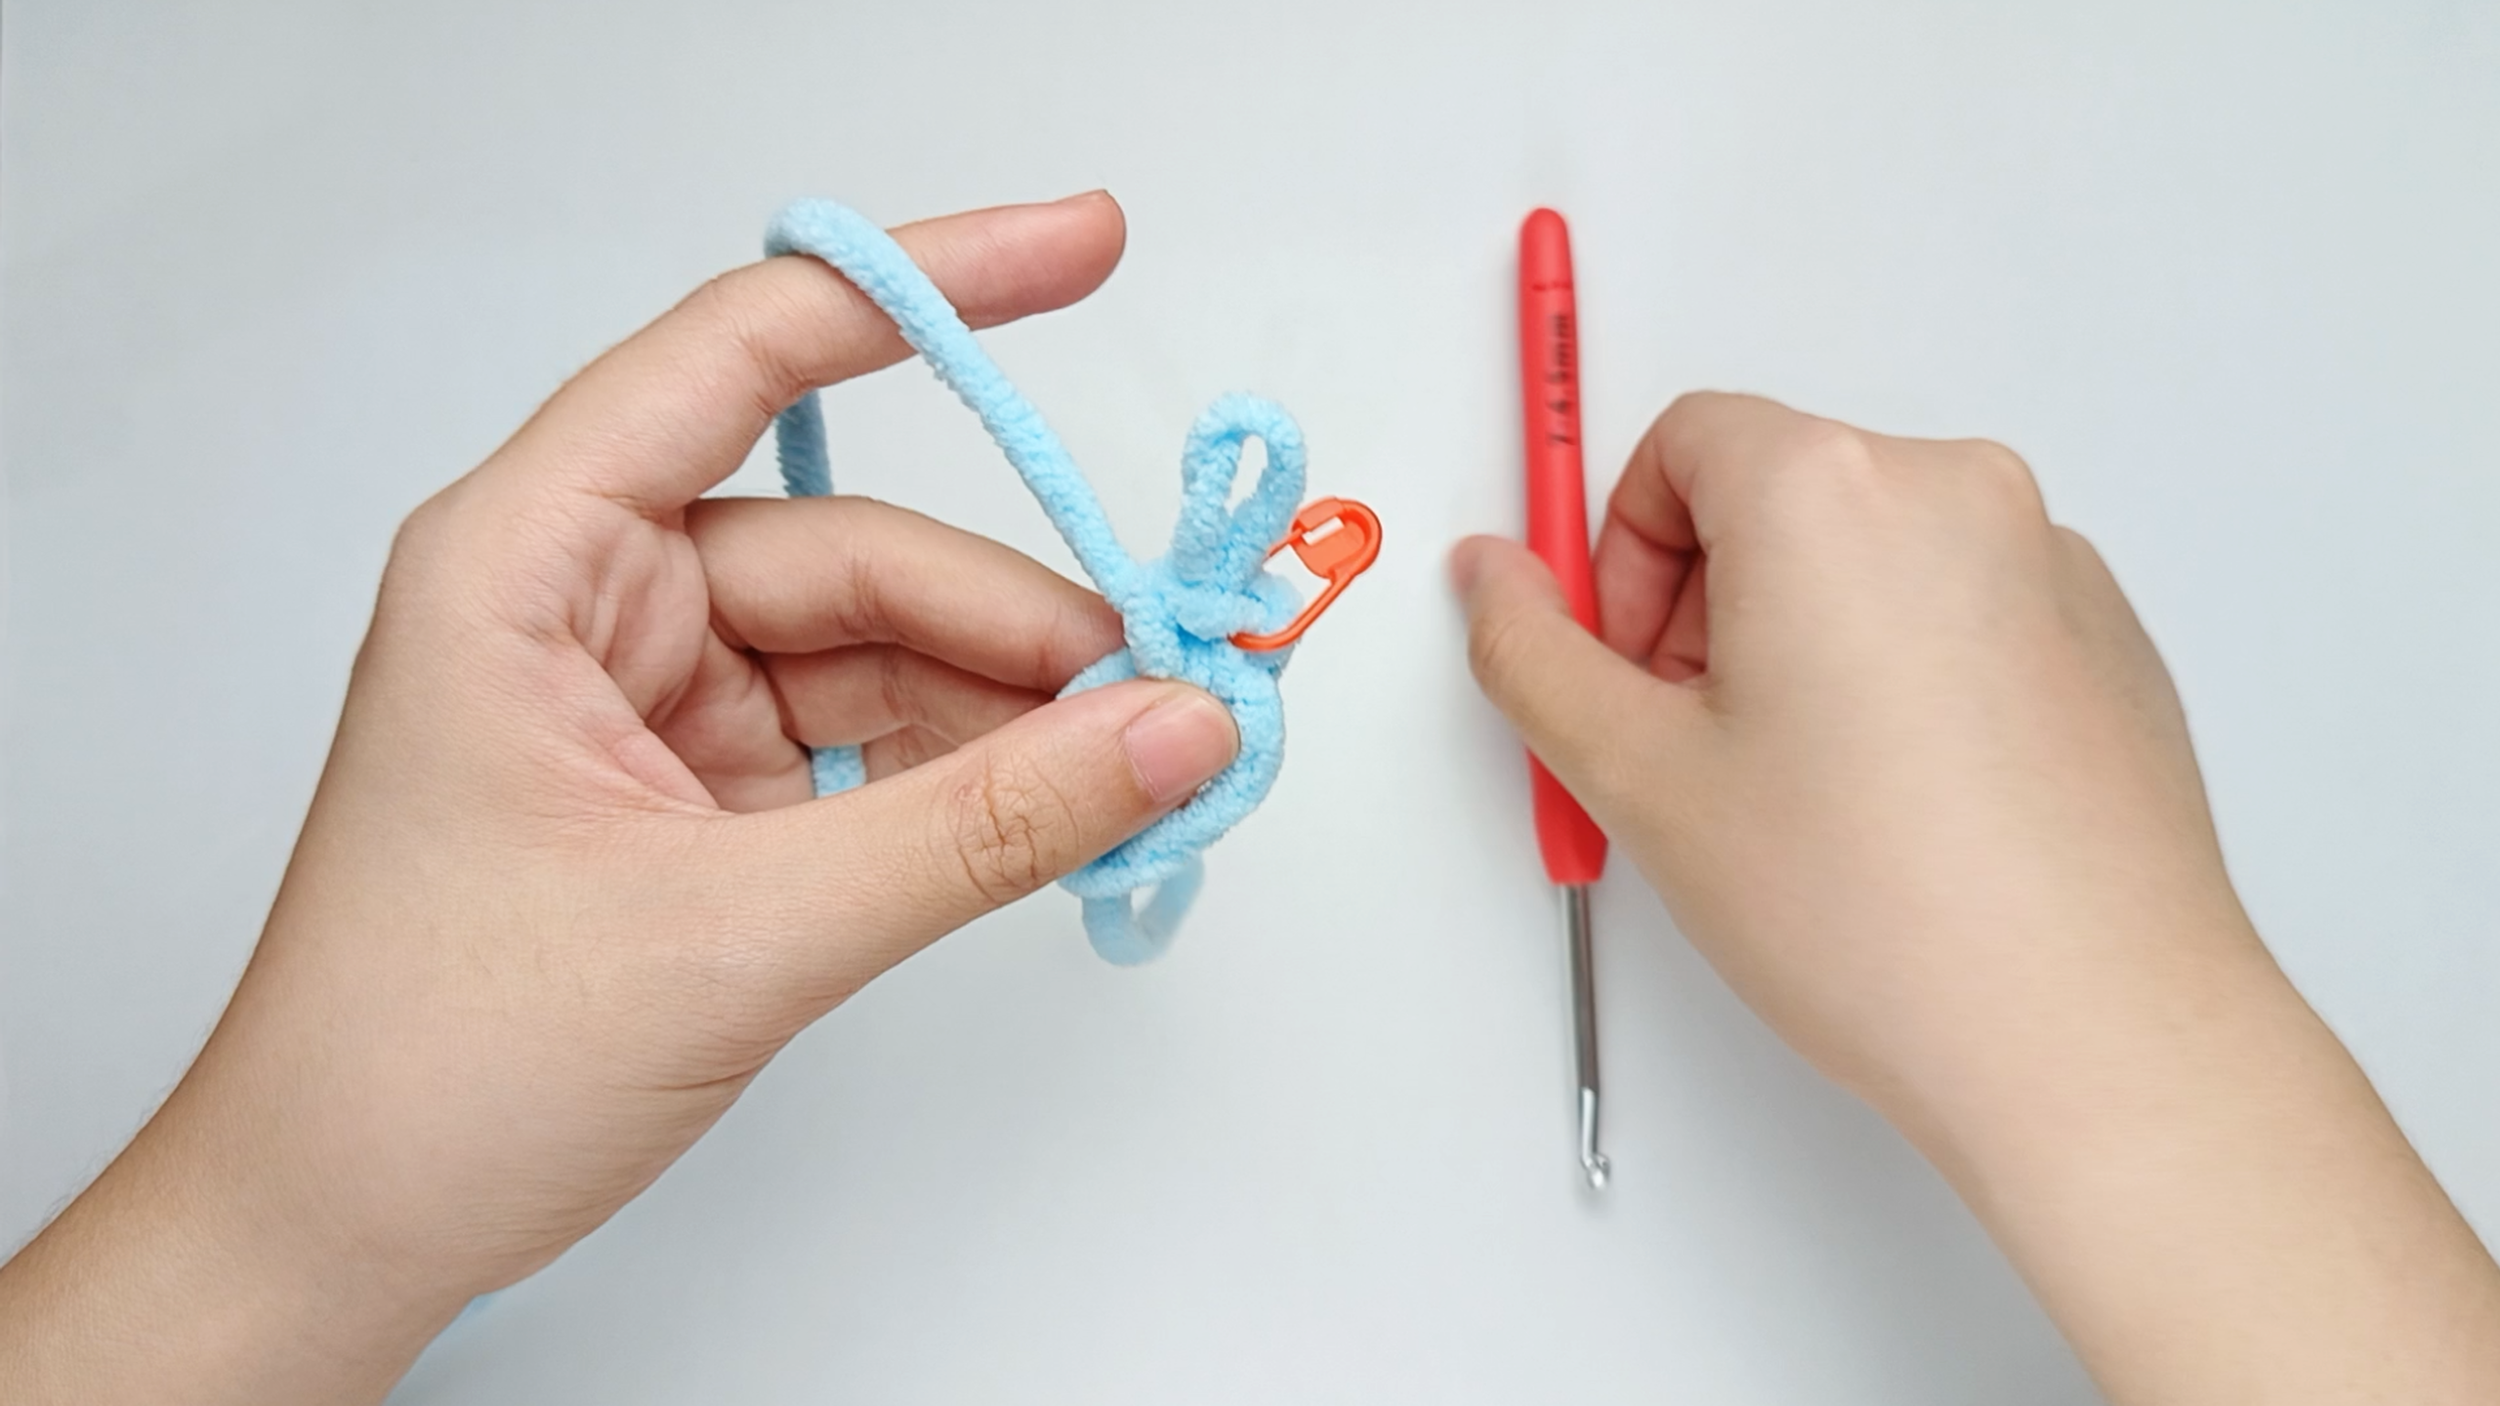
Mark the first stitch:
Remove your hook for a moment, and use the stitch marker to mark this first stitch.
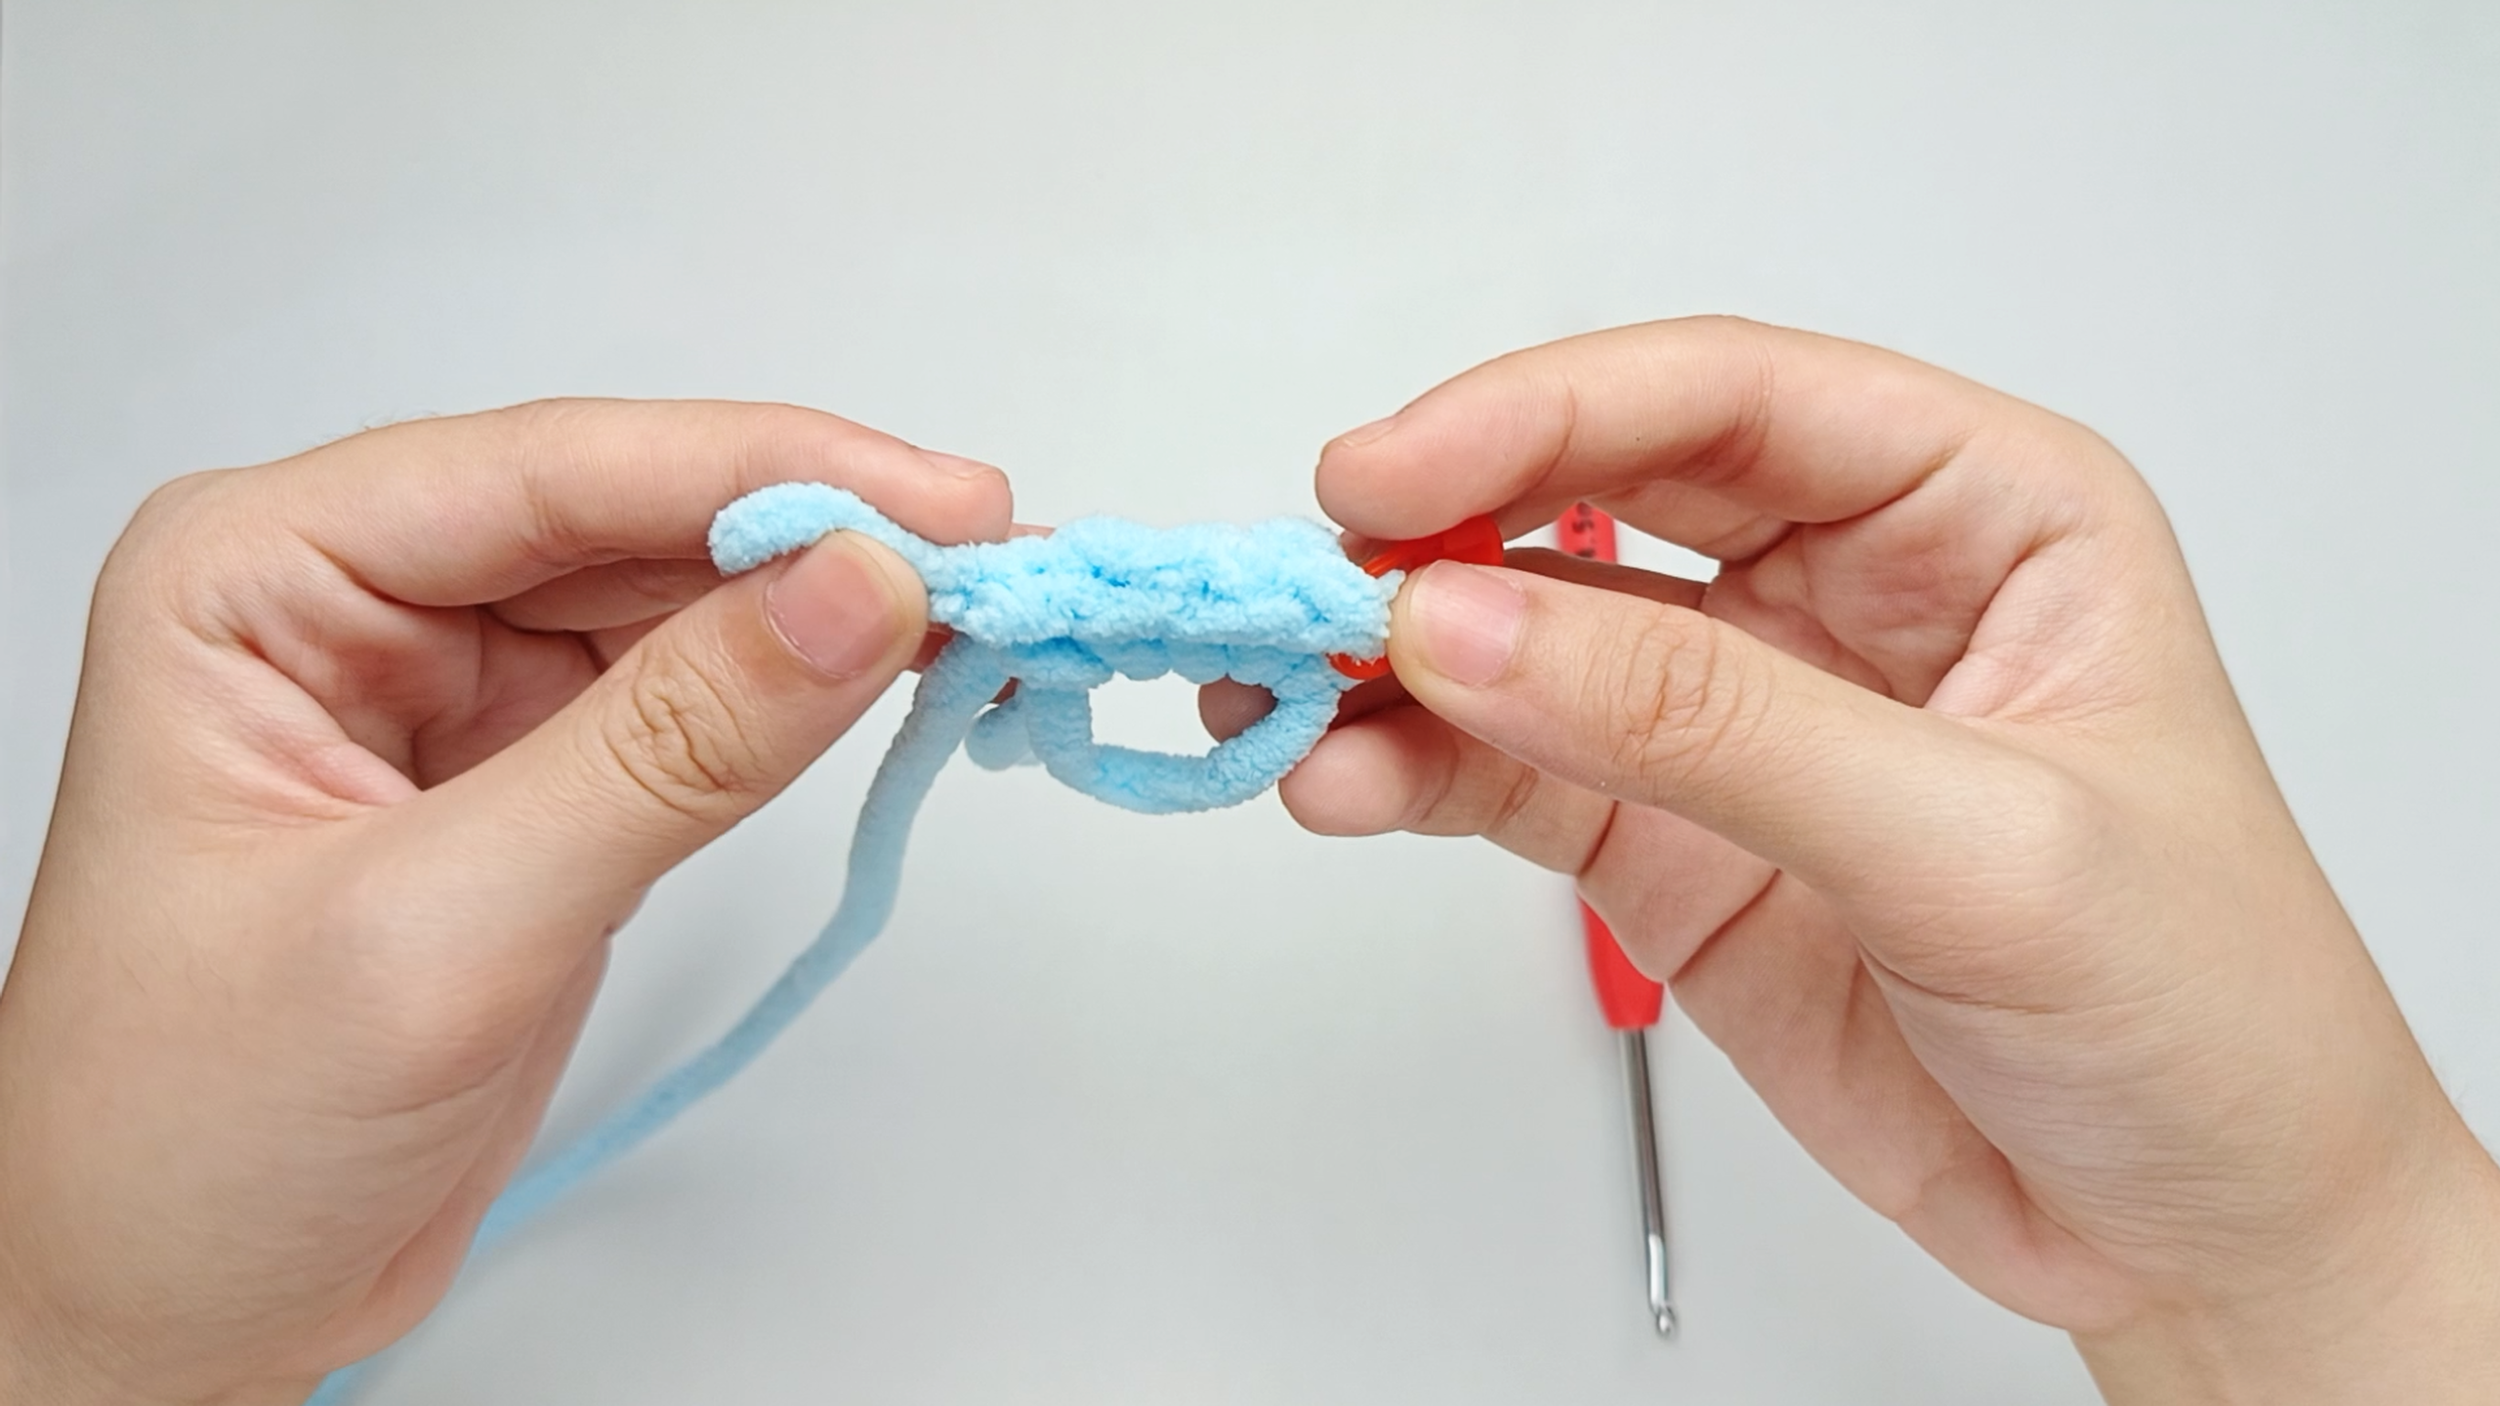
Make all your stitches:
Repeat 1 single crochet (sc) 3 more times into the center of the ring. There should be 4 stitches in total.
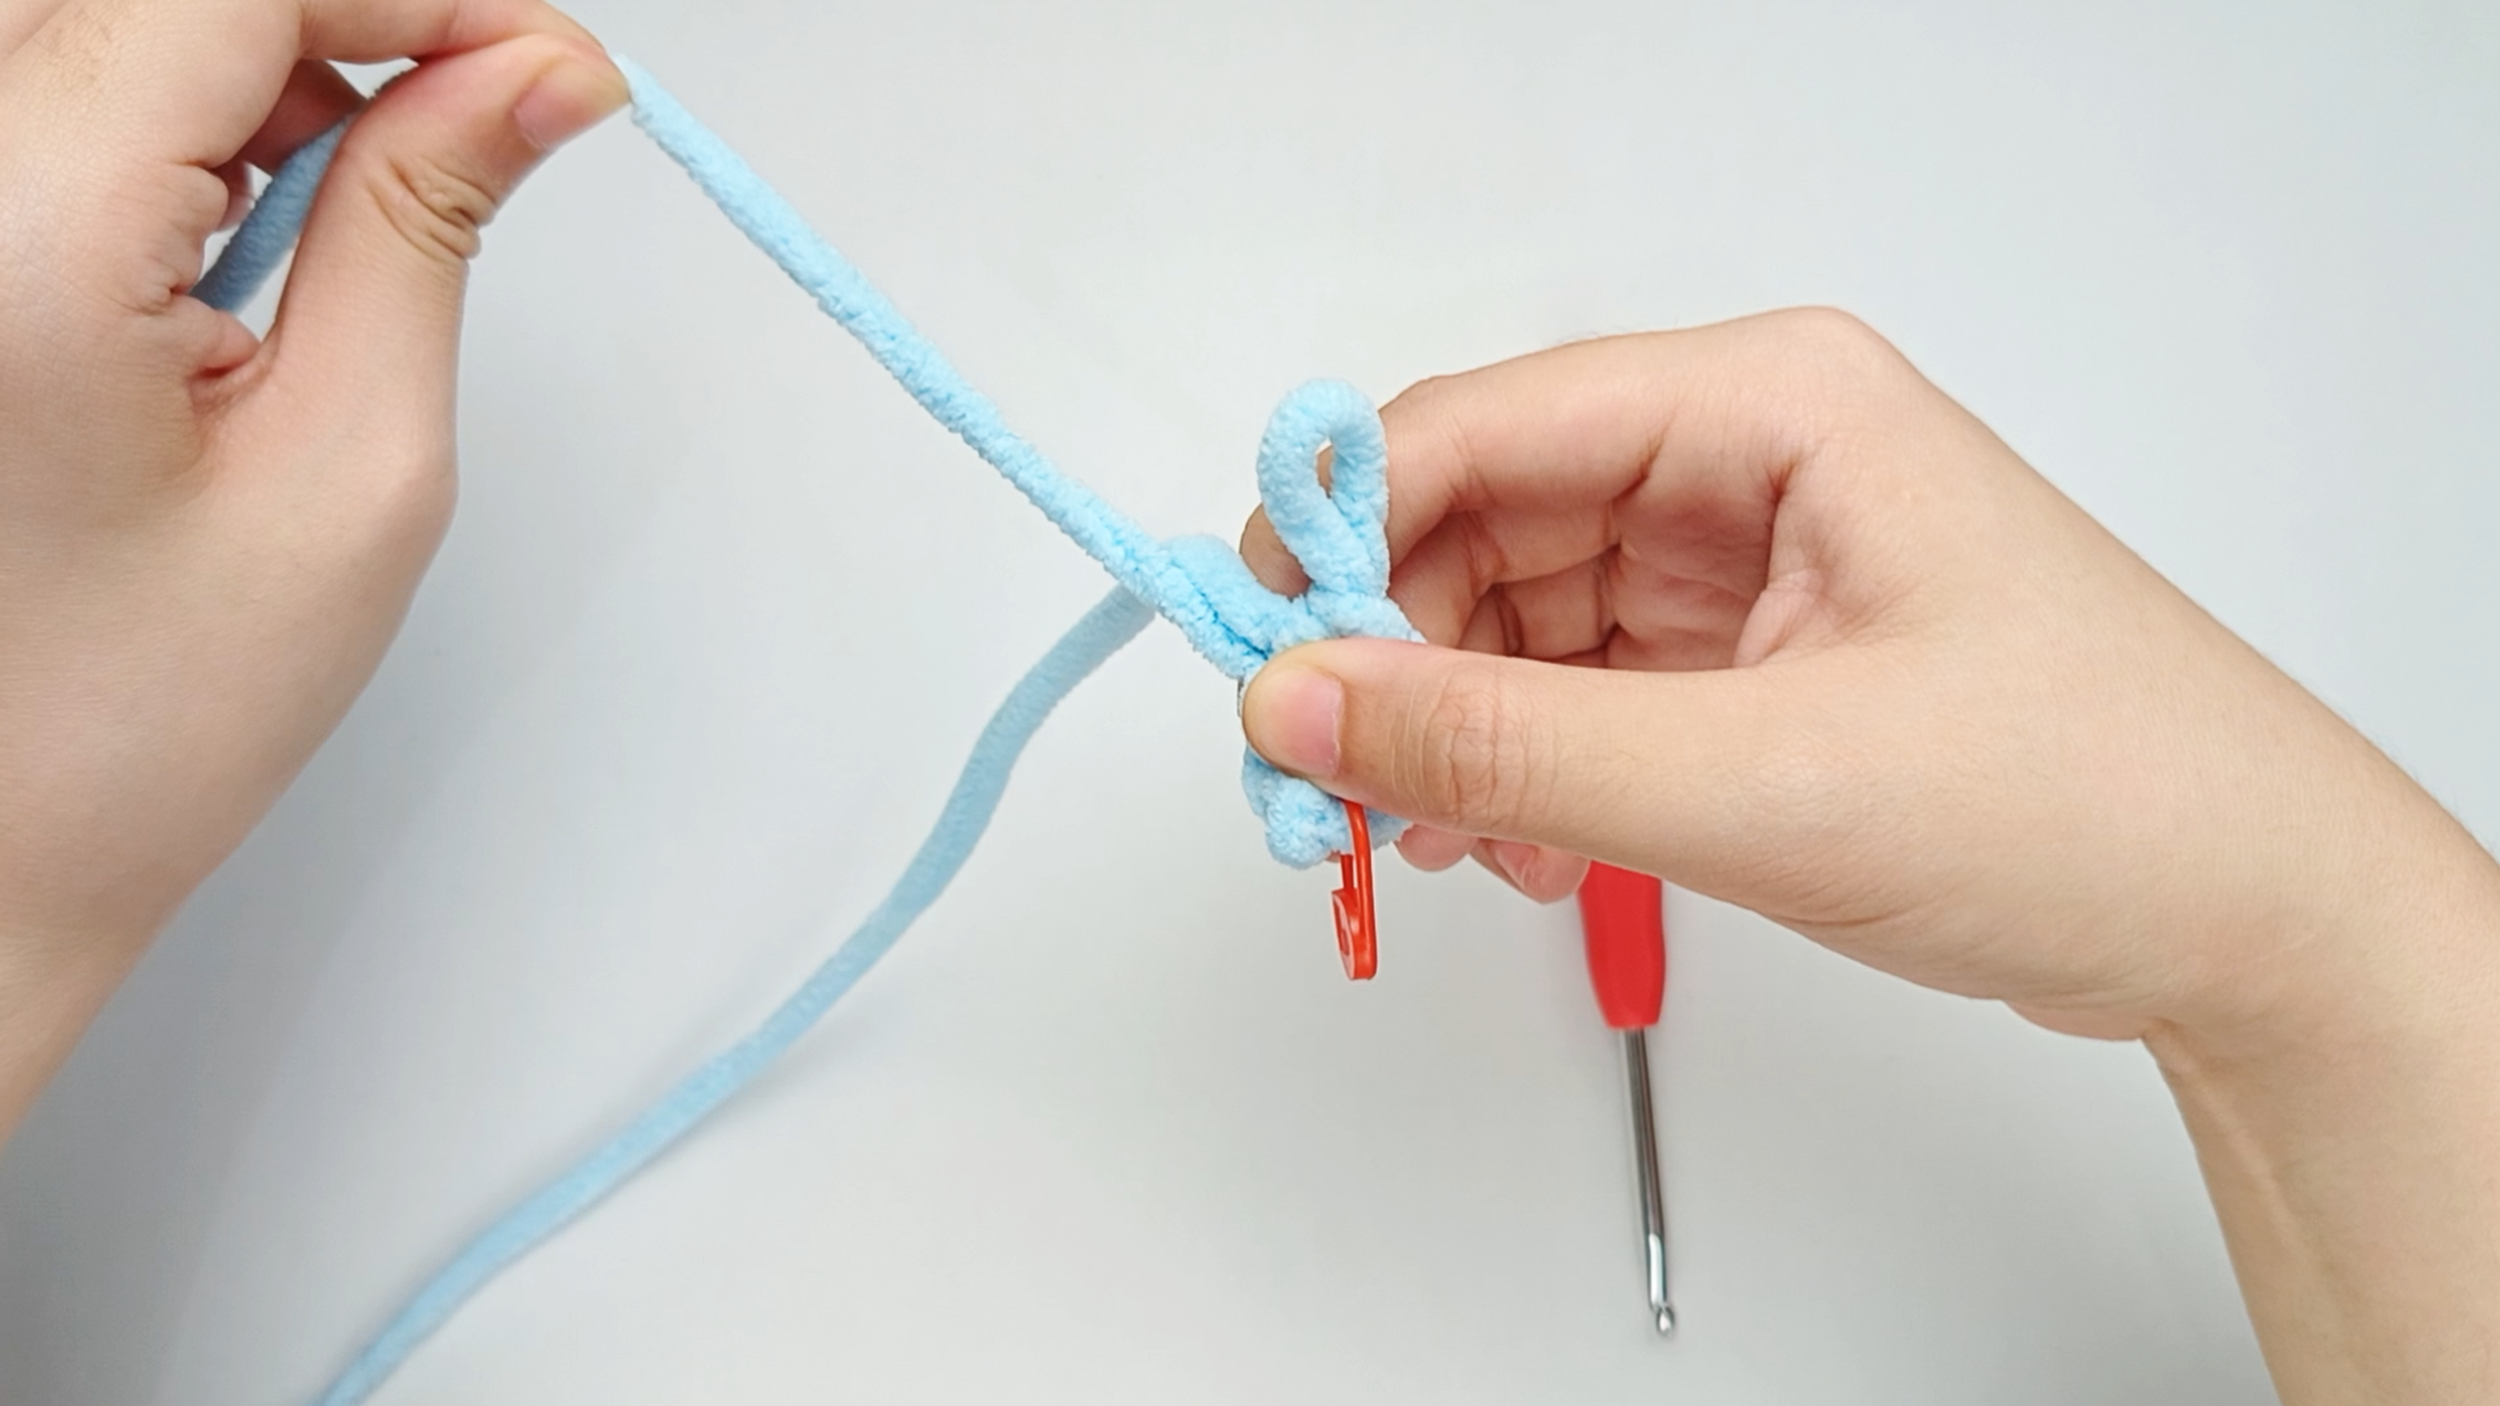
Close the center:
When all your stitches are done, put the hook down.
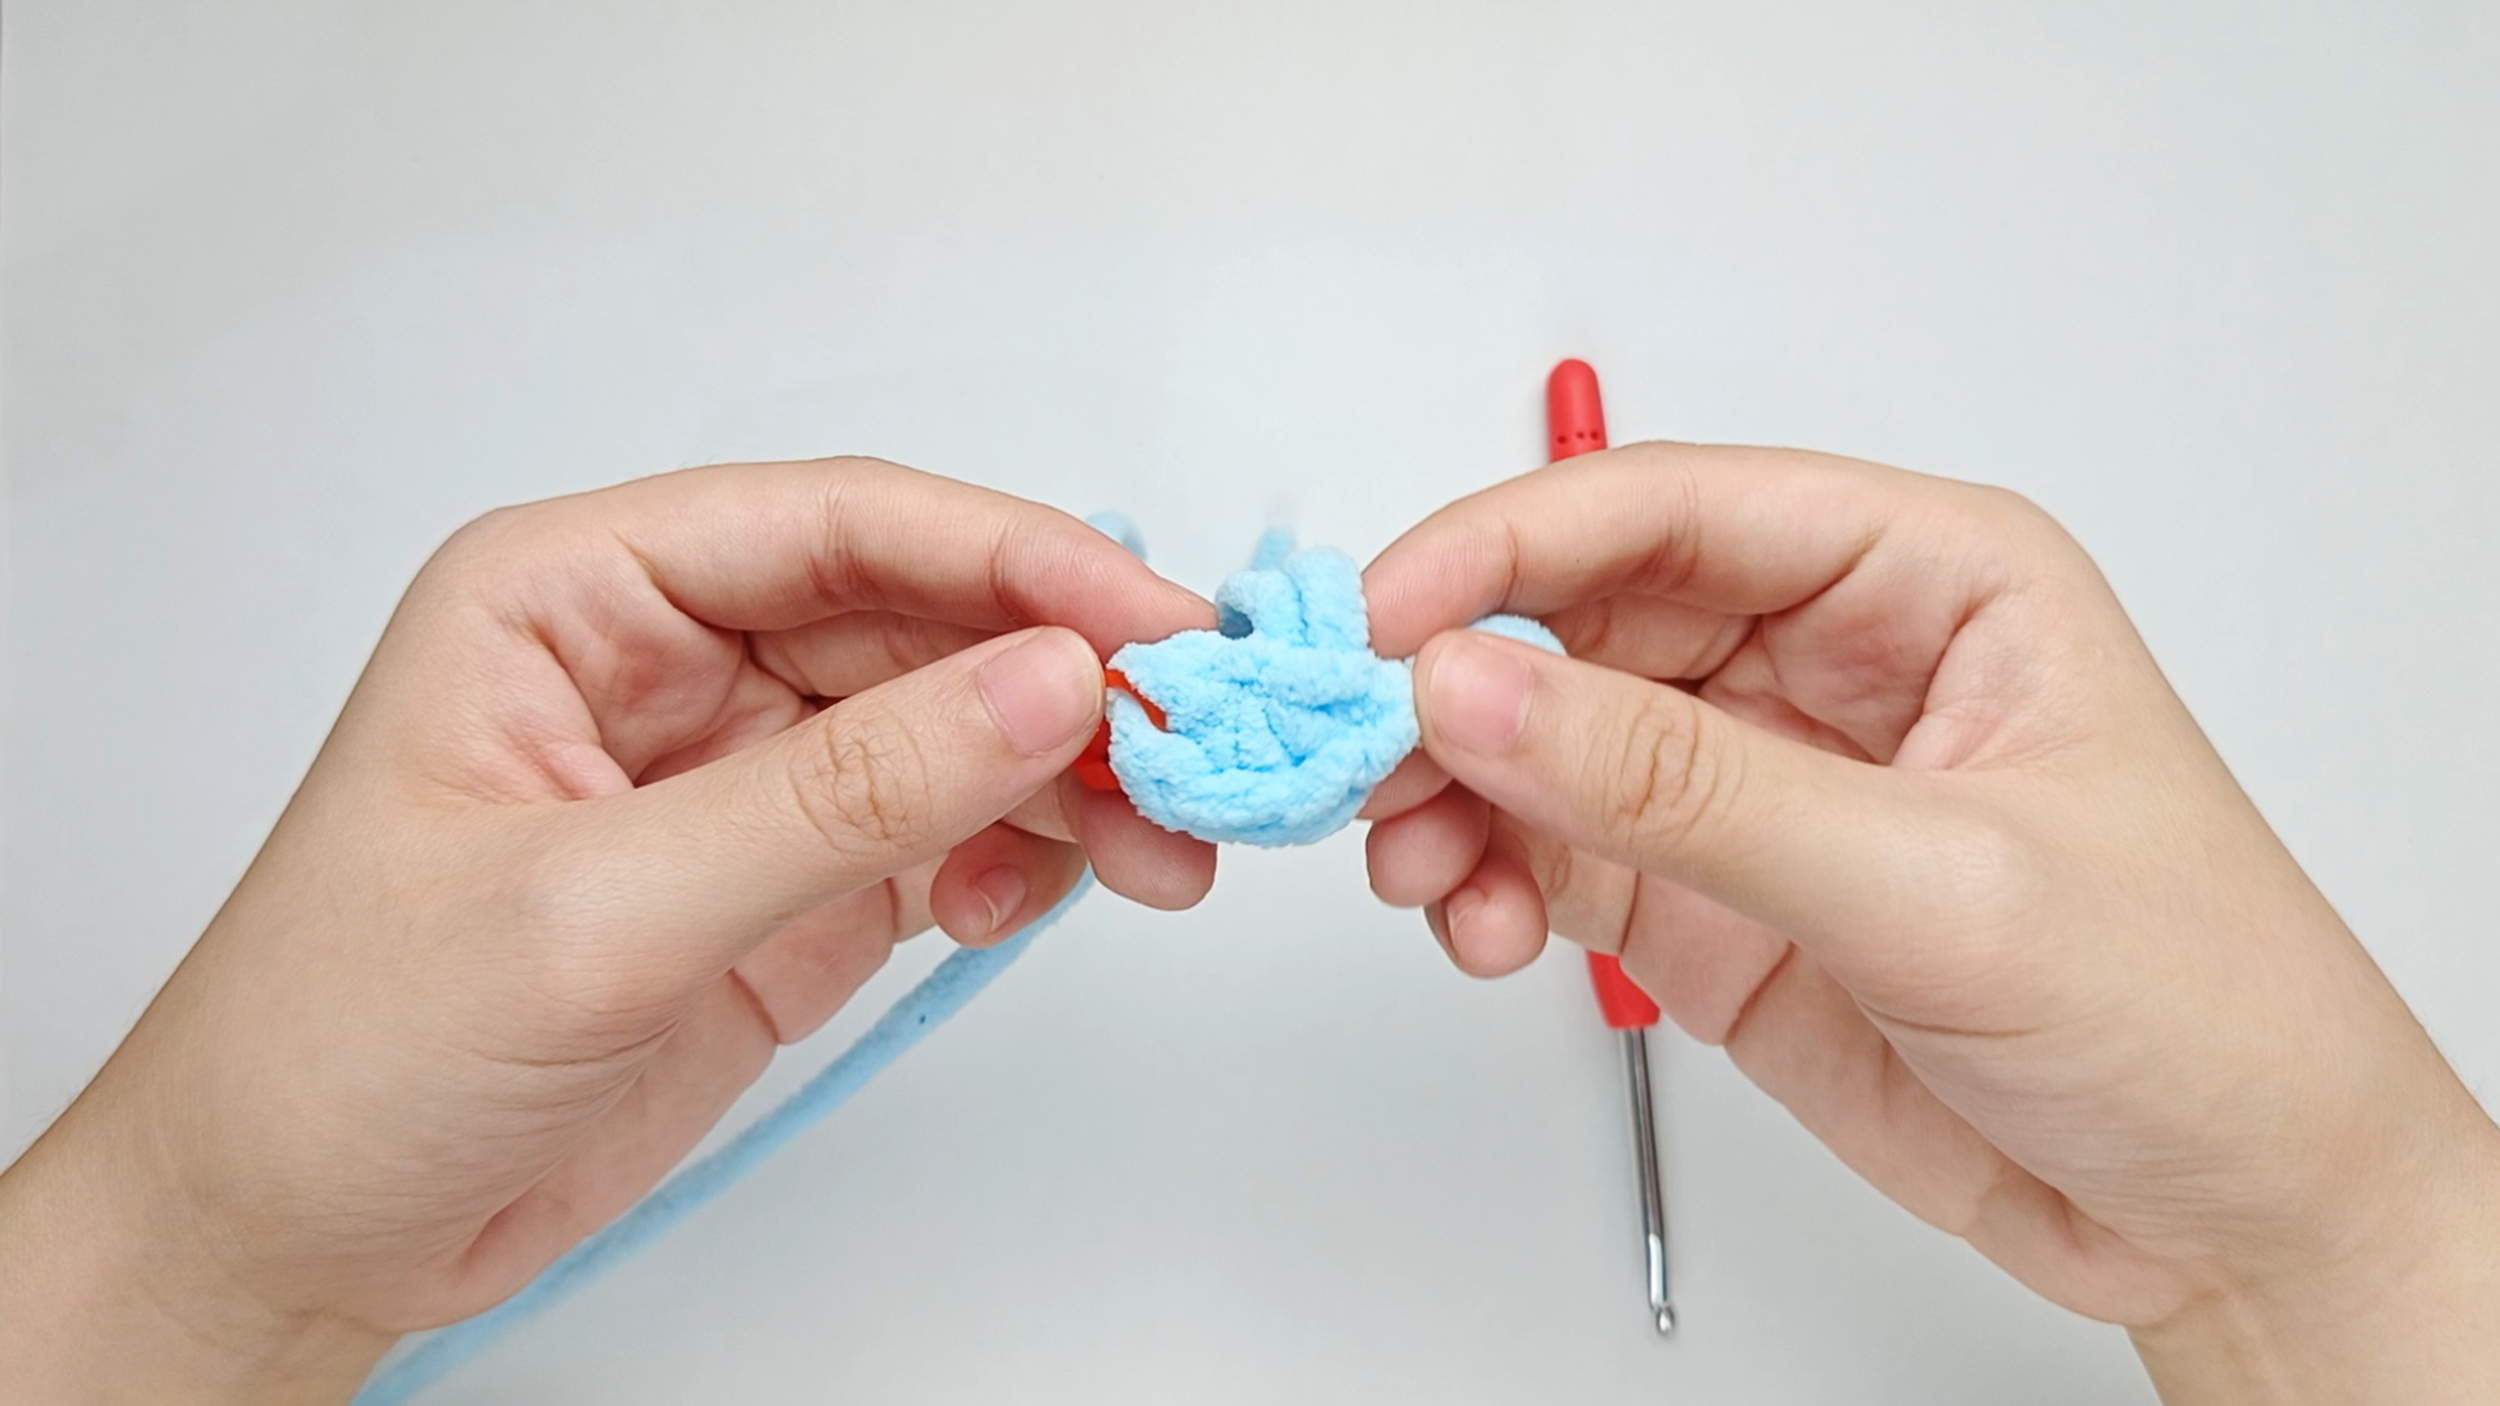
Closed magic ring (MR):
Done right, it closes with no visible hole, giving you a smooth, even foundation. Round 1 is completed.
Finishing Off the Nose
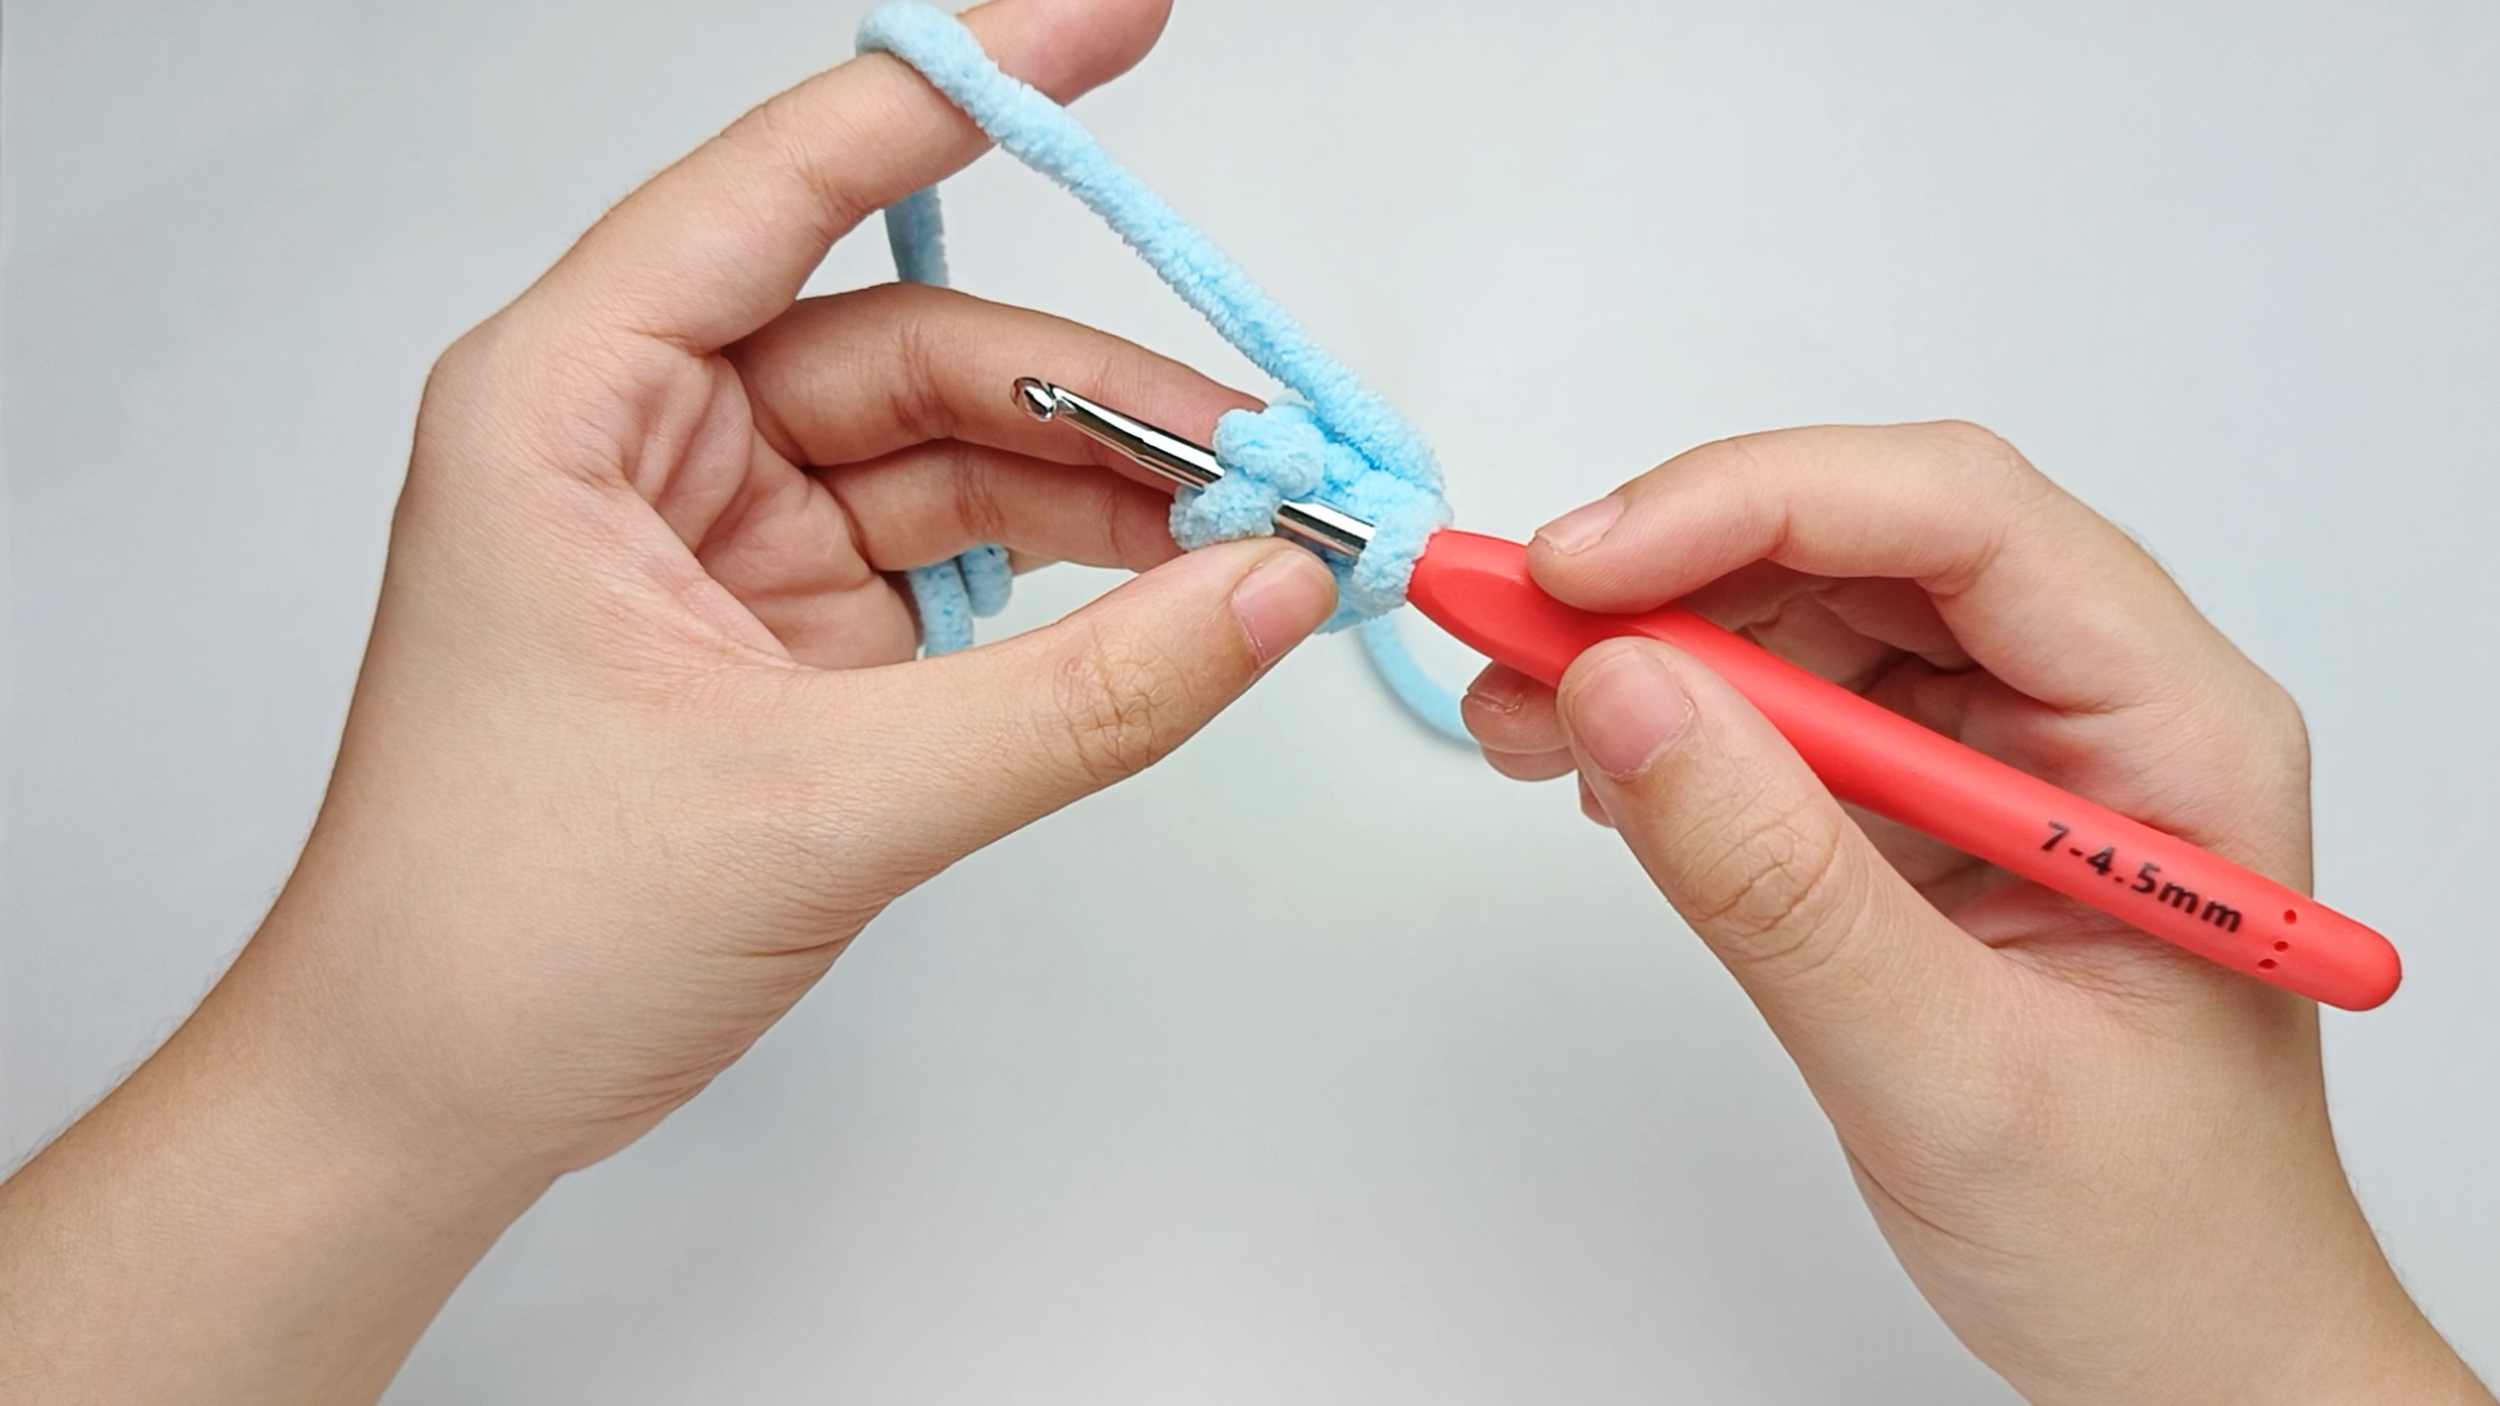
Hook back in:
Insert your hook into that marked stitch. Remove the stitch marker so the stitch is easier to work into.
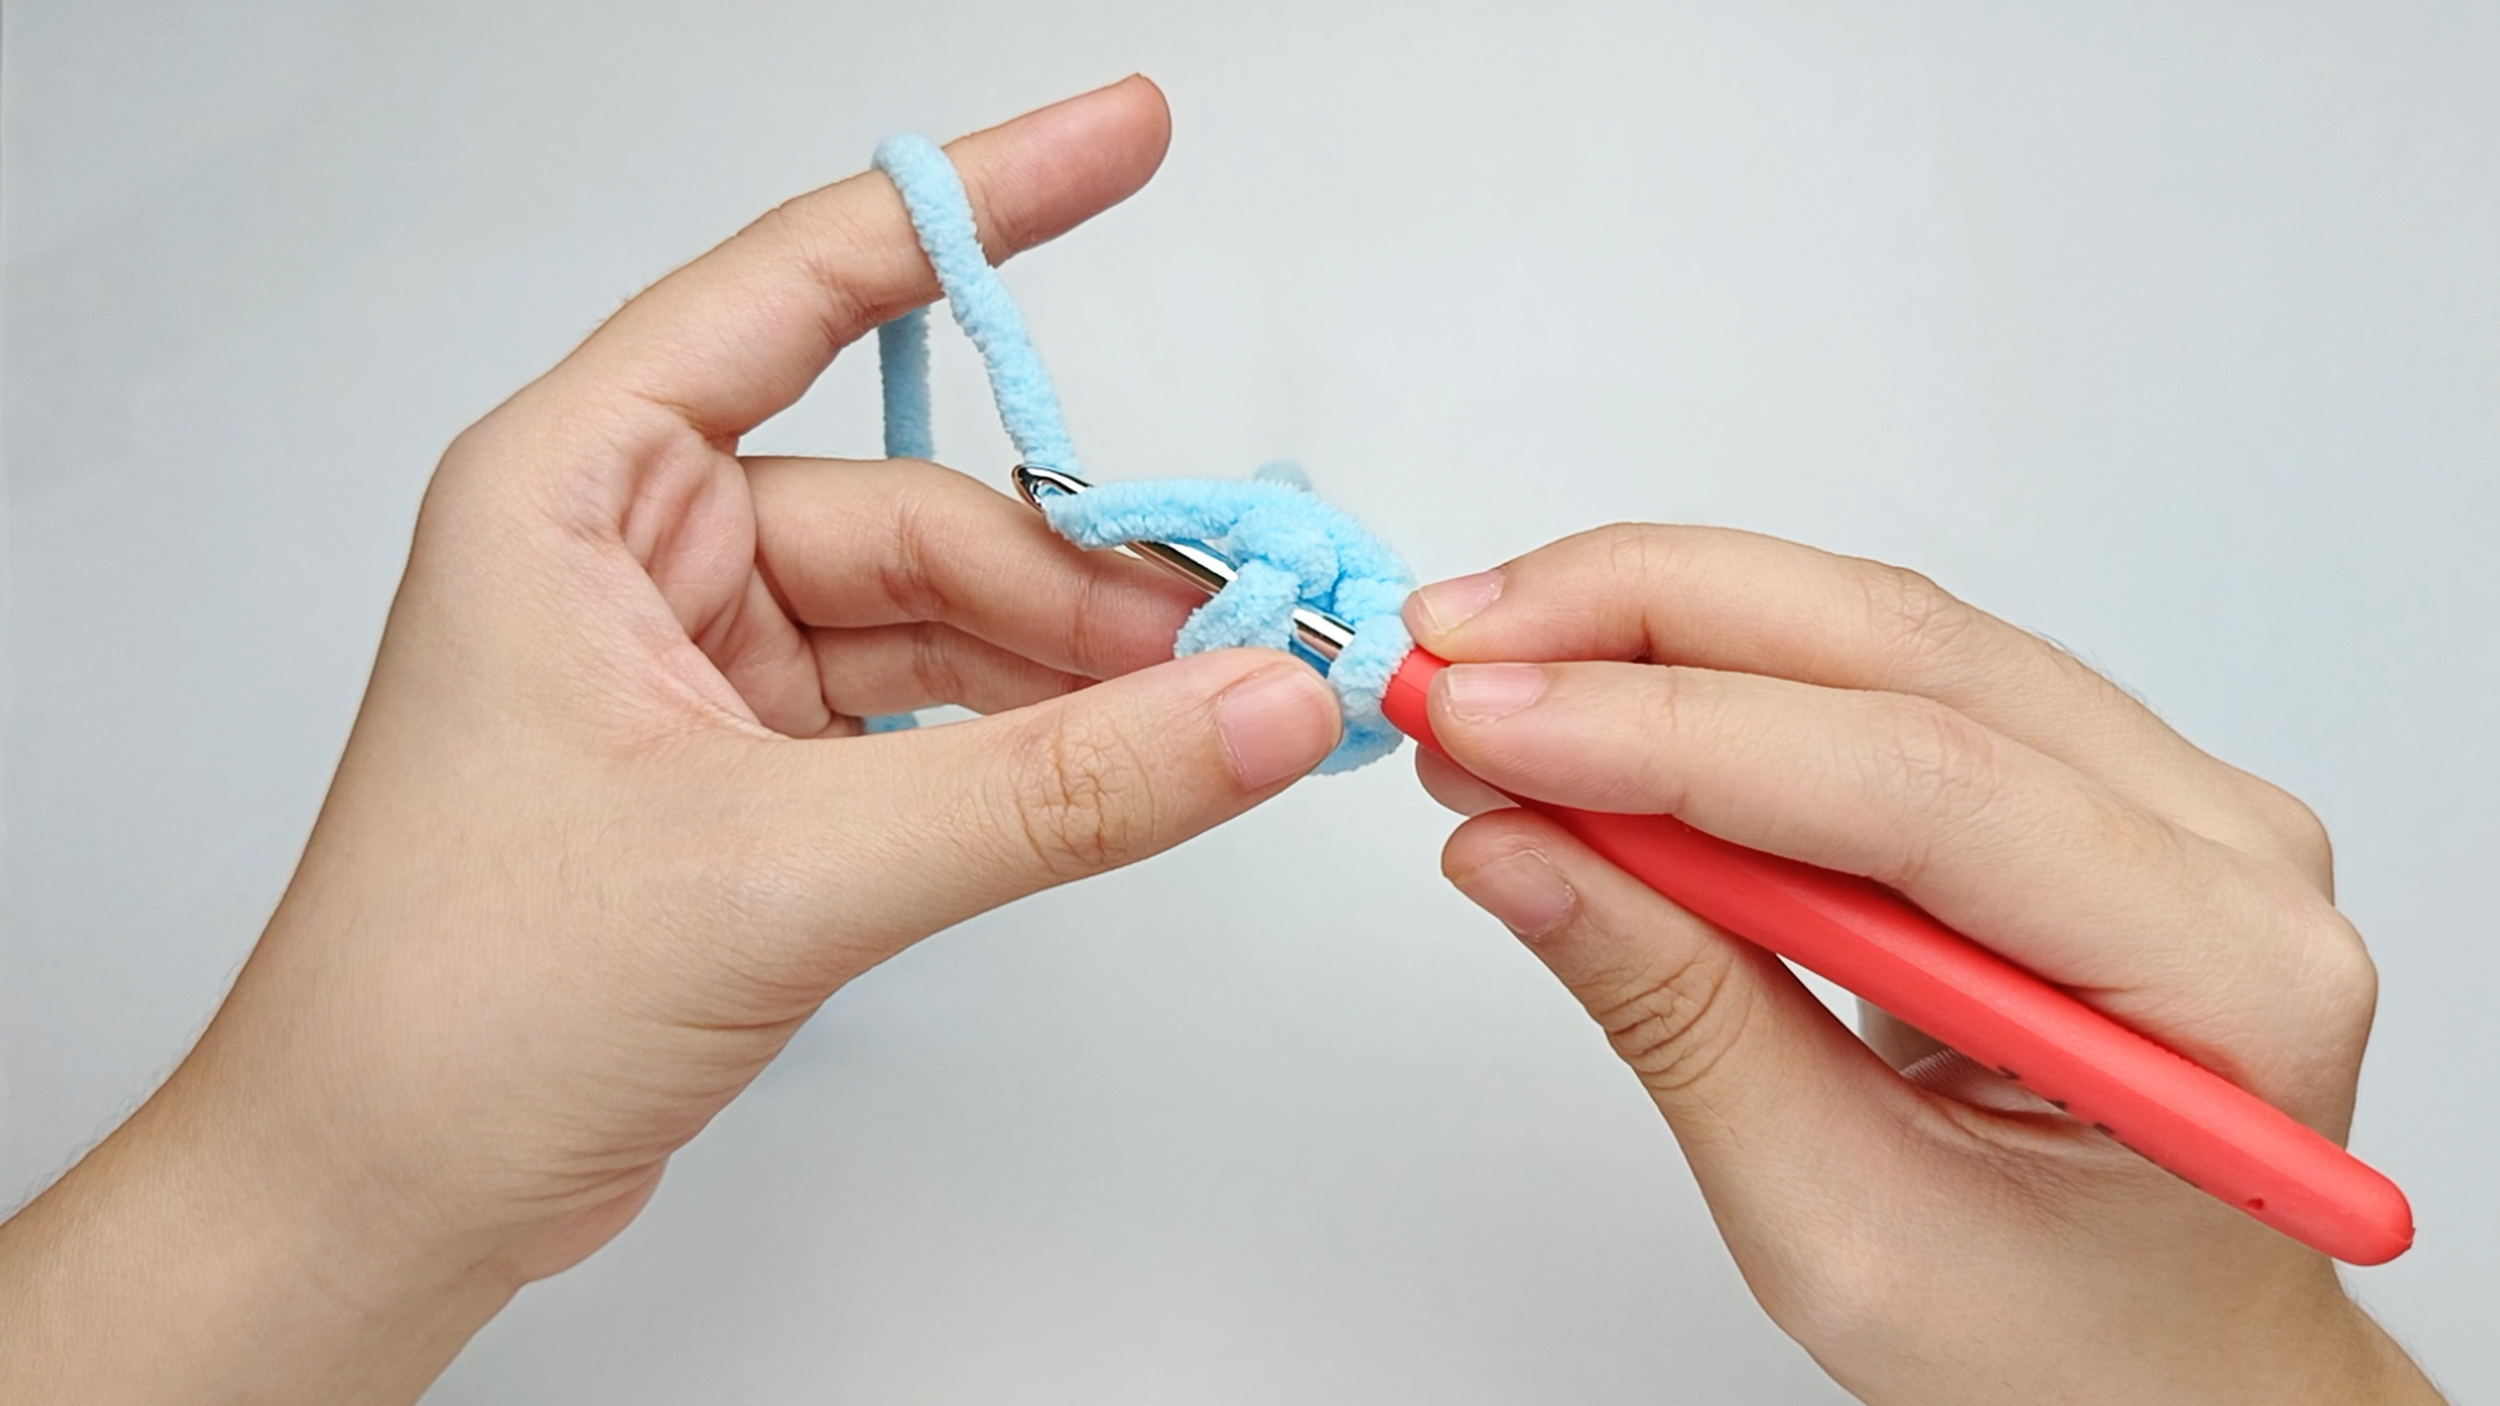
Make a slip stitch (sl st):
Start with yarn over. Bring your hook down, behind the yarn, and up again so the yarn wraps around it.
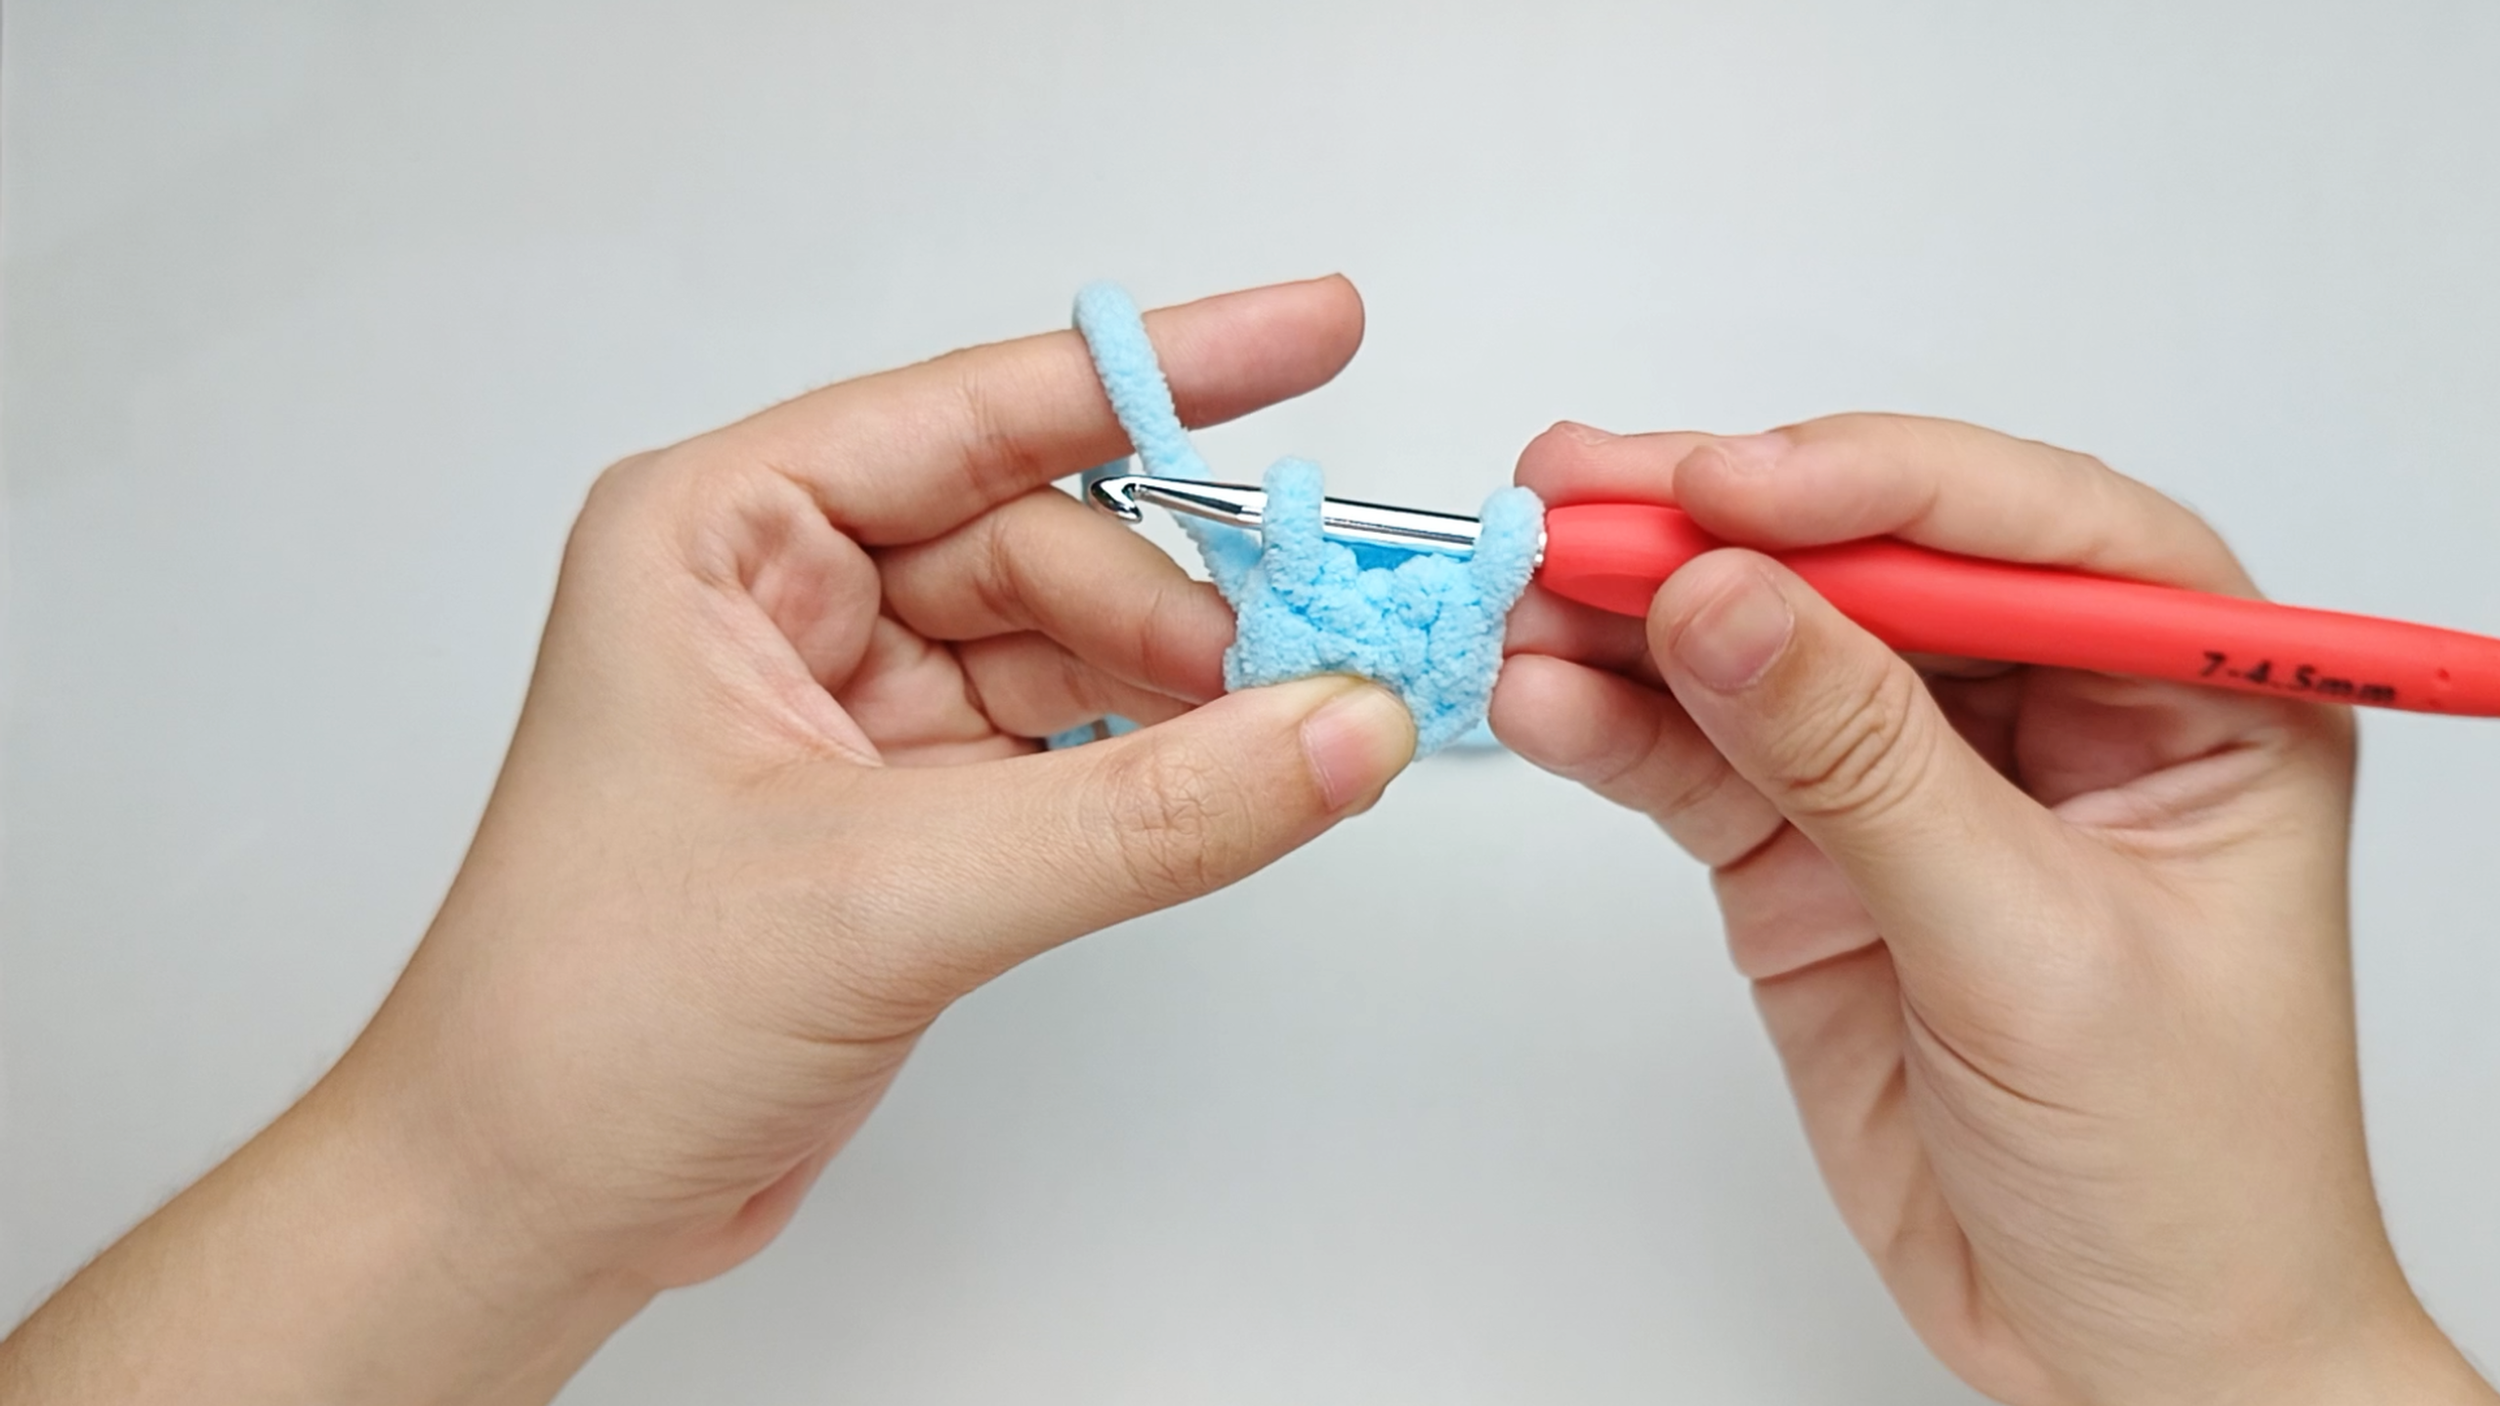
Pull through the stitch:
Pull the yarn through the stitch. You should now have two loops on your hook.
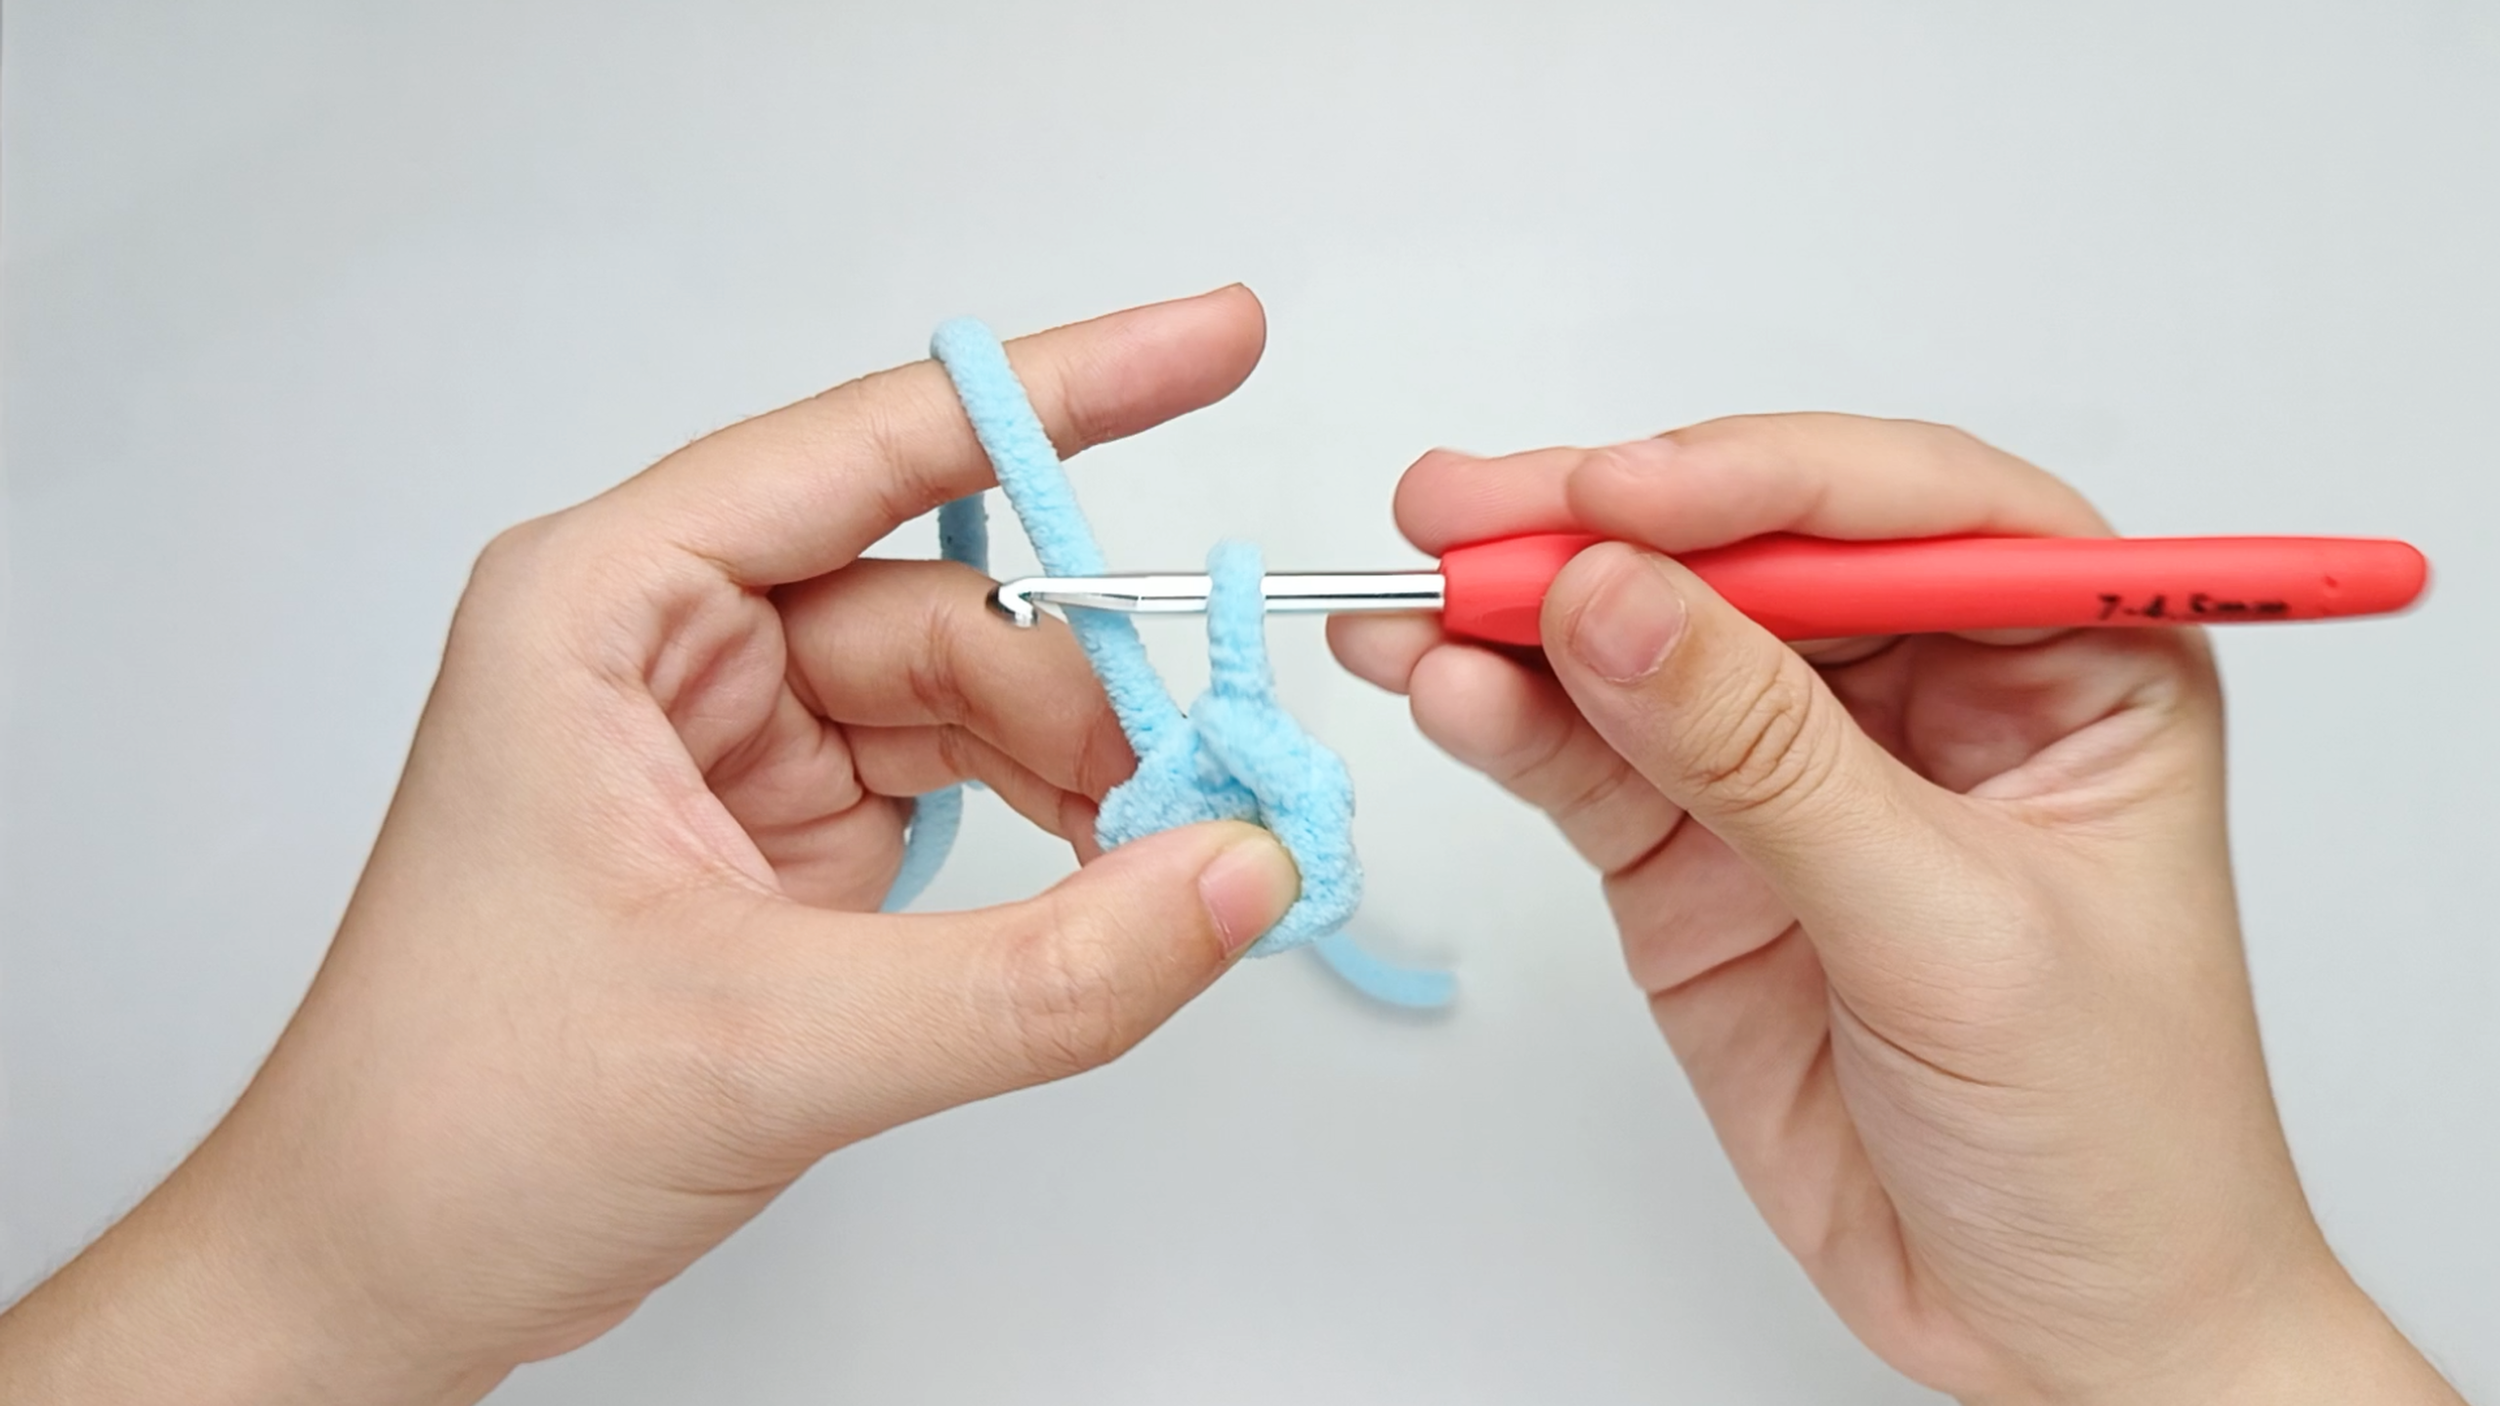
Pull through the new loop:
Pull the new loop through the other one on your hook. You should now have one loop left - and that completes one slip stitch (sl st).
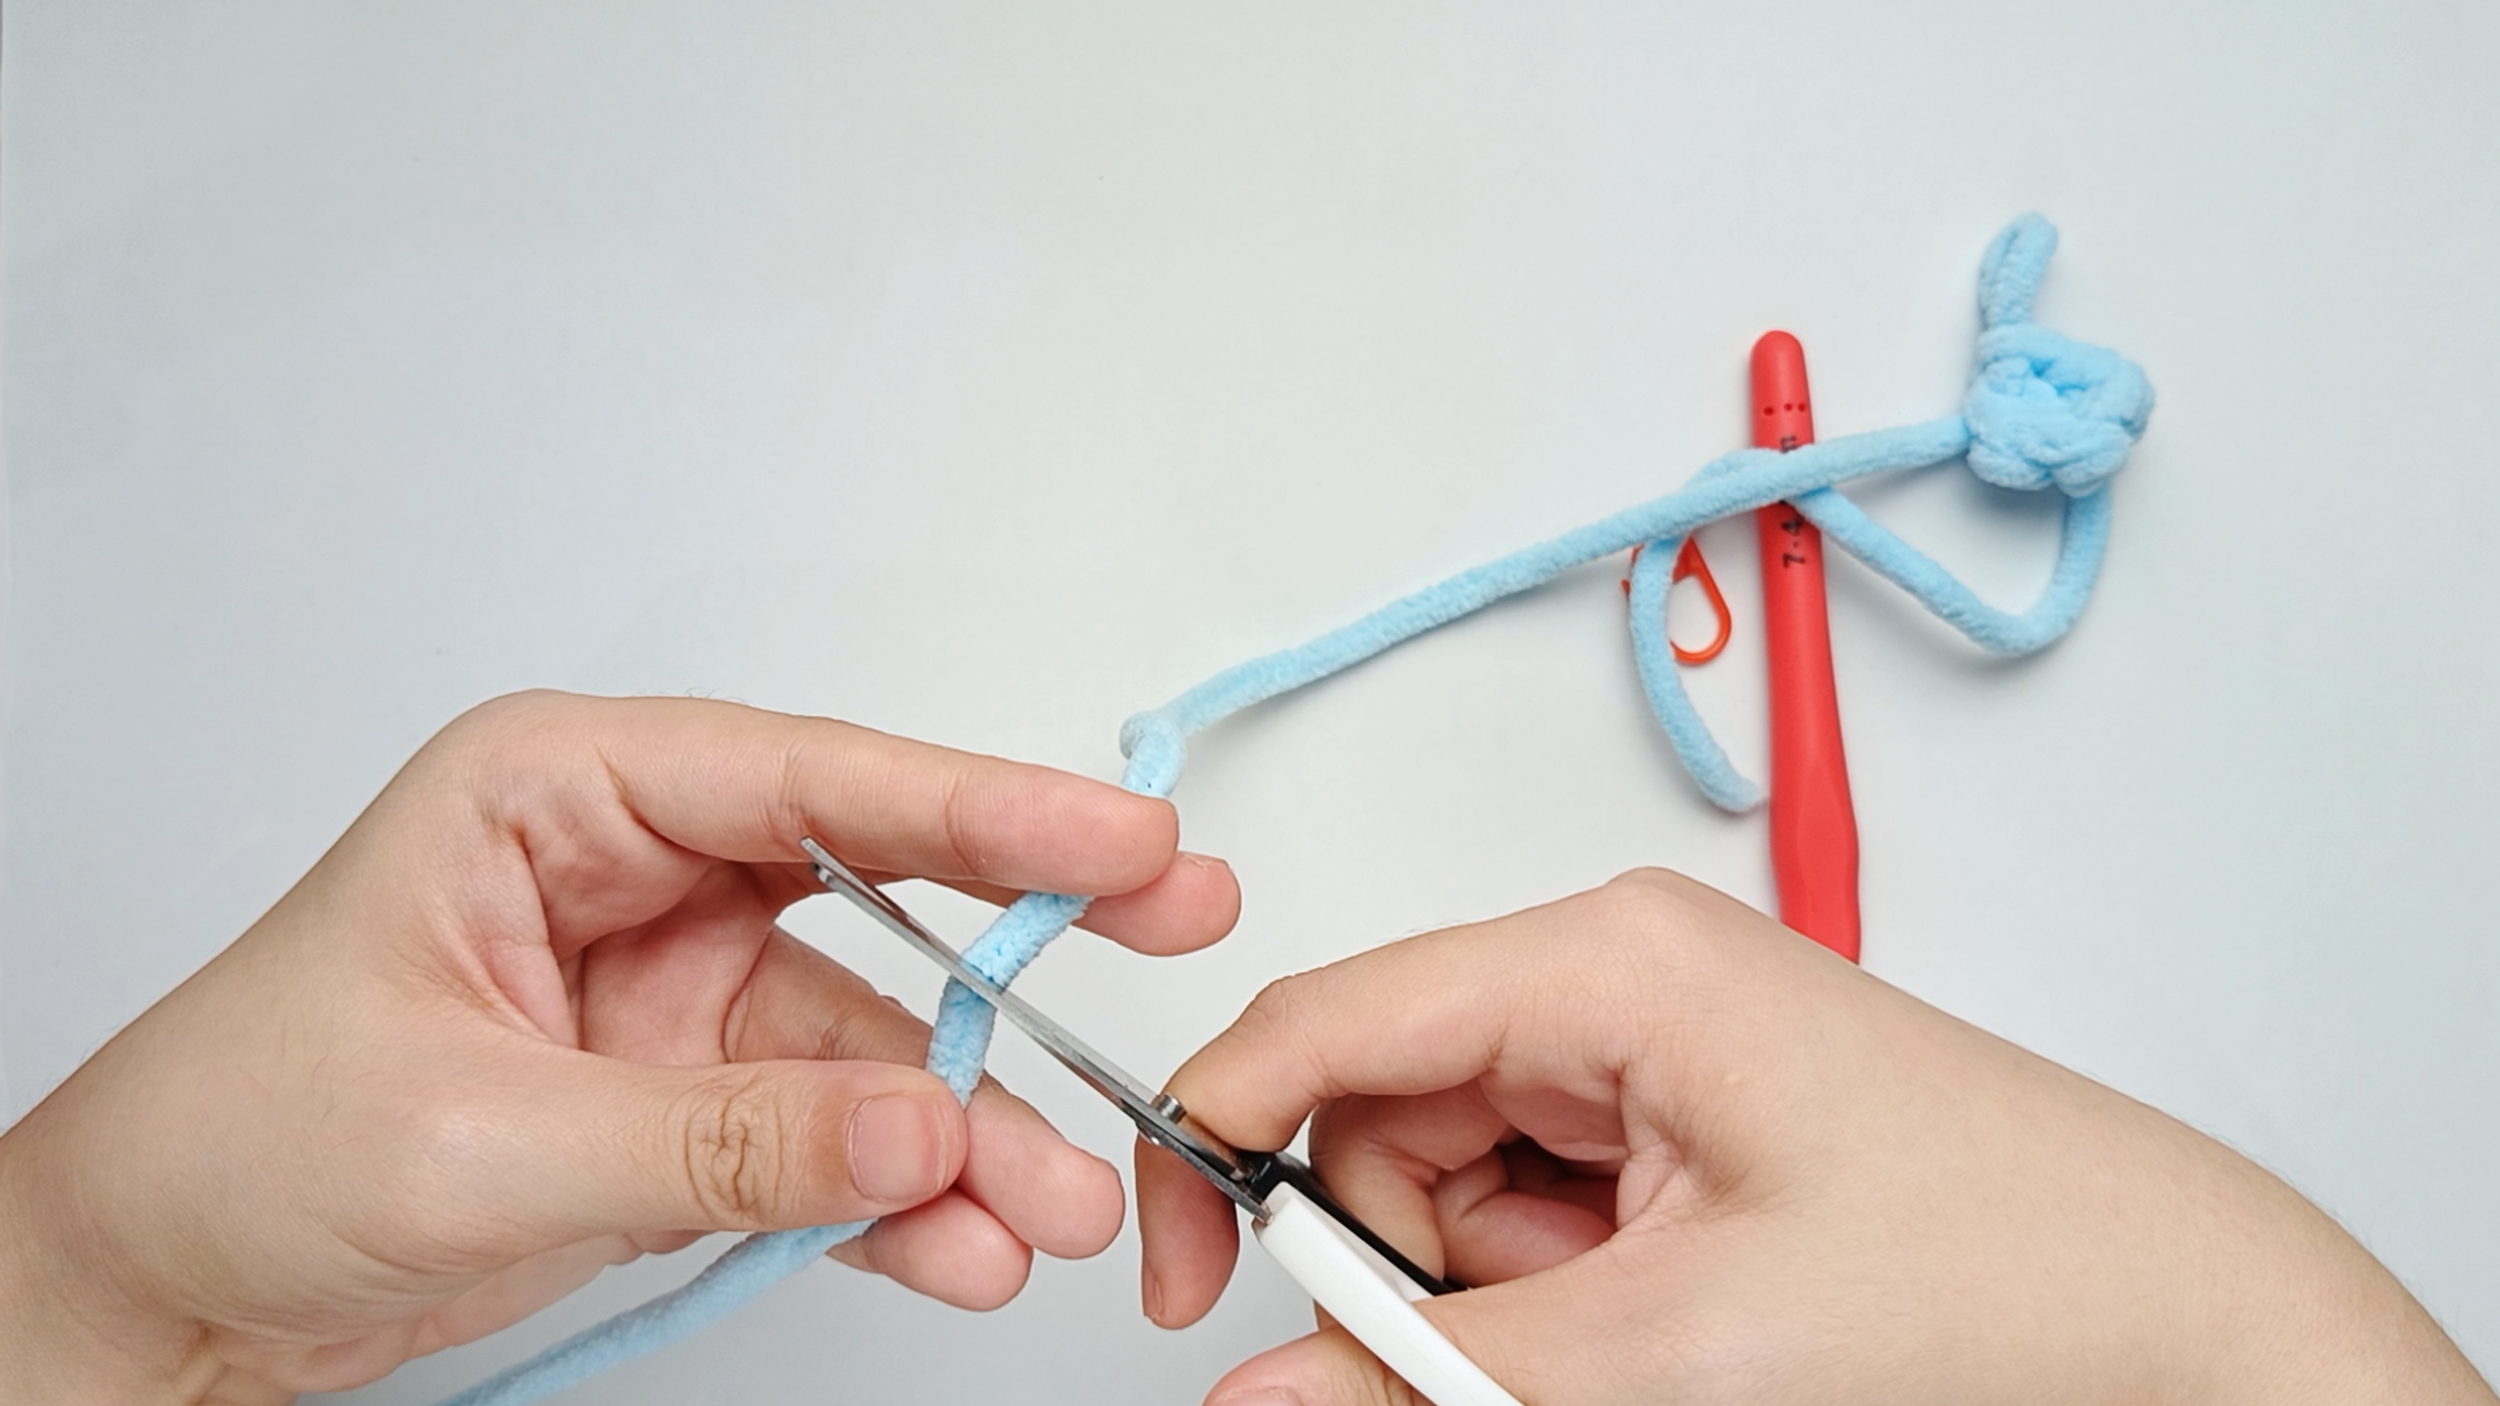
Cut the yarn, leaving about a 6-inch tail. You’ll use this yarn tail later to sew the Nose onto the Body.
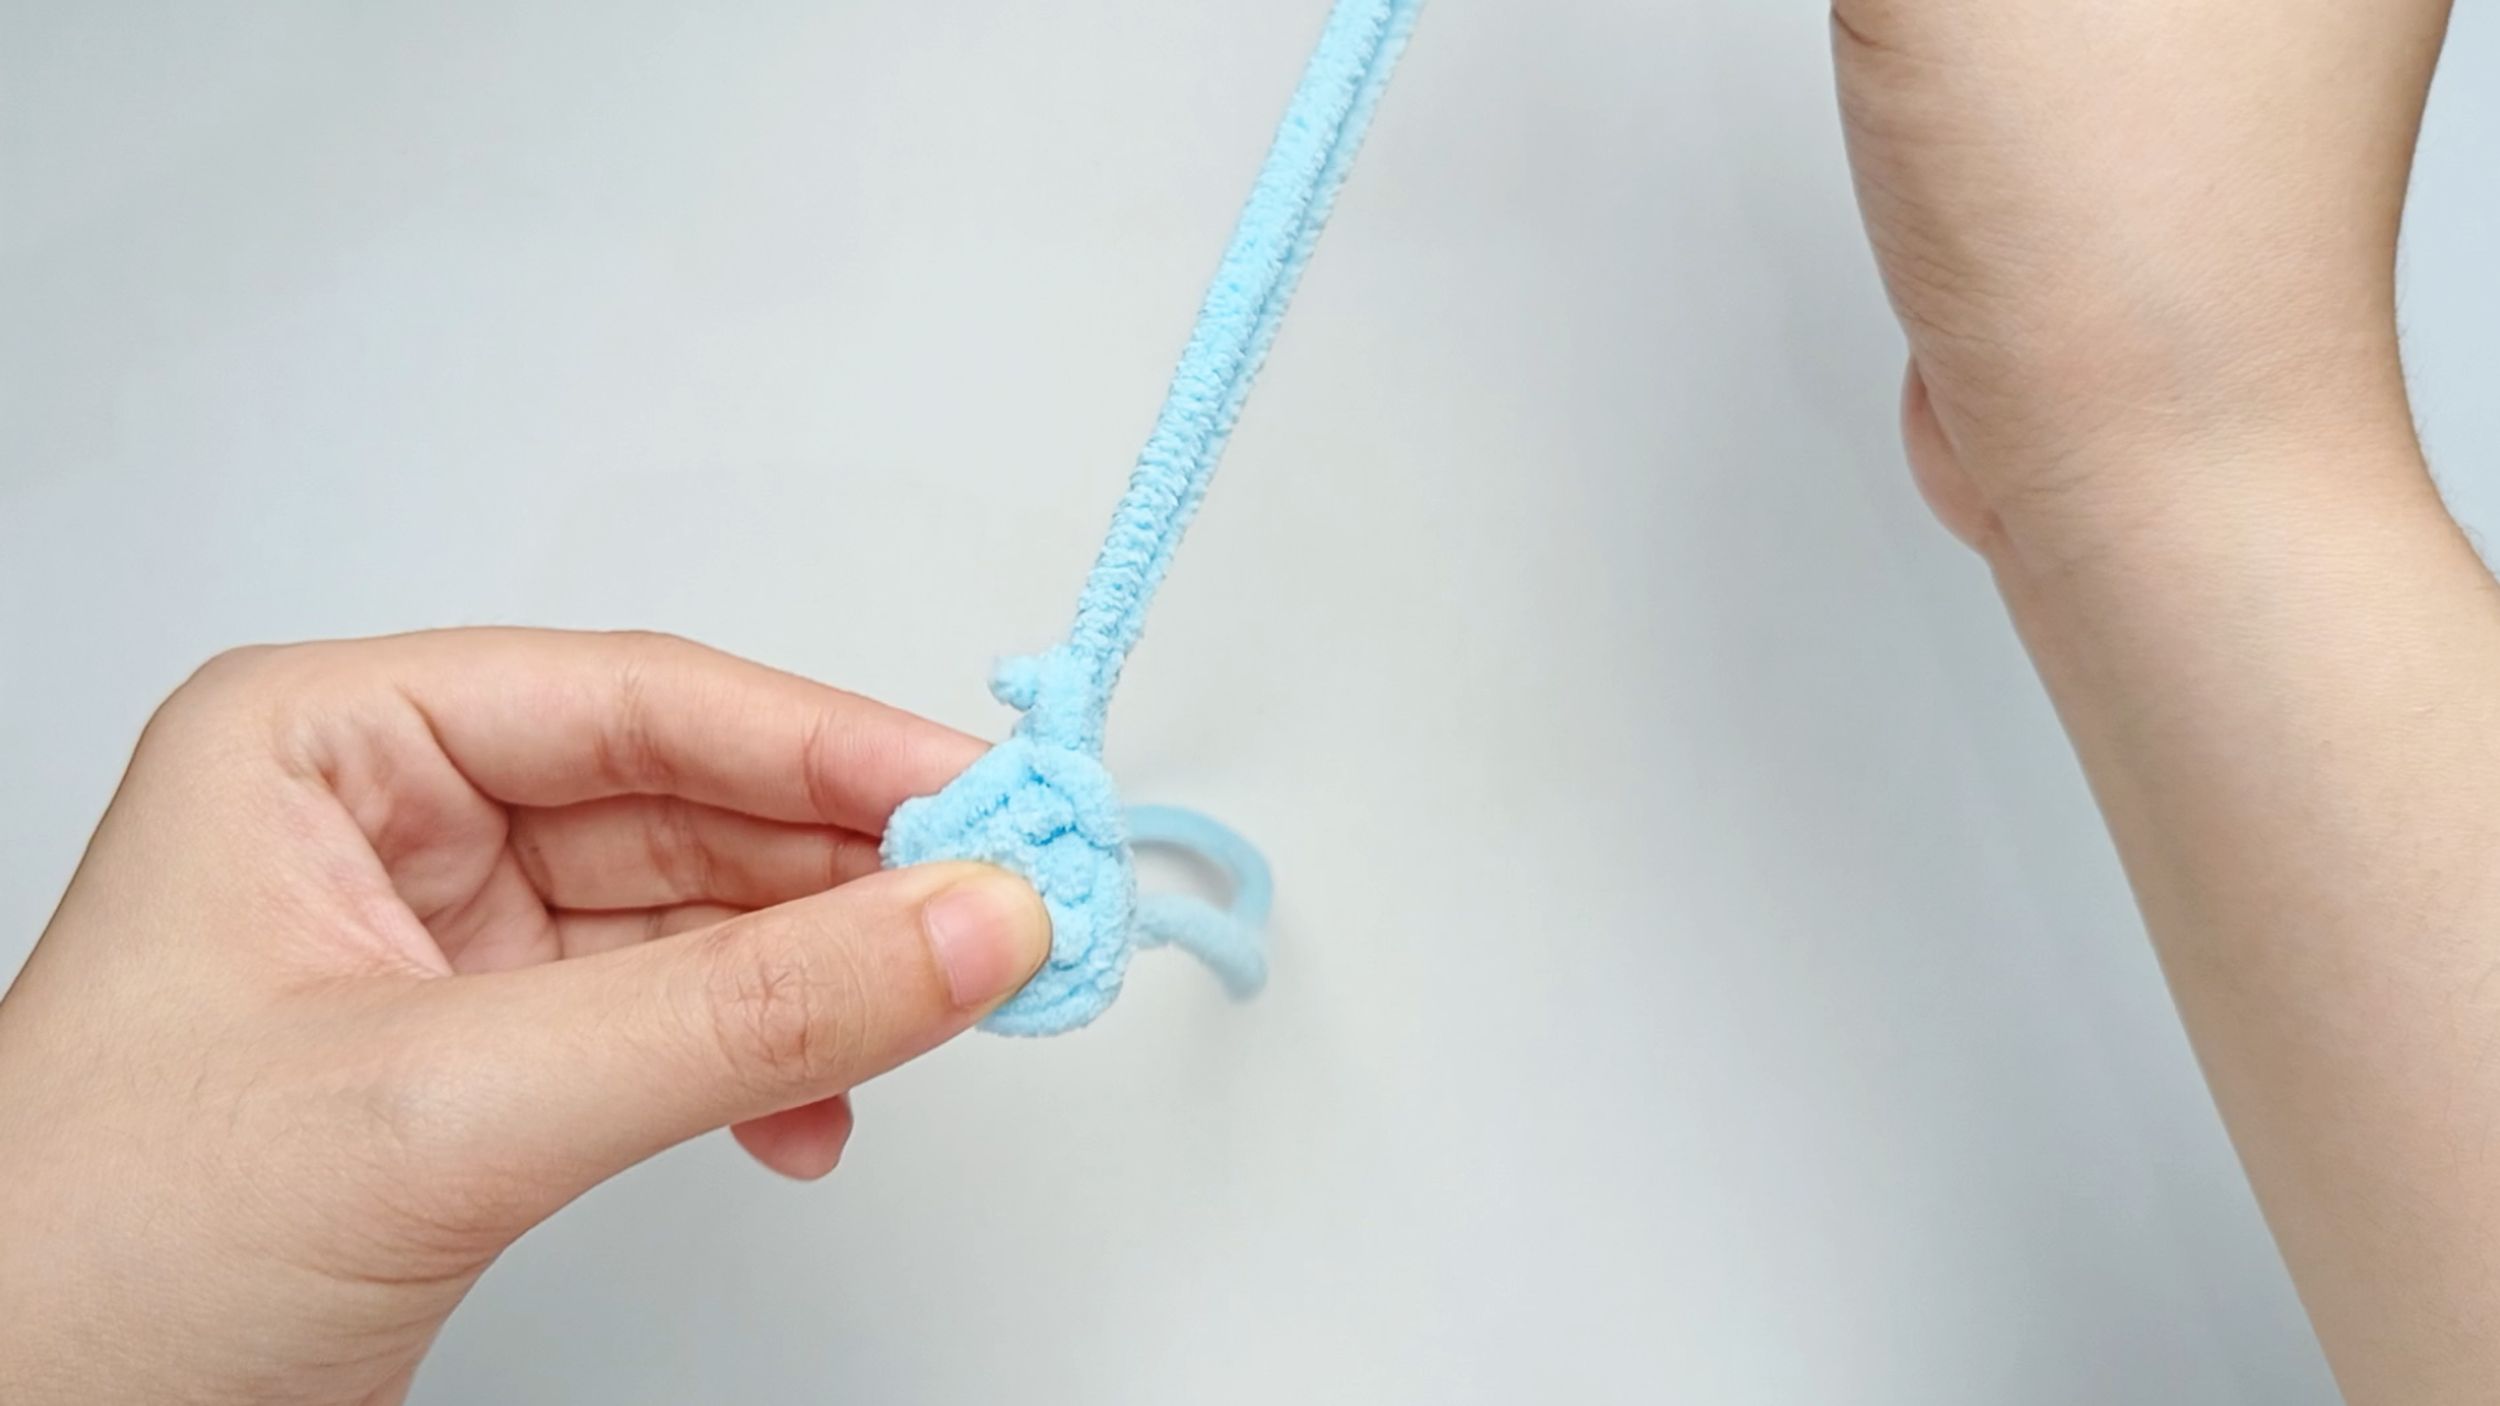
Yarn over and pull the yarn tail tight:
Yarn over with the cut tail. Pull it all the way through that loop. Keep pulling until the tail comes all the way through and forms a small knot.
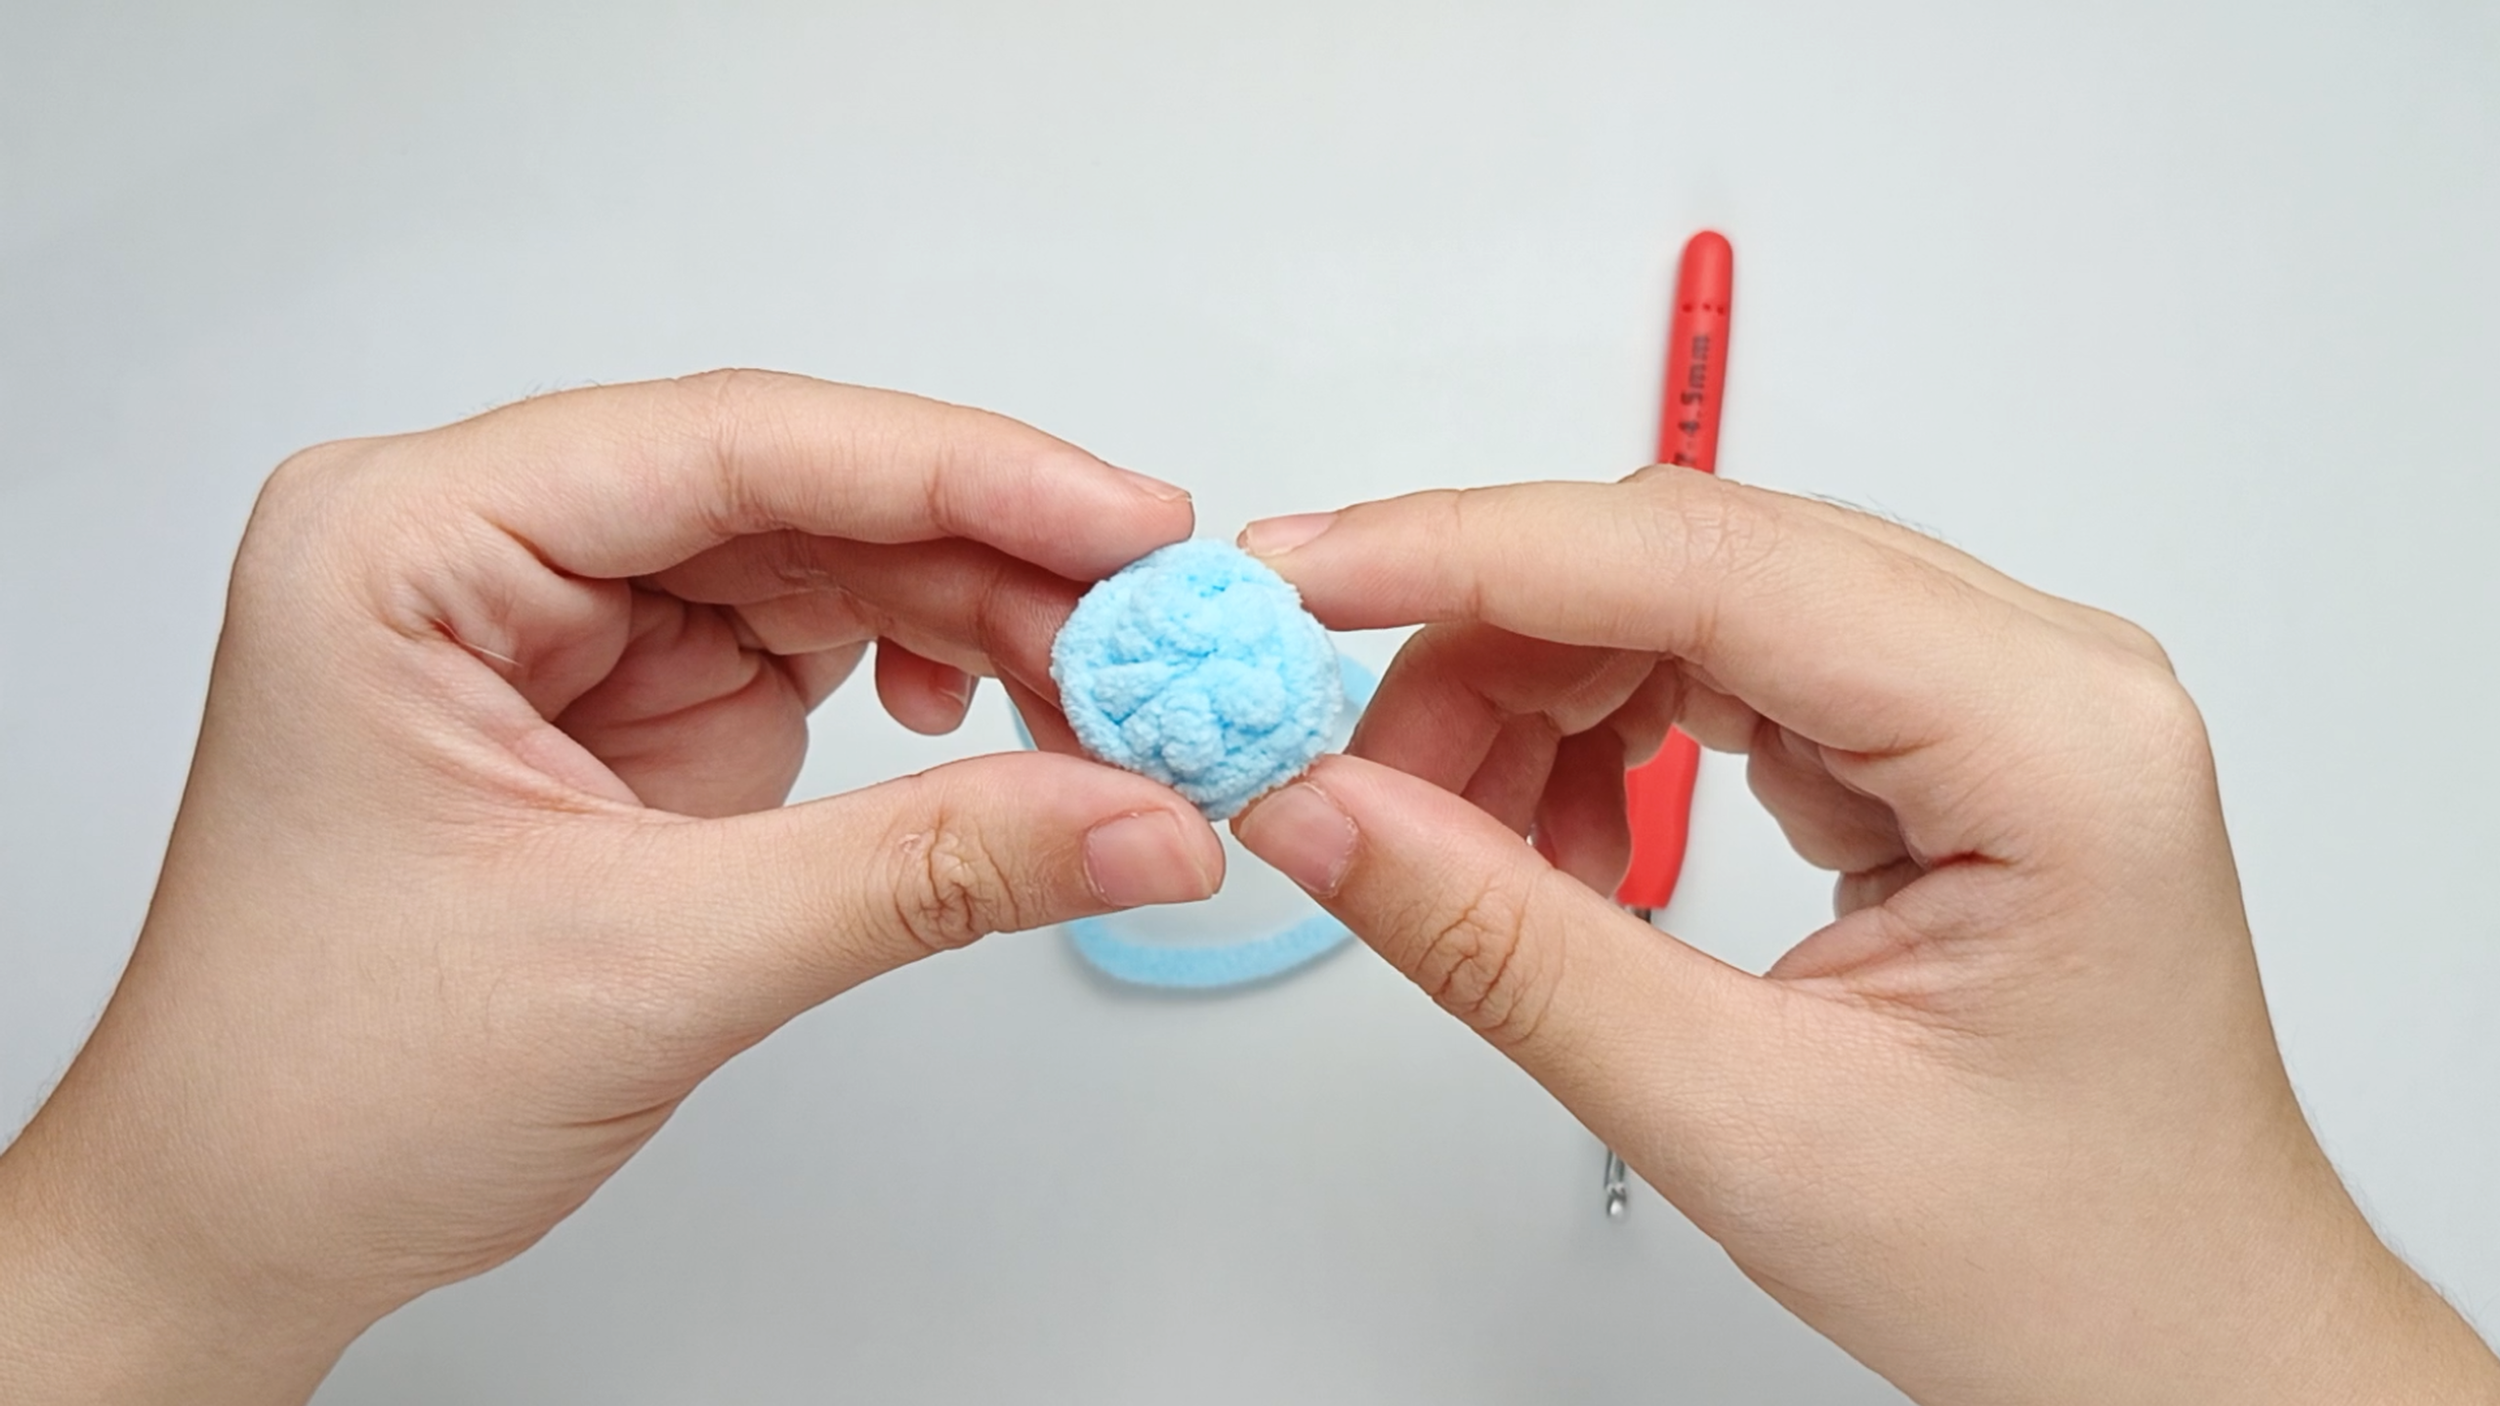
Completed Pip's Nose:
Set the Nose aside for now - we'll assemble all the pieces together at the end.