
Step 9 of 10:
Pip’s Bow
You'll make the Bow using blue yarn. It's a tiny piece that takes just a few minutes, and it uses one stitch you haven't met yet: the double crochet (dc).

Watch: Prefer to follow along? The video below shows how to make Pip's Bow, from start to finish.
Making the Bow
Using blue yarn, we will make a slip knot first. Then, make 3 chains (ch). These form the little base of the Bow.

Note: The whole Bow is worked into one chain stitch, so you'll crowd several stitches into the same spot. It feels unusual, but that's what creates the bow shape. If it looks loose or messy, that's completely normal, it comes together when you wrap the center at the end.
MAKE A SLIP KNOT
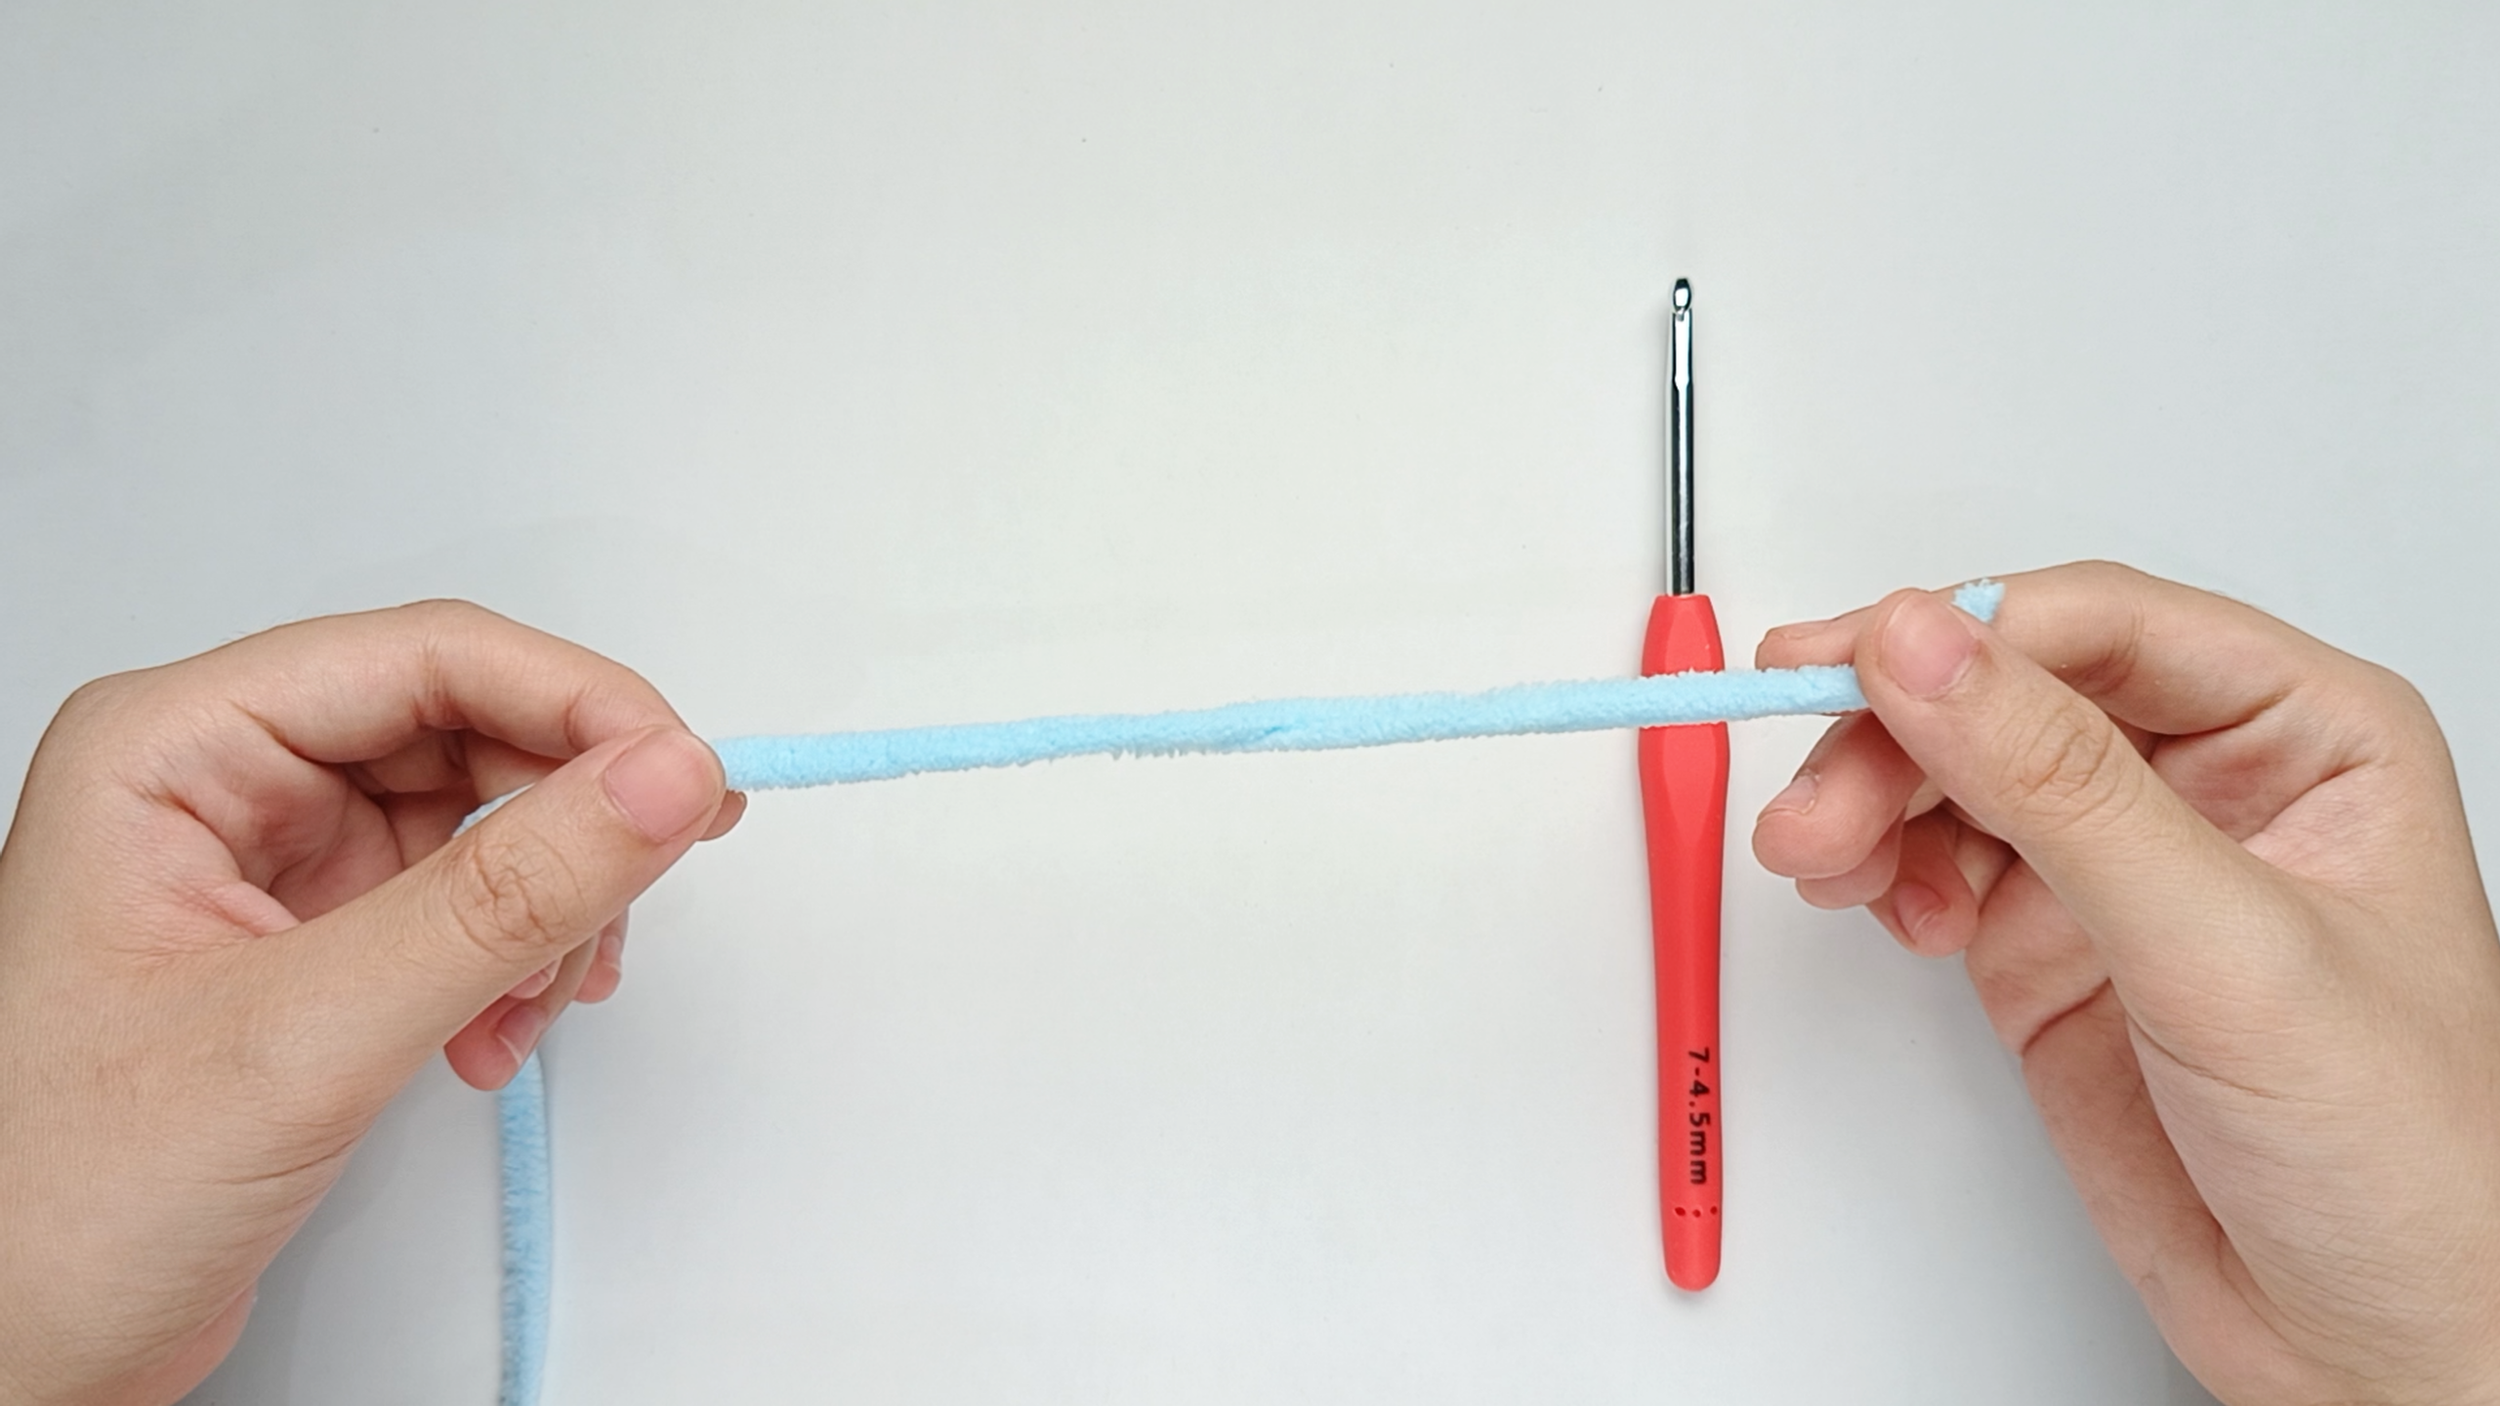
Hold your yarn:
Start with holding the yarn tail in one hand and the working yarn (the strand leading to the ball) in the other.
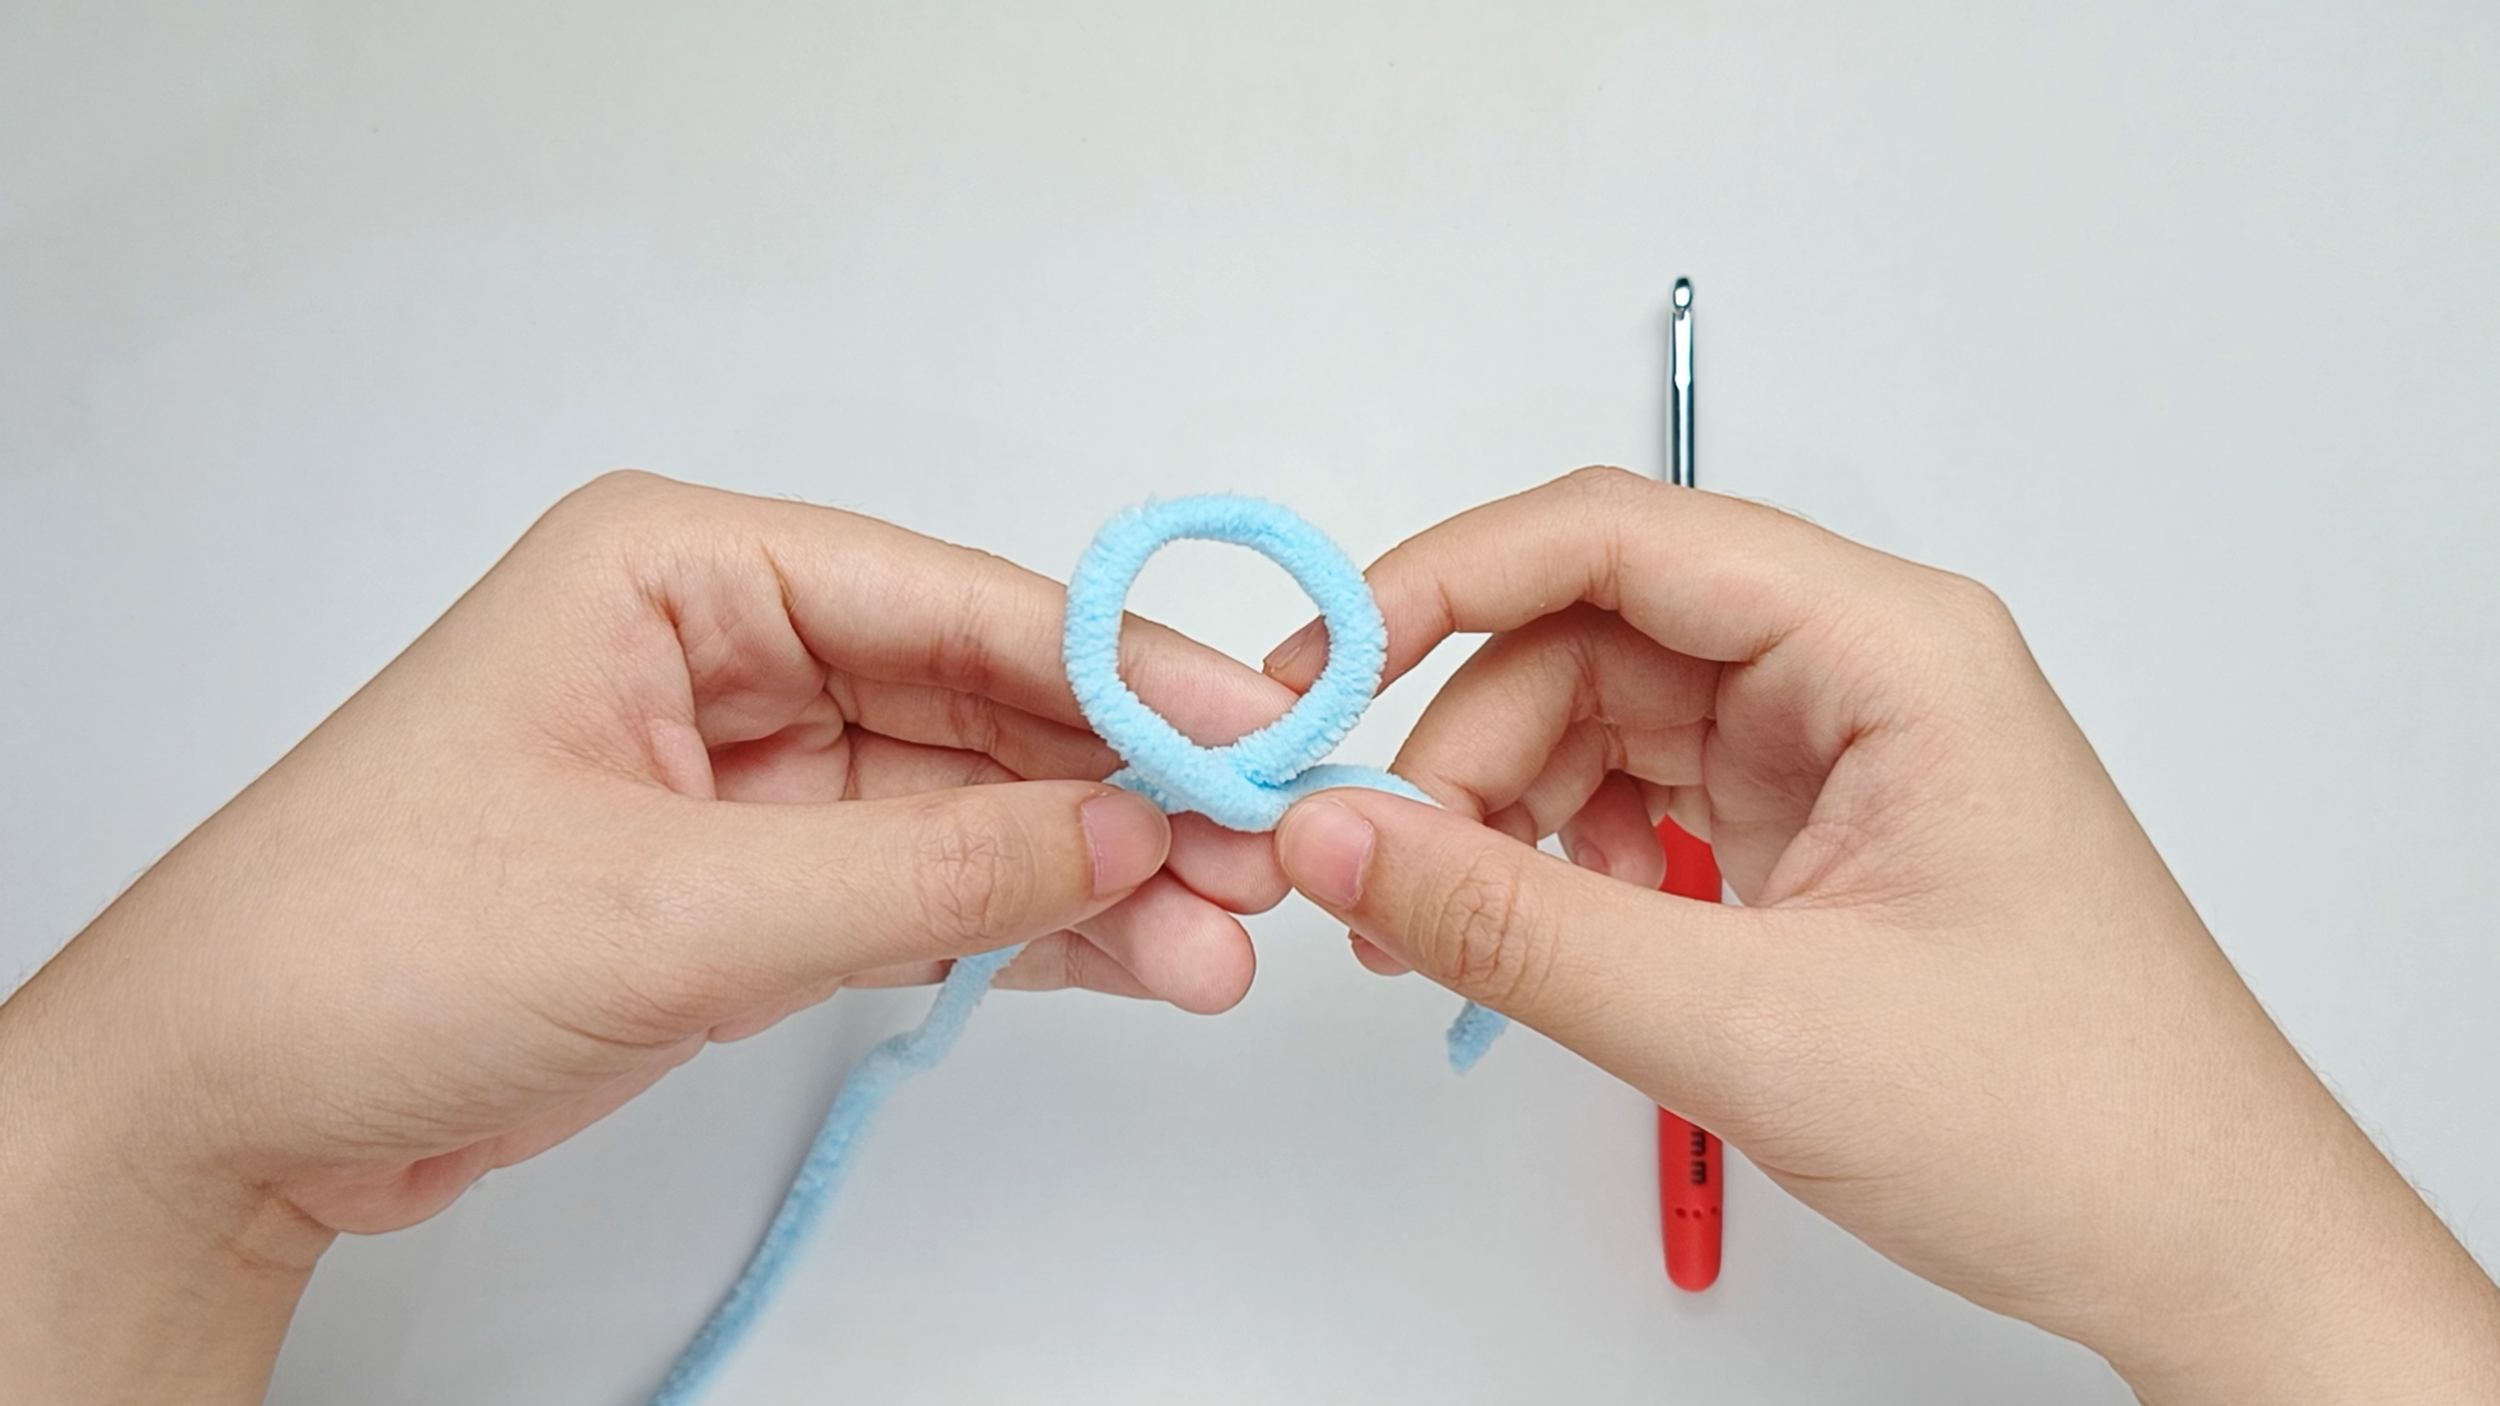
Make a loop:
Cross the yarn tail in front of the working yarn to make a loop.
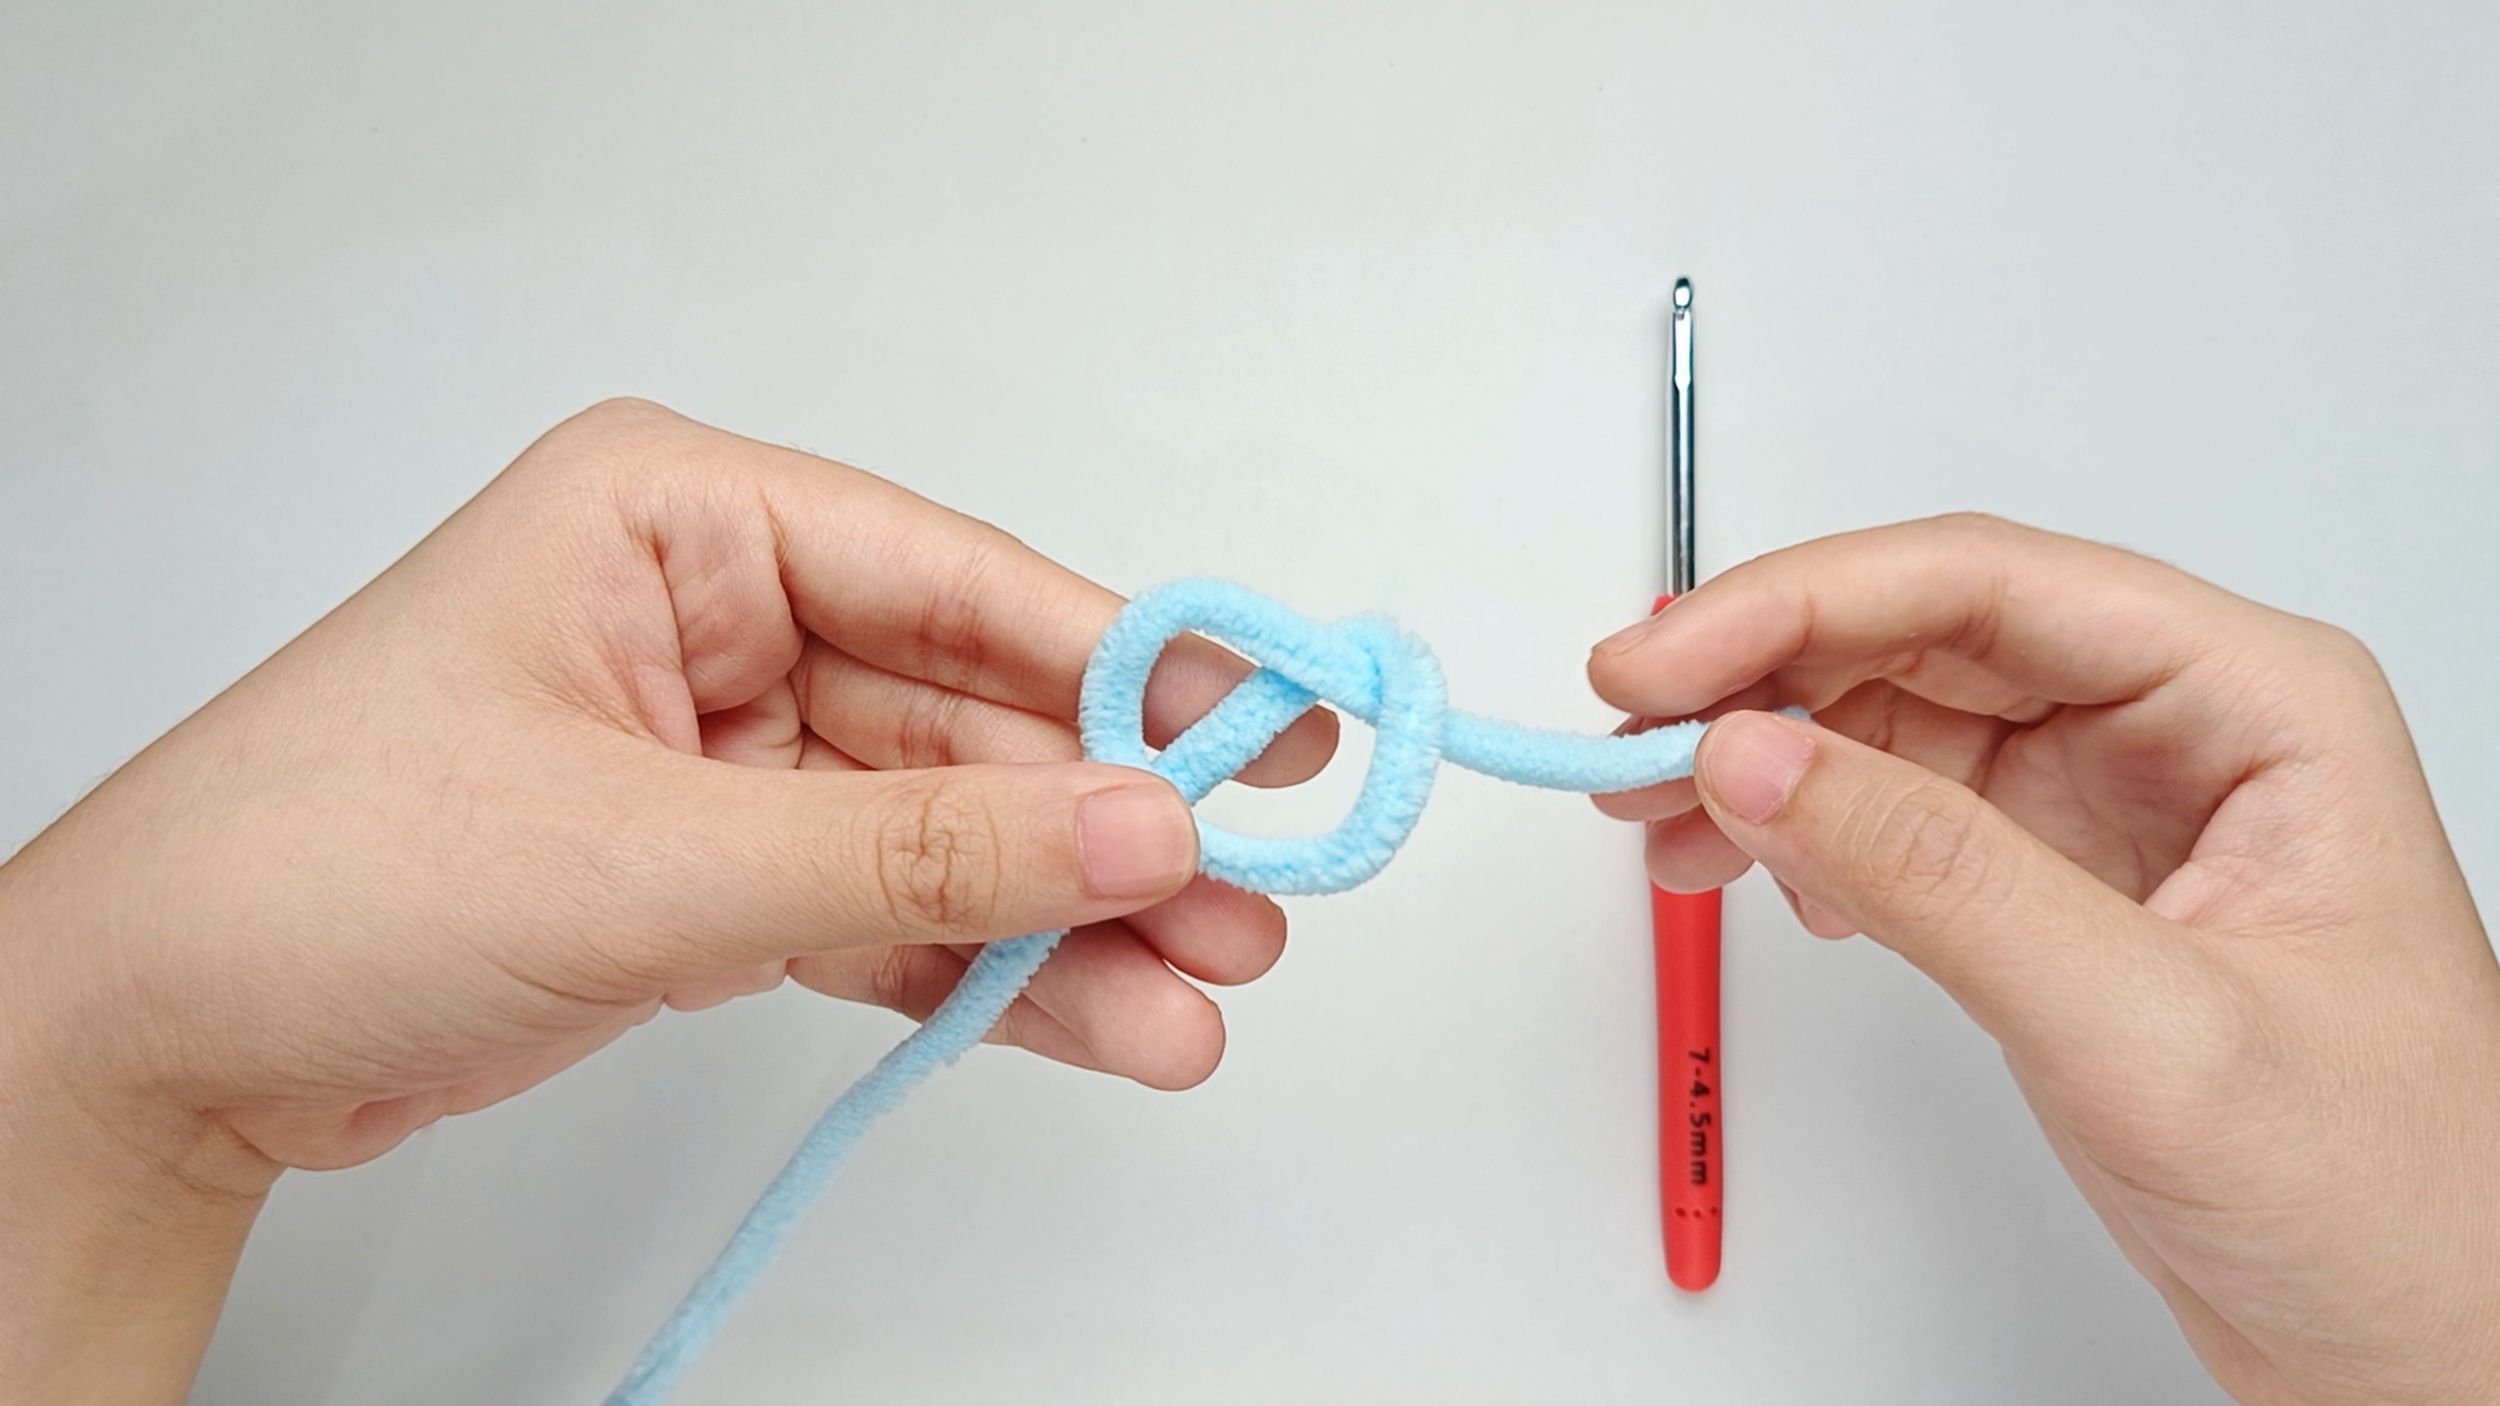
Fold the loop over:
Fold the loop to one side, keeping the working yarn running through the middle.
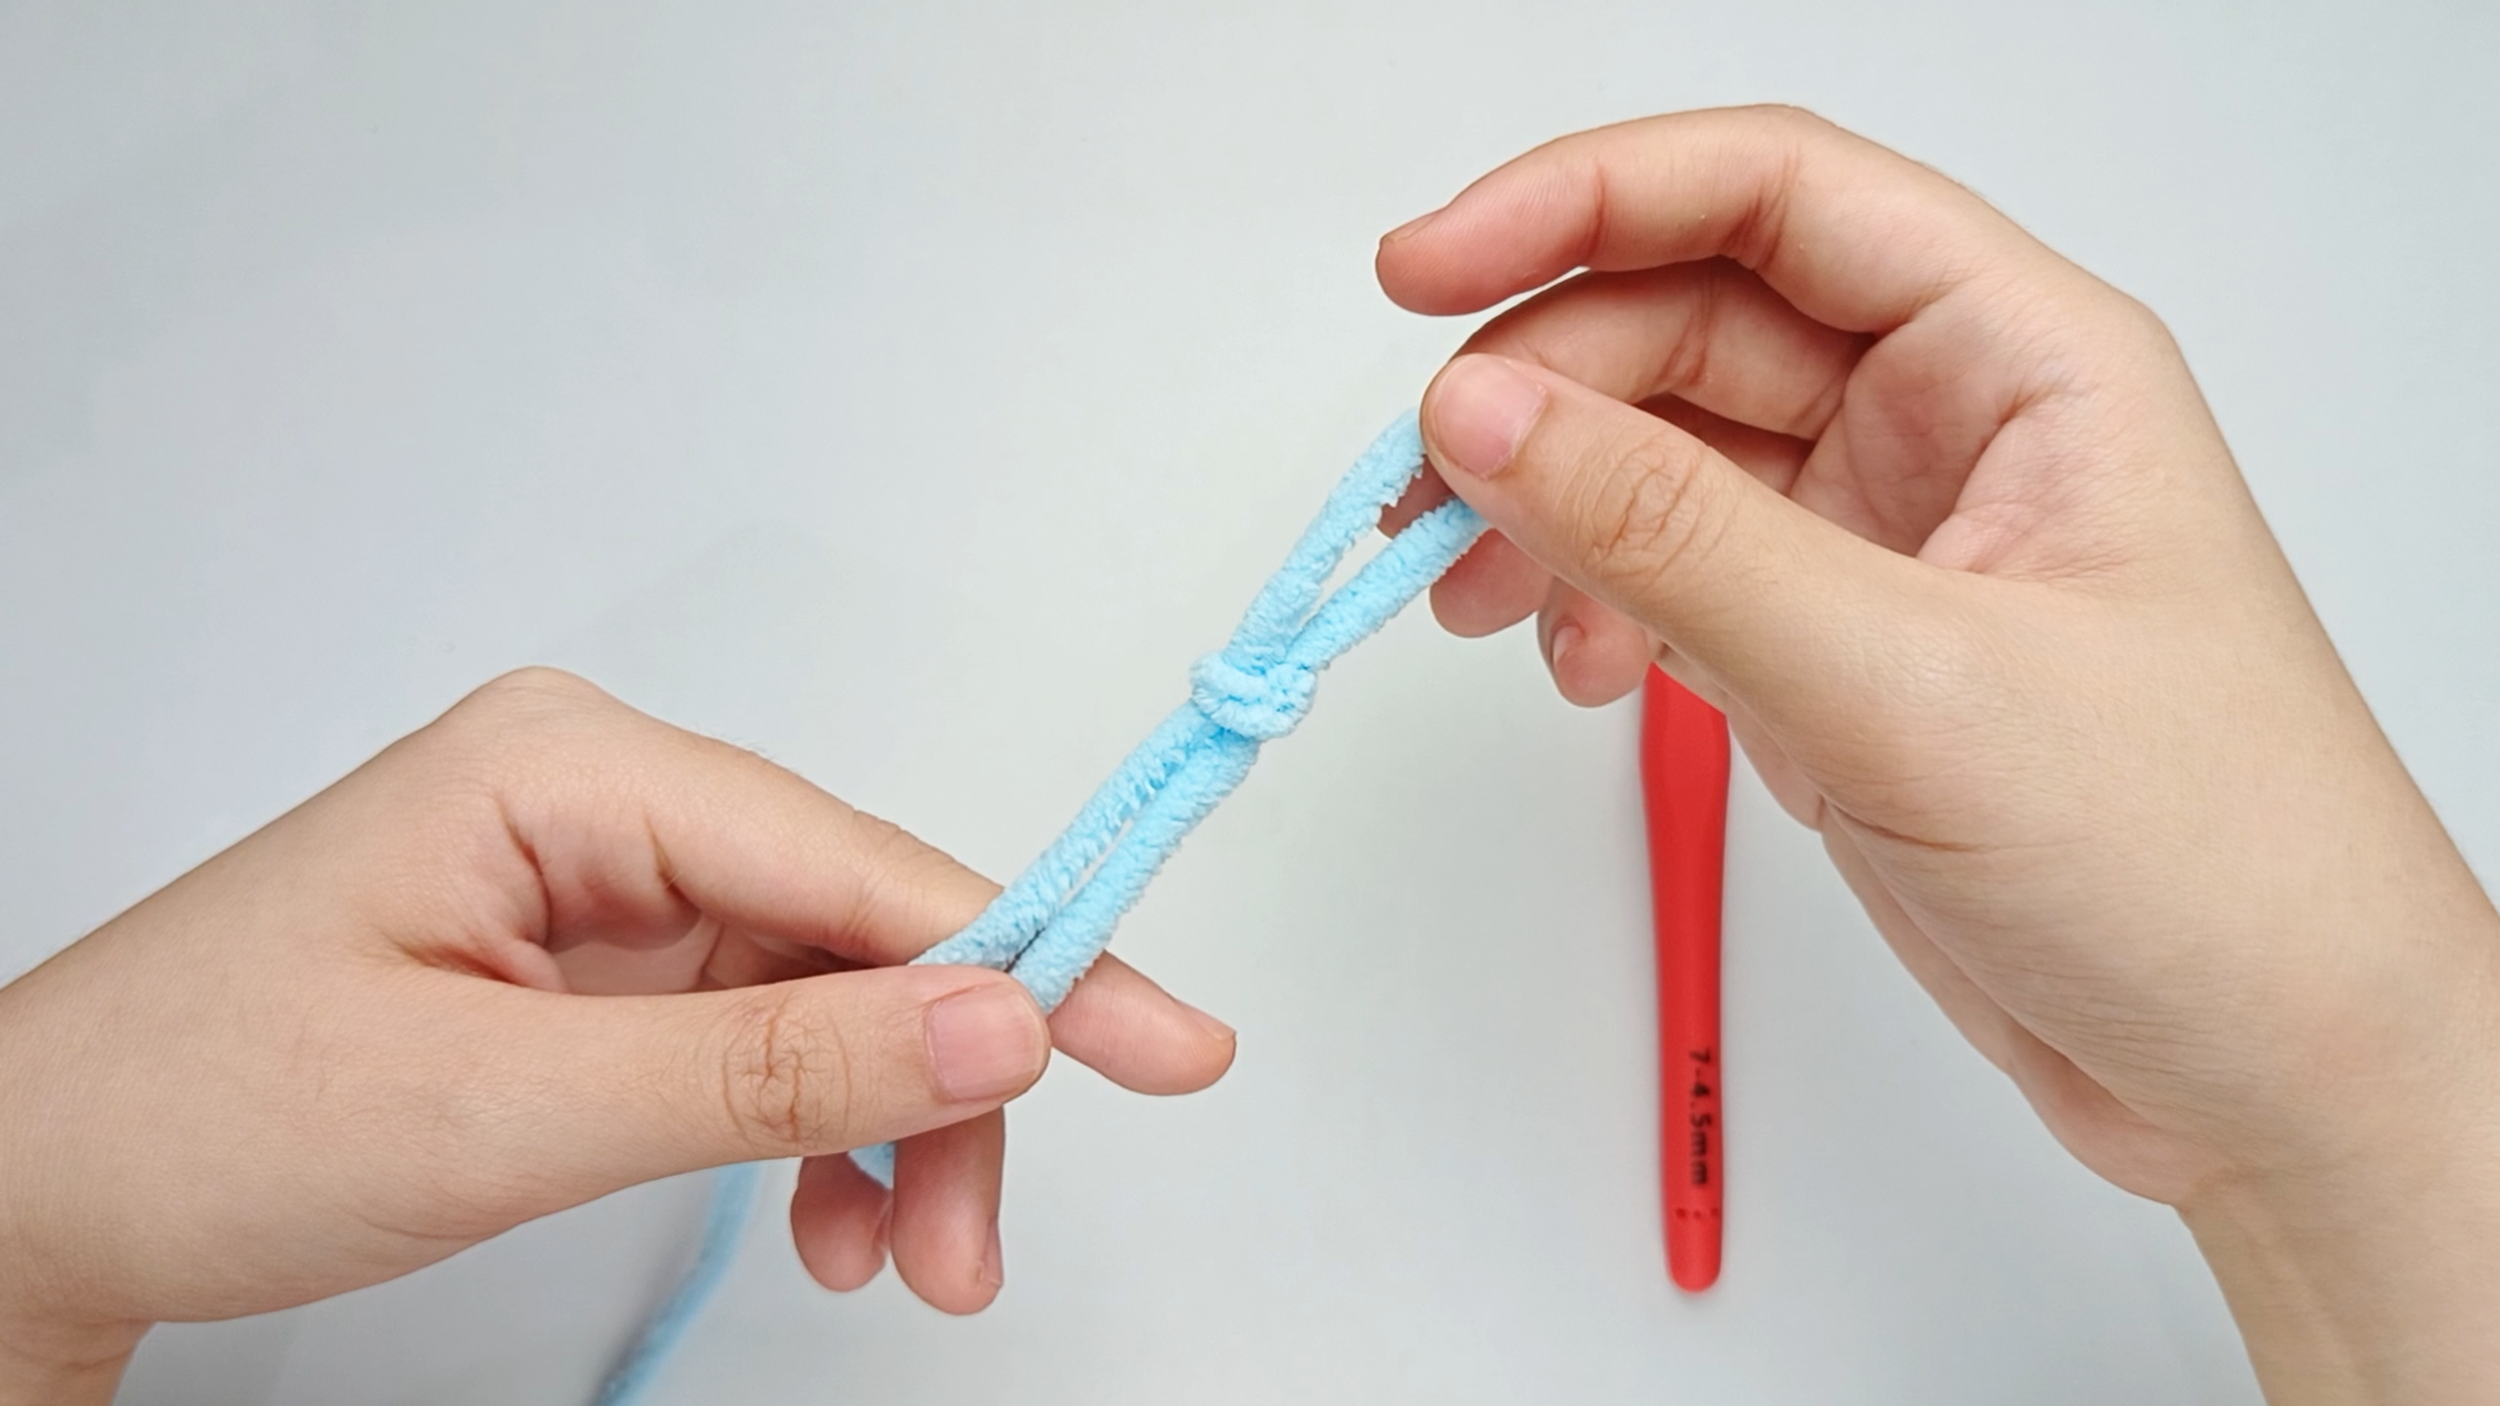
Tighten into a knot:
Pull the strand in the center of the loop upward while you pull the yarn tail to tighten. And that's your slip knot! You can change the loop size by pulling the working yarn.
CHAIN 3 (CH)
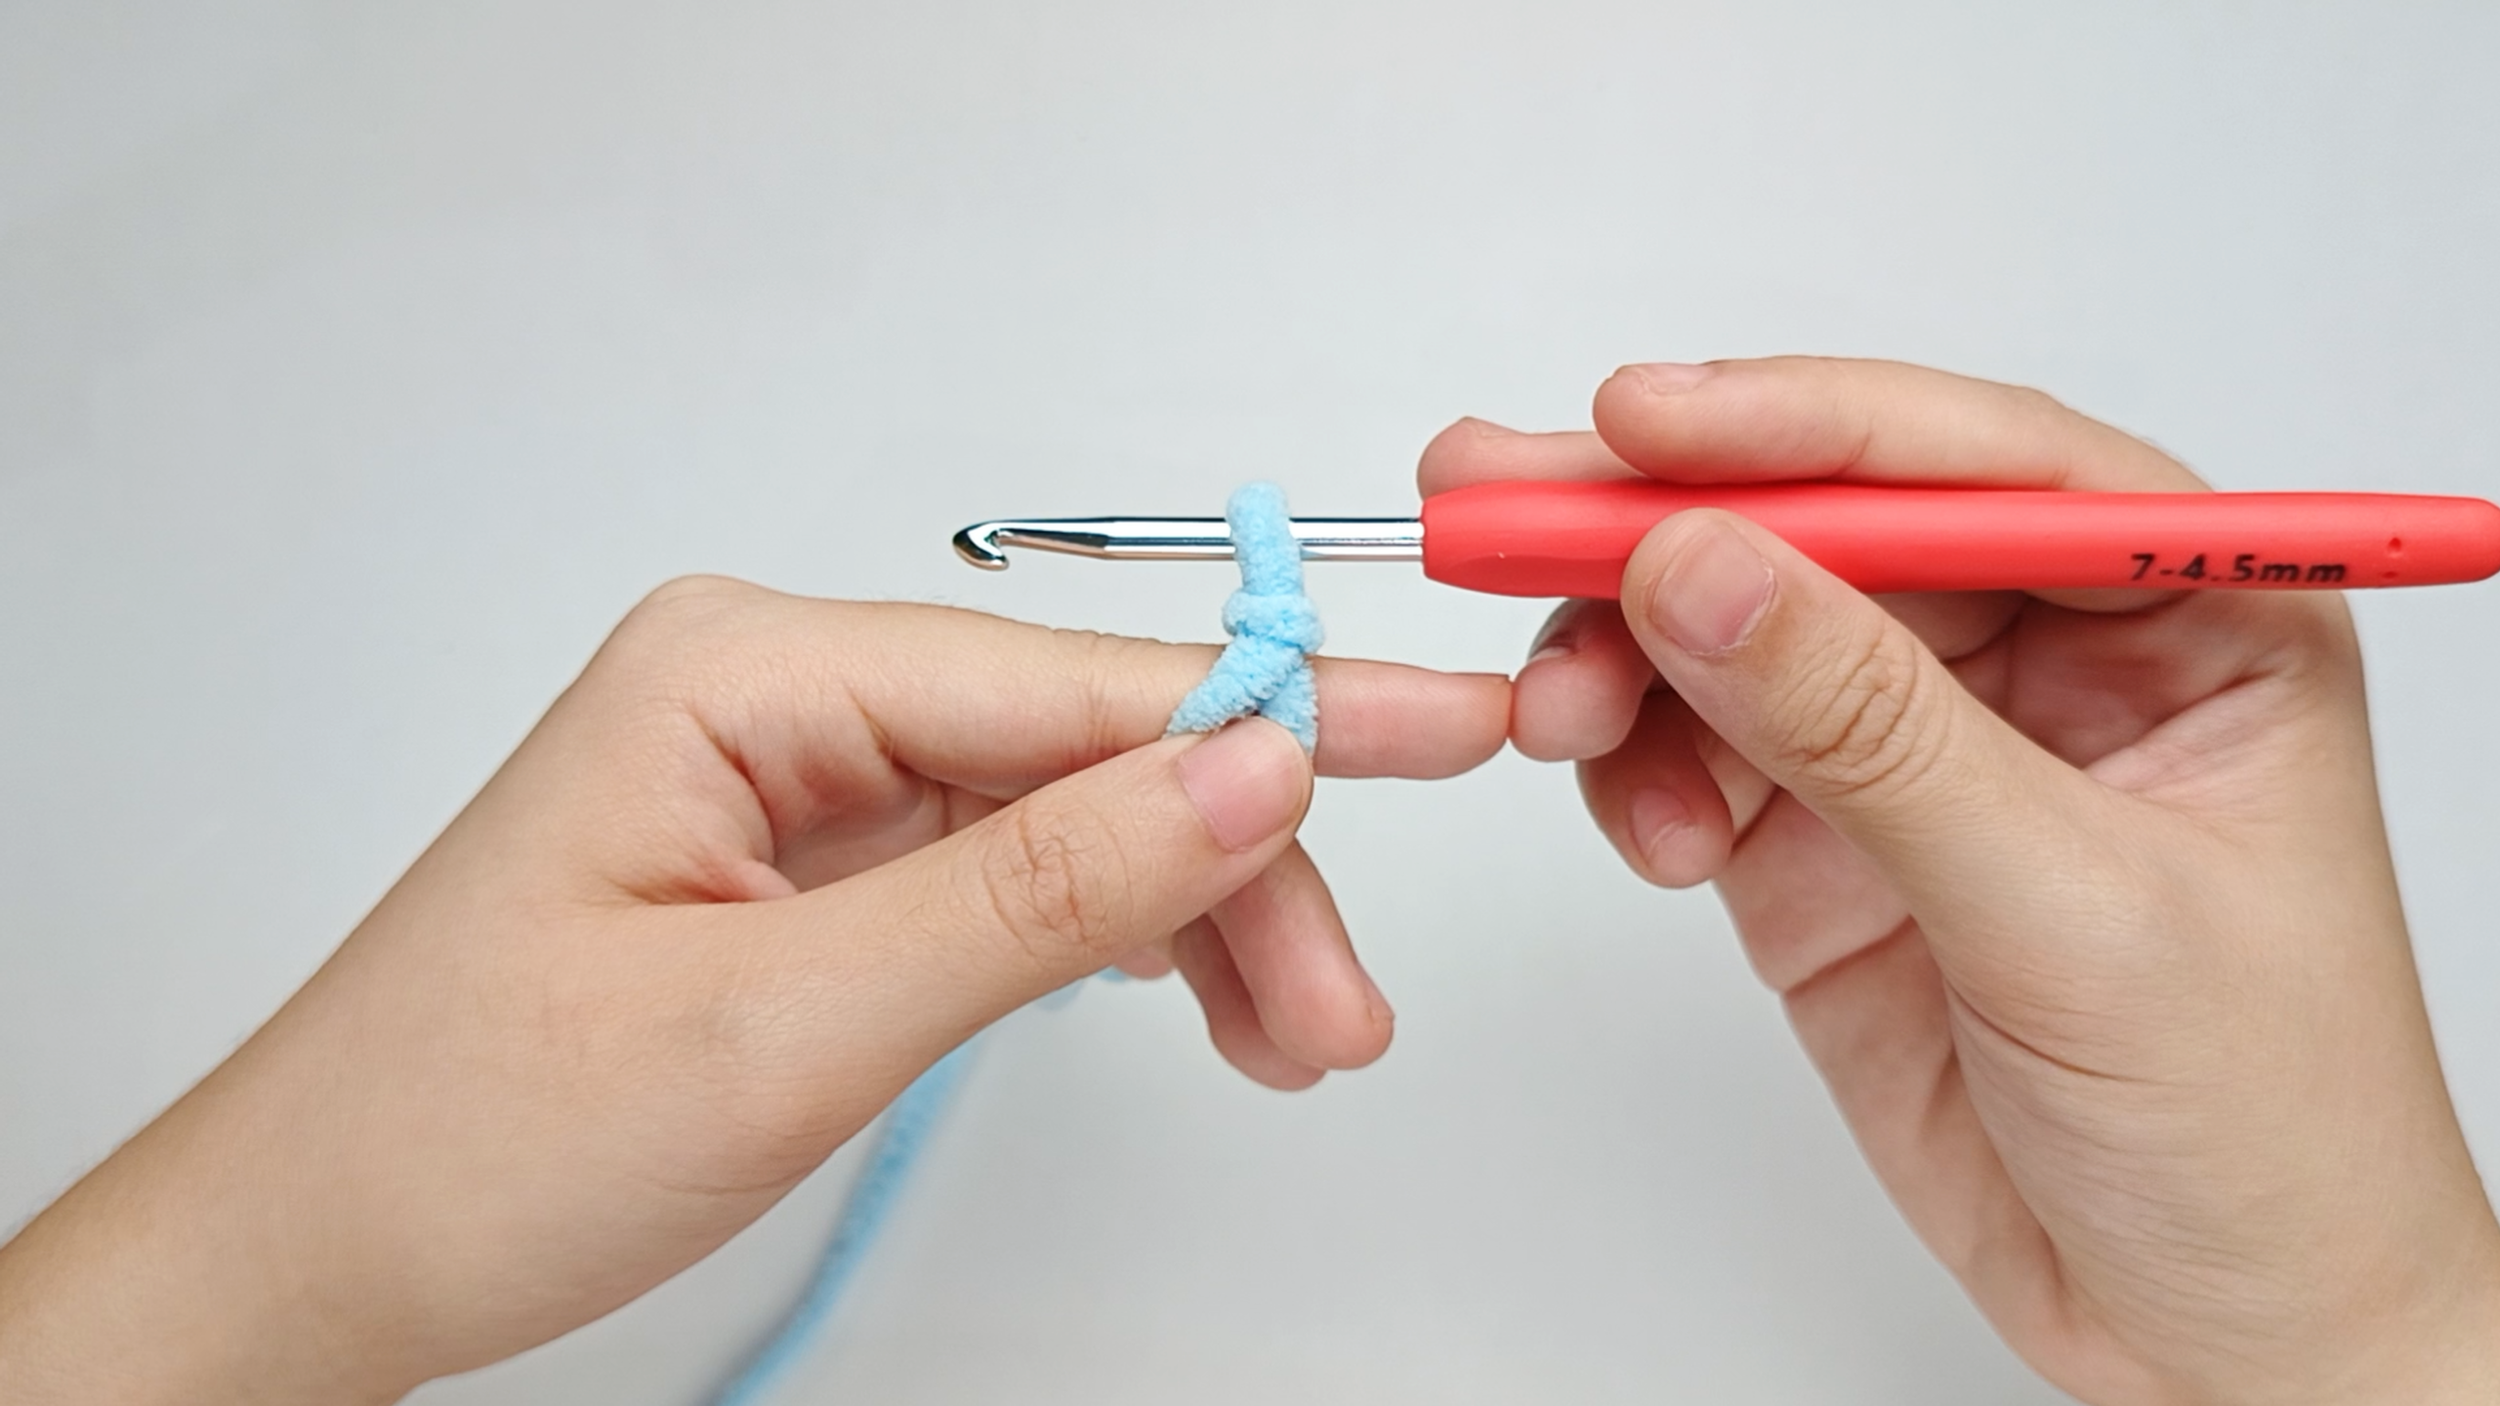
Hook into the loop:
Slip your hook into the loop, then snug the loop up so it sits comfortably around the hook - not tight. Hold the yarn in place with your other hand.
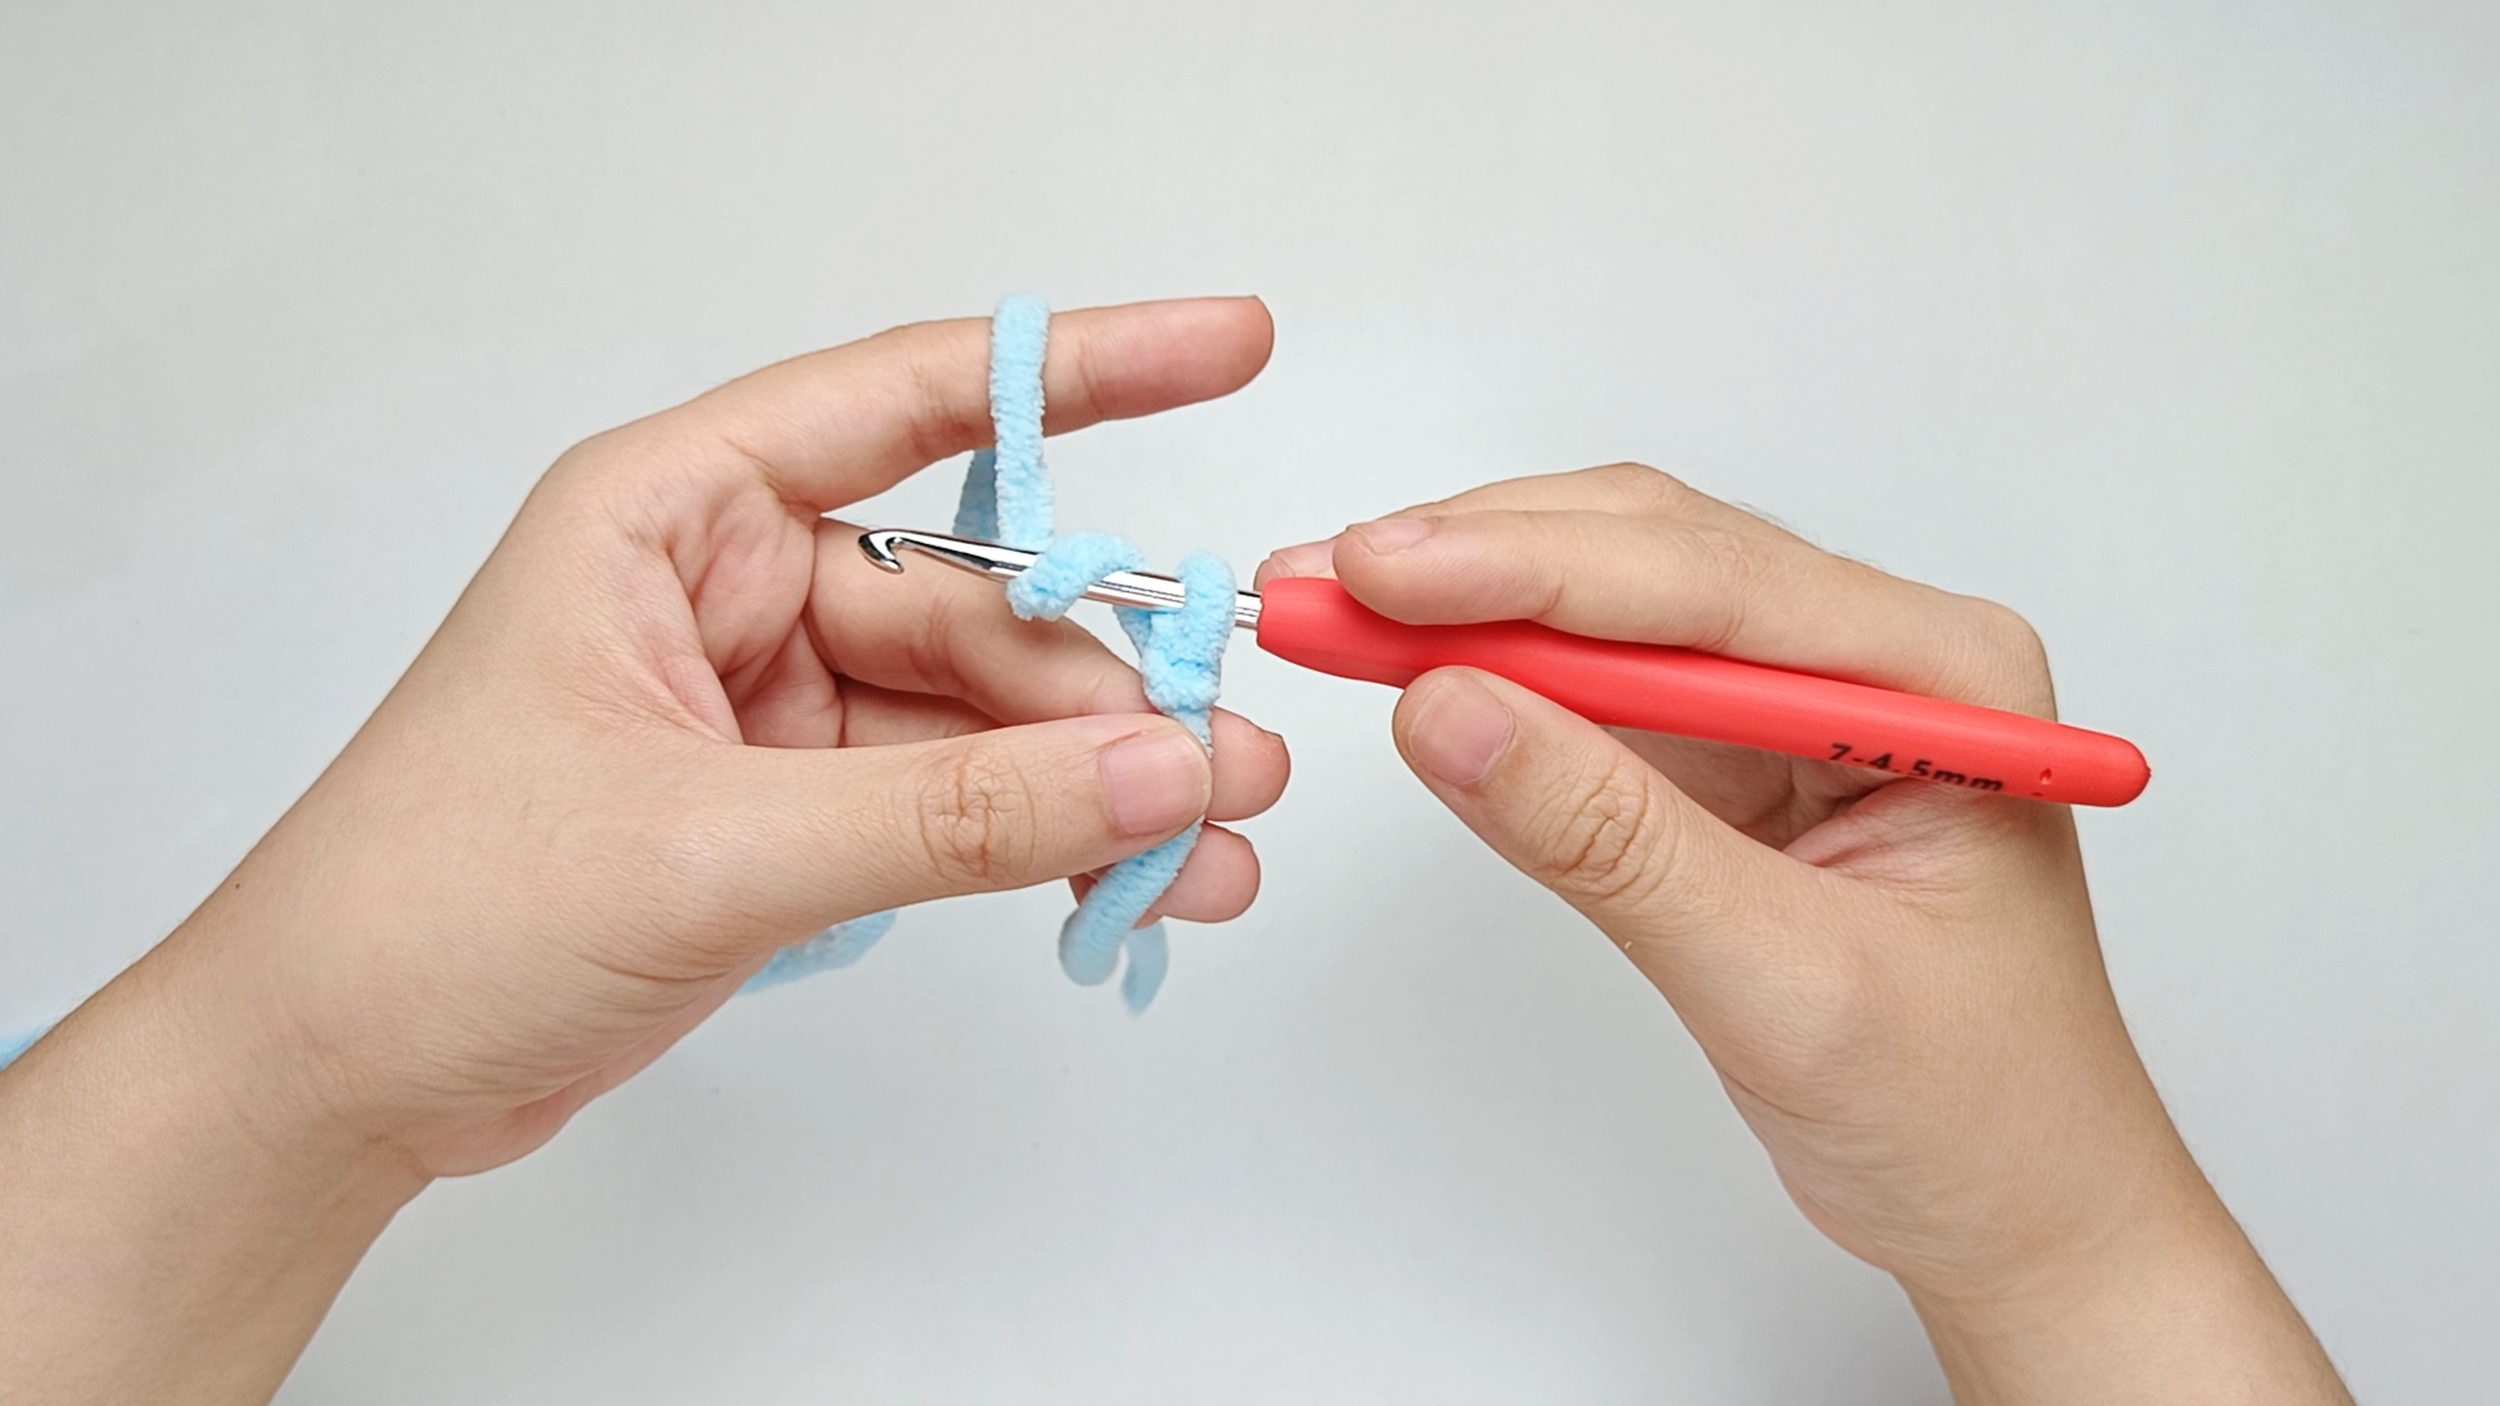
Yarn over:
With the hook tip facing you and in front of the working yarn, yarn over. Bring the hook from the front, down under the yarn, behind it, and up again so the yarn wraps the hook.
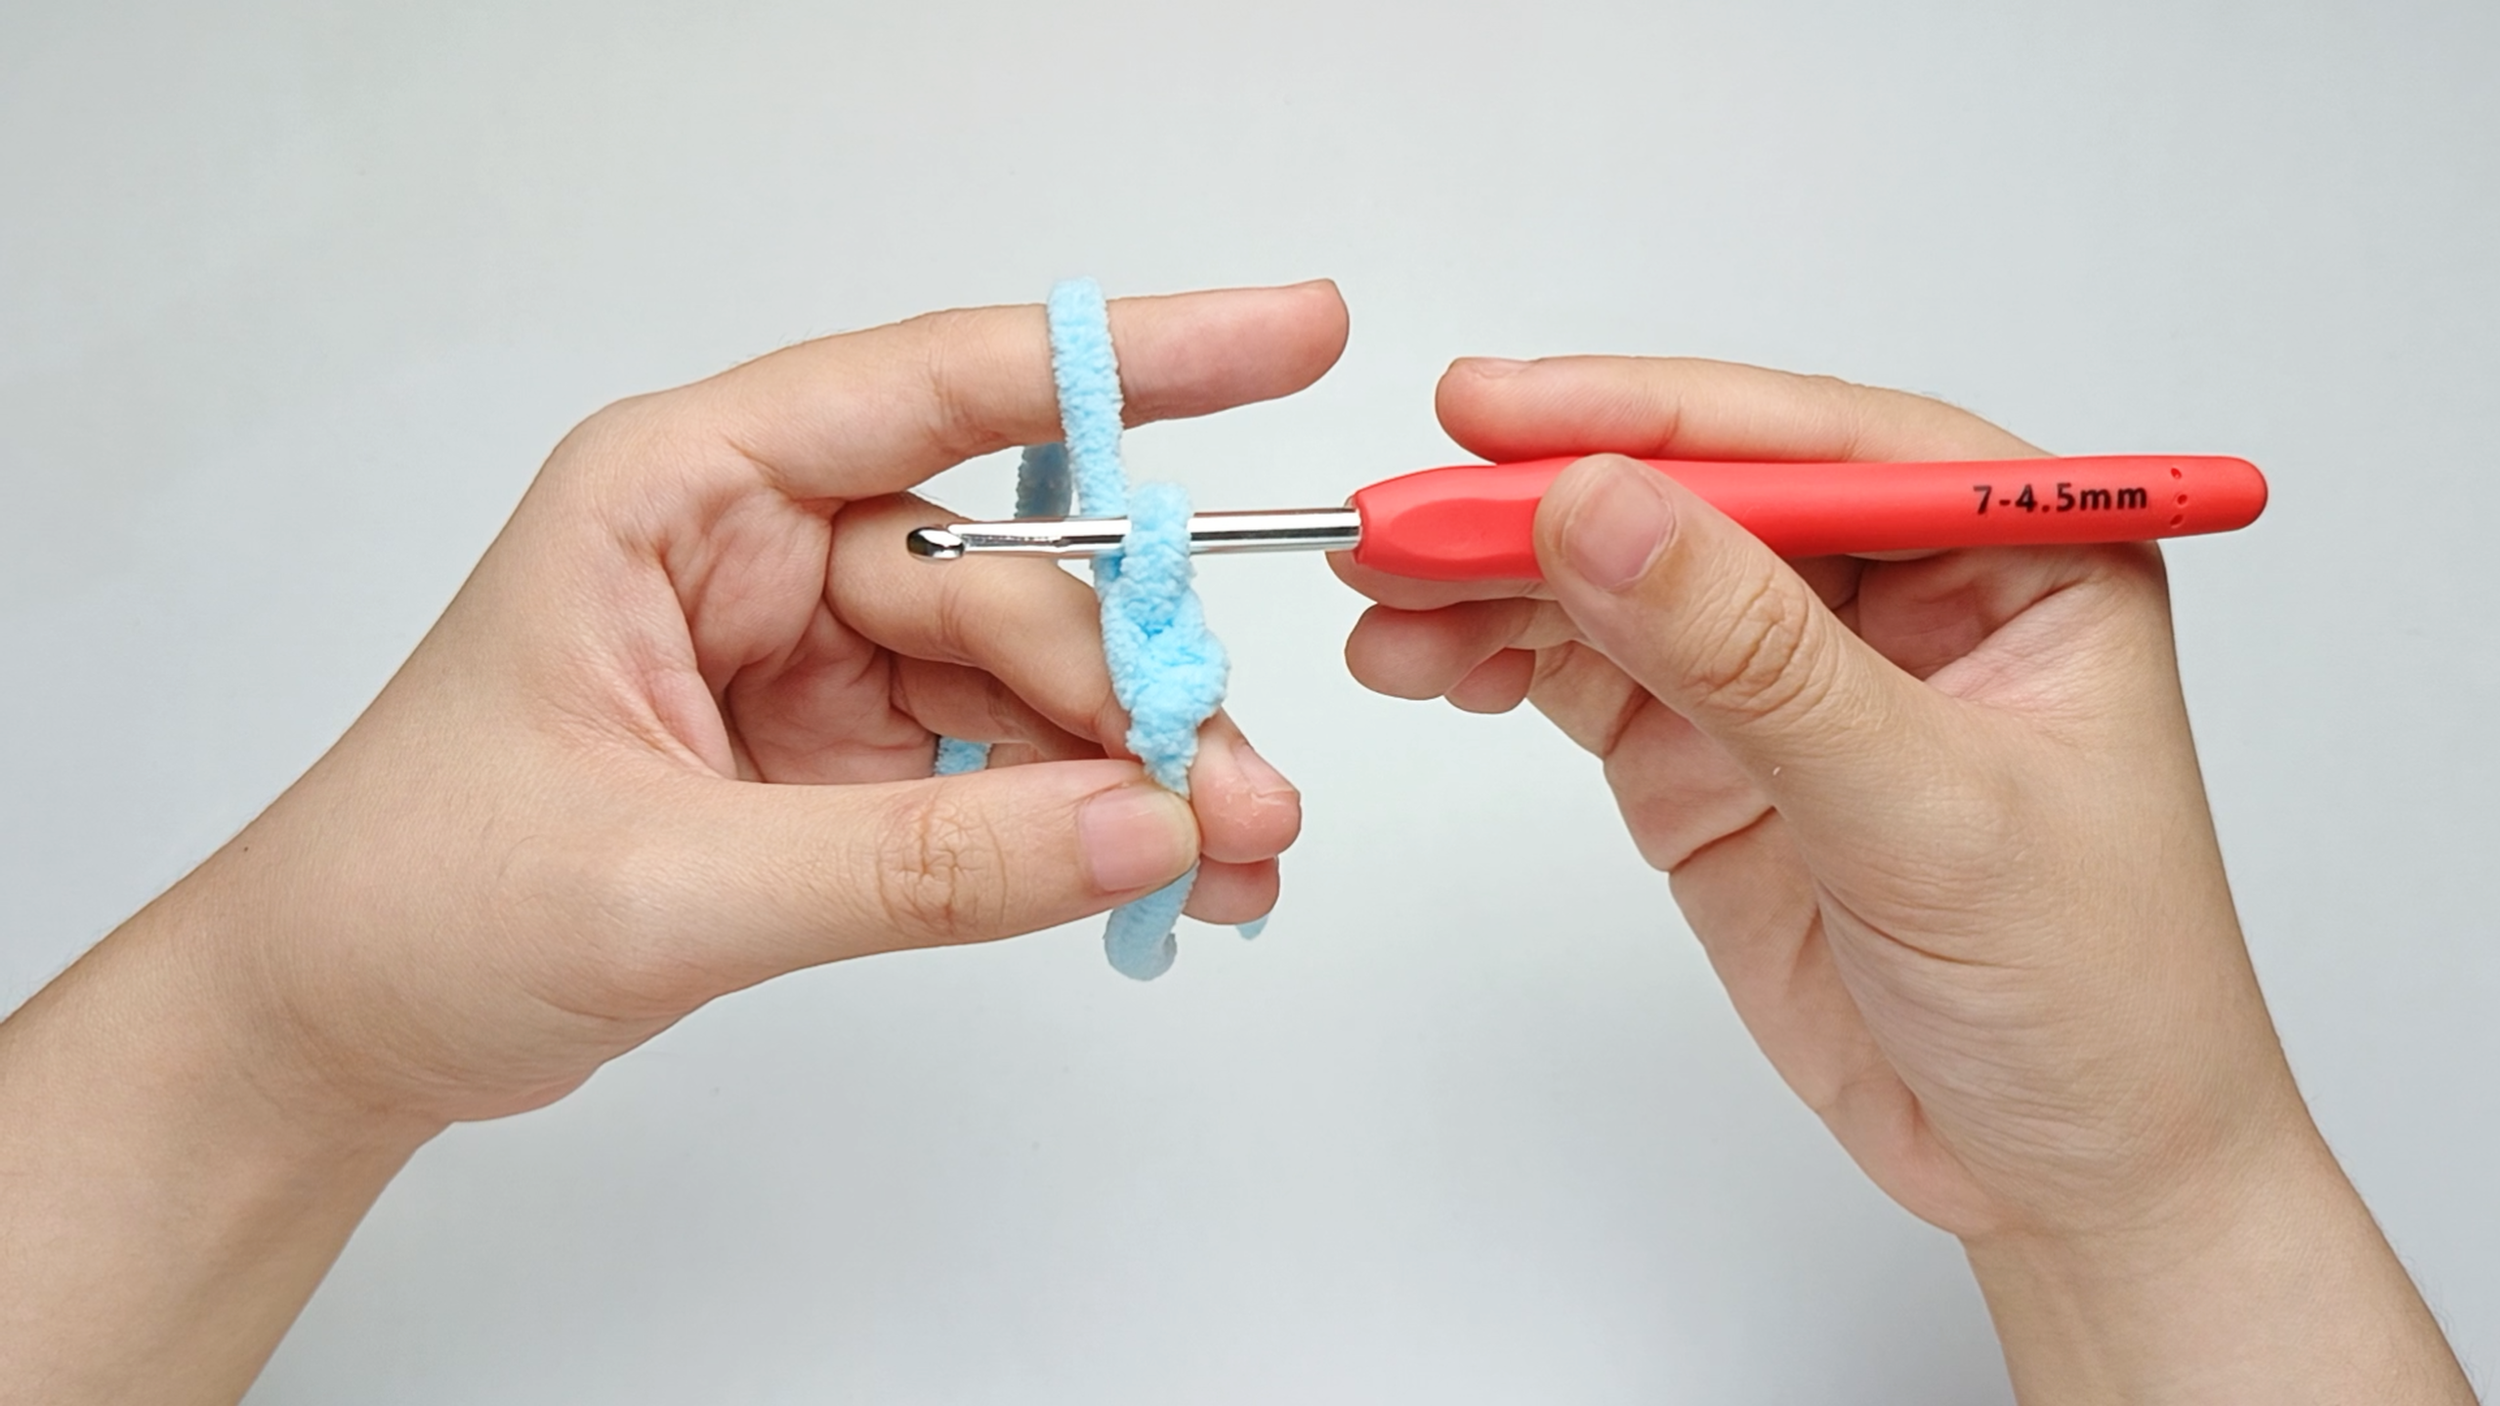
Pull through:
Pull that yarn through the loop on your hook. And that's one chain (ch) stitch made!
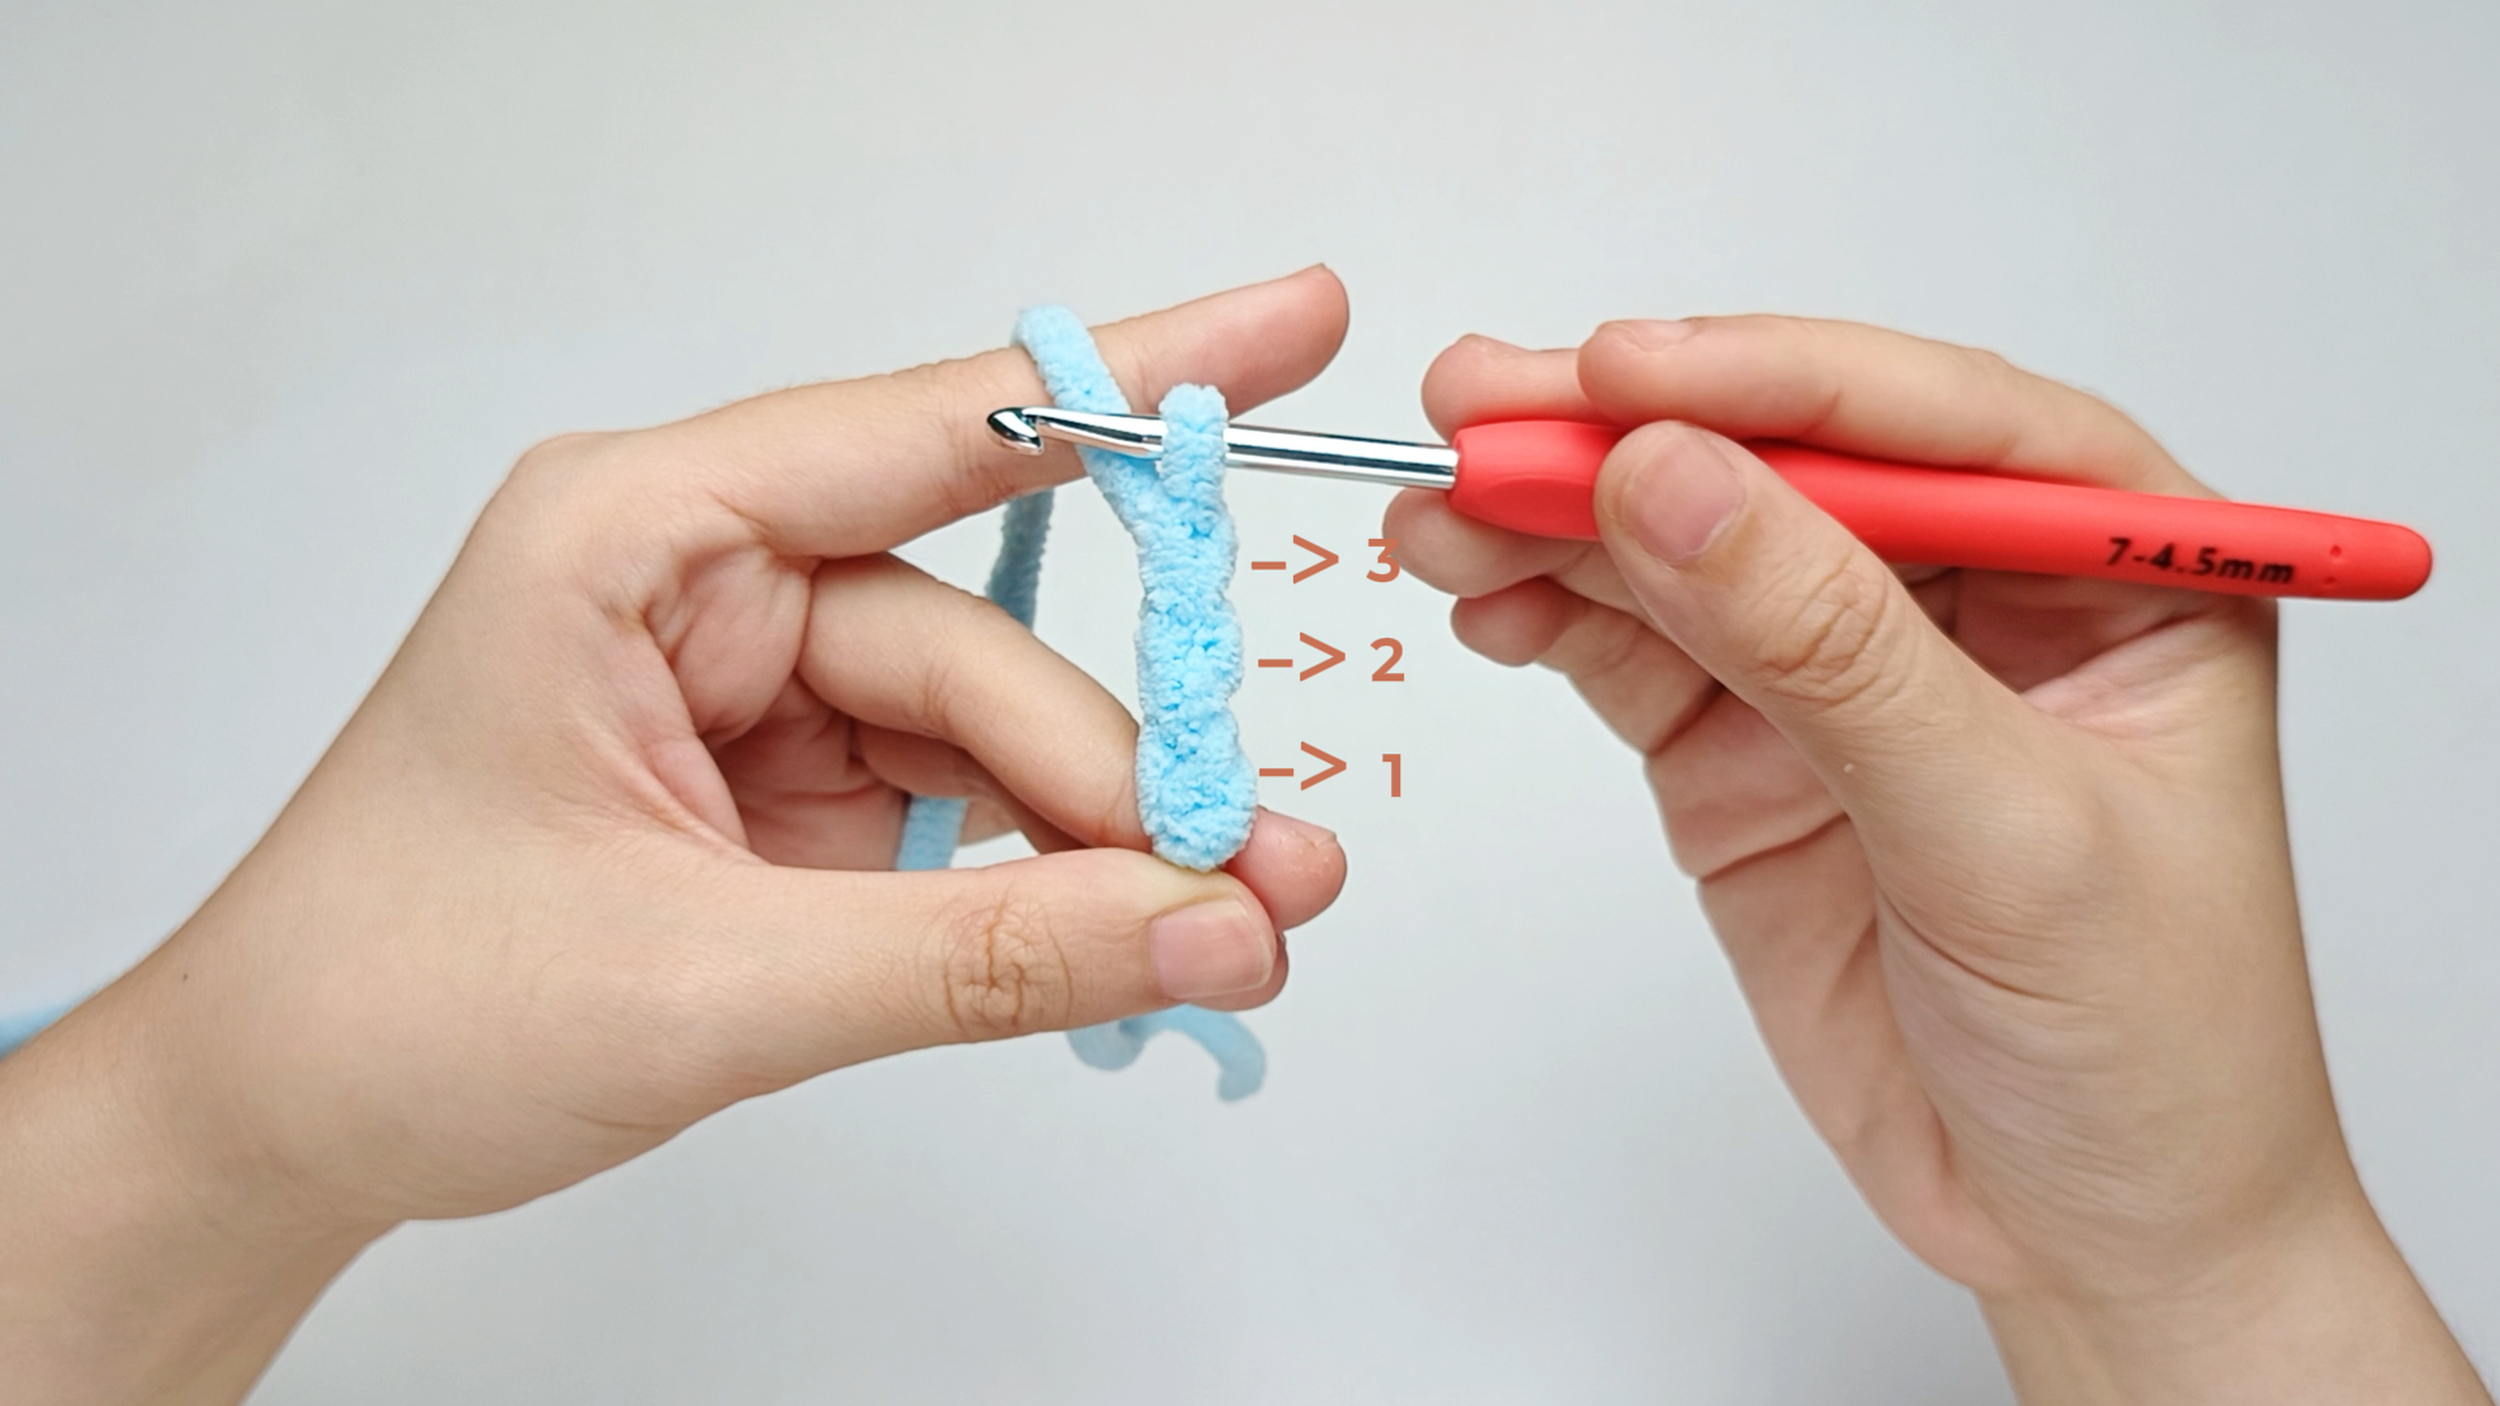
Keep going:
Repeat the yarn over and pull through to make 2 more chains (ch). There should be 3 chains (ch) in total.
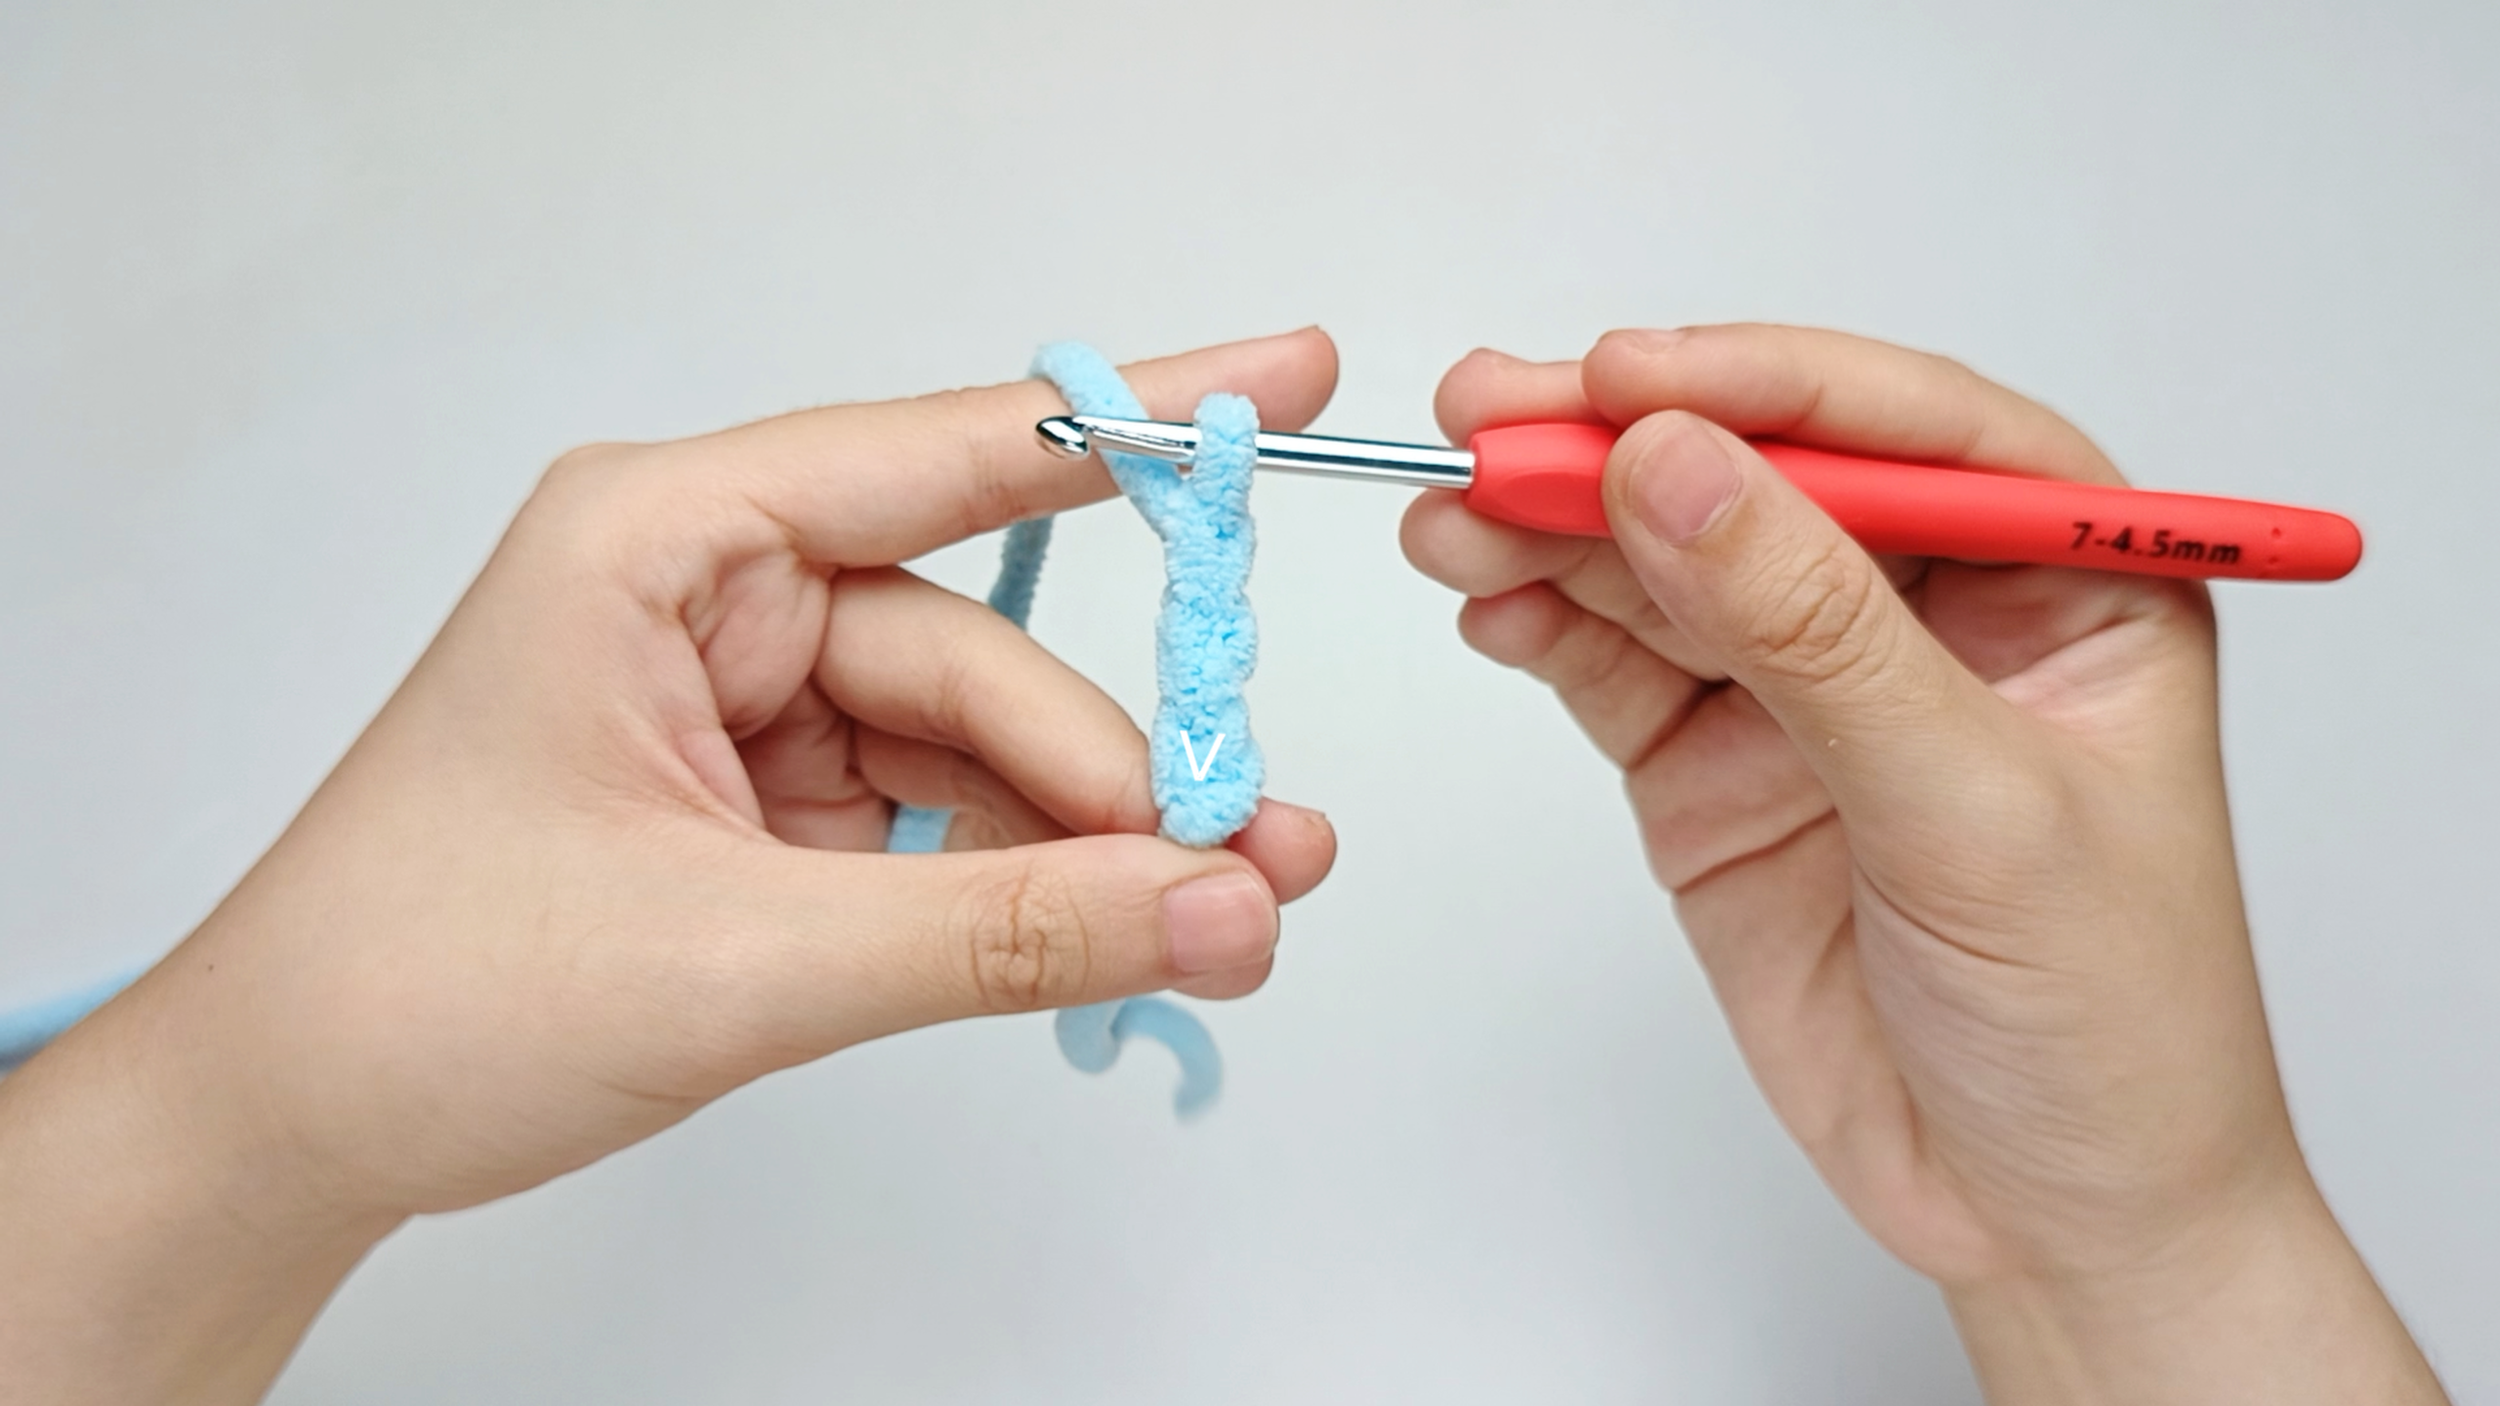
Find your anchor stitch:
Your anchor stitch is the very first chain (ch) you made - the one furthest from your hook (the 3rd chain from the hook). Every stitch in the next steps goes into this same chain.
FIRST PETAL:
1 DOUBLE CROCHET (DC), CHAIN 2 (CH), 1 SLIP STITCH (SL ST)
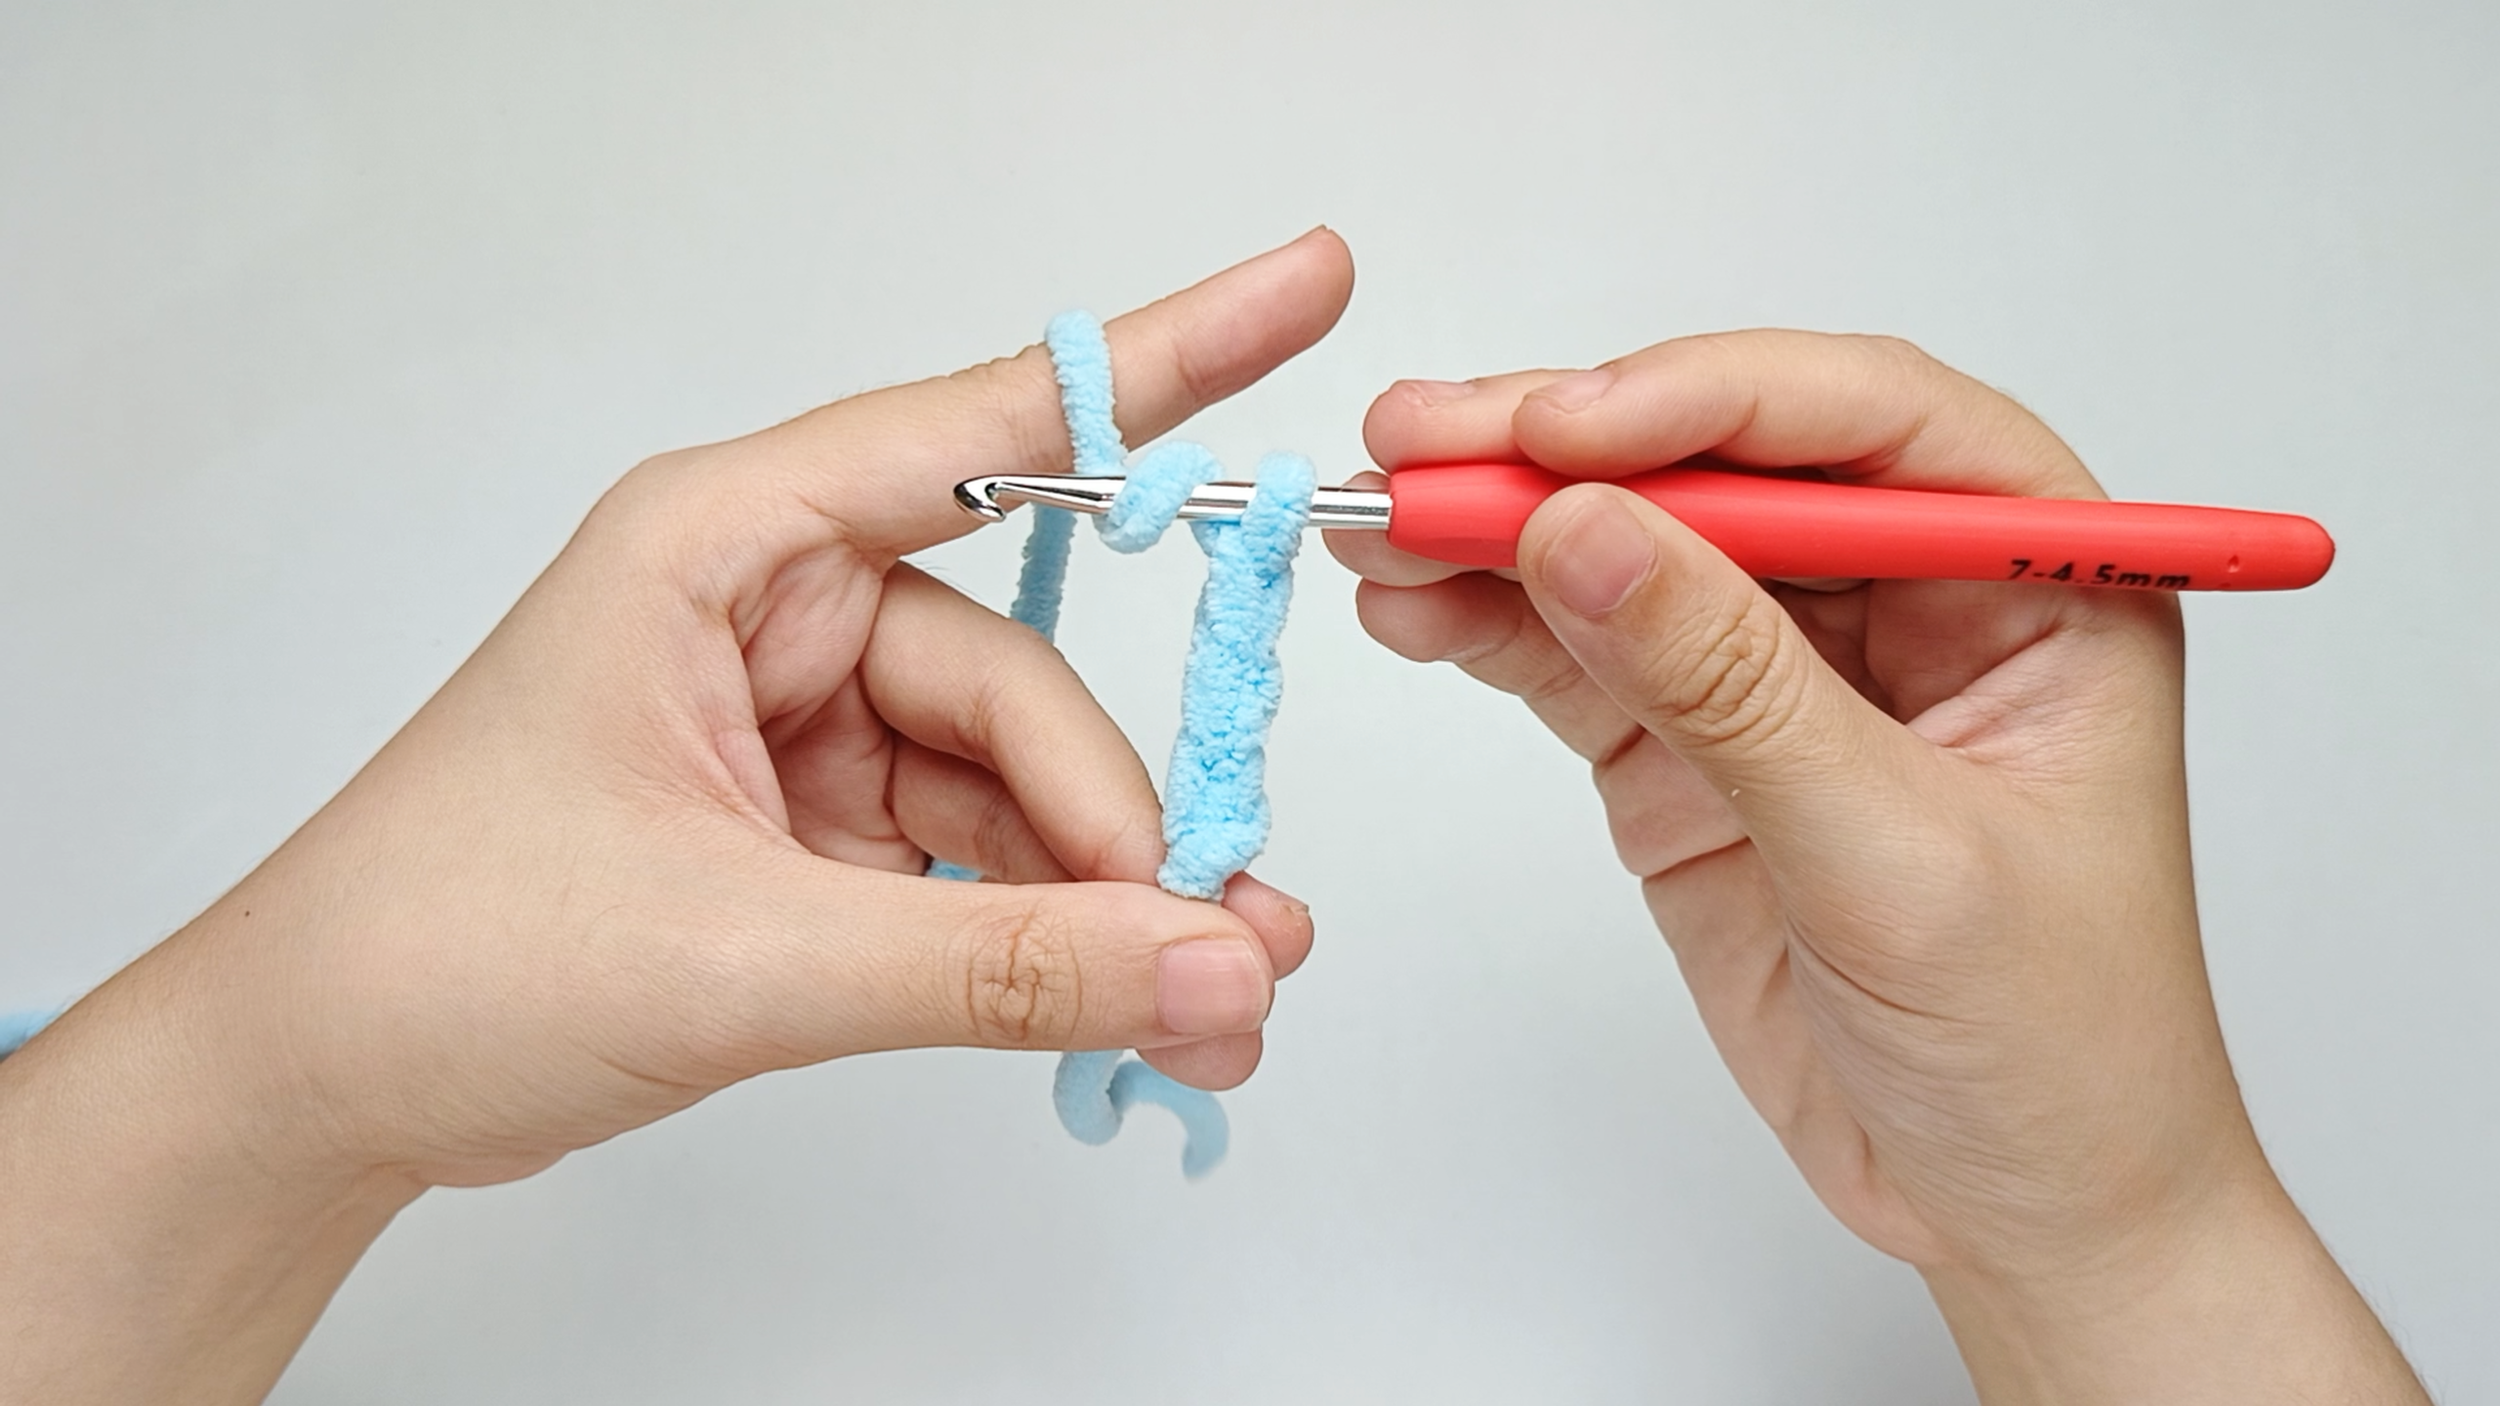
Start the double crochet (dc) with a yarn over.
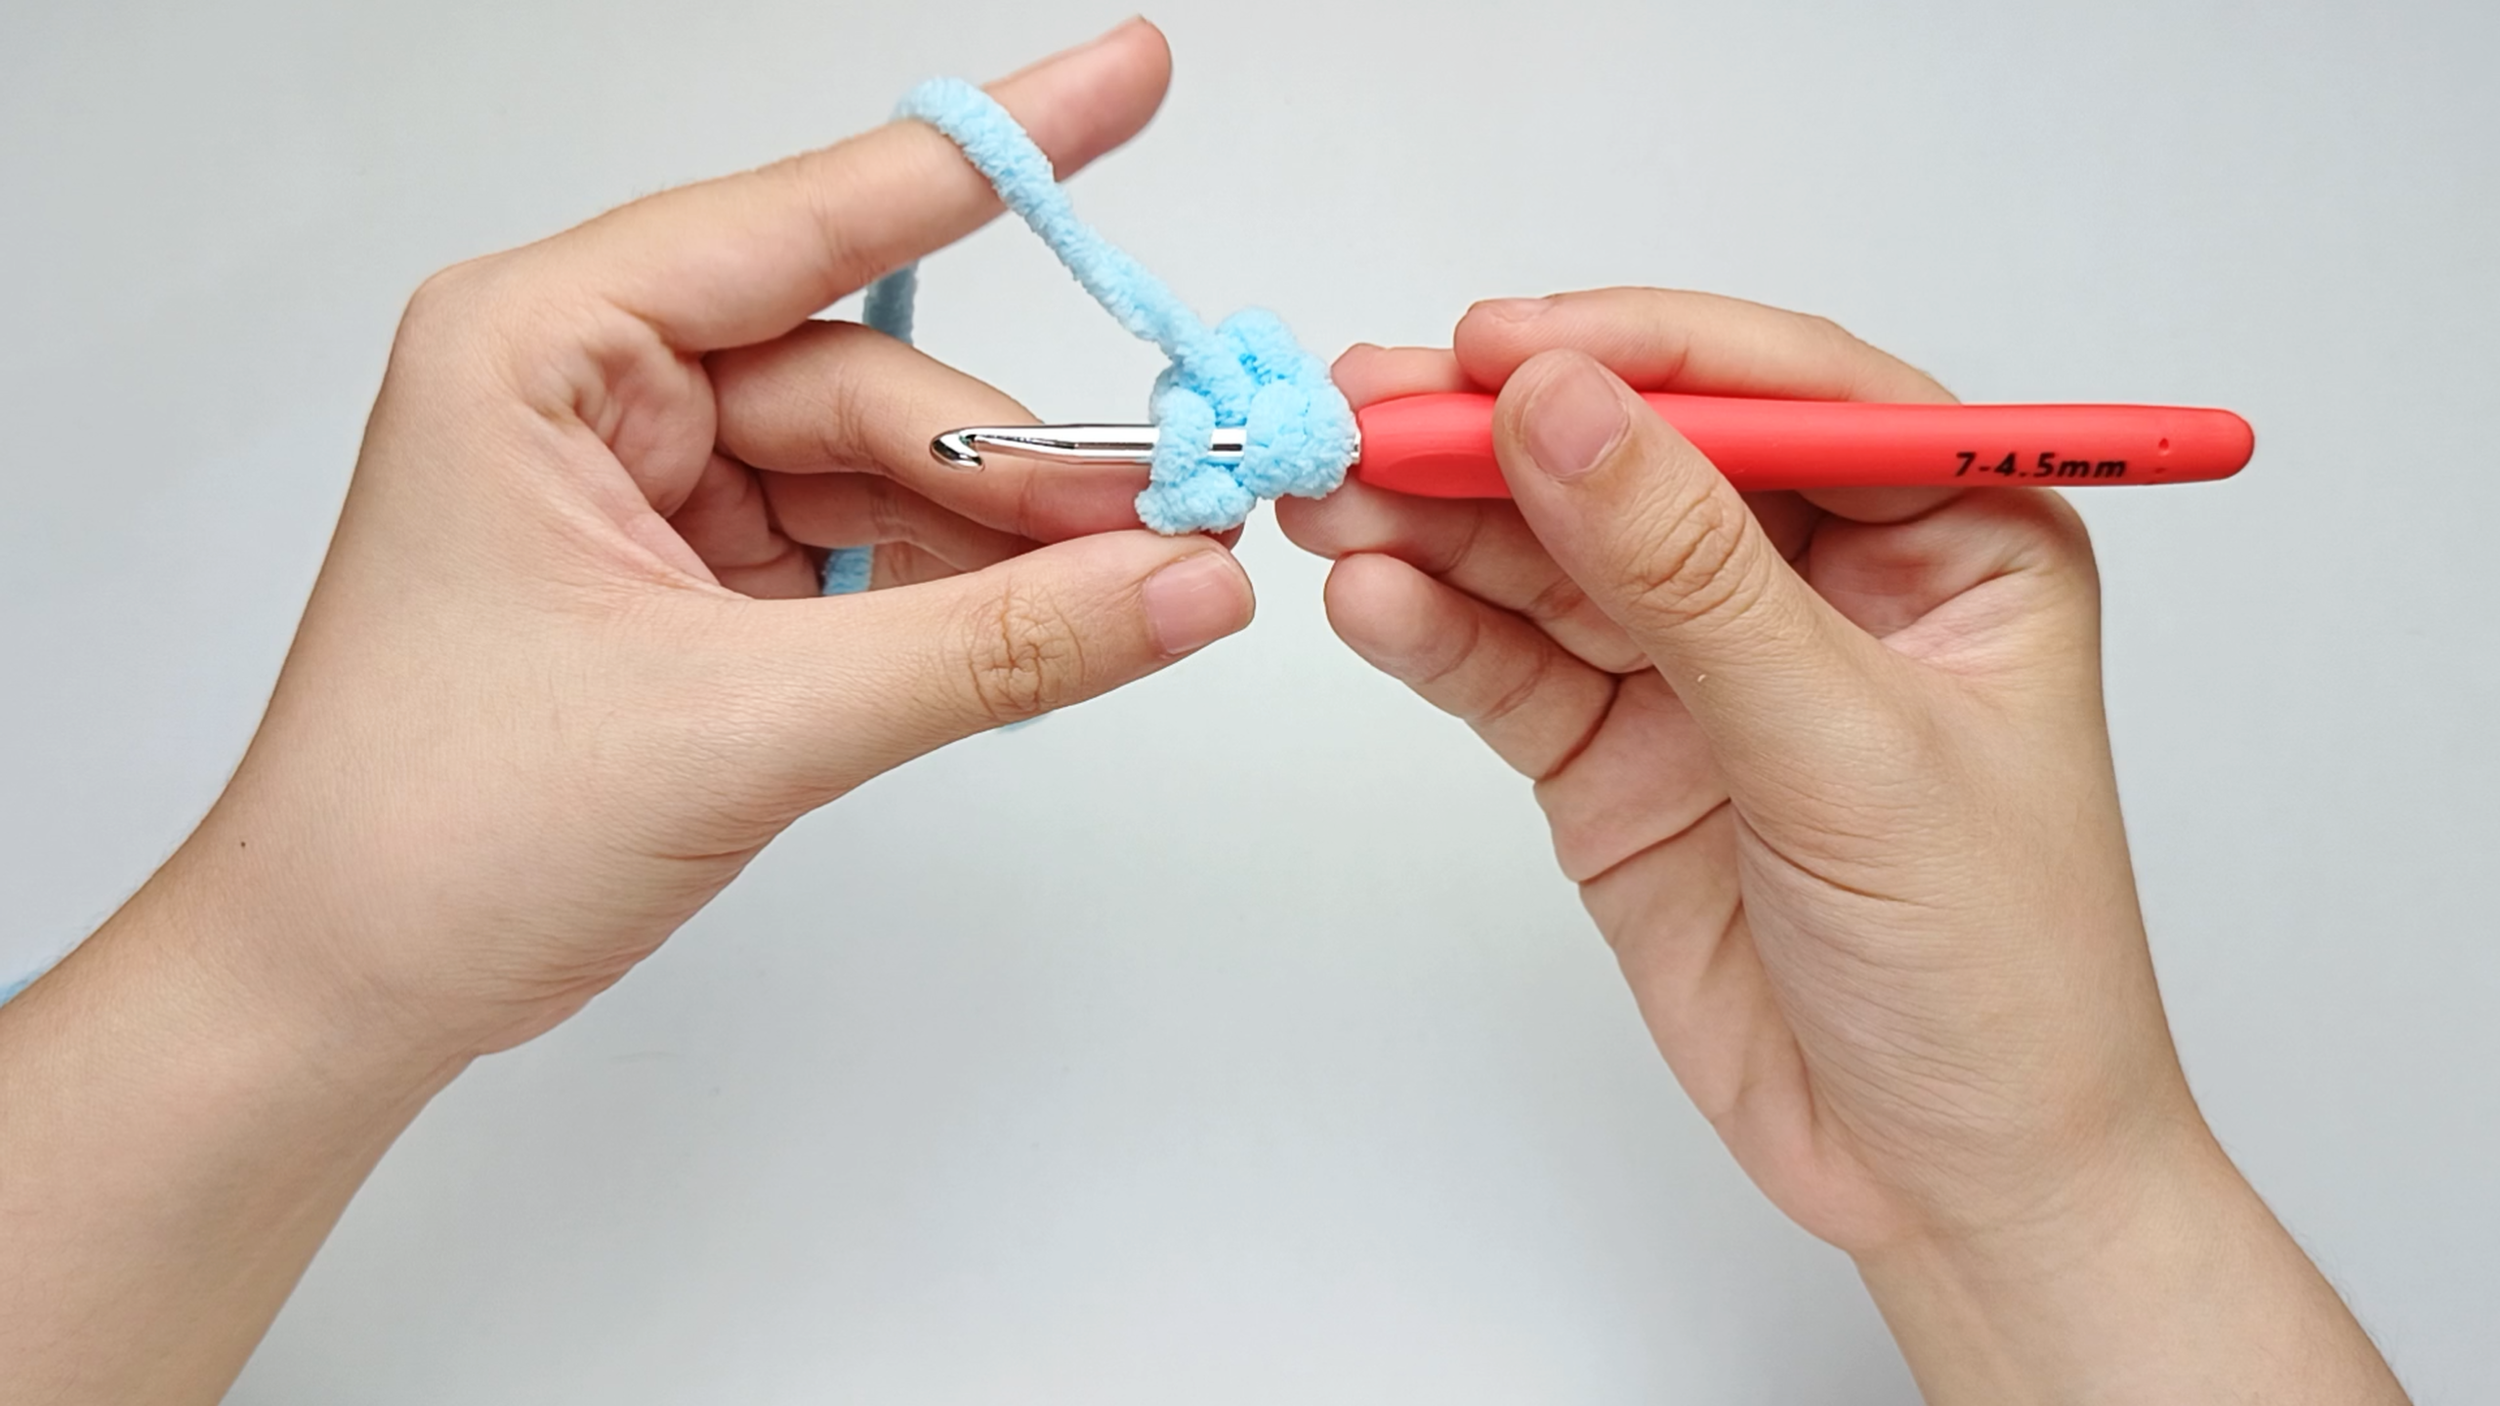
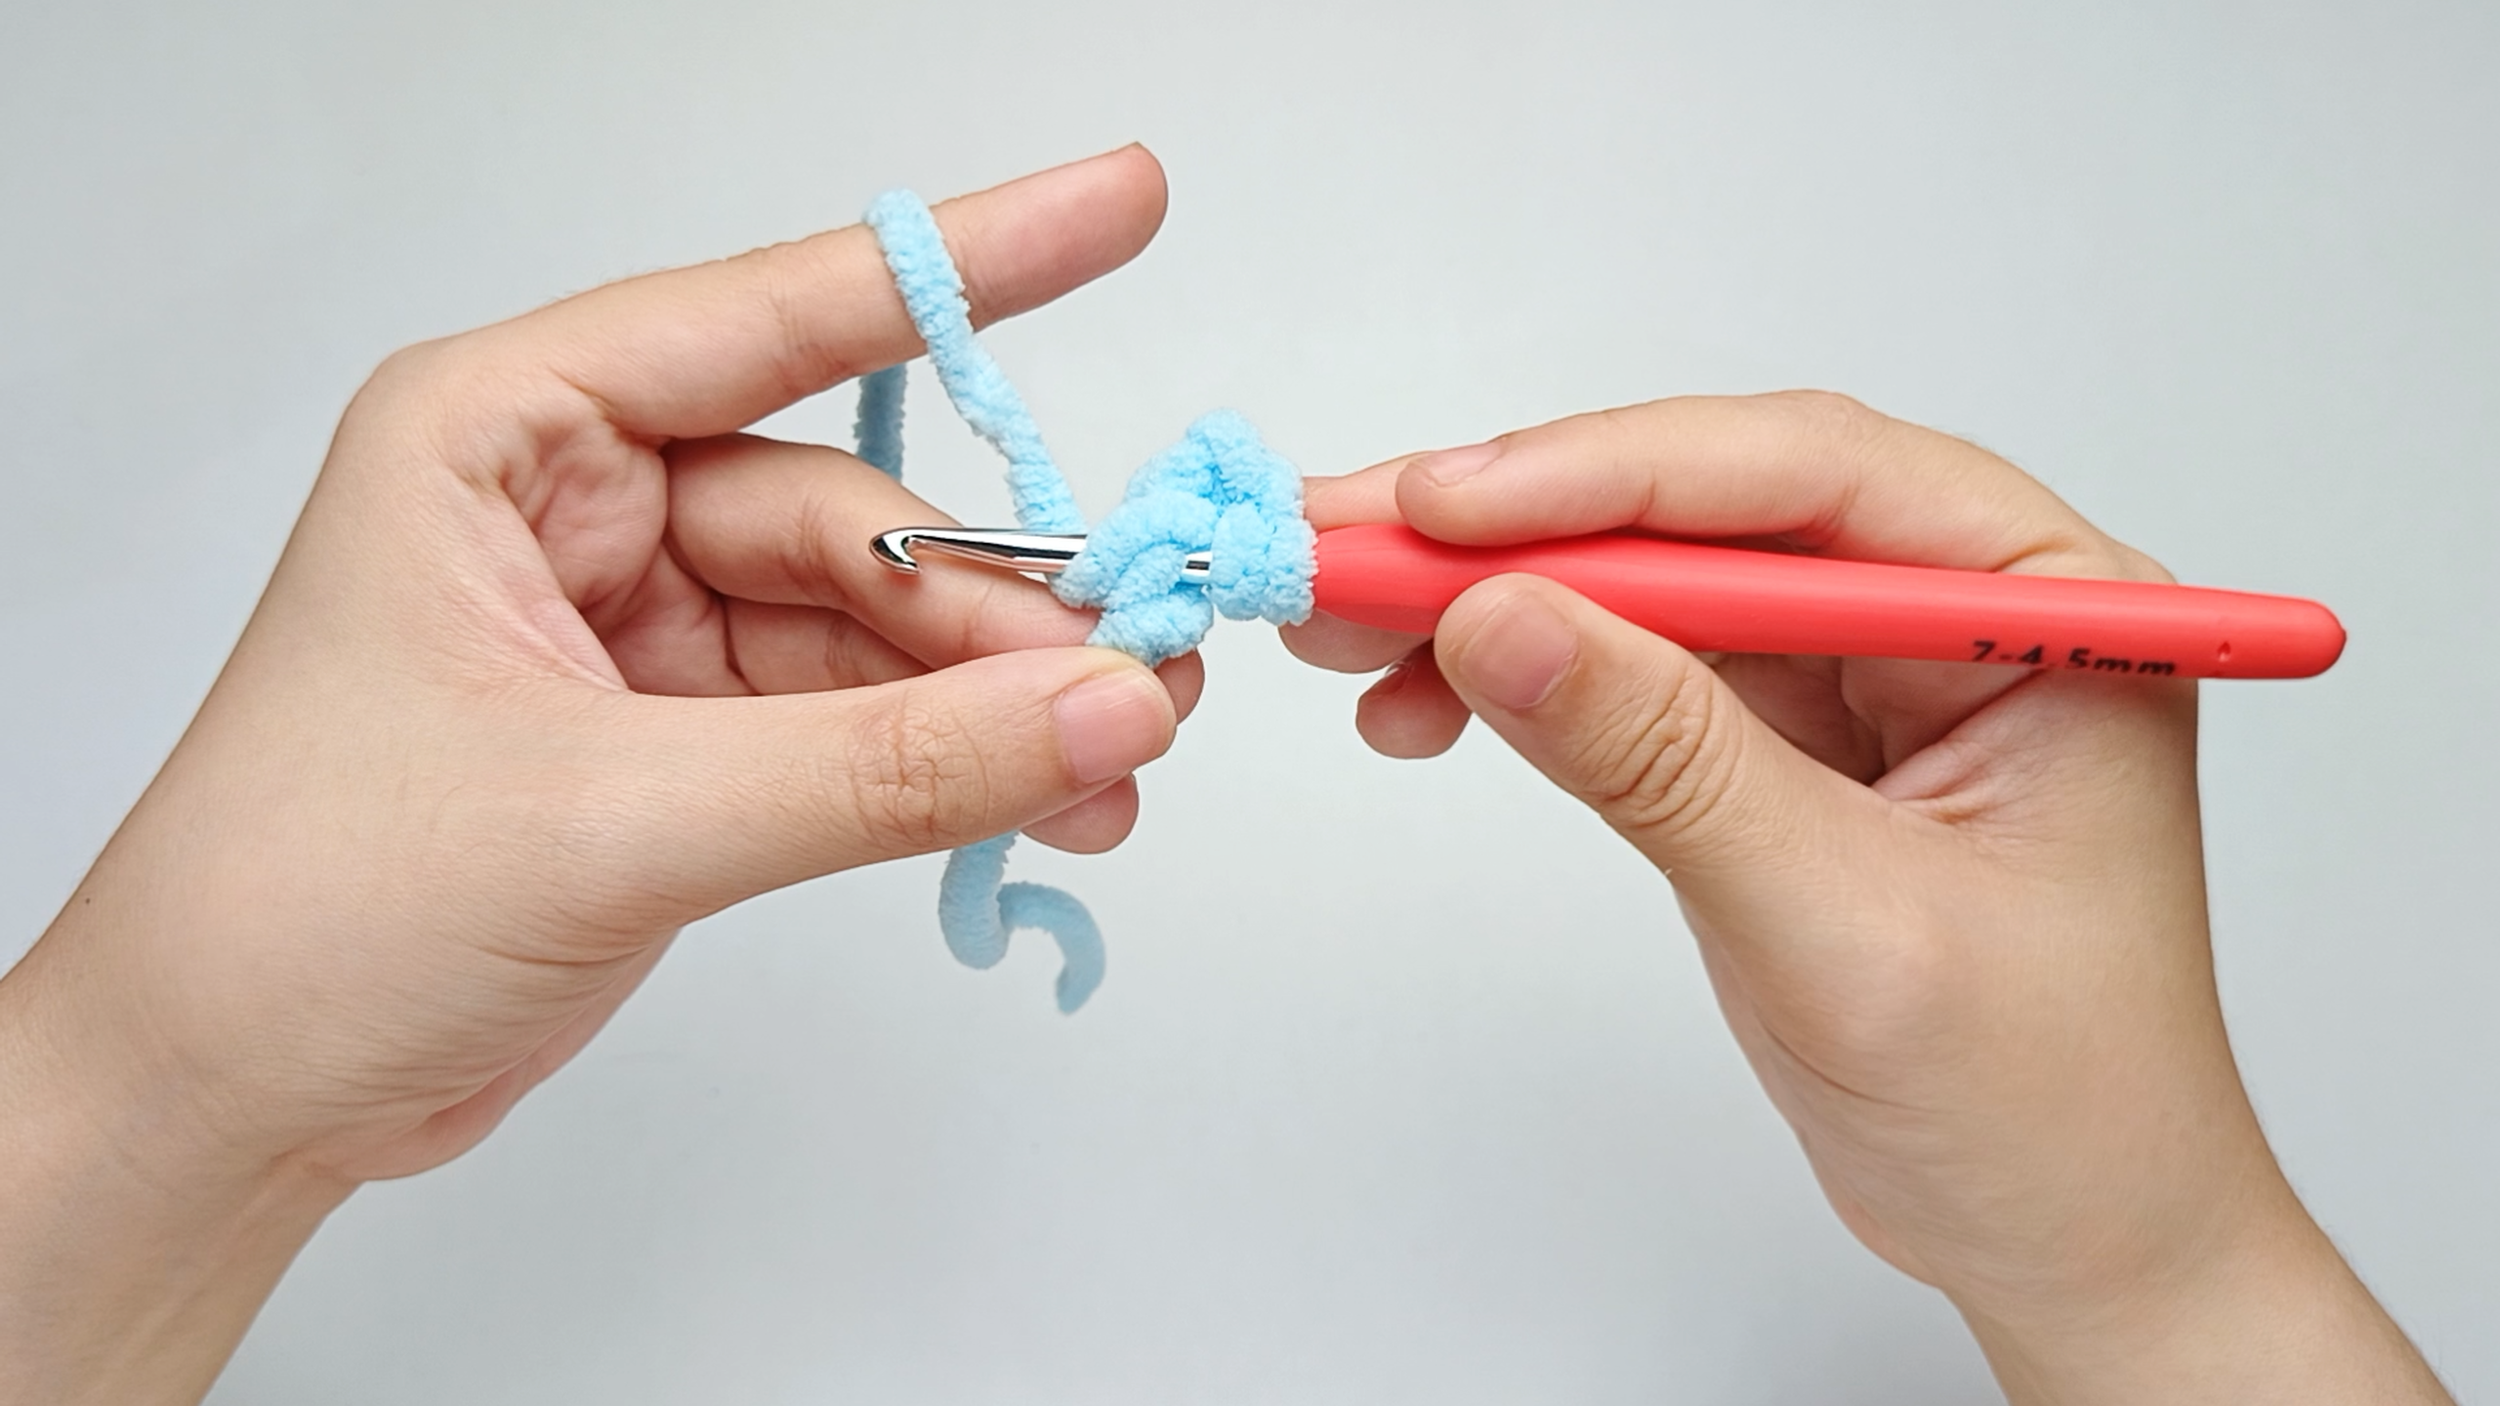
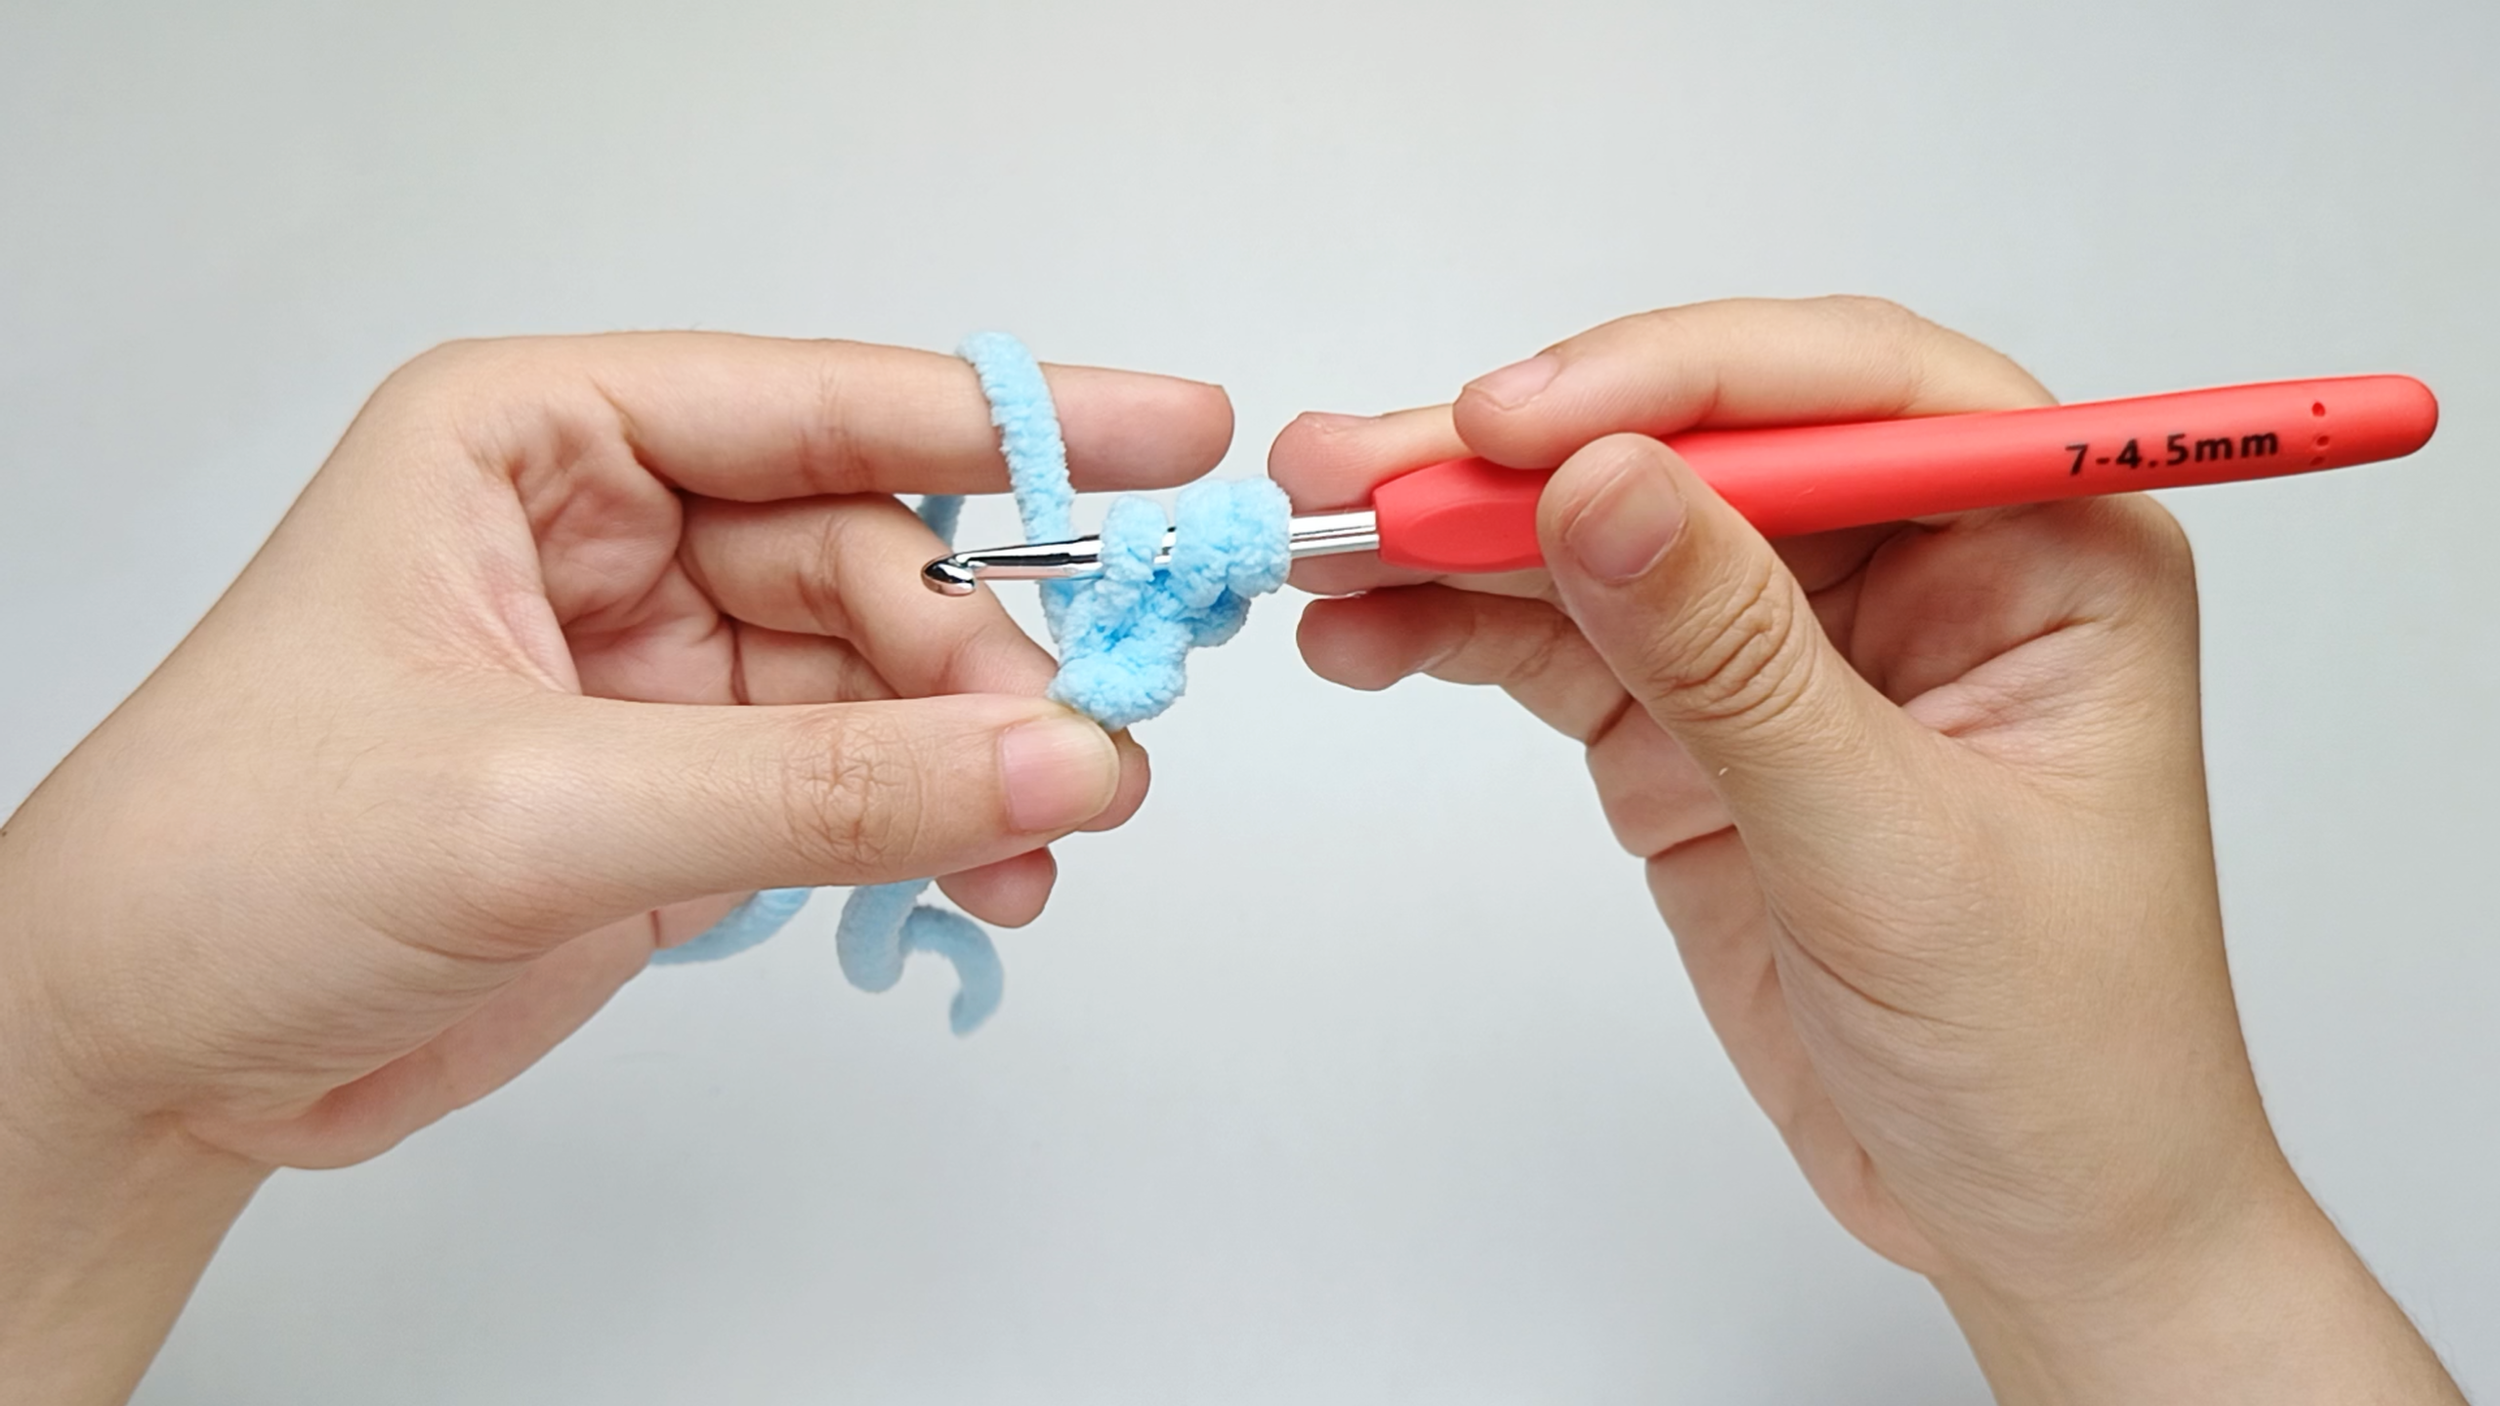
Pull through the stitch:
Pull the yarn through the stitch. You should now have three loops on your hook.
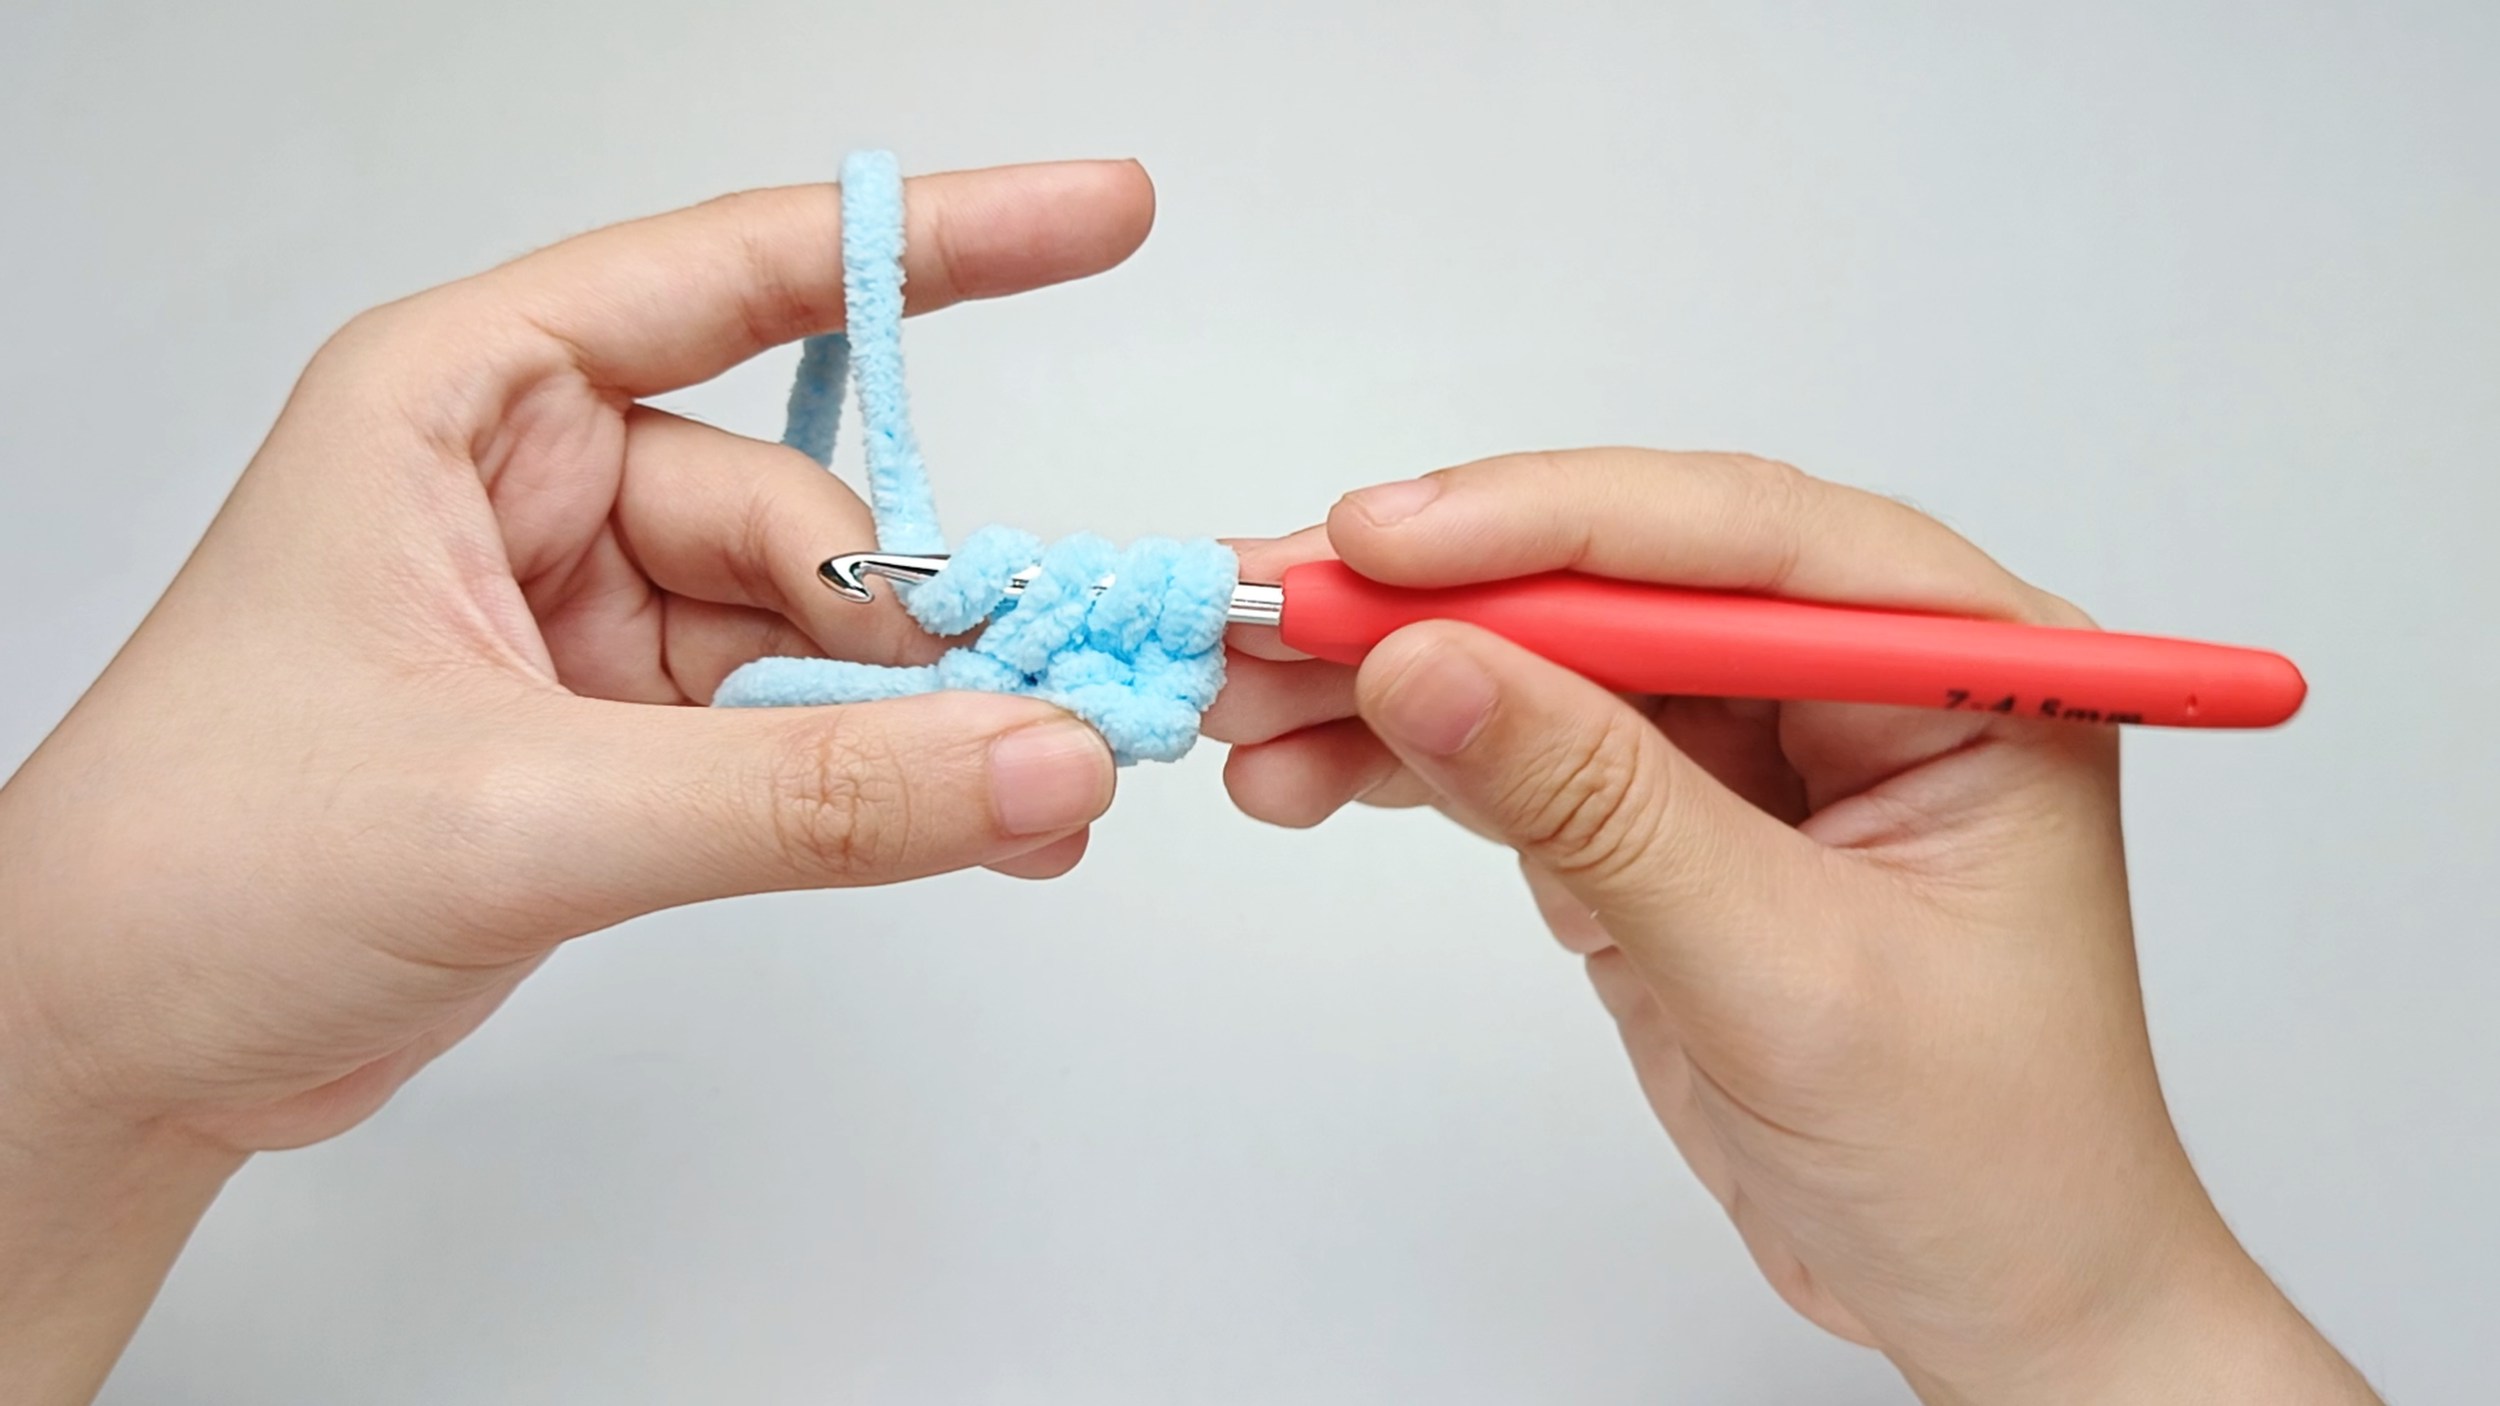
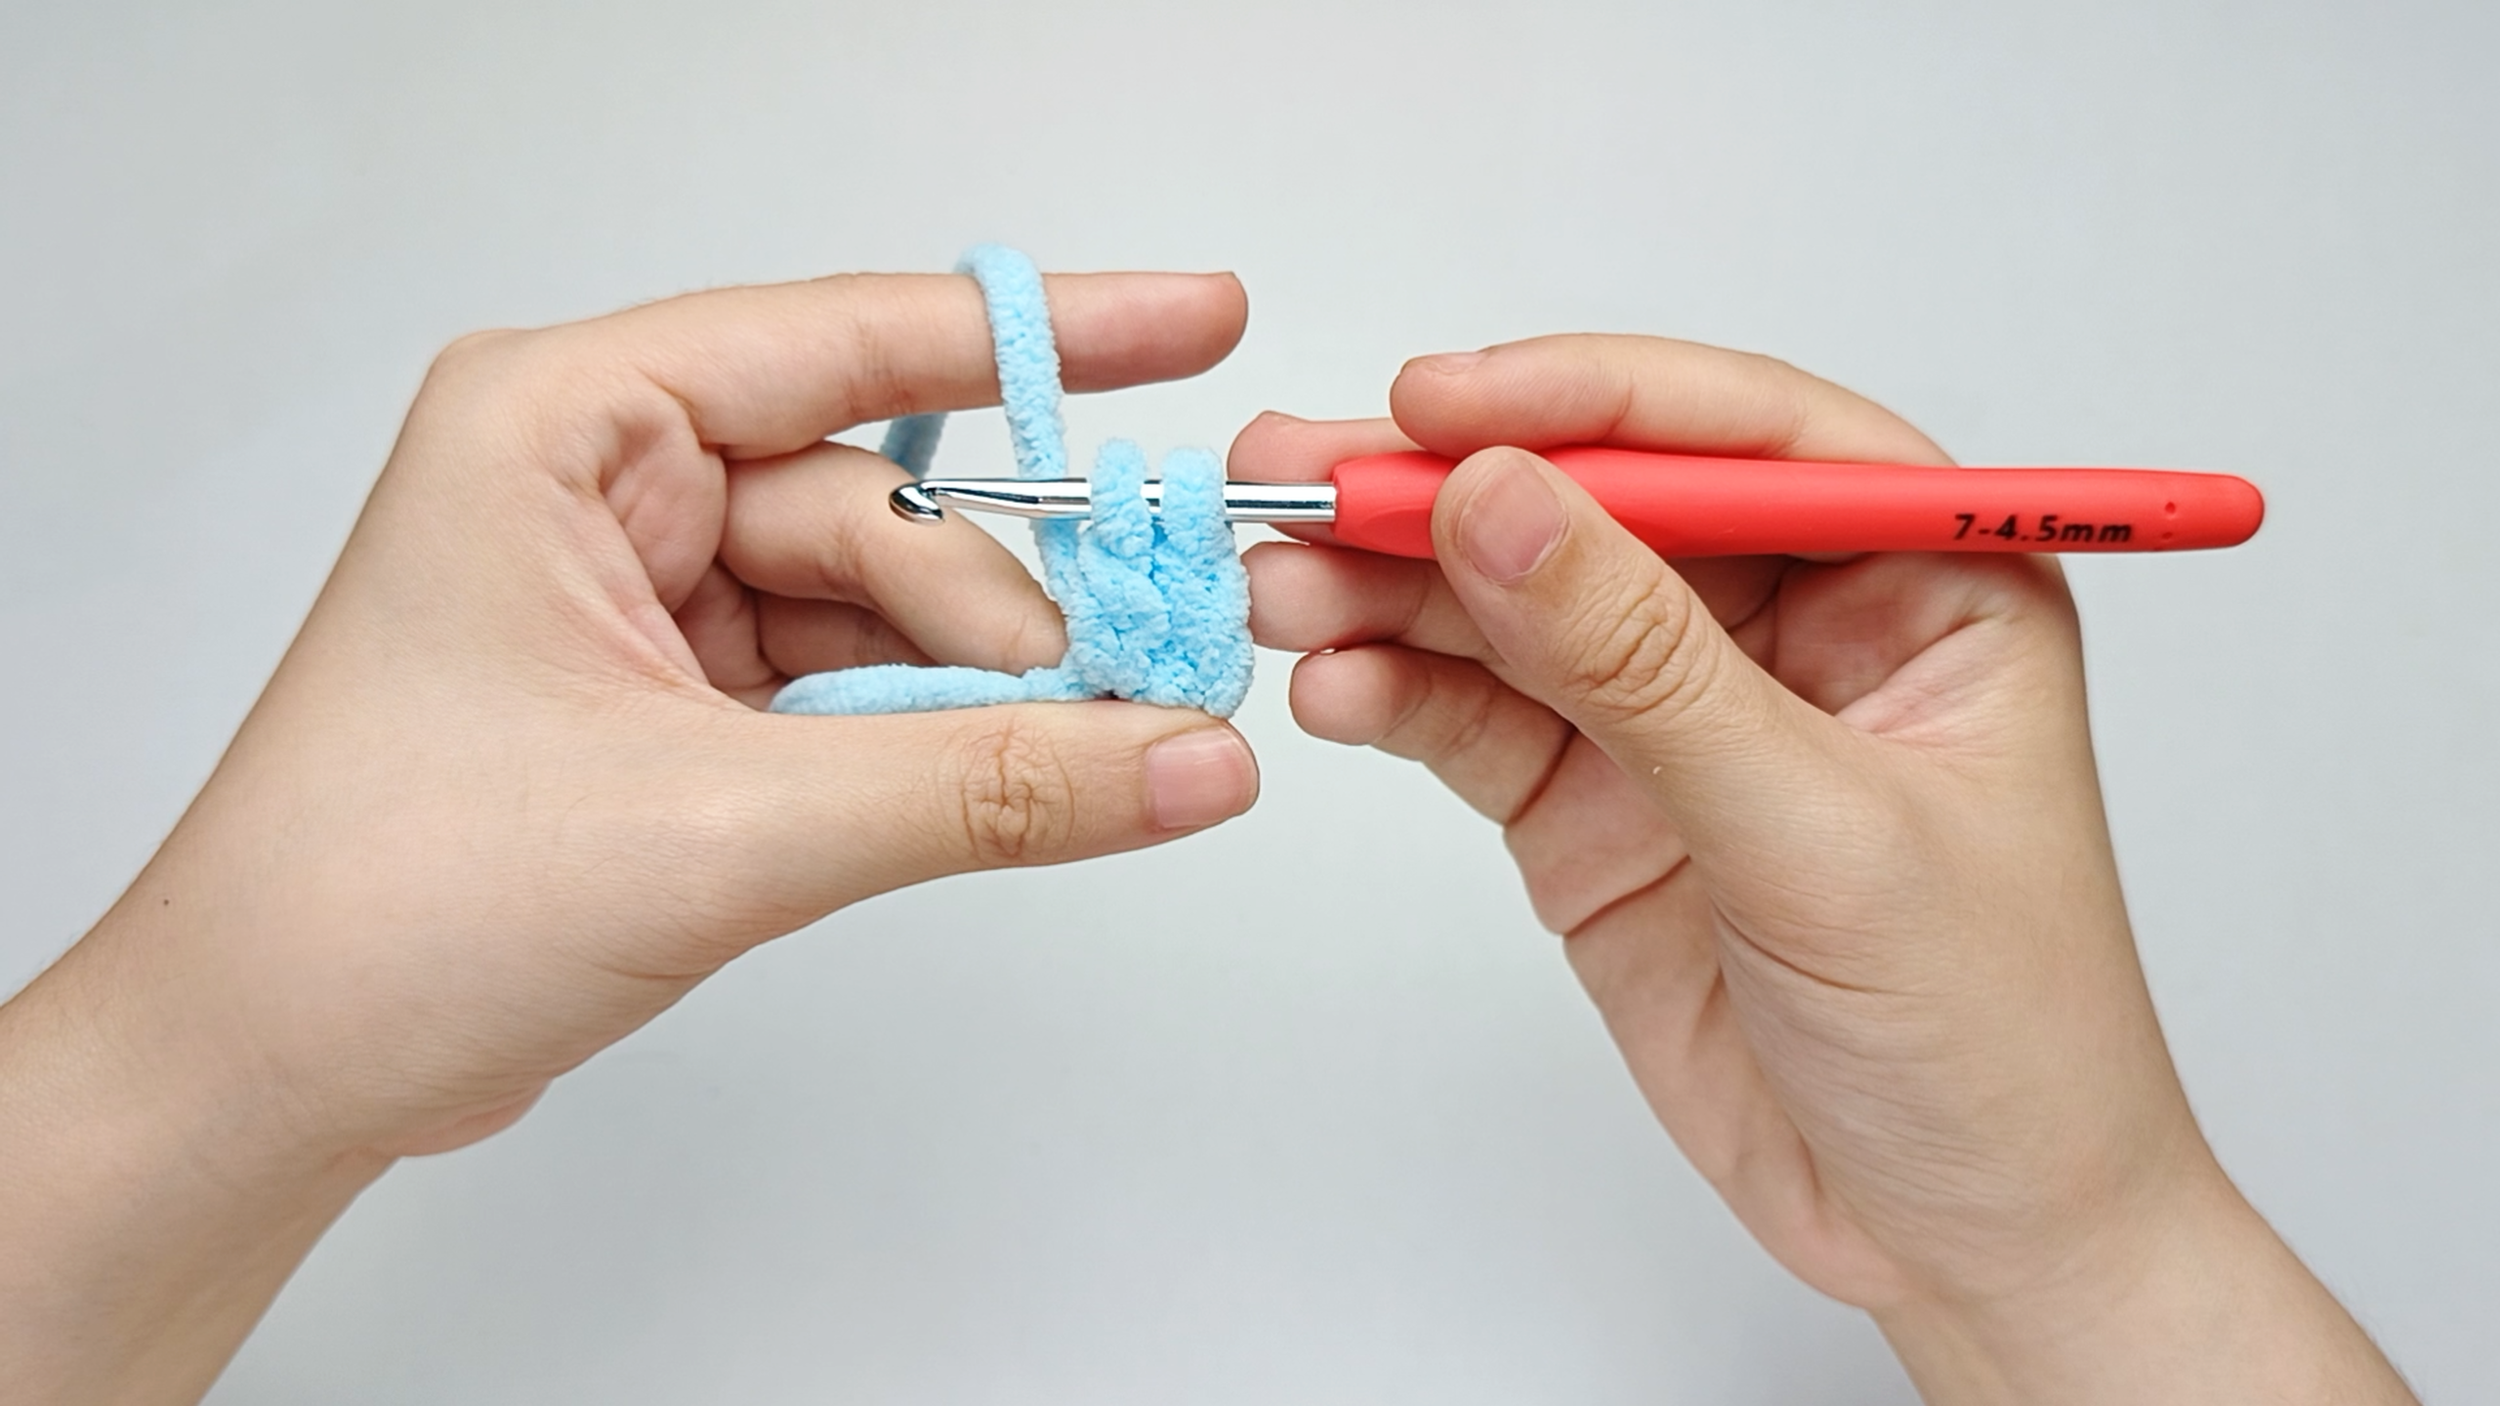
Pull through the first two loops:
Pull the yarn through the first two loops on your hook. You should now have two loops left.
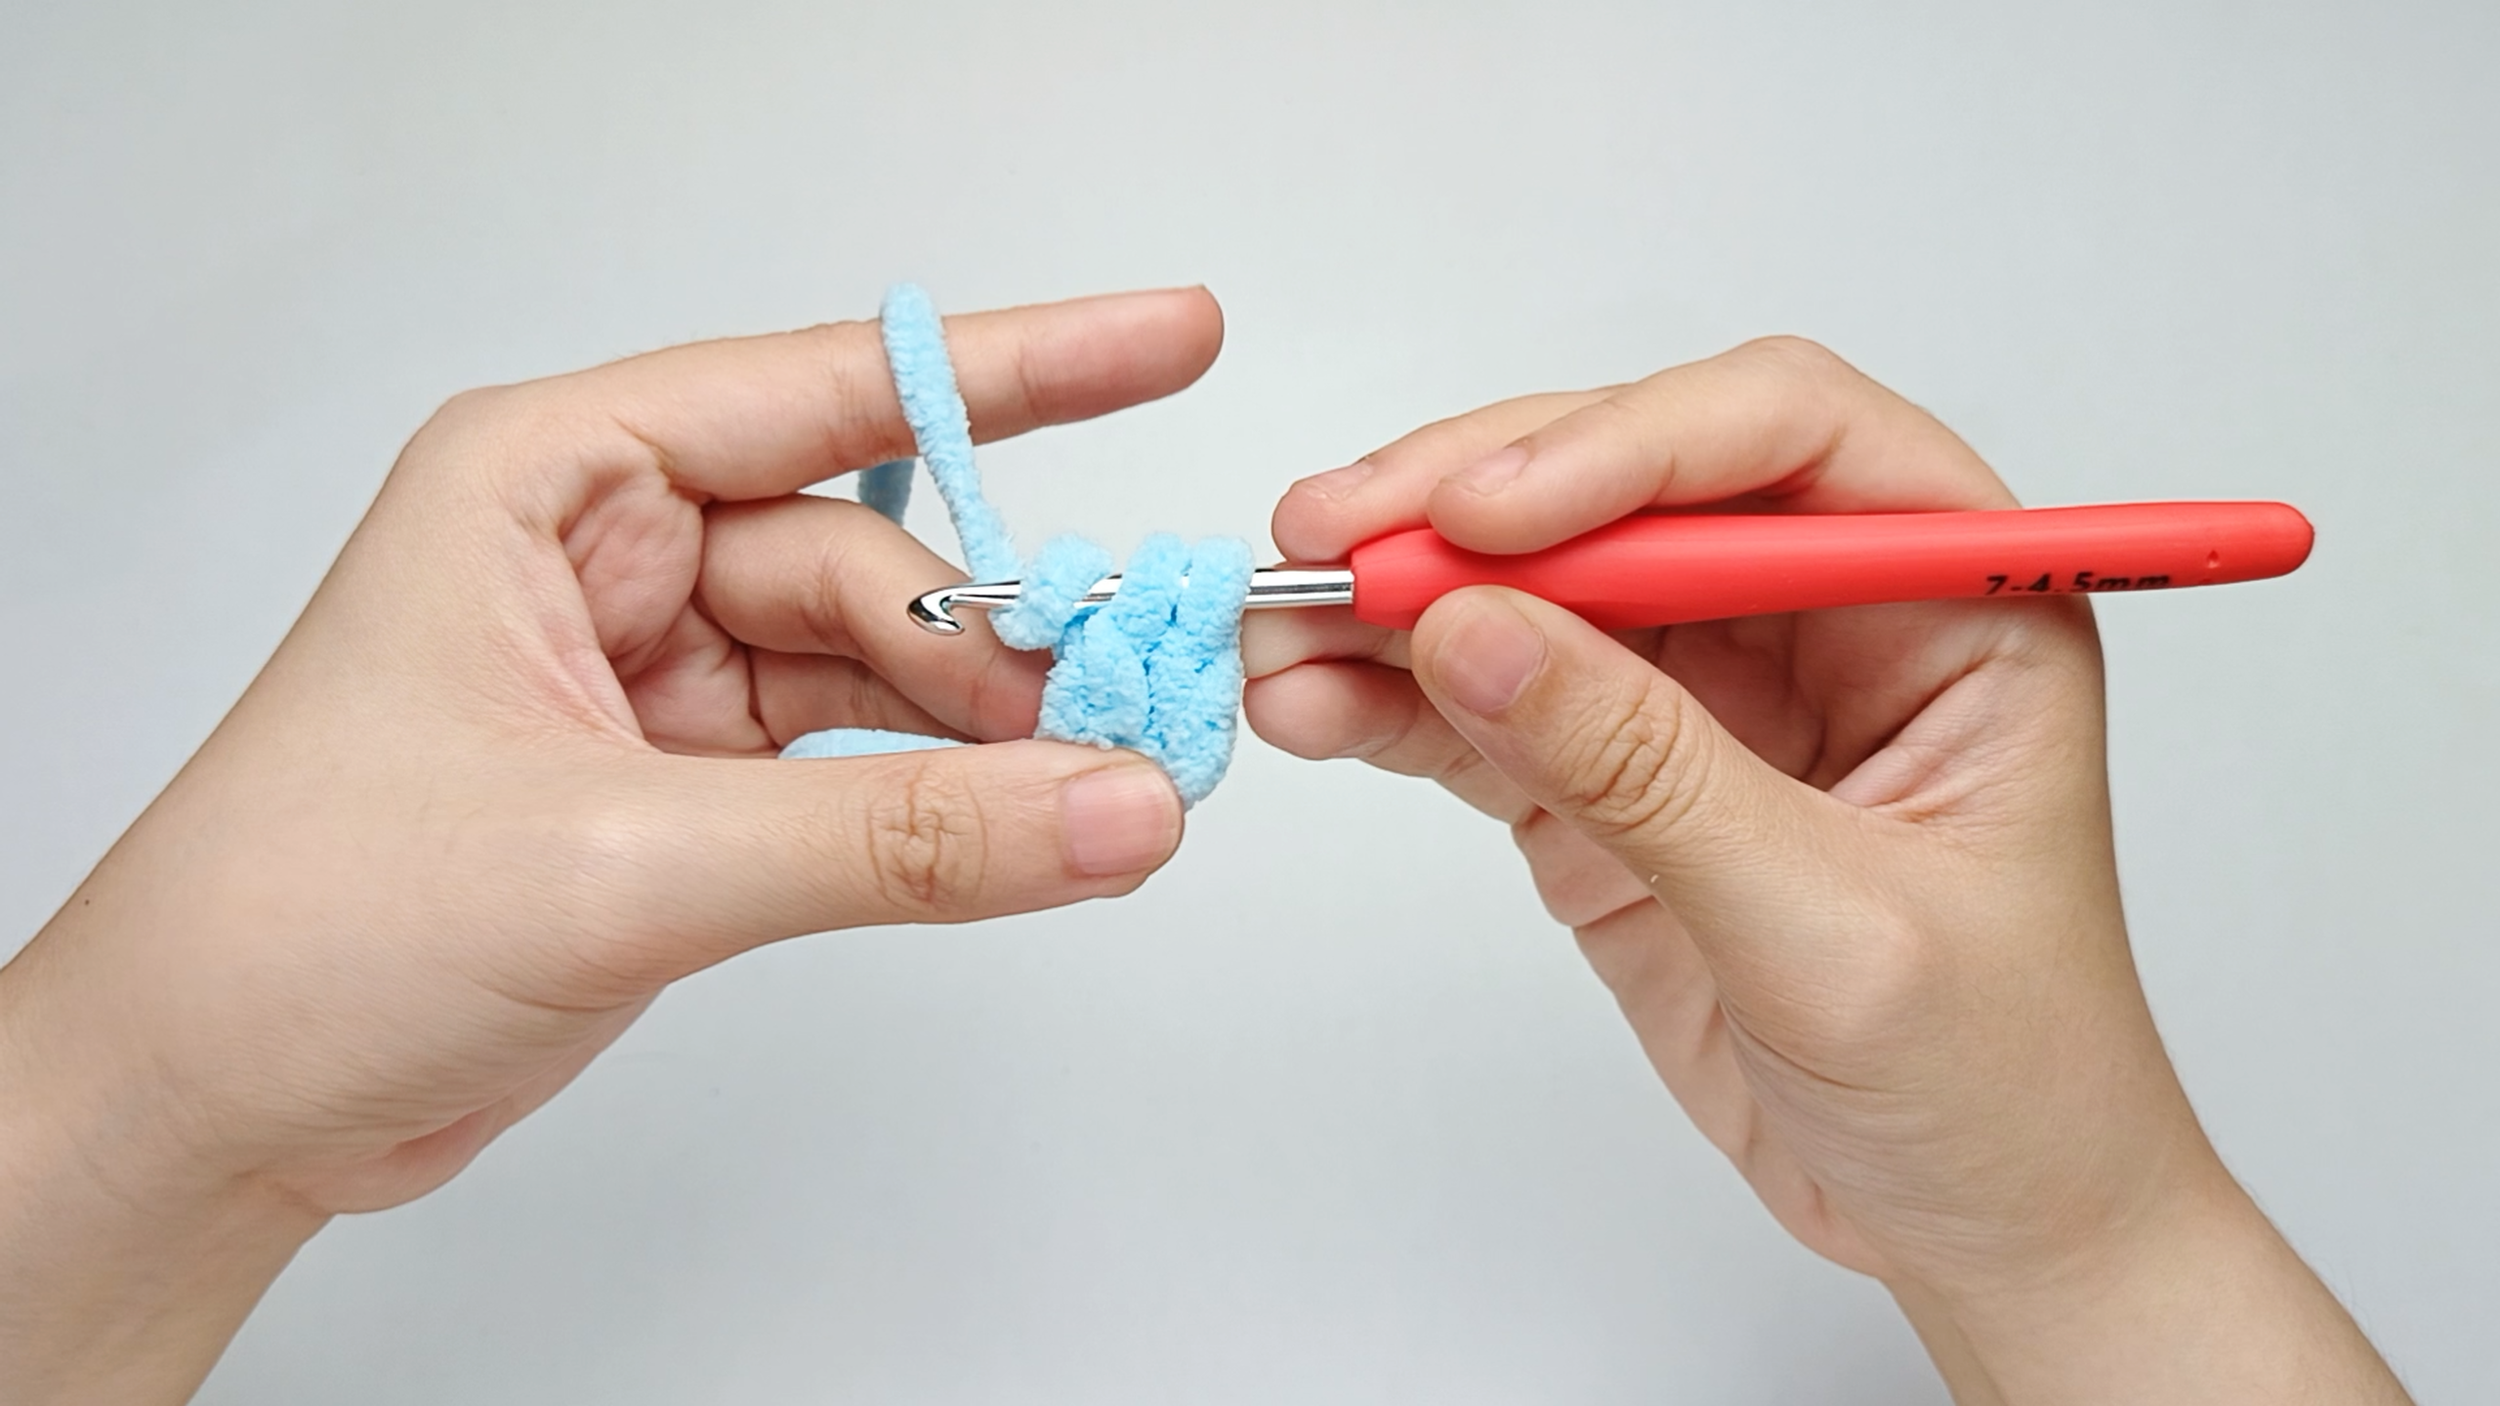
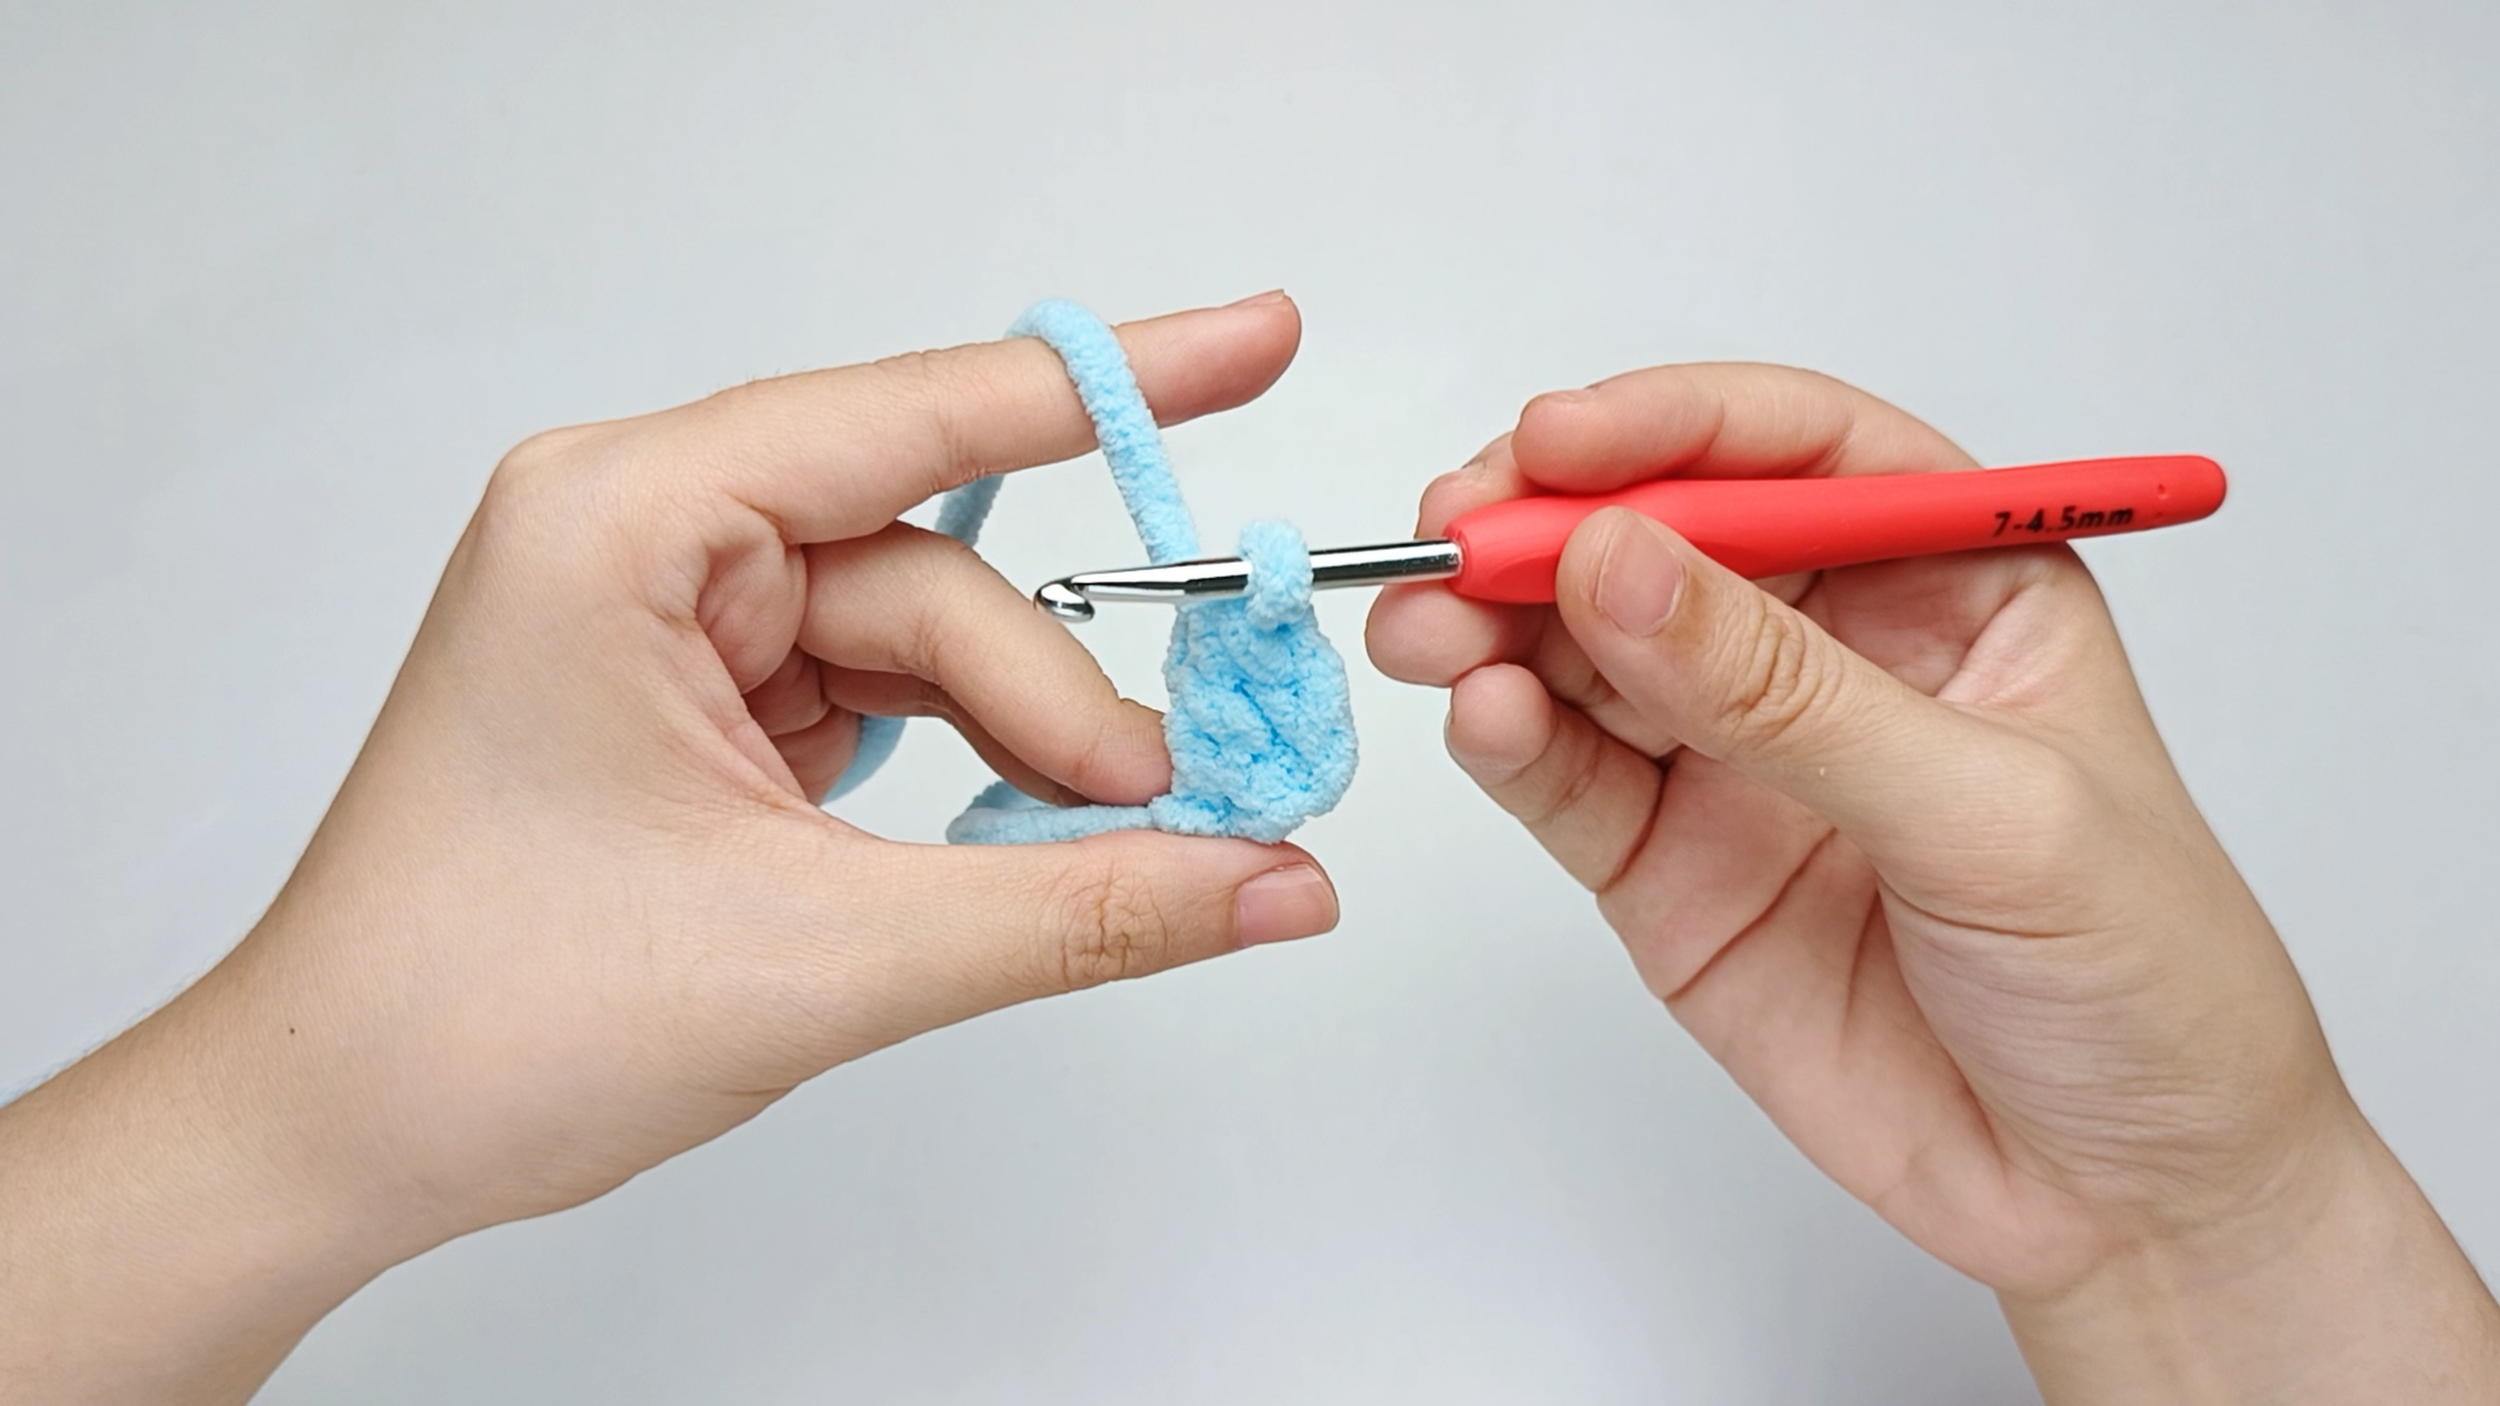
Pull through the last two loops:
Pull the yarn through both loops on your hook. You should now have one loop left - and that completes one double crochet (dc).
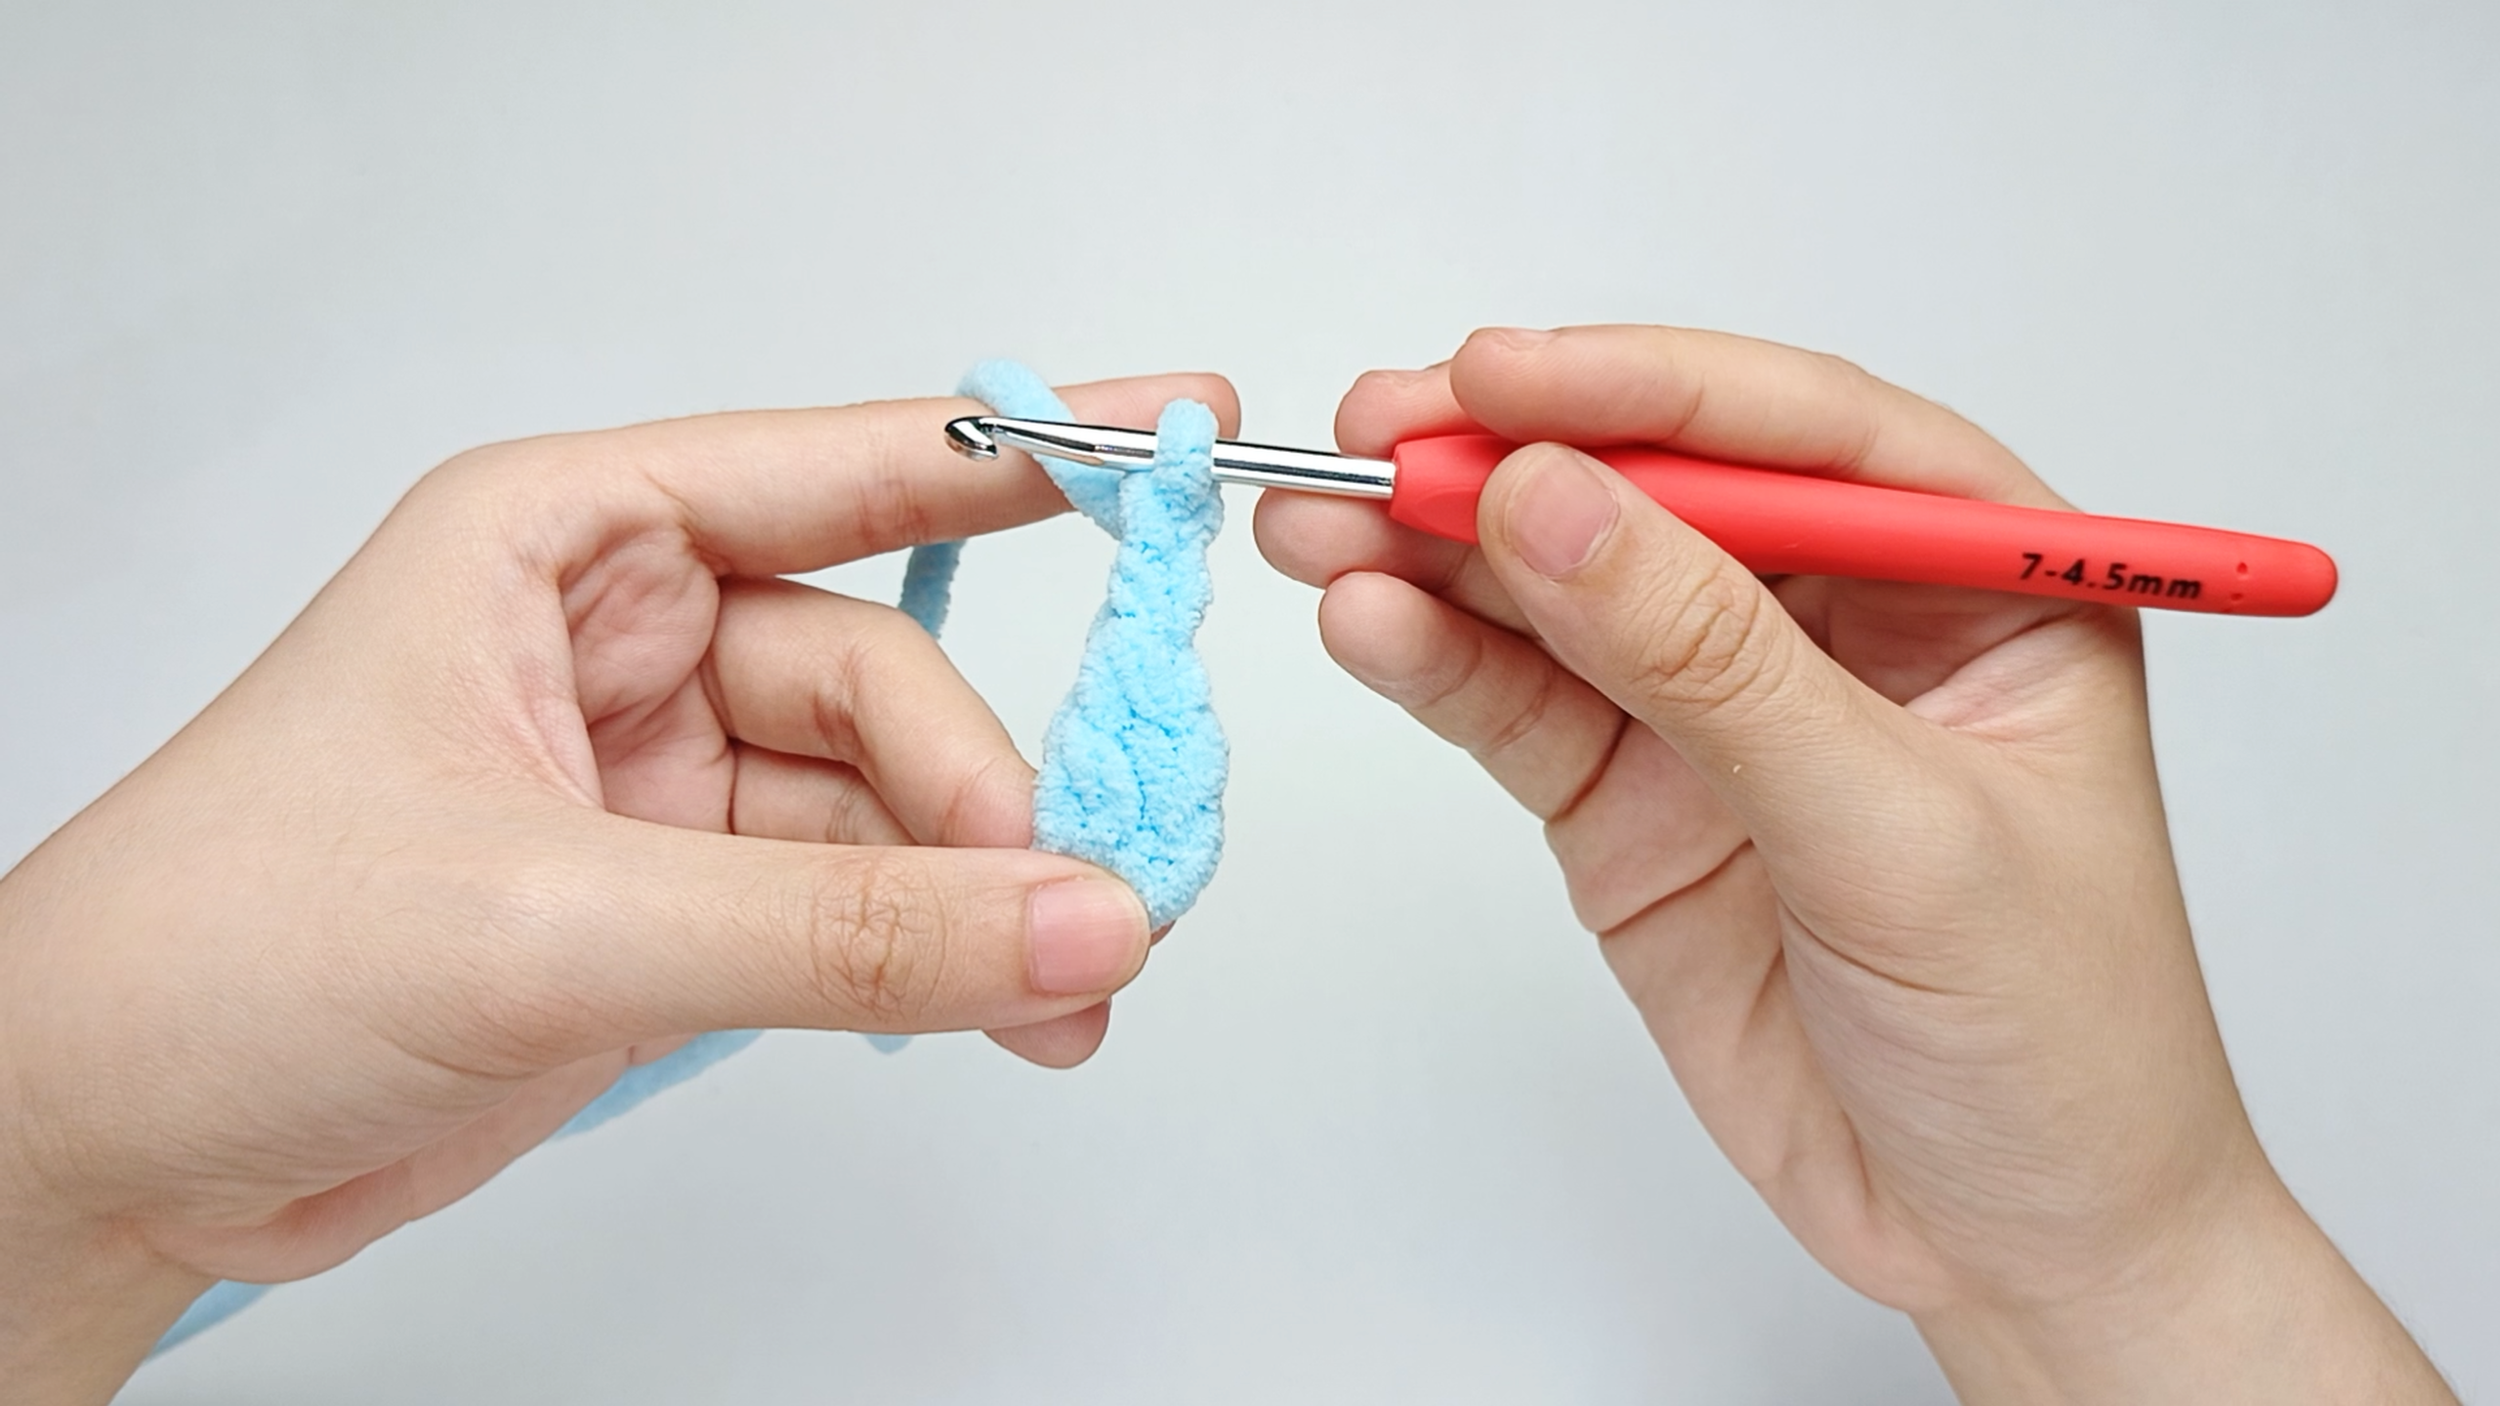
Make chain 2 (ch):
Yarn over and pull through the loop on your hook, then do the same once more.
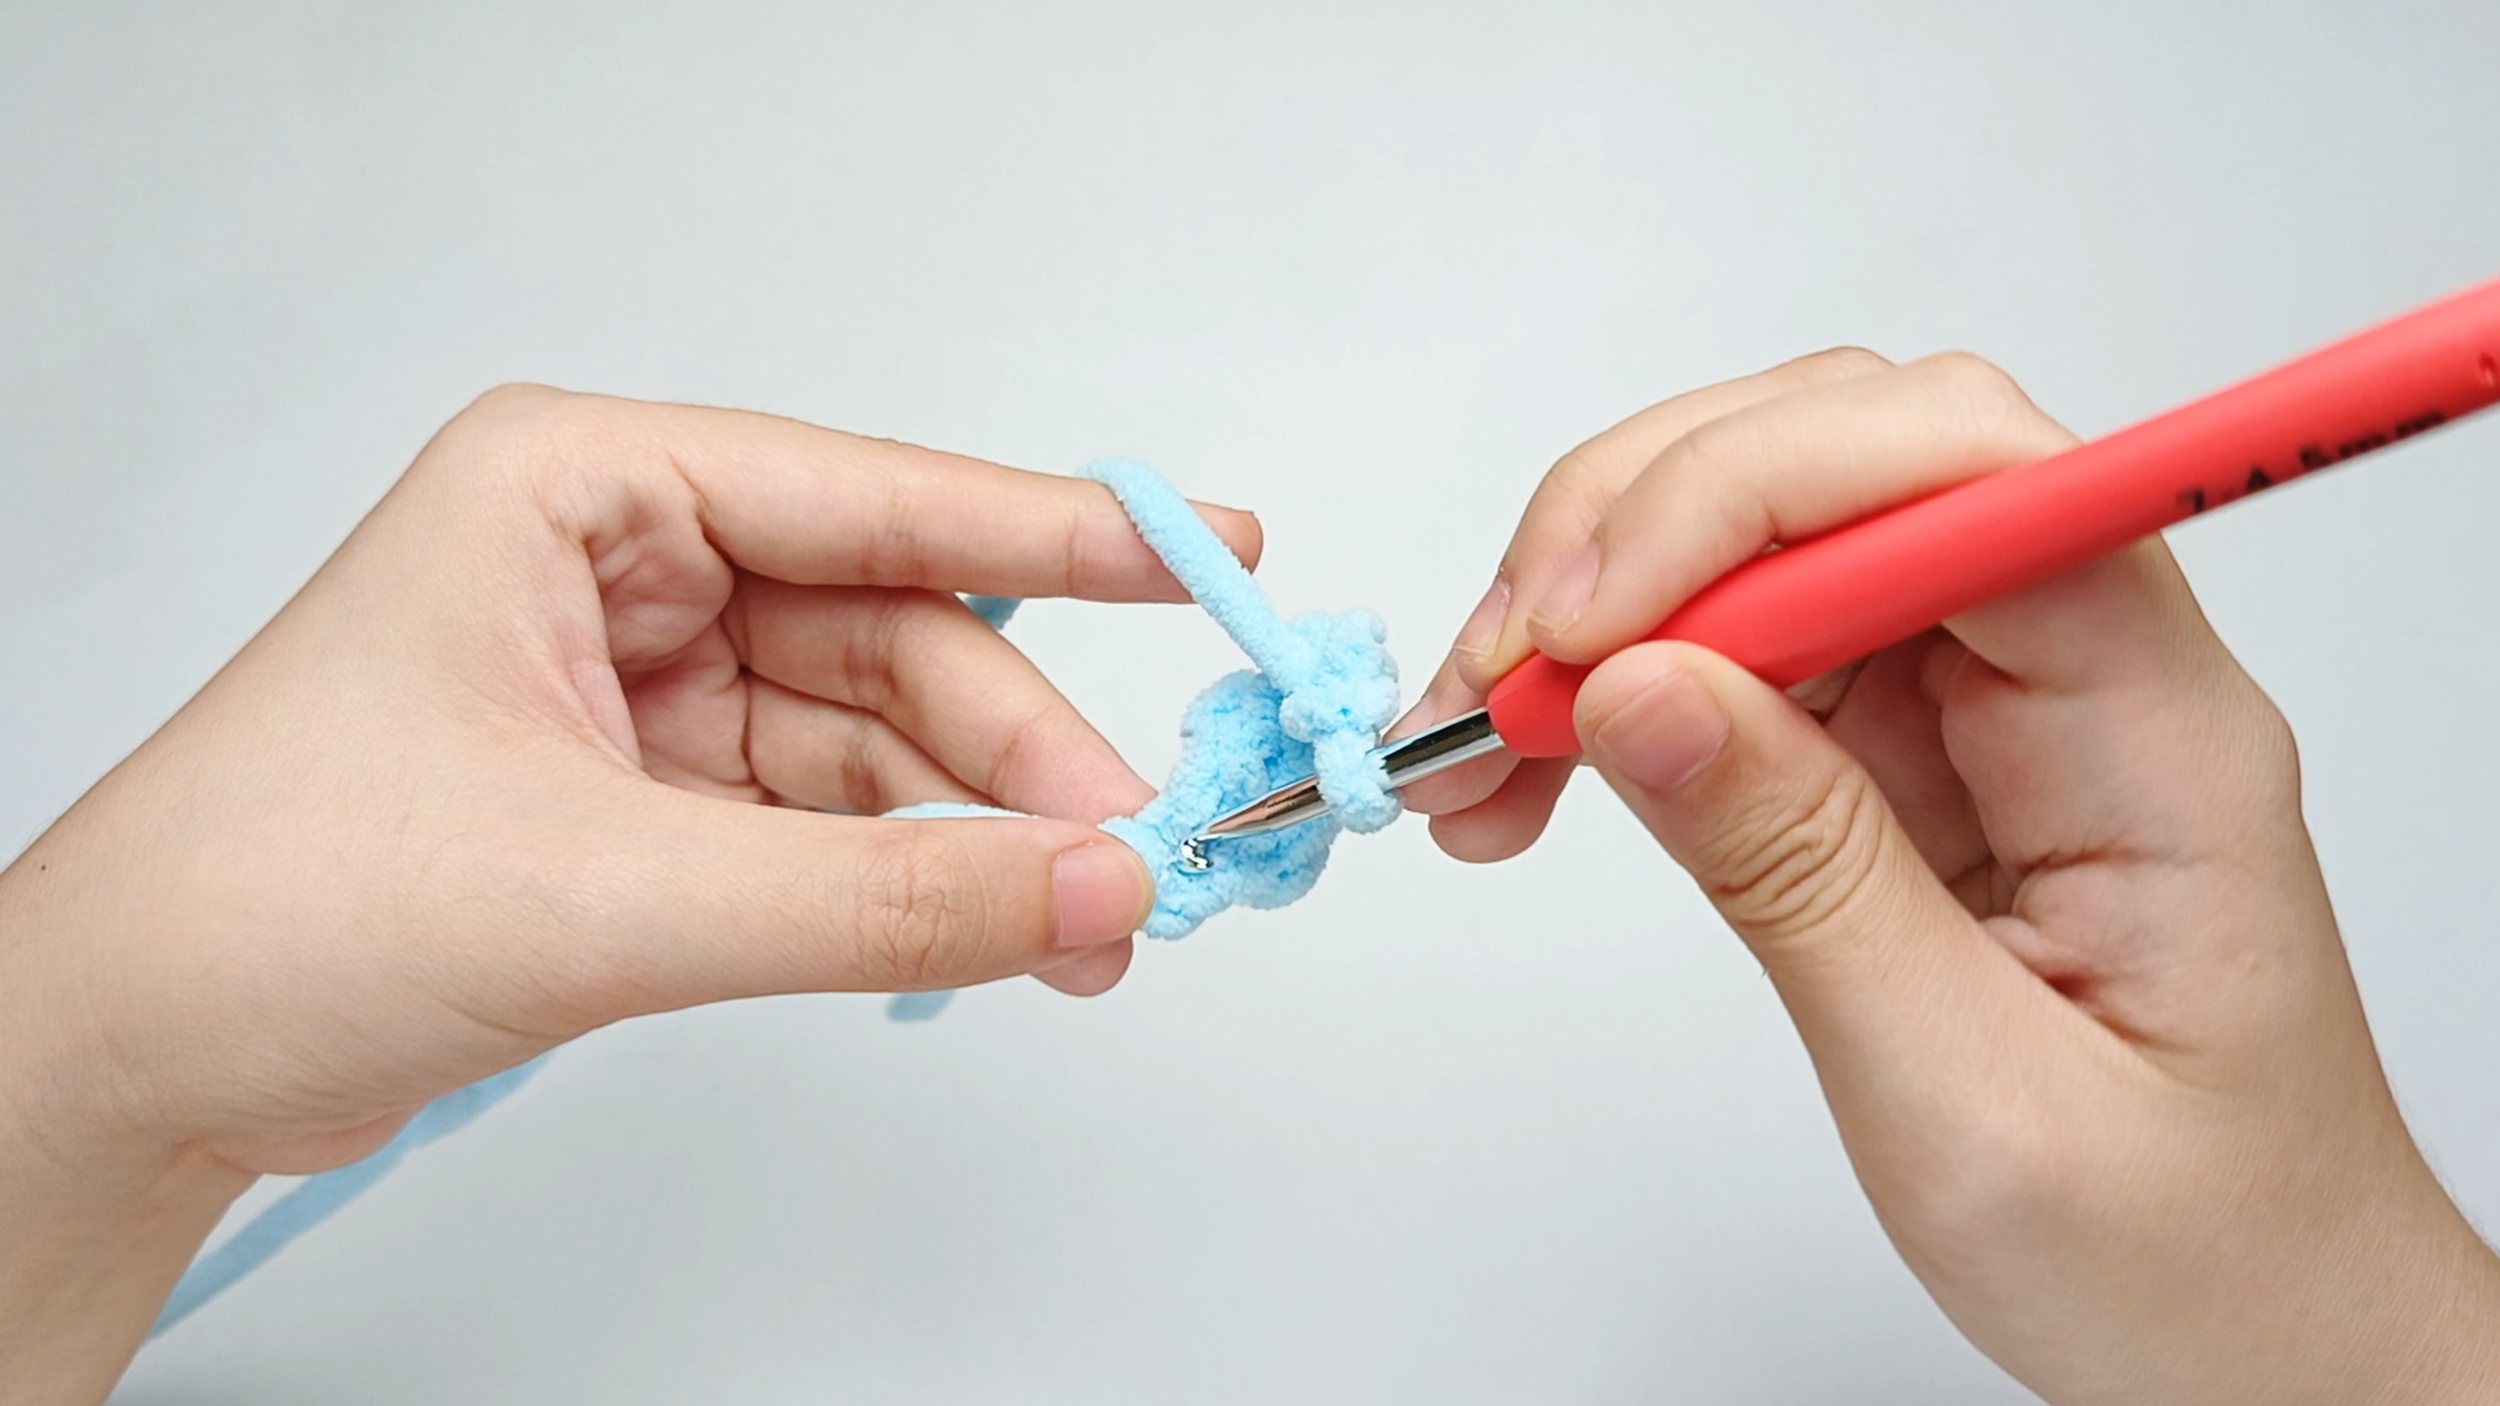
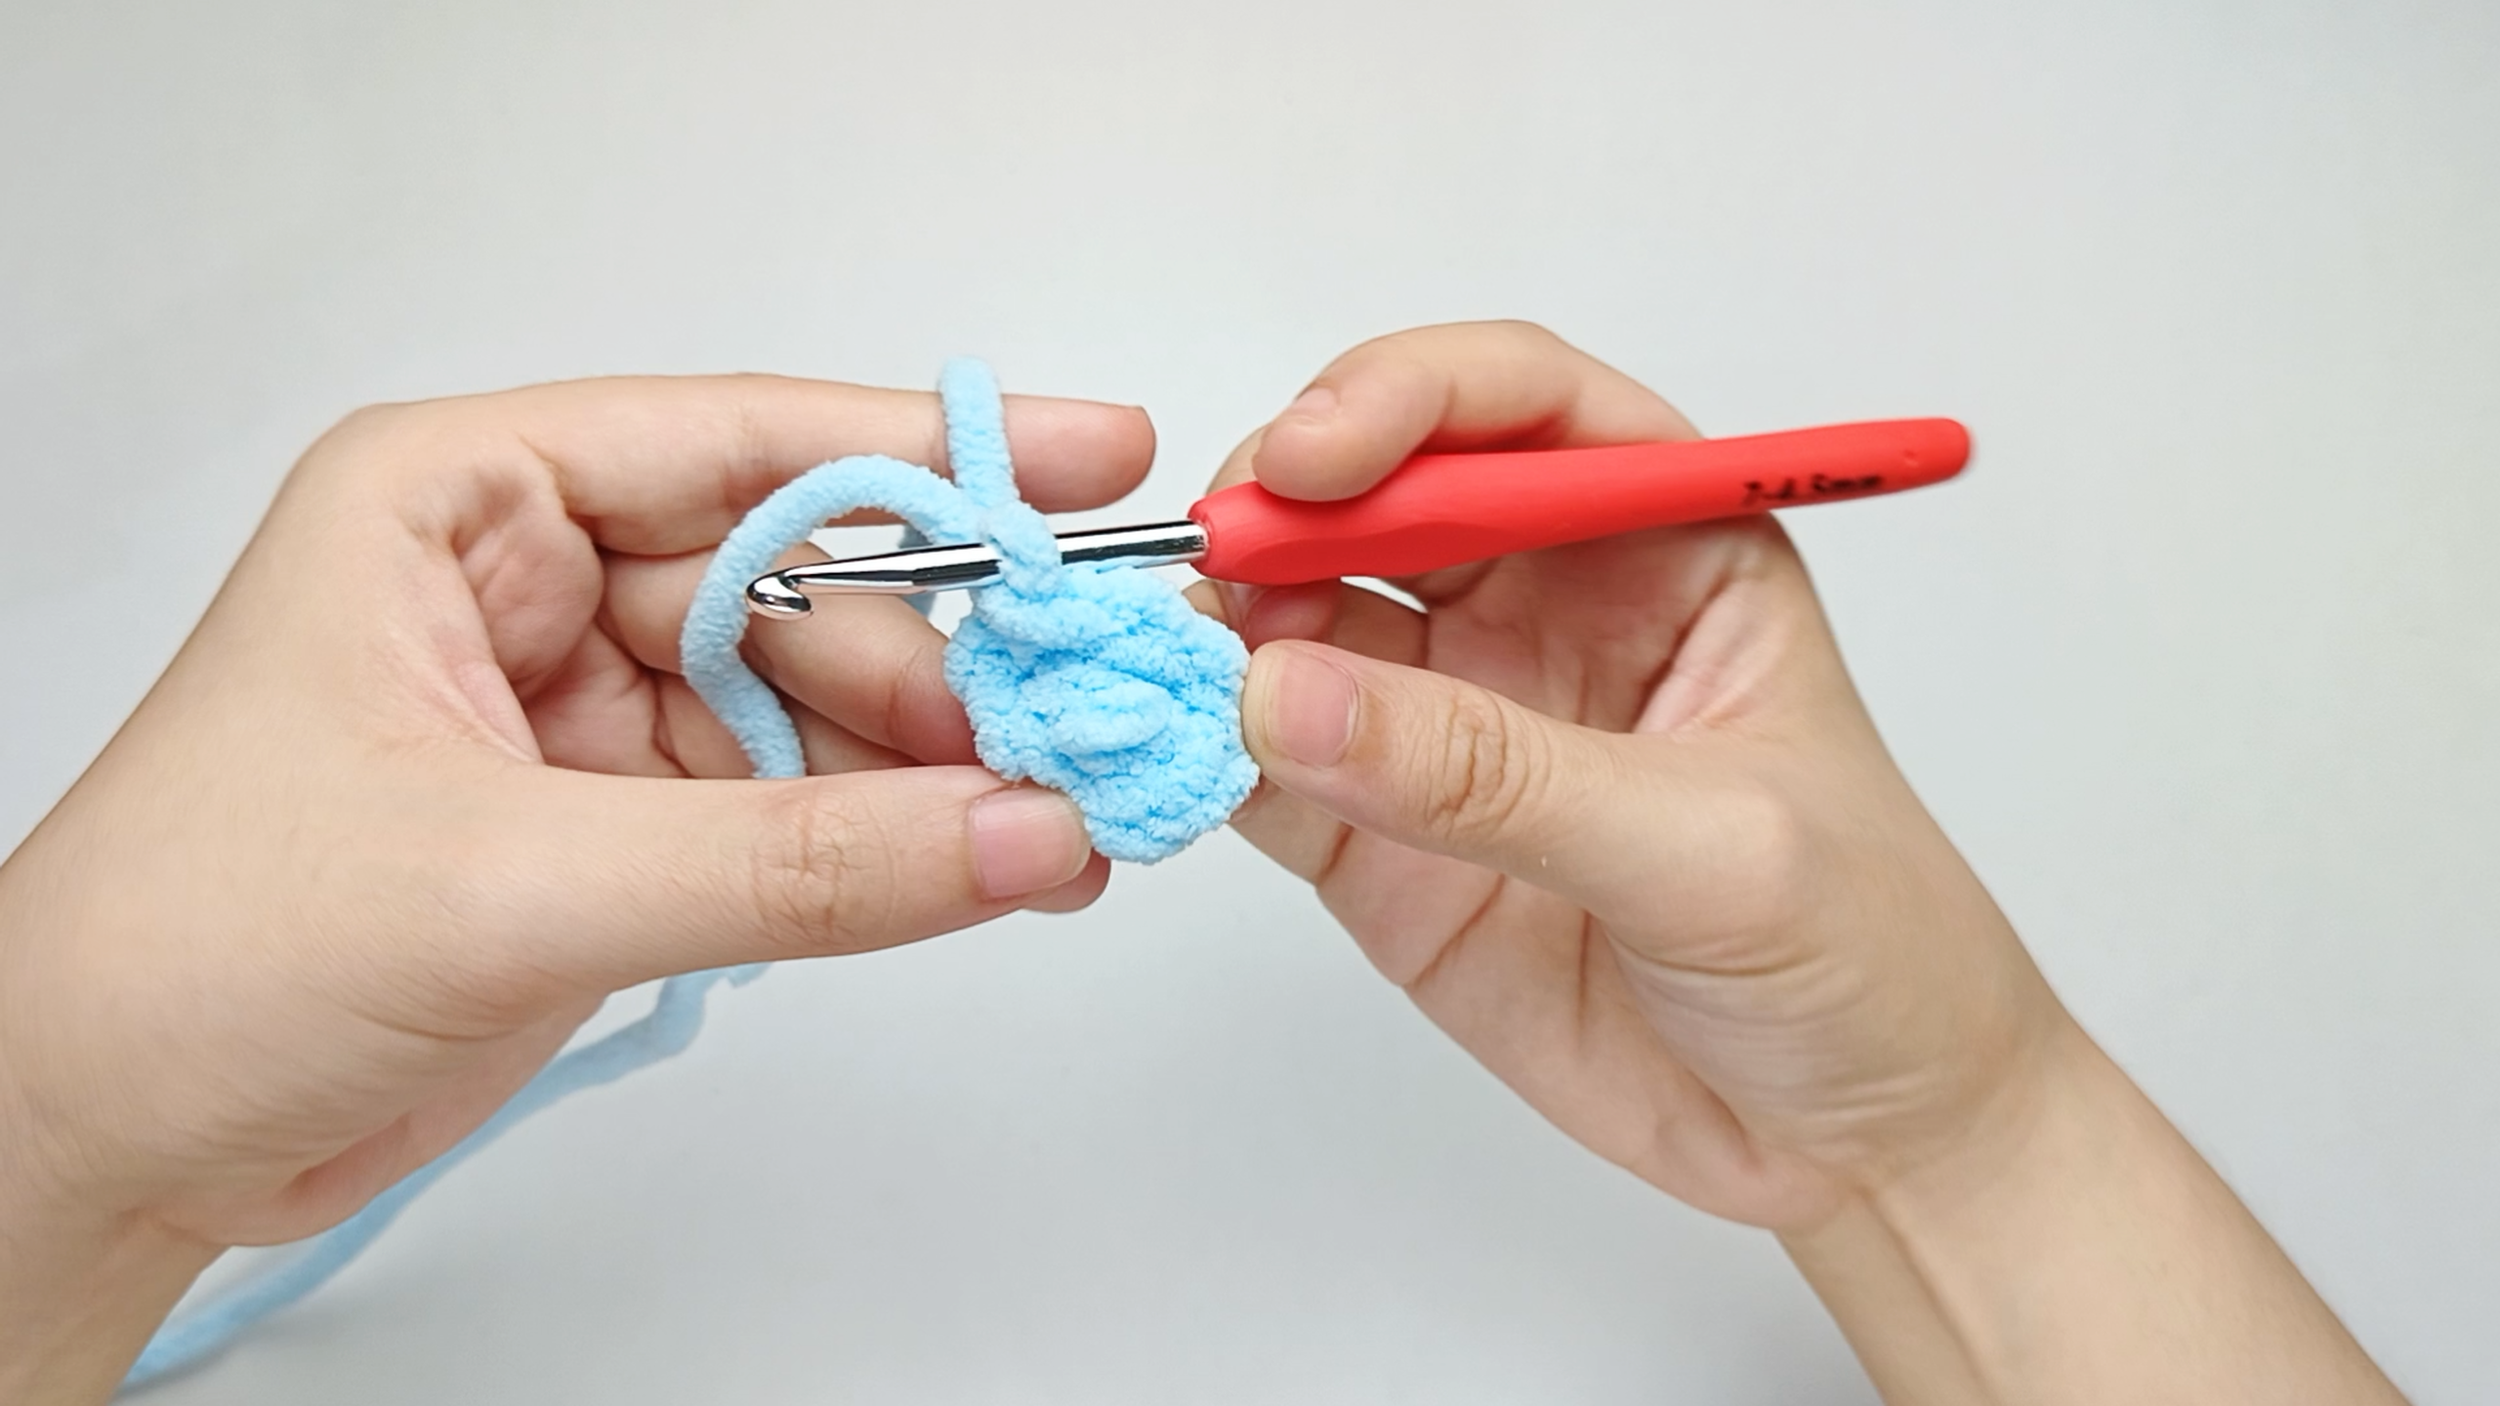
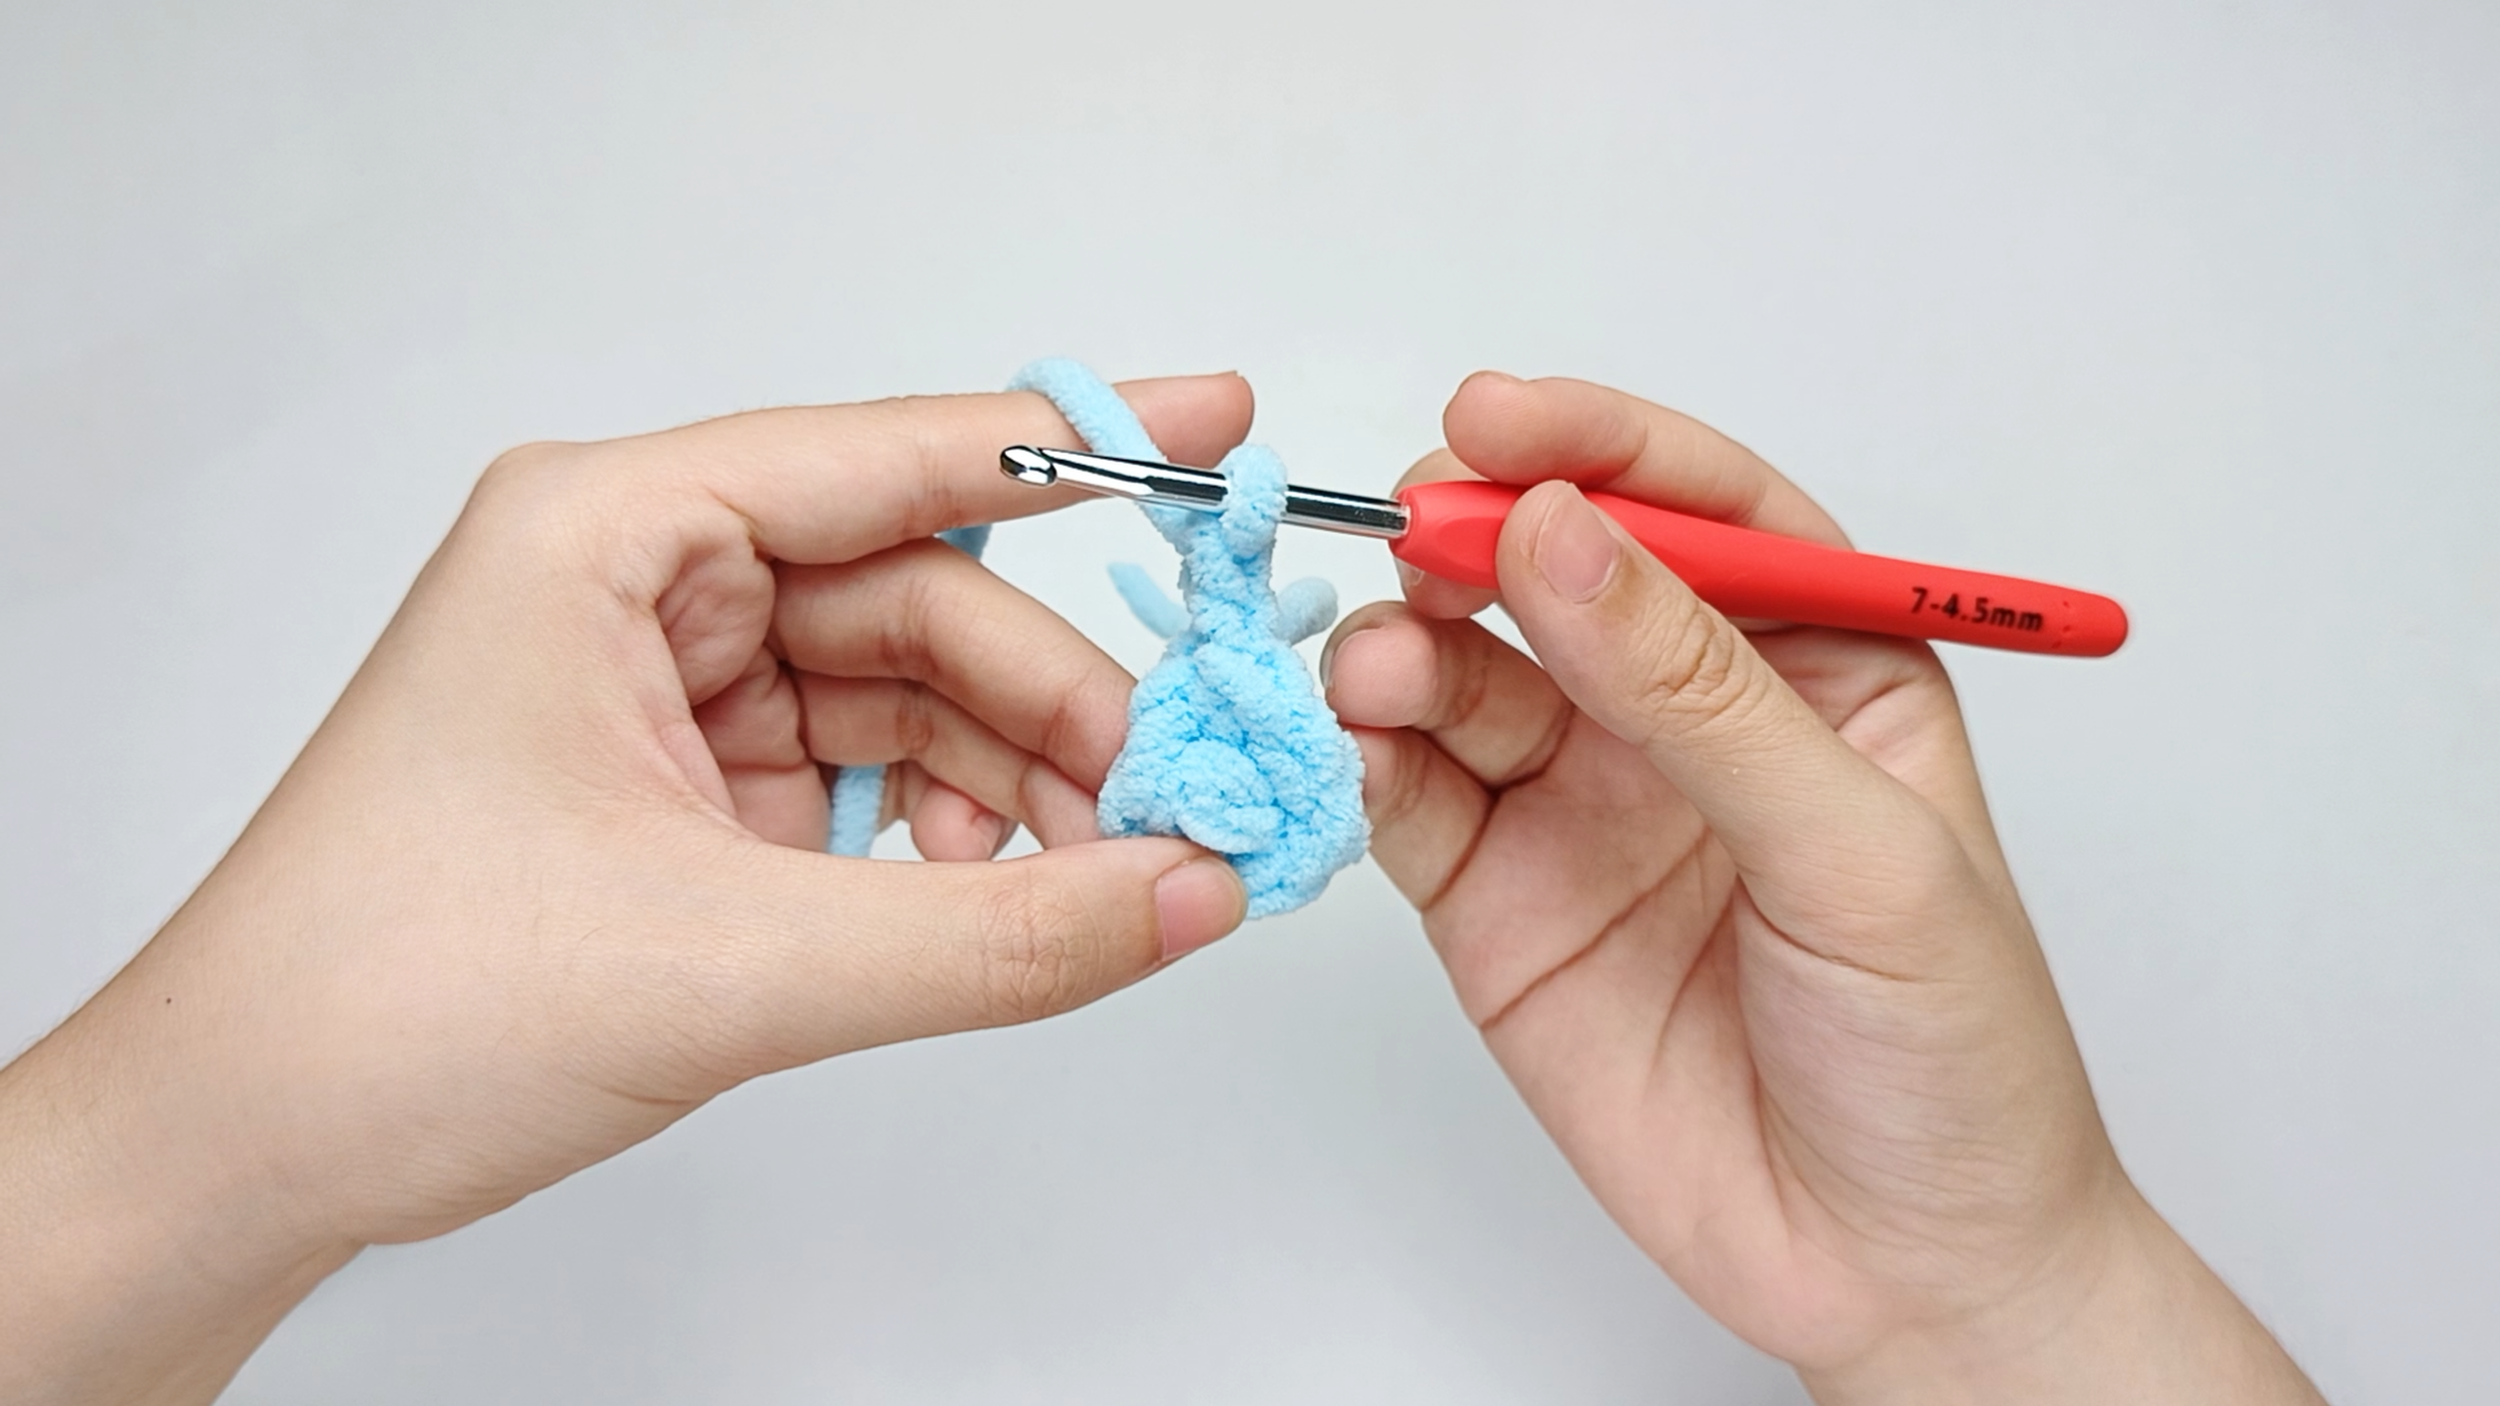
SECOND PETAL:
1 DOUBLE CROCHET (DC), CHAIN 2 (CH), 1 SLIP STITCH (SL ST)
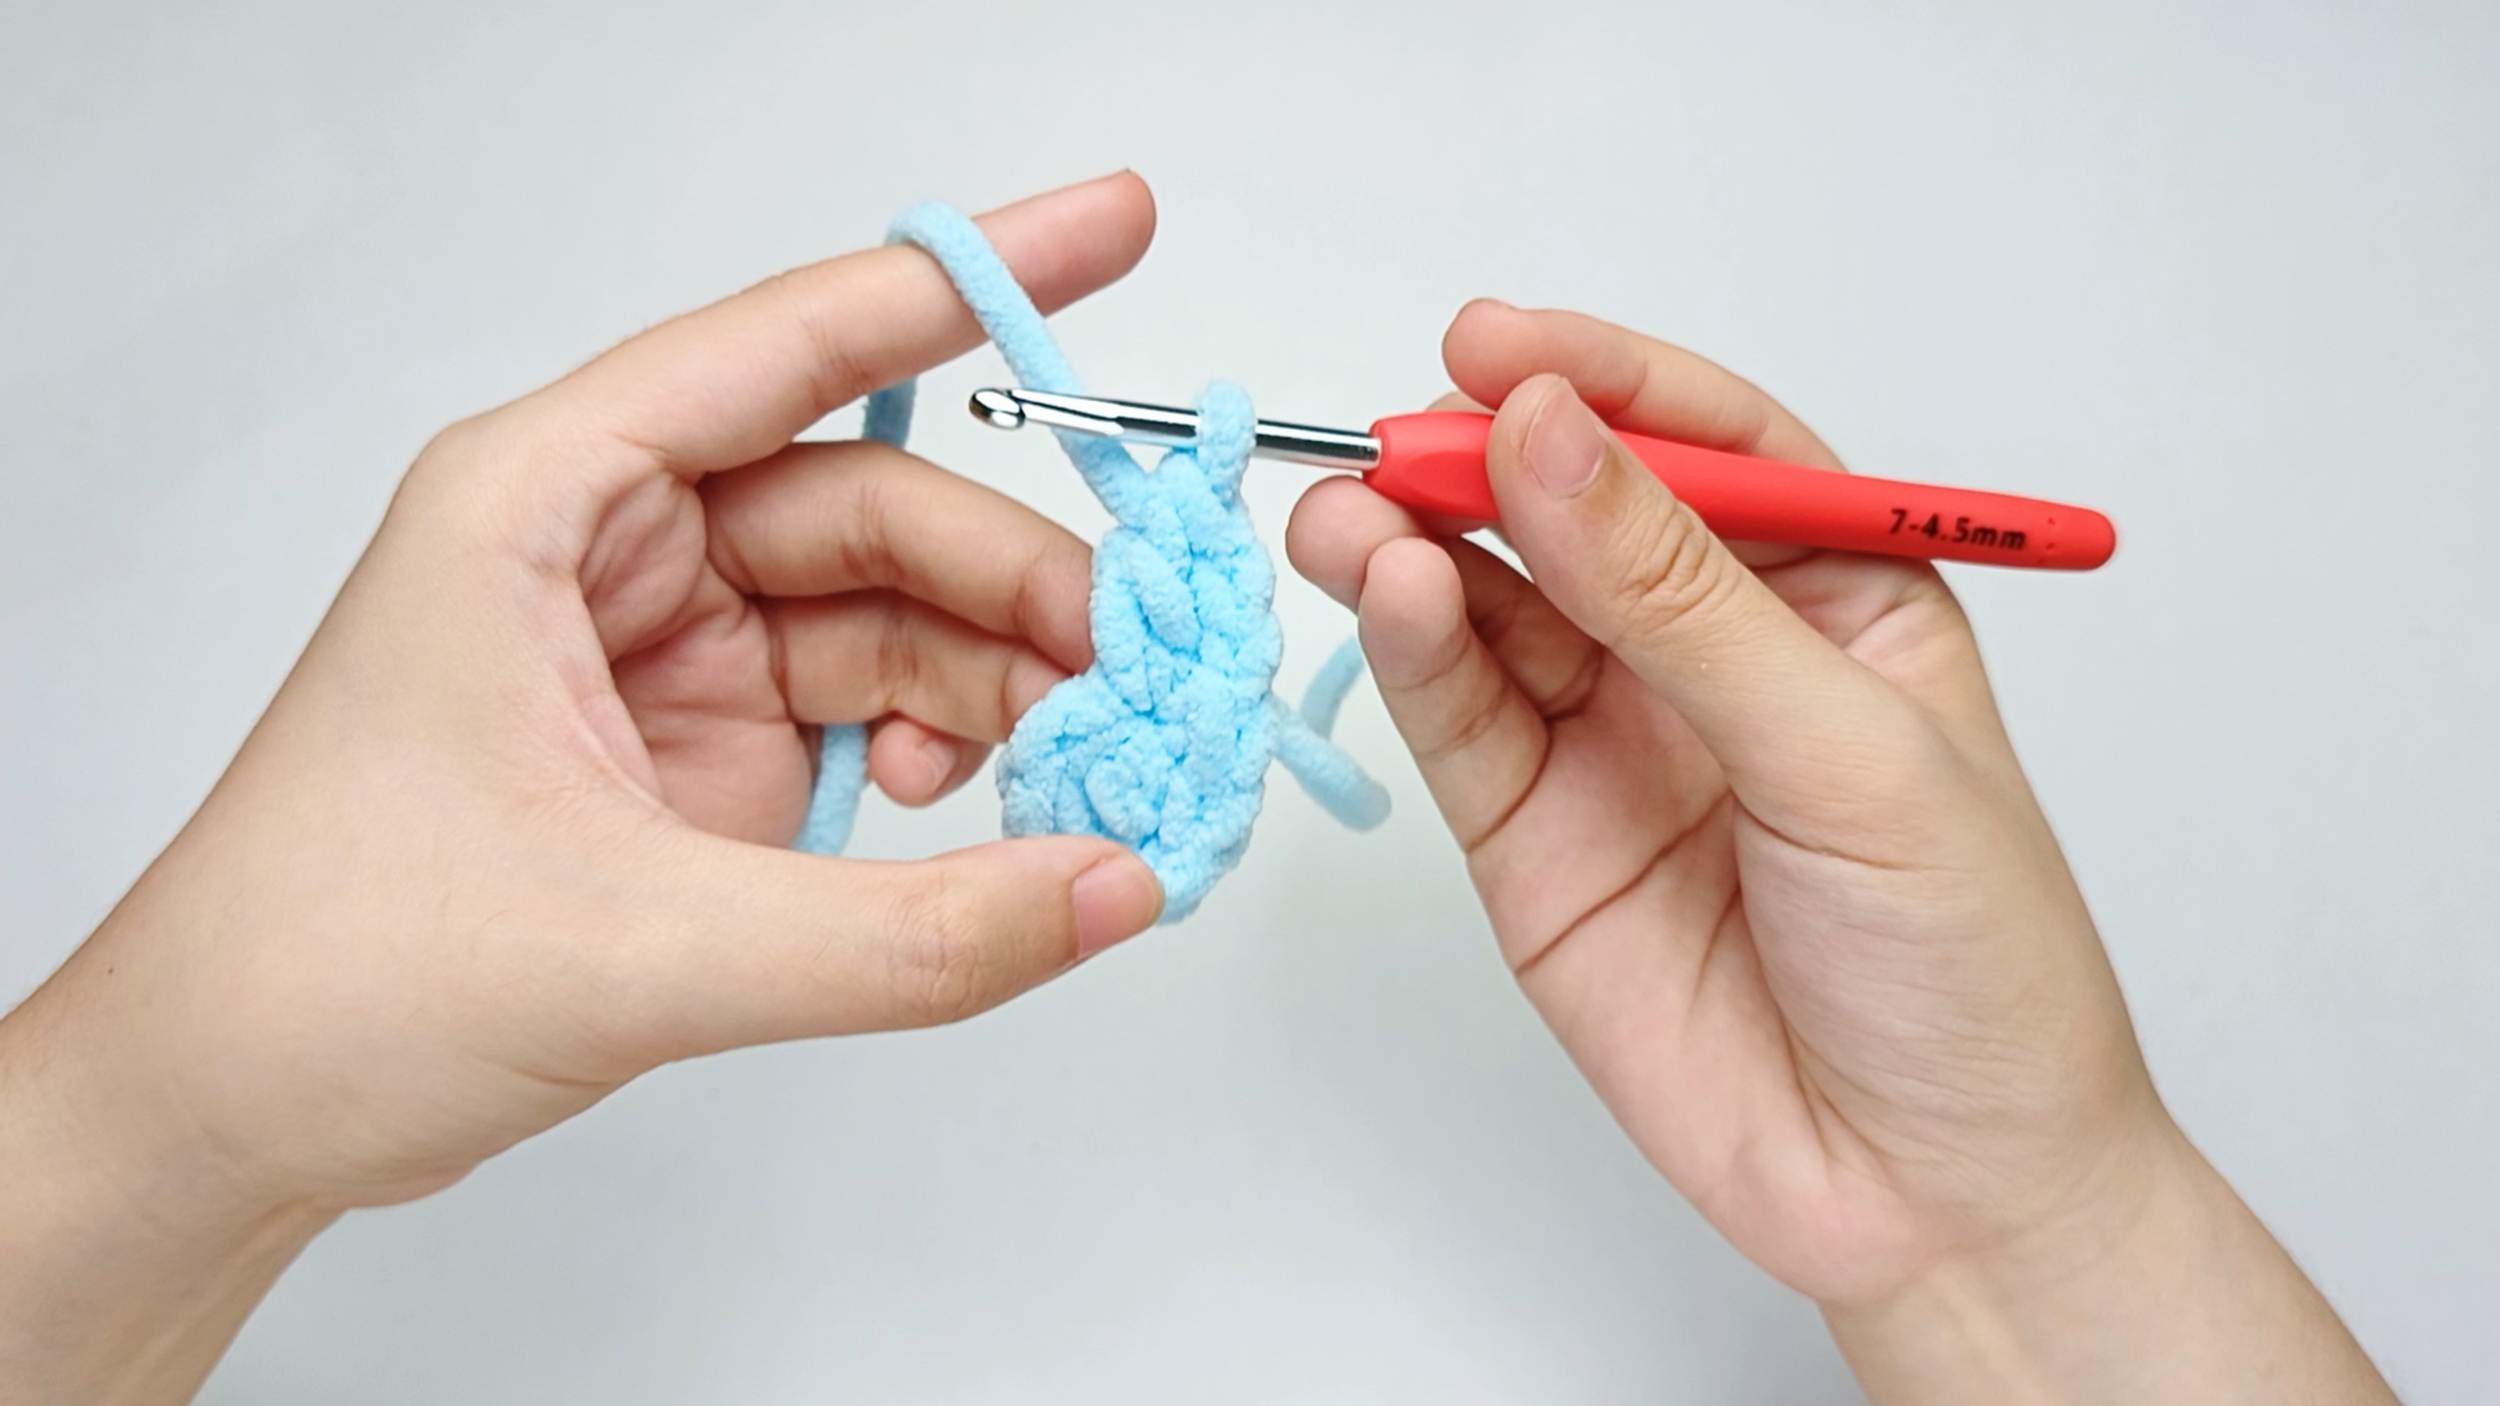
Make 1 double crochet (dc):
Work 1 double crochet (dc) into the anchor chain (ch), just as you did for the first petal.
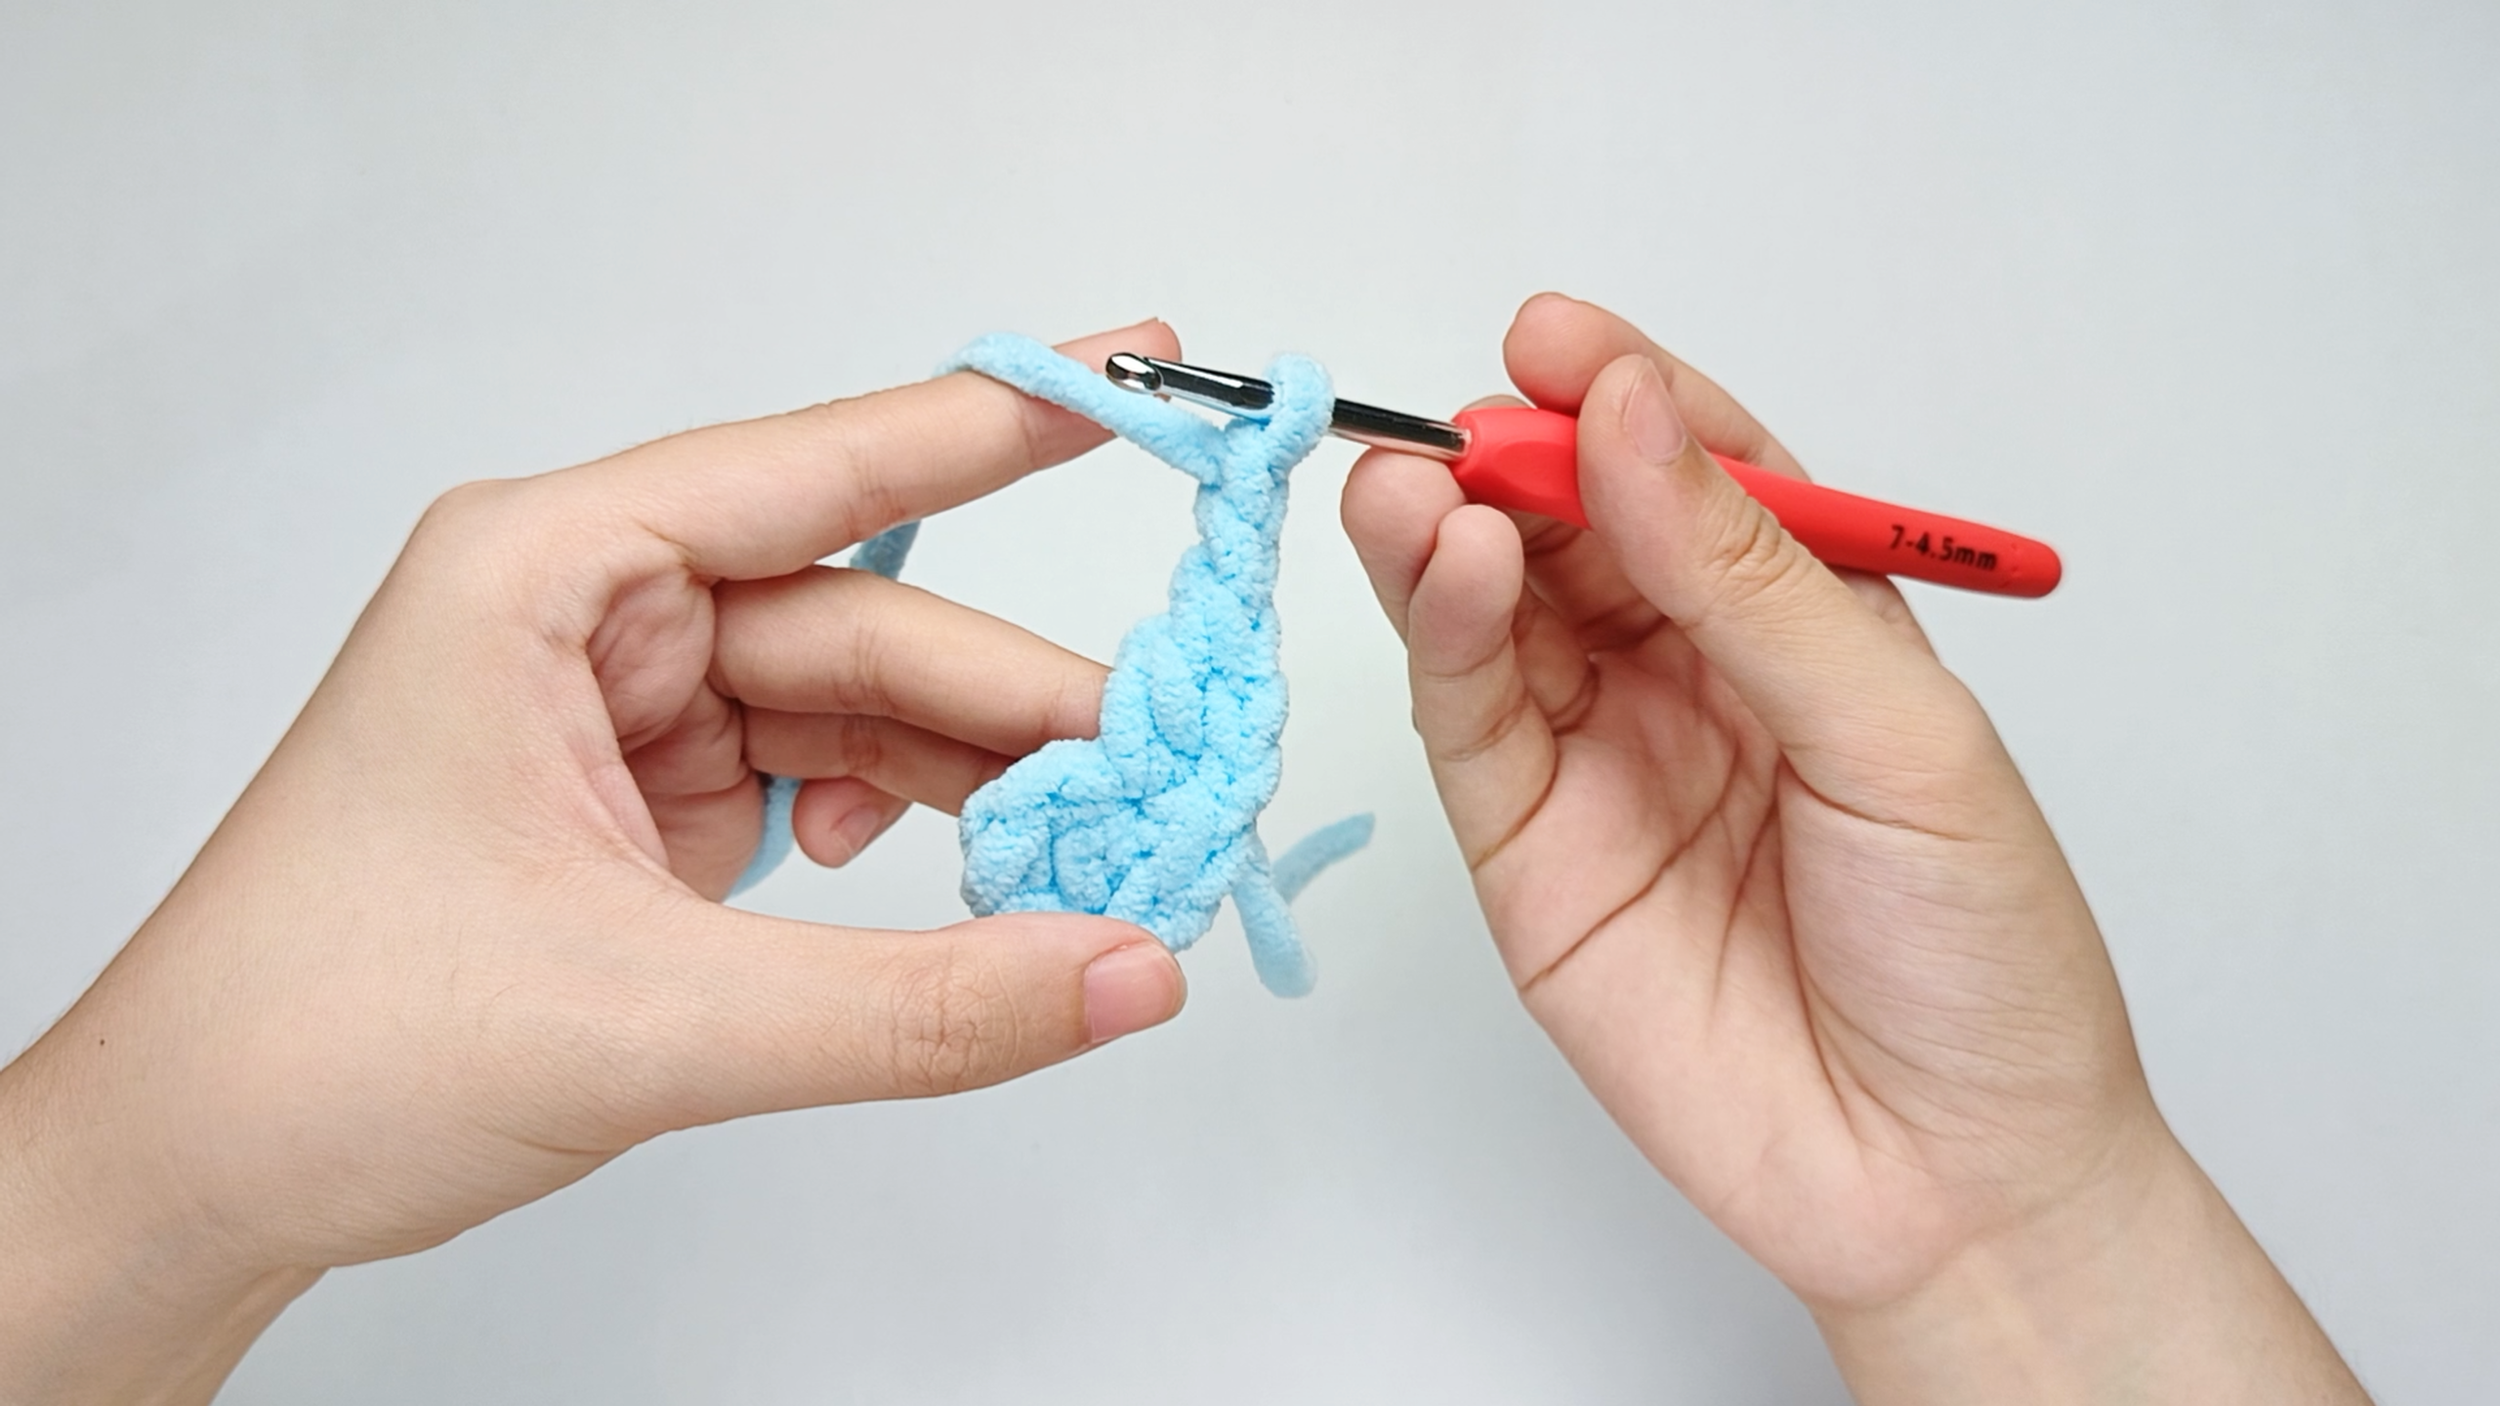
Make chain 2 (ch):
Yarn over and pull through the loop on your hook, then do the same once more.
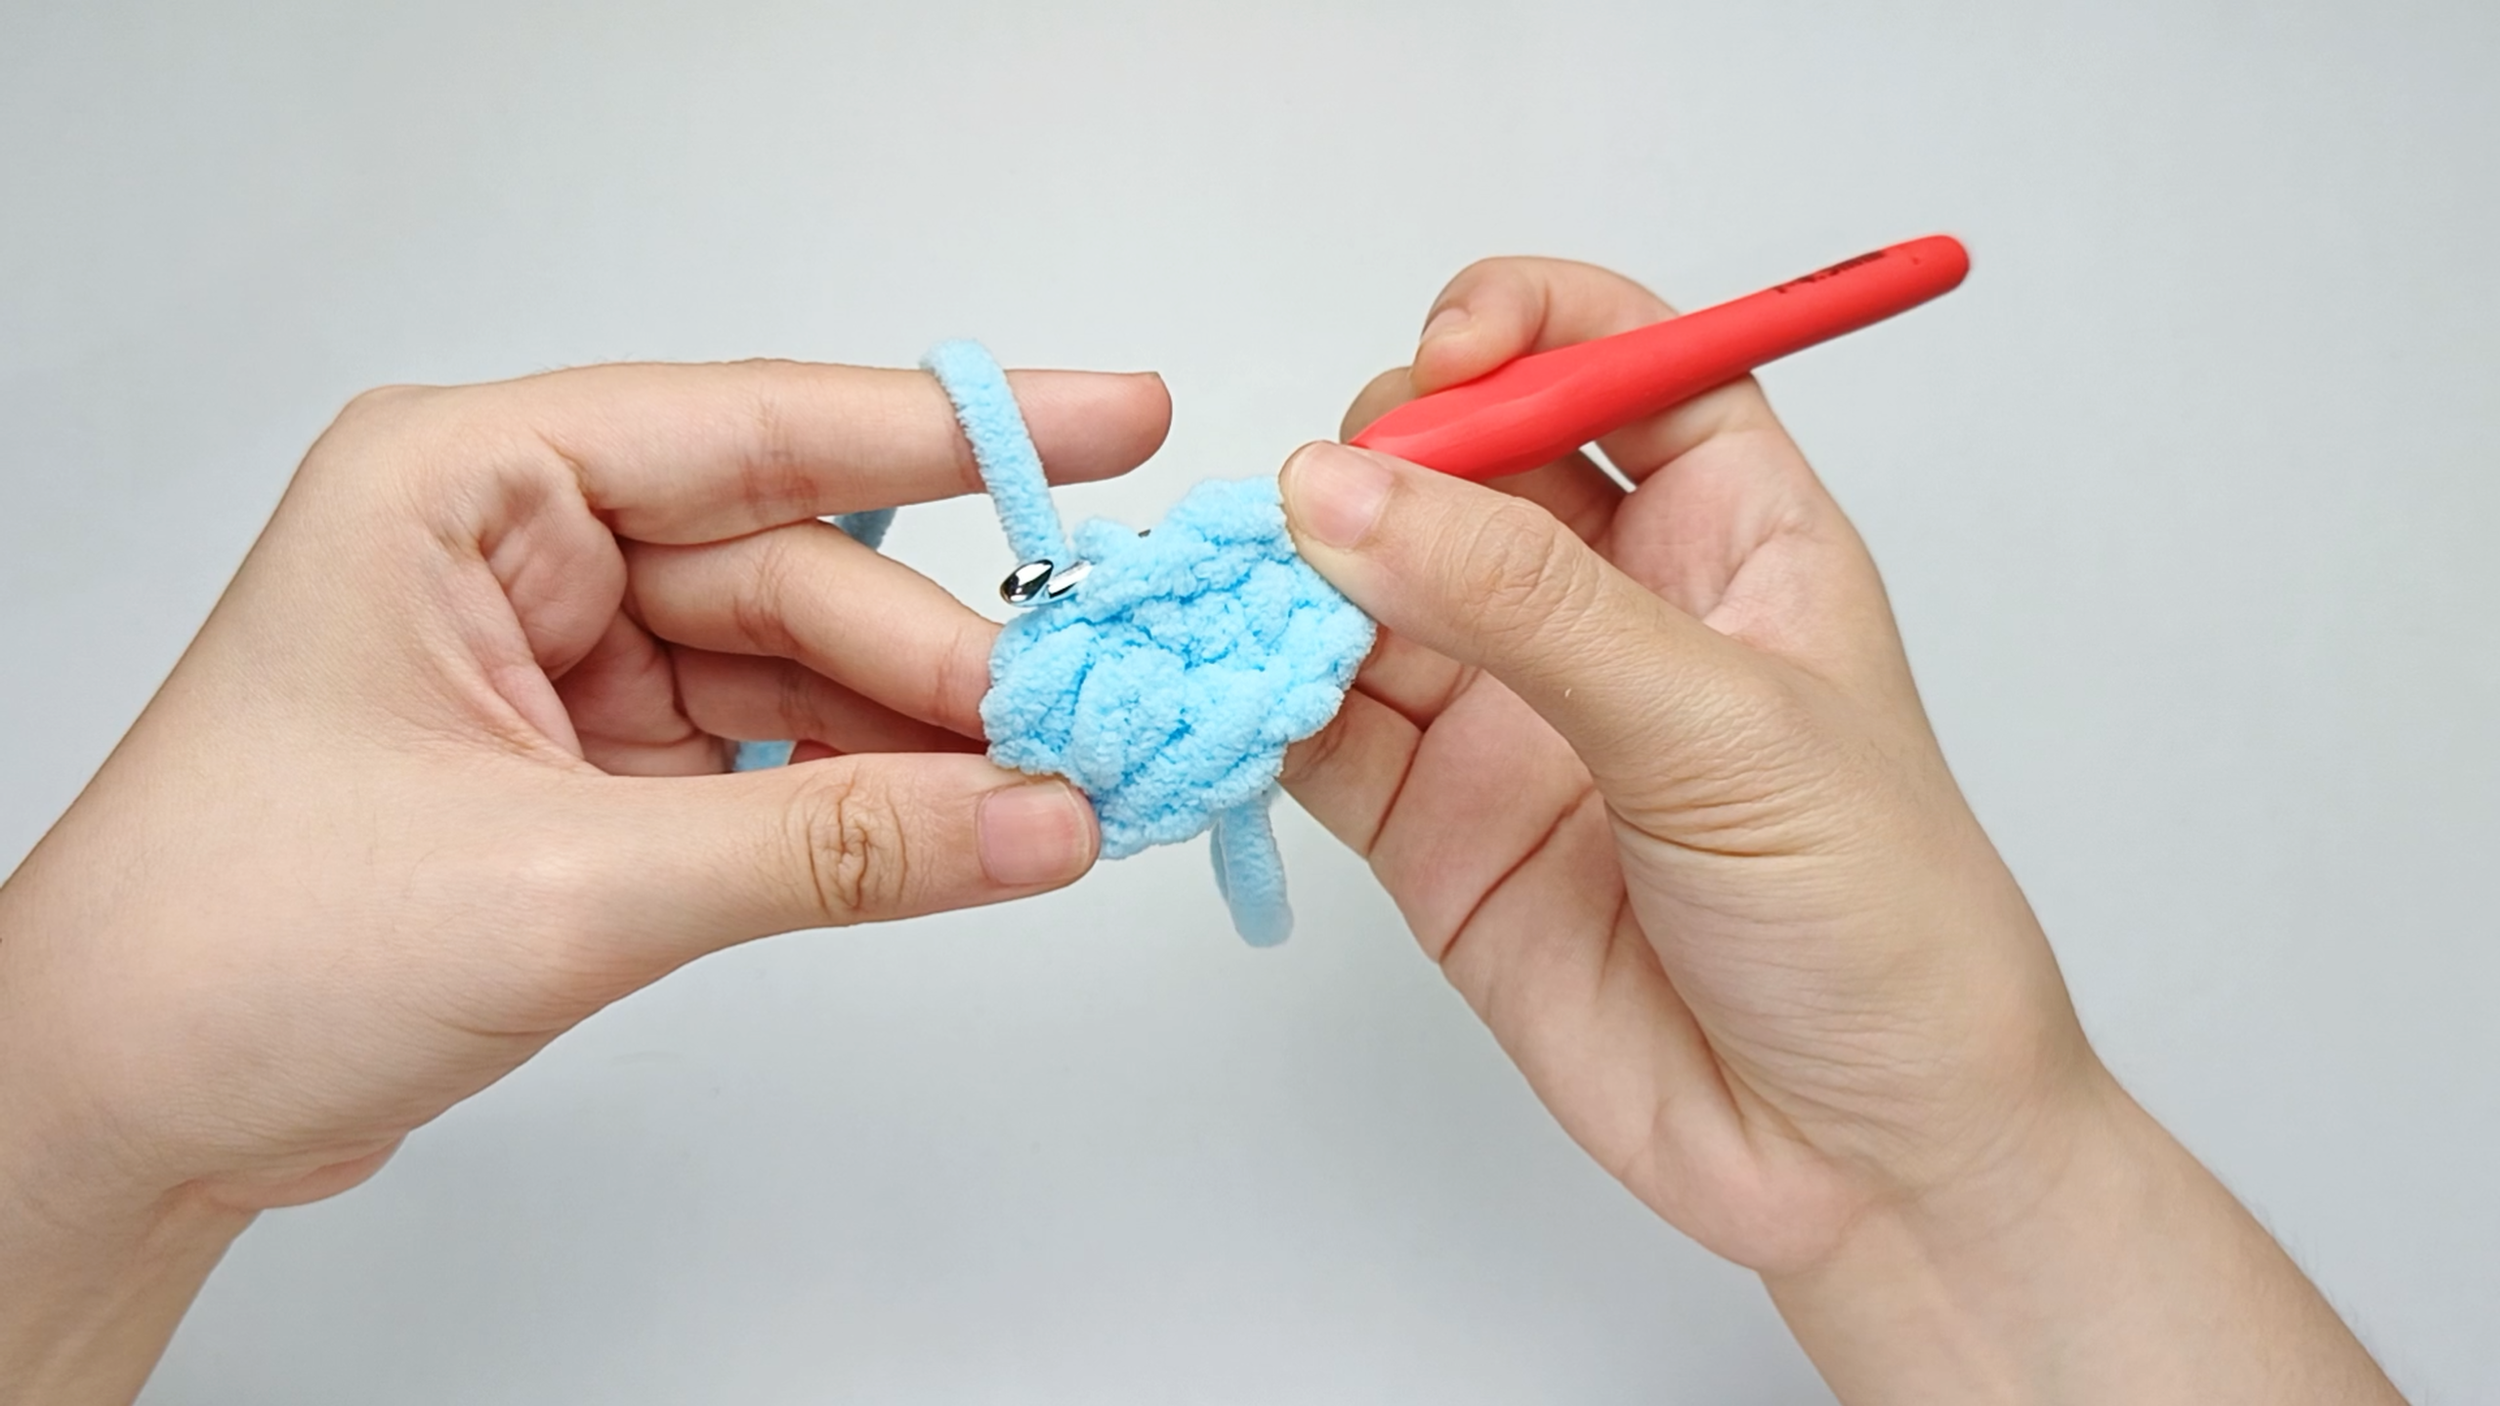
Make 1 slip stitch (sl st):
Then, make 1 slip stitch (sl st) into the same anchor chain (ch).
The second petal is complete!
What it looks like now: Two small loops side by side, a little loose and floppy. That's the Bow before it's cinched.
Shaping the Bow
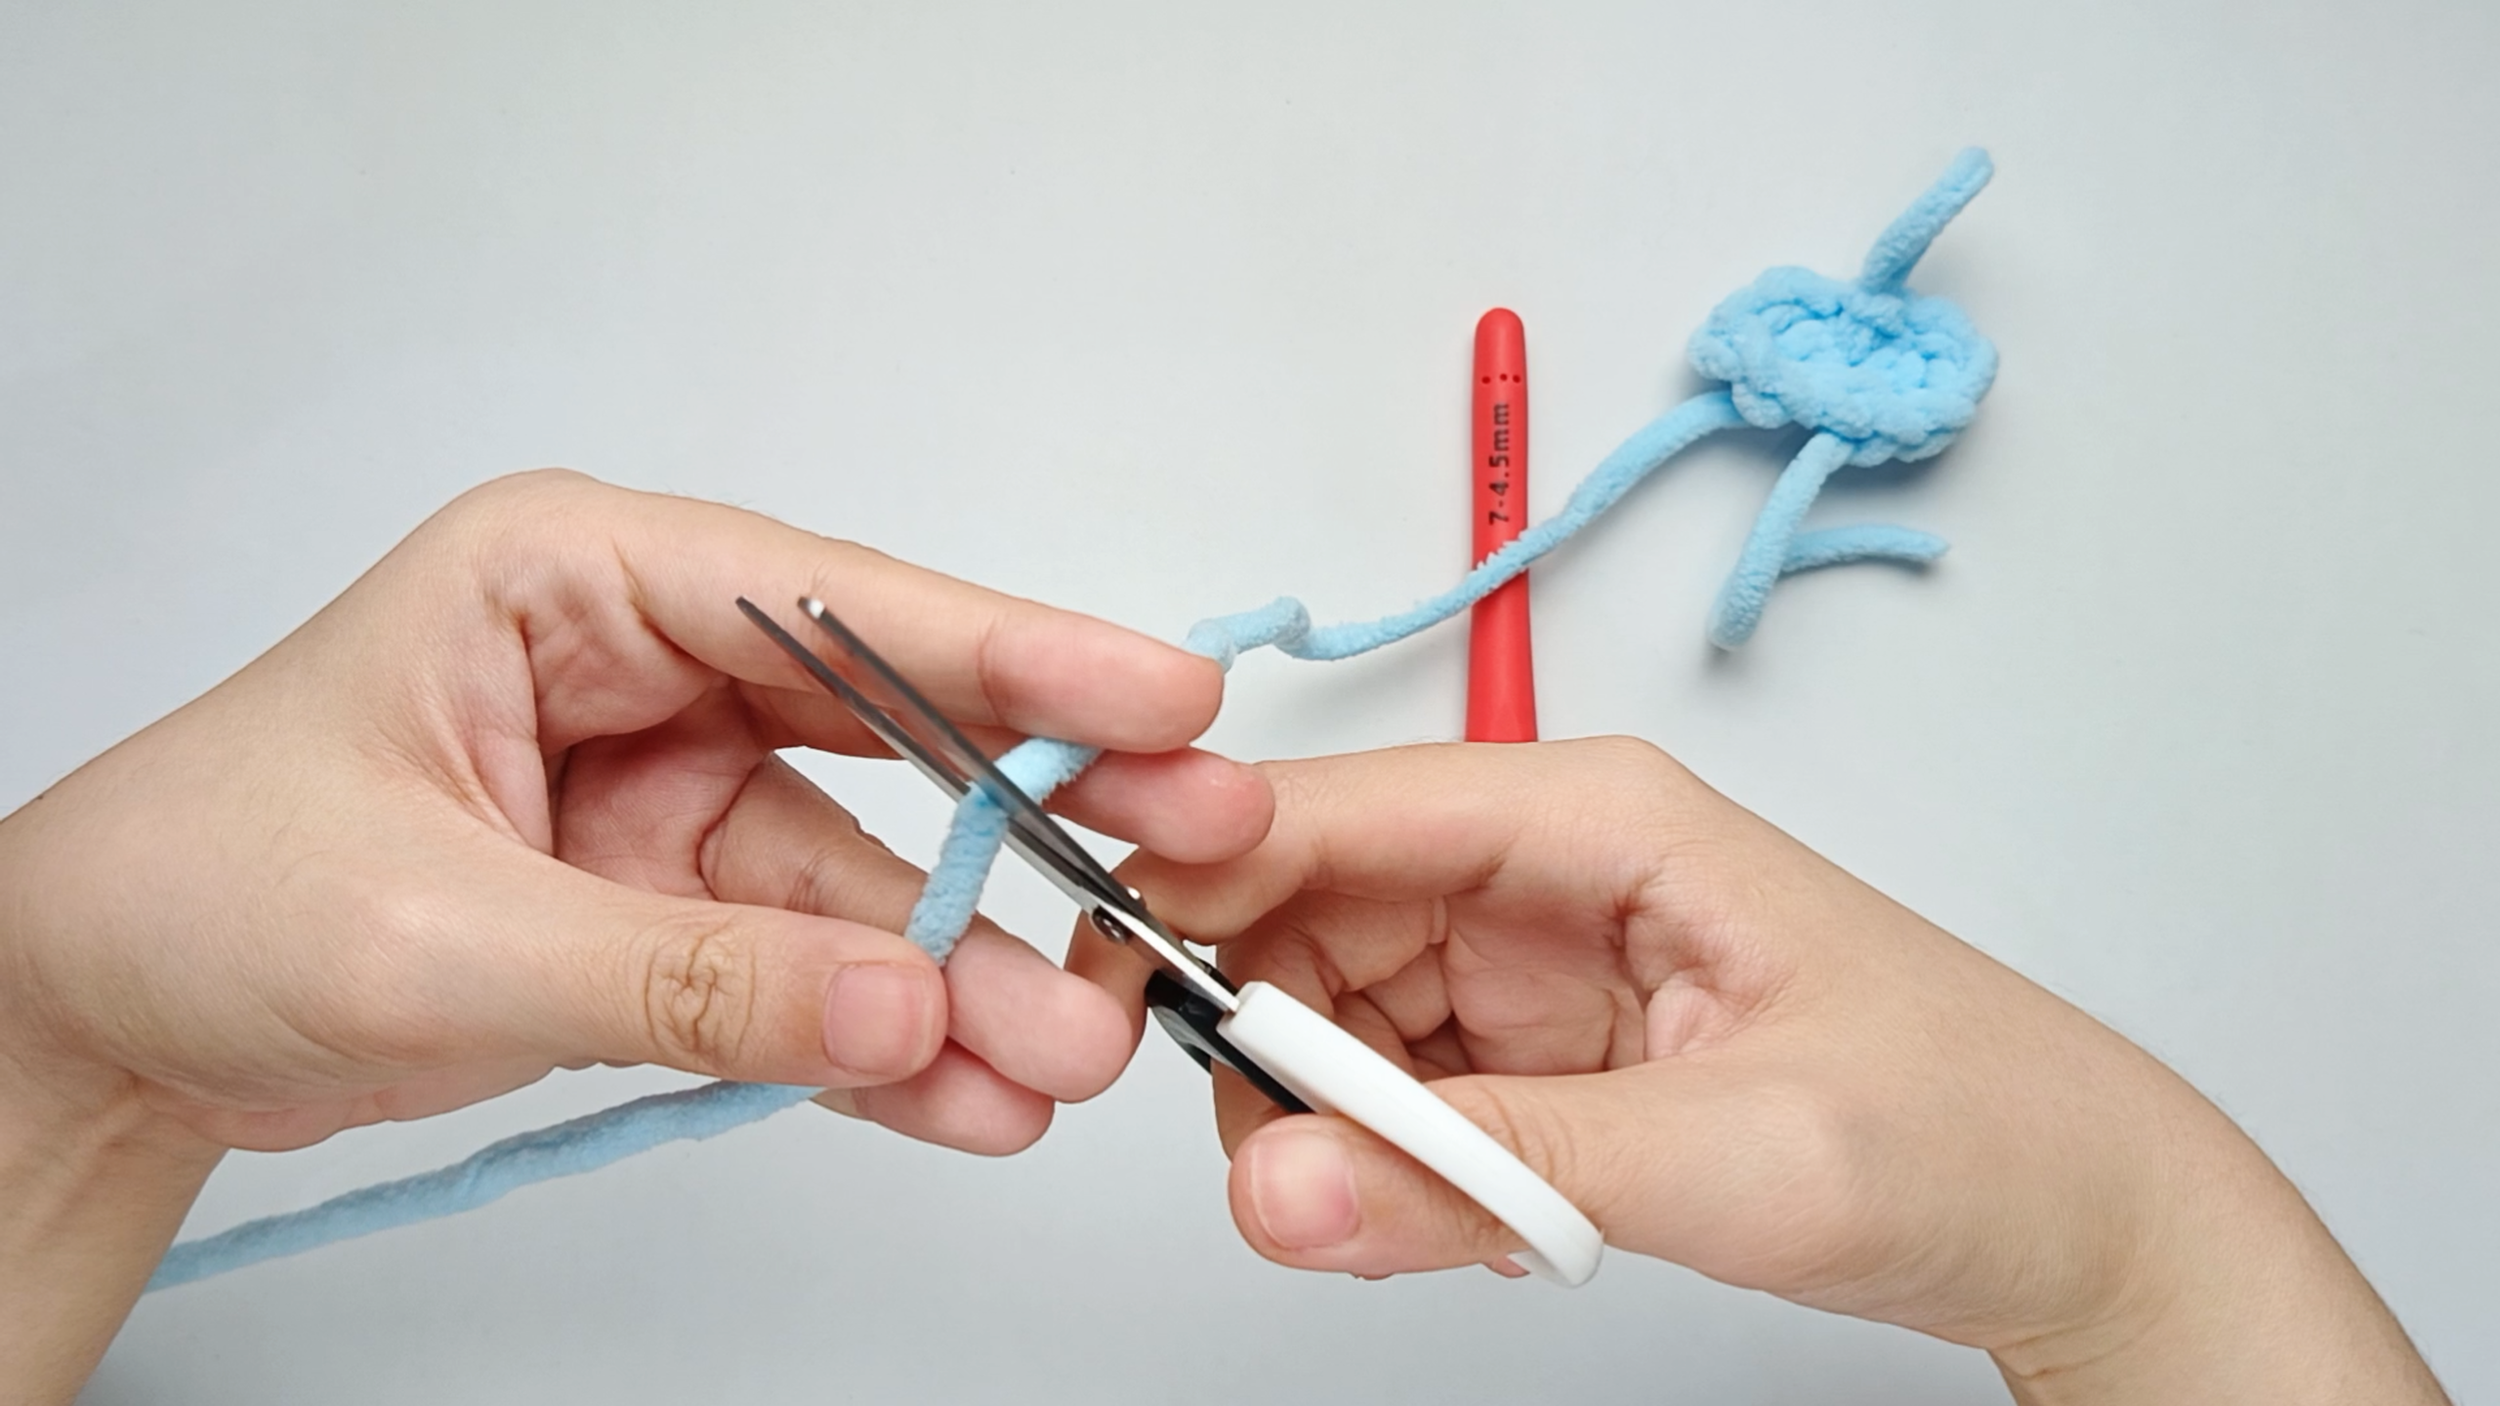
Cut the yarn, leaving about a 6-inch tail. You’ll use this yarn tail later to sew the Bow onto the Body.
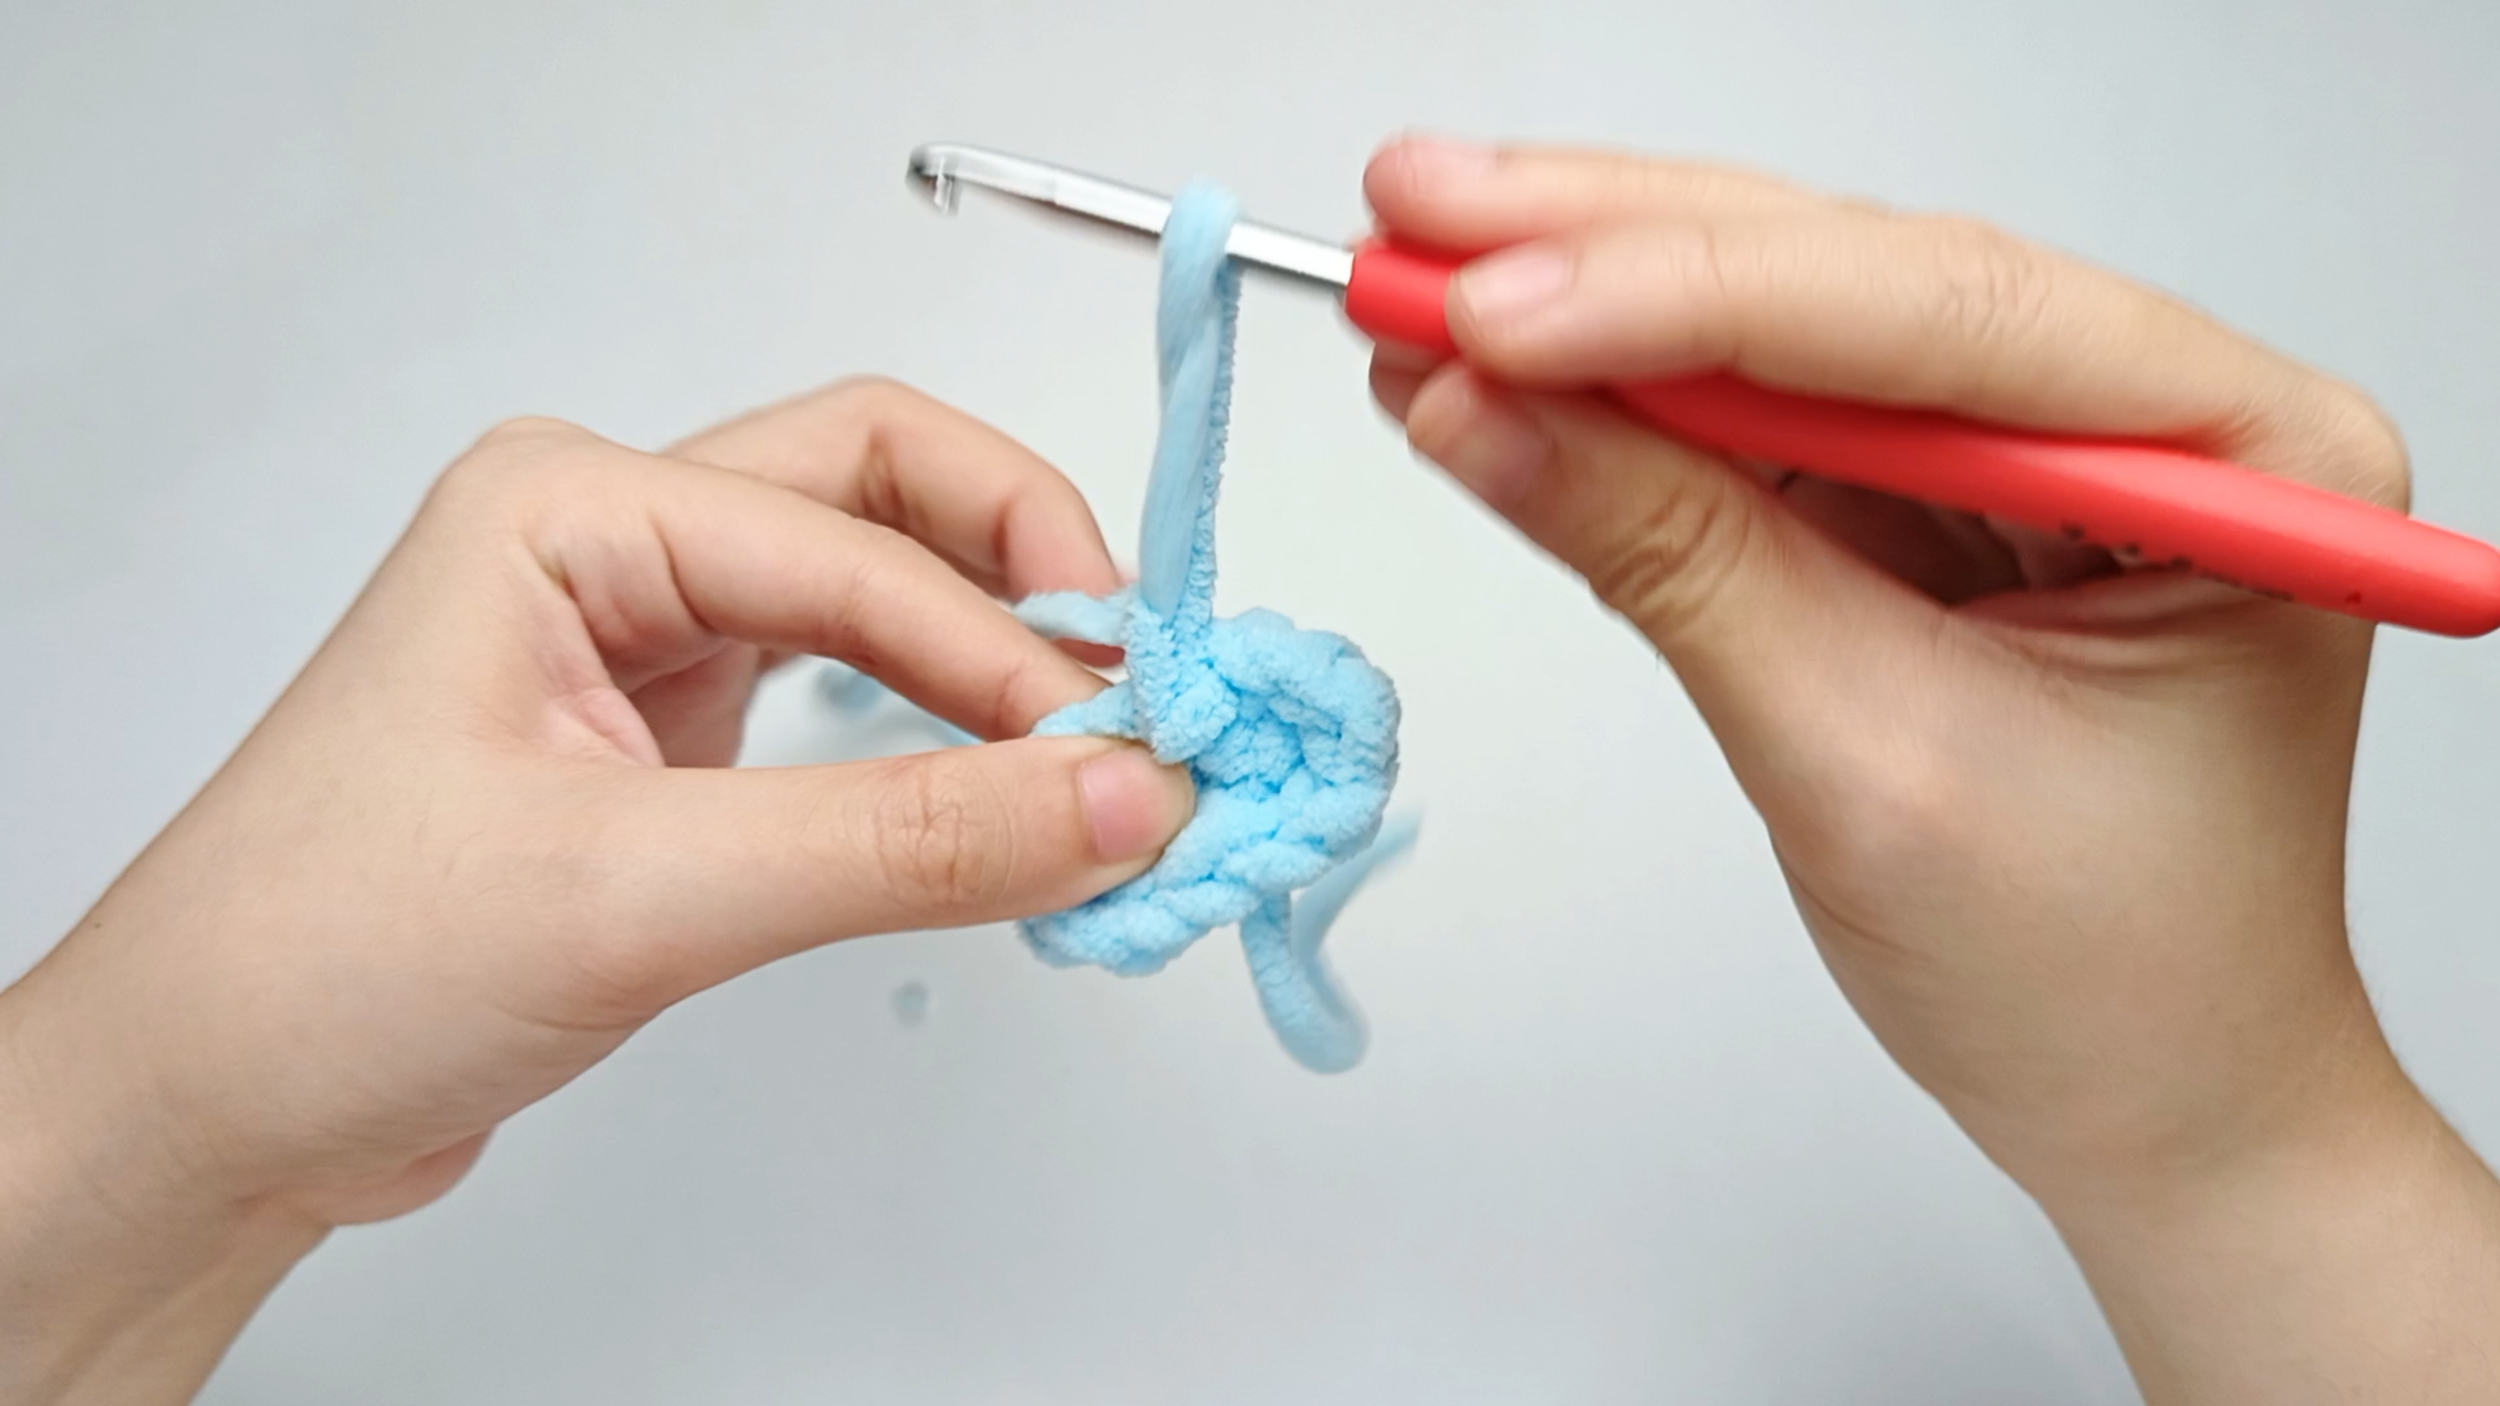
Yarn over and pull the yarn tail tight:
Yarn over with the cut tail. Pull it all the way through that loop. Keep pulling until the tail comes all the way through and forms a small knot.
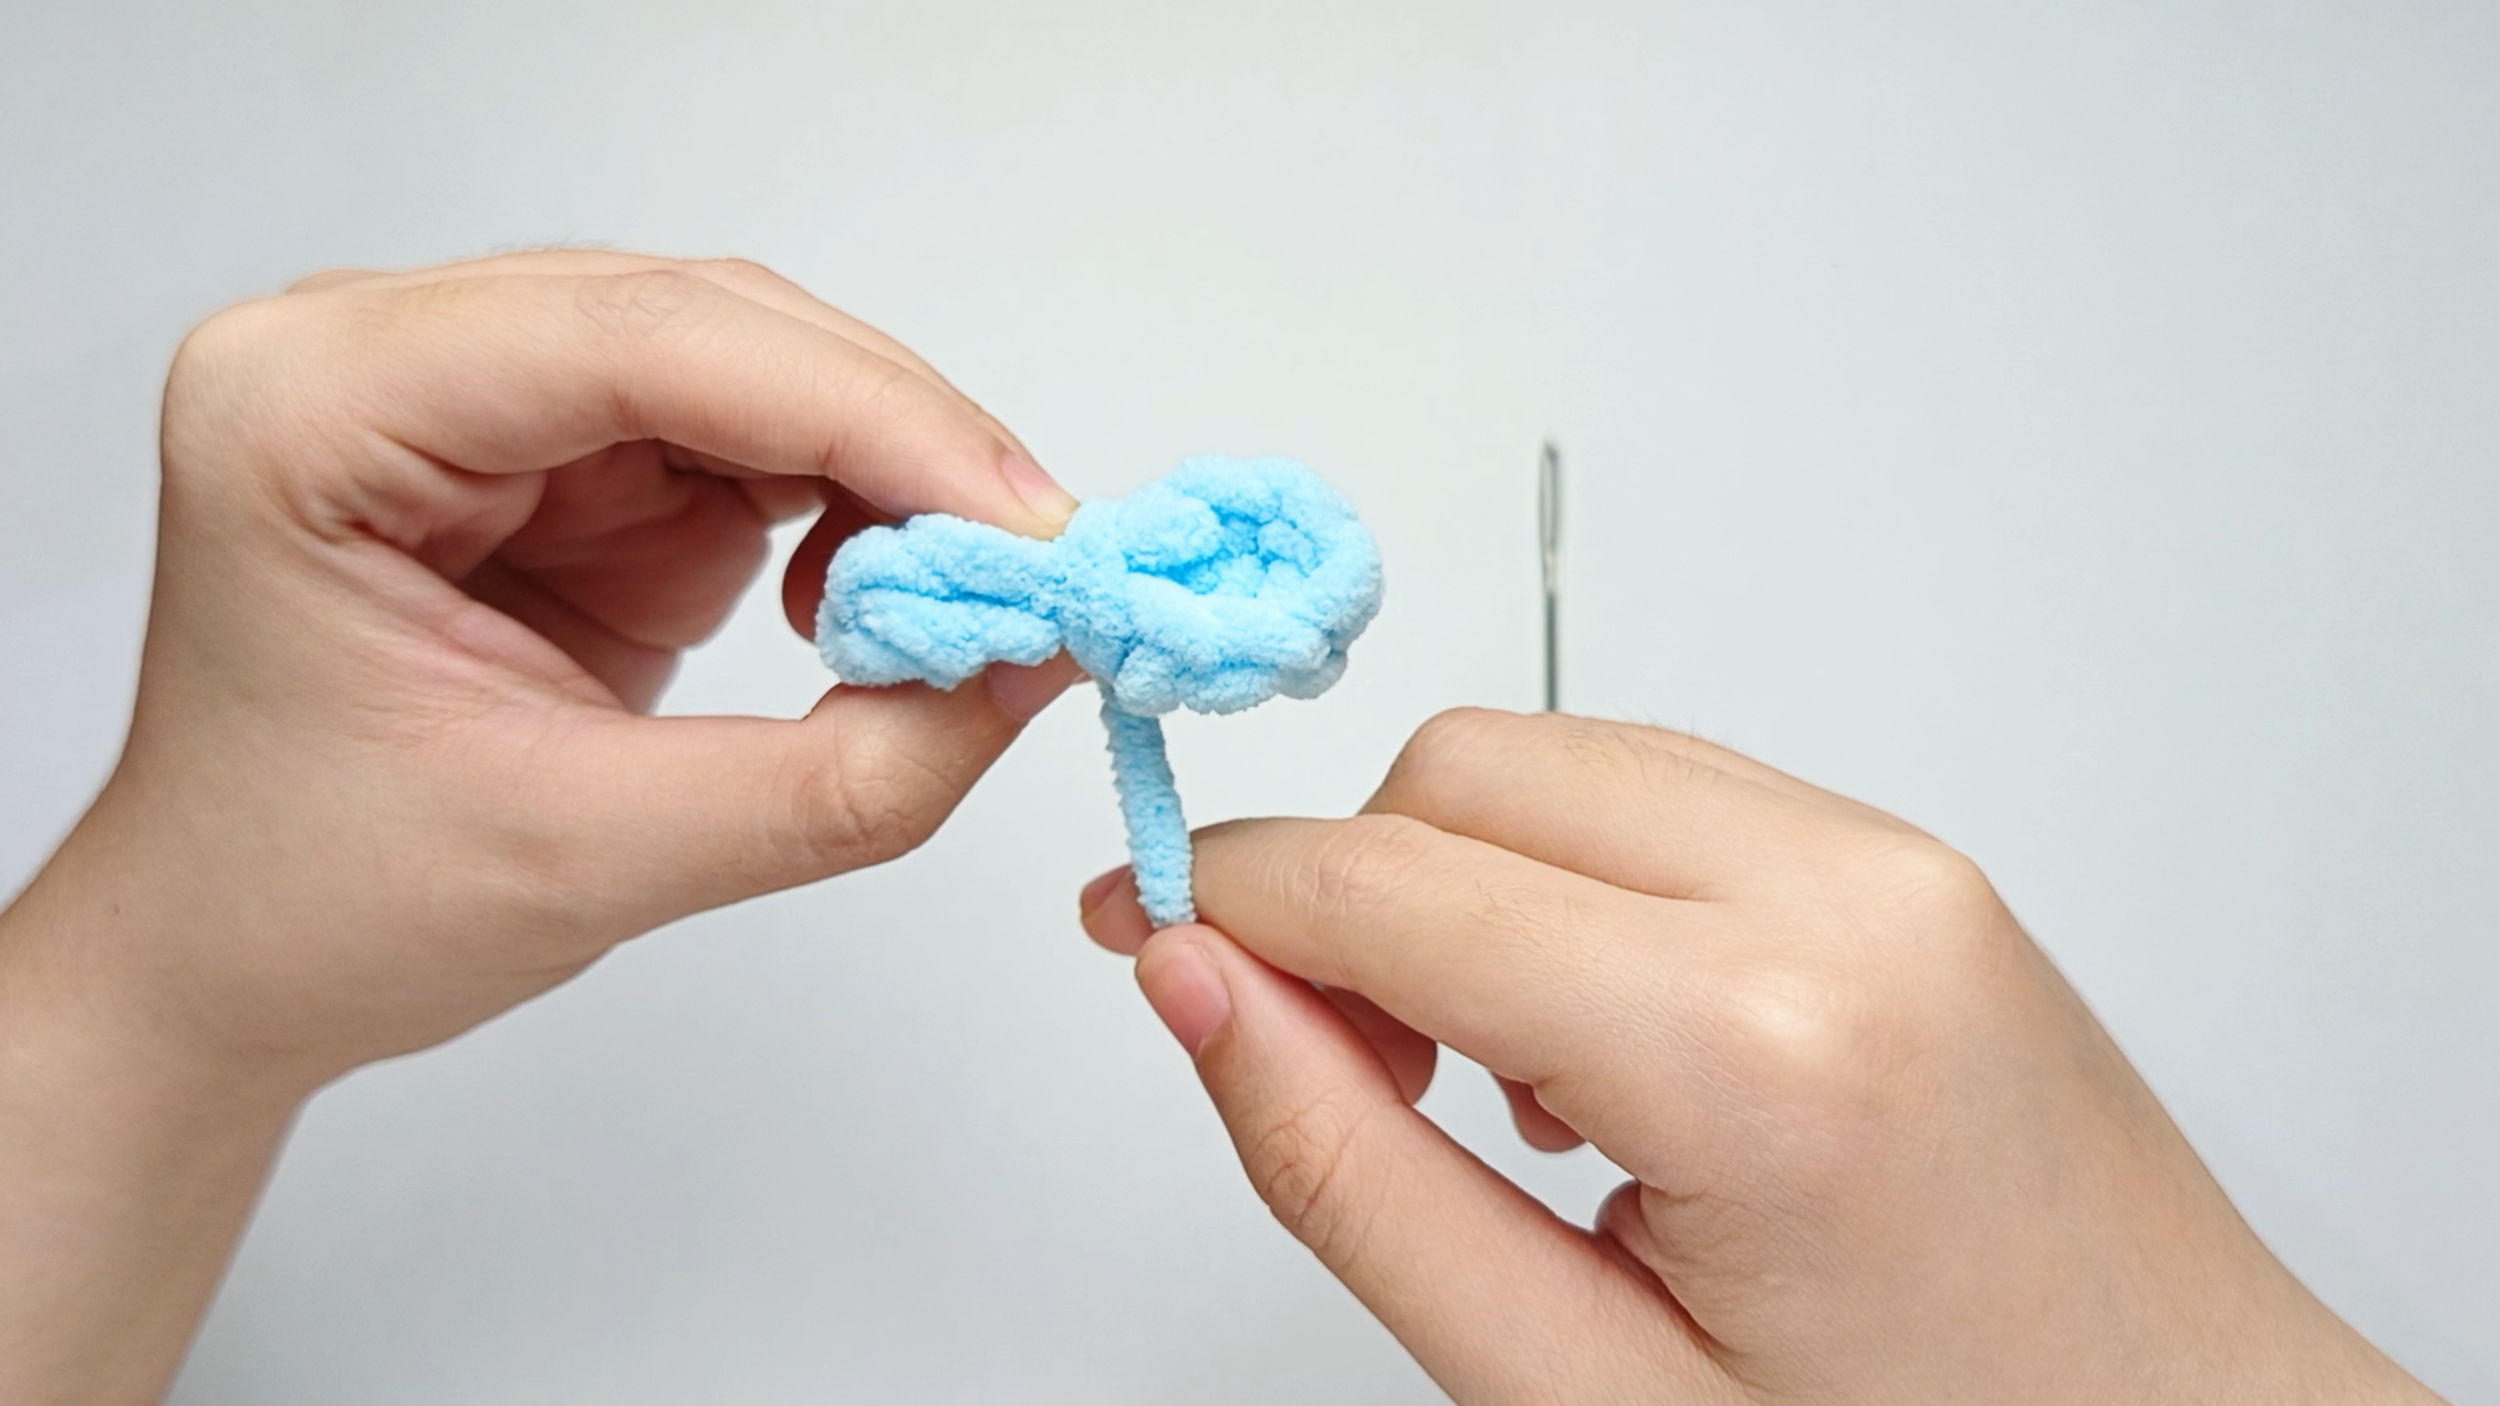
Wrap the center:
Pinch the middle of the two loops together, then wrap the yarn tail around that center 3 times. This pulls the loops into a bow shape - rounded and puffy in the middle.
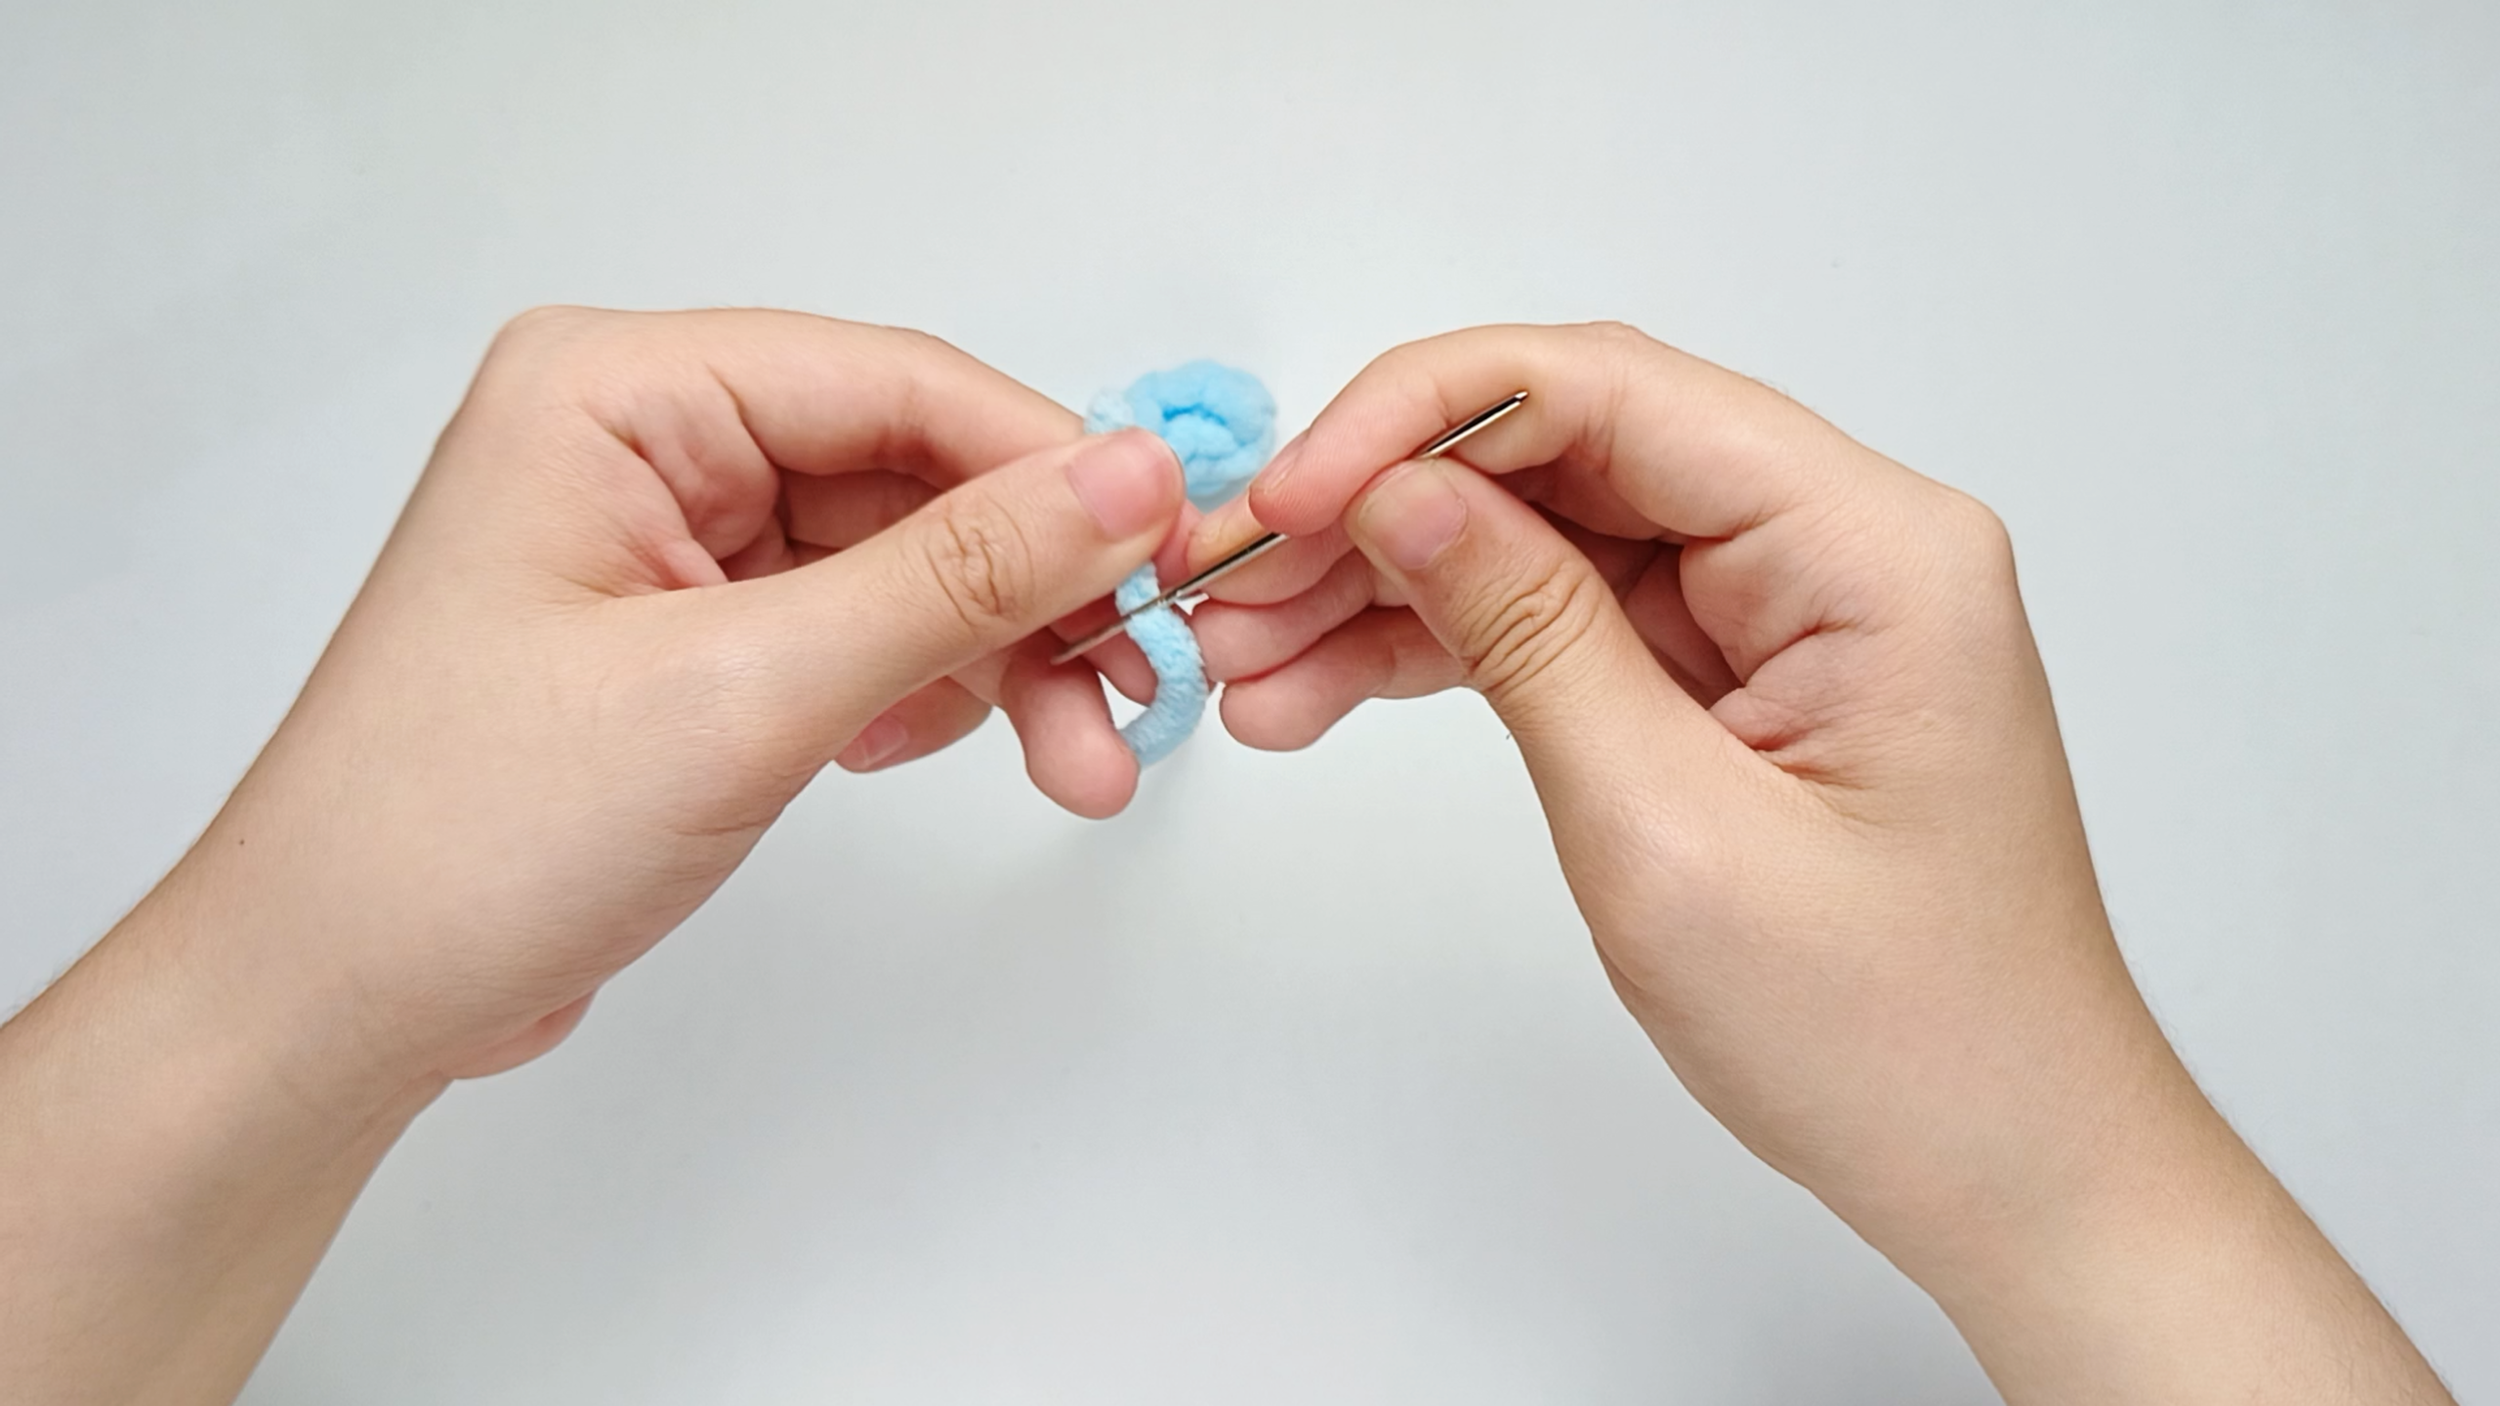
Thread the needle:
Thread the tail onto your yarn needle.
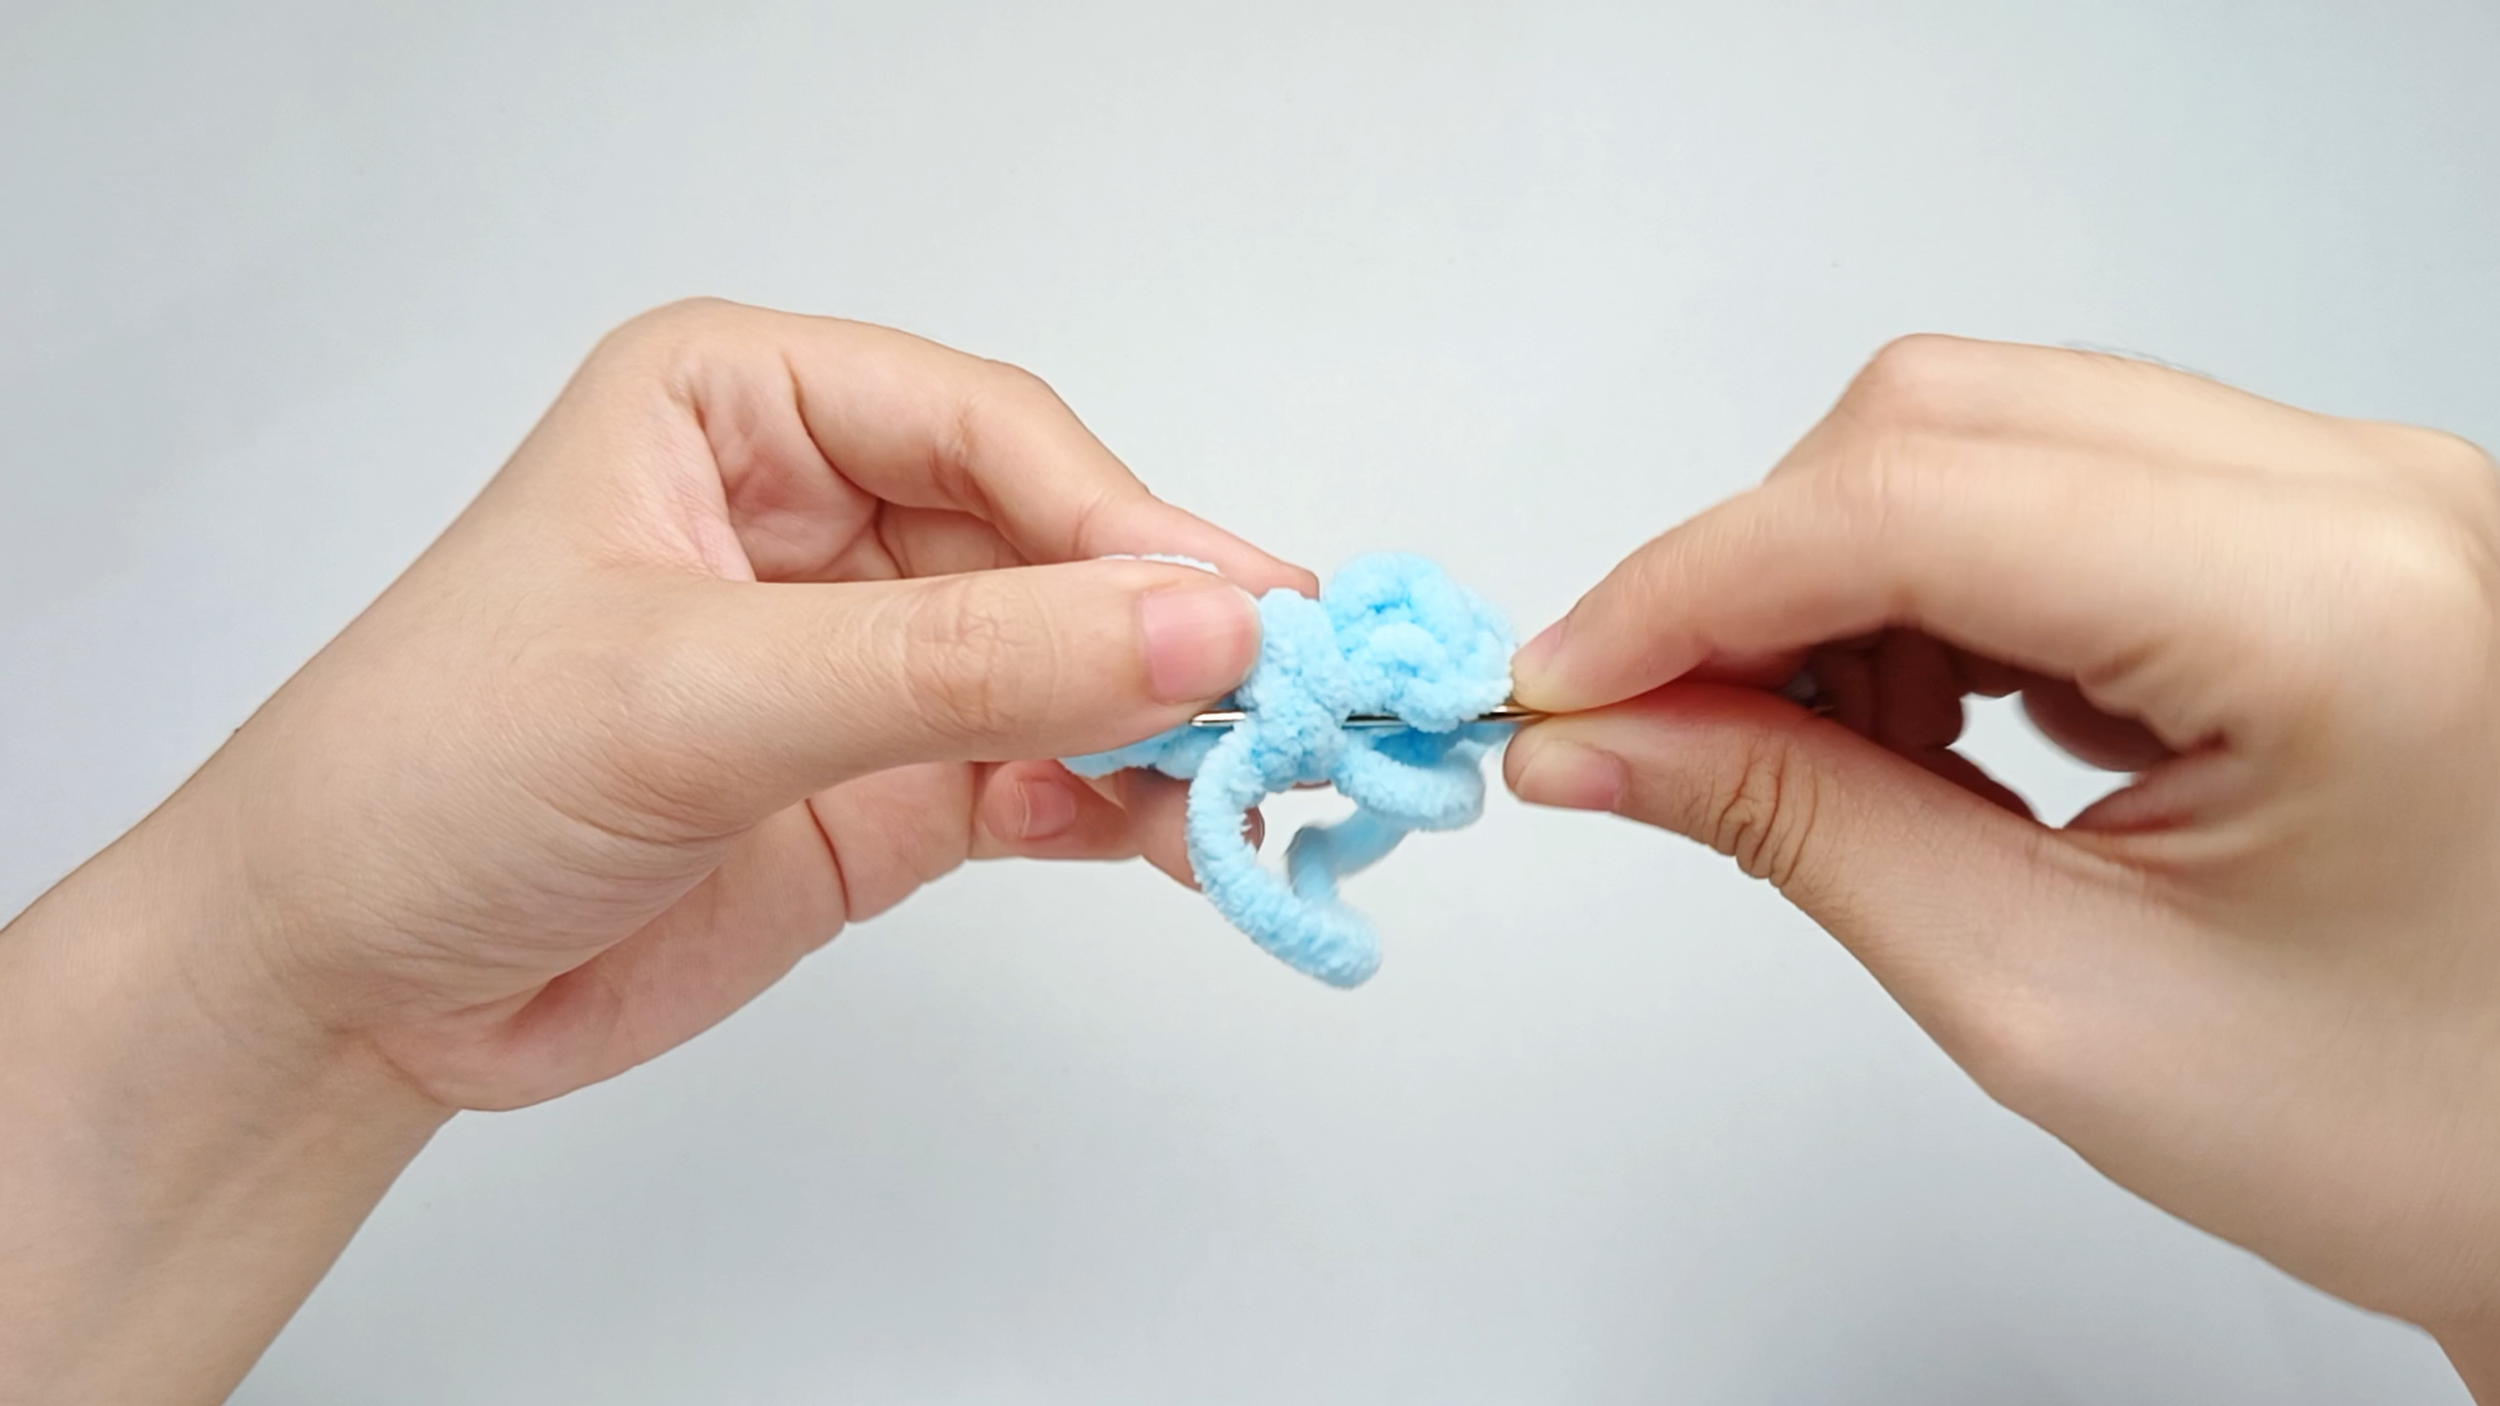
Secure it:
Weave the tail through the center a couple of times to lock the shape. Keep this tail - you’ll use it to sew the Bow on later.
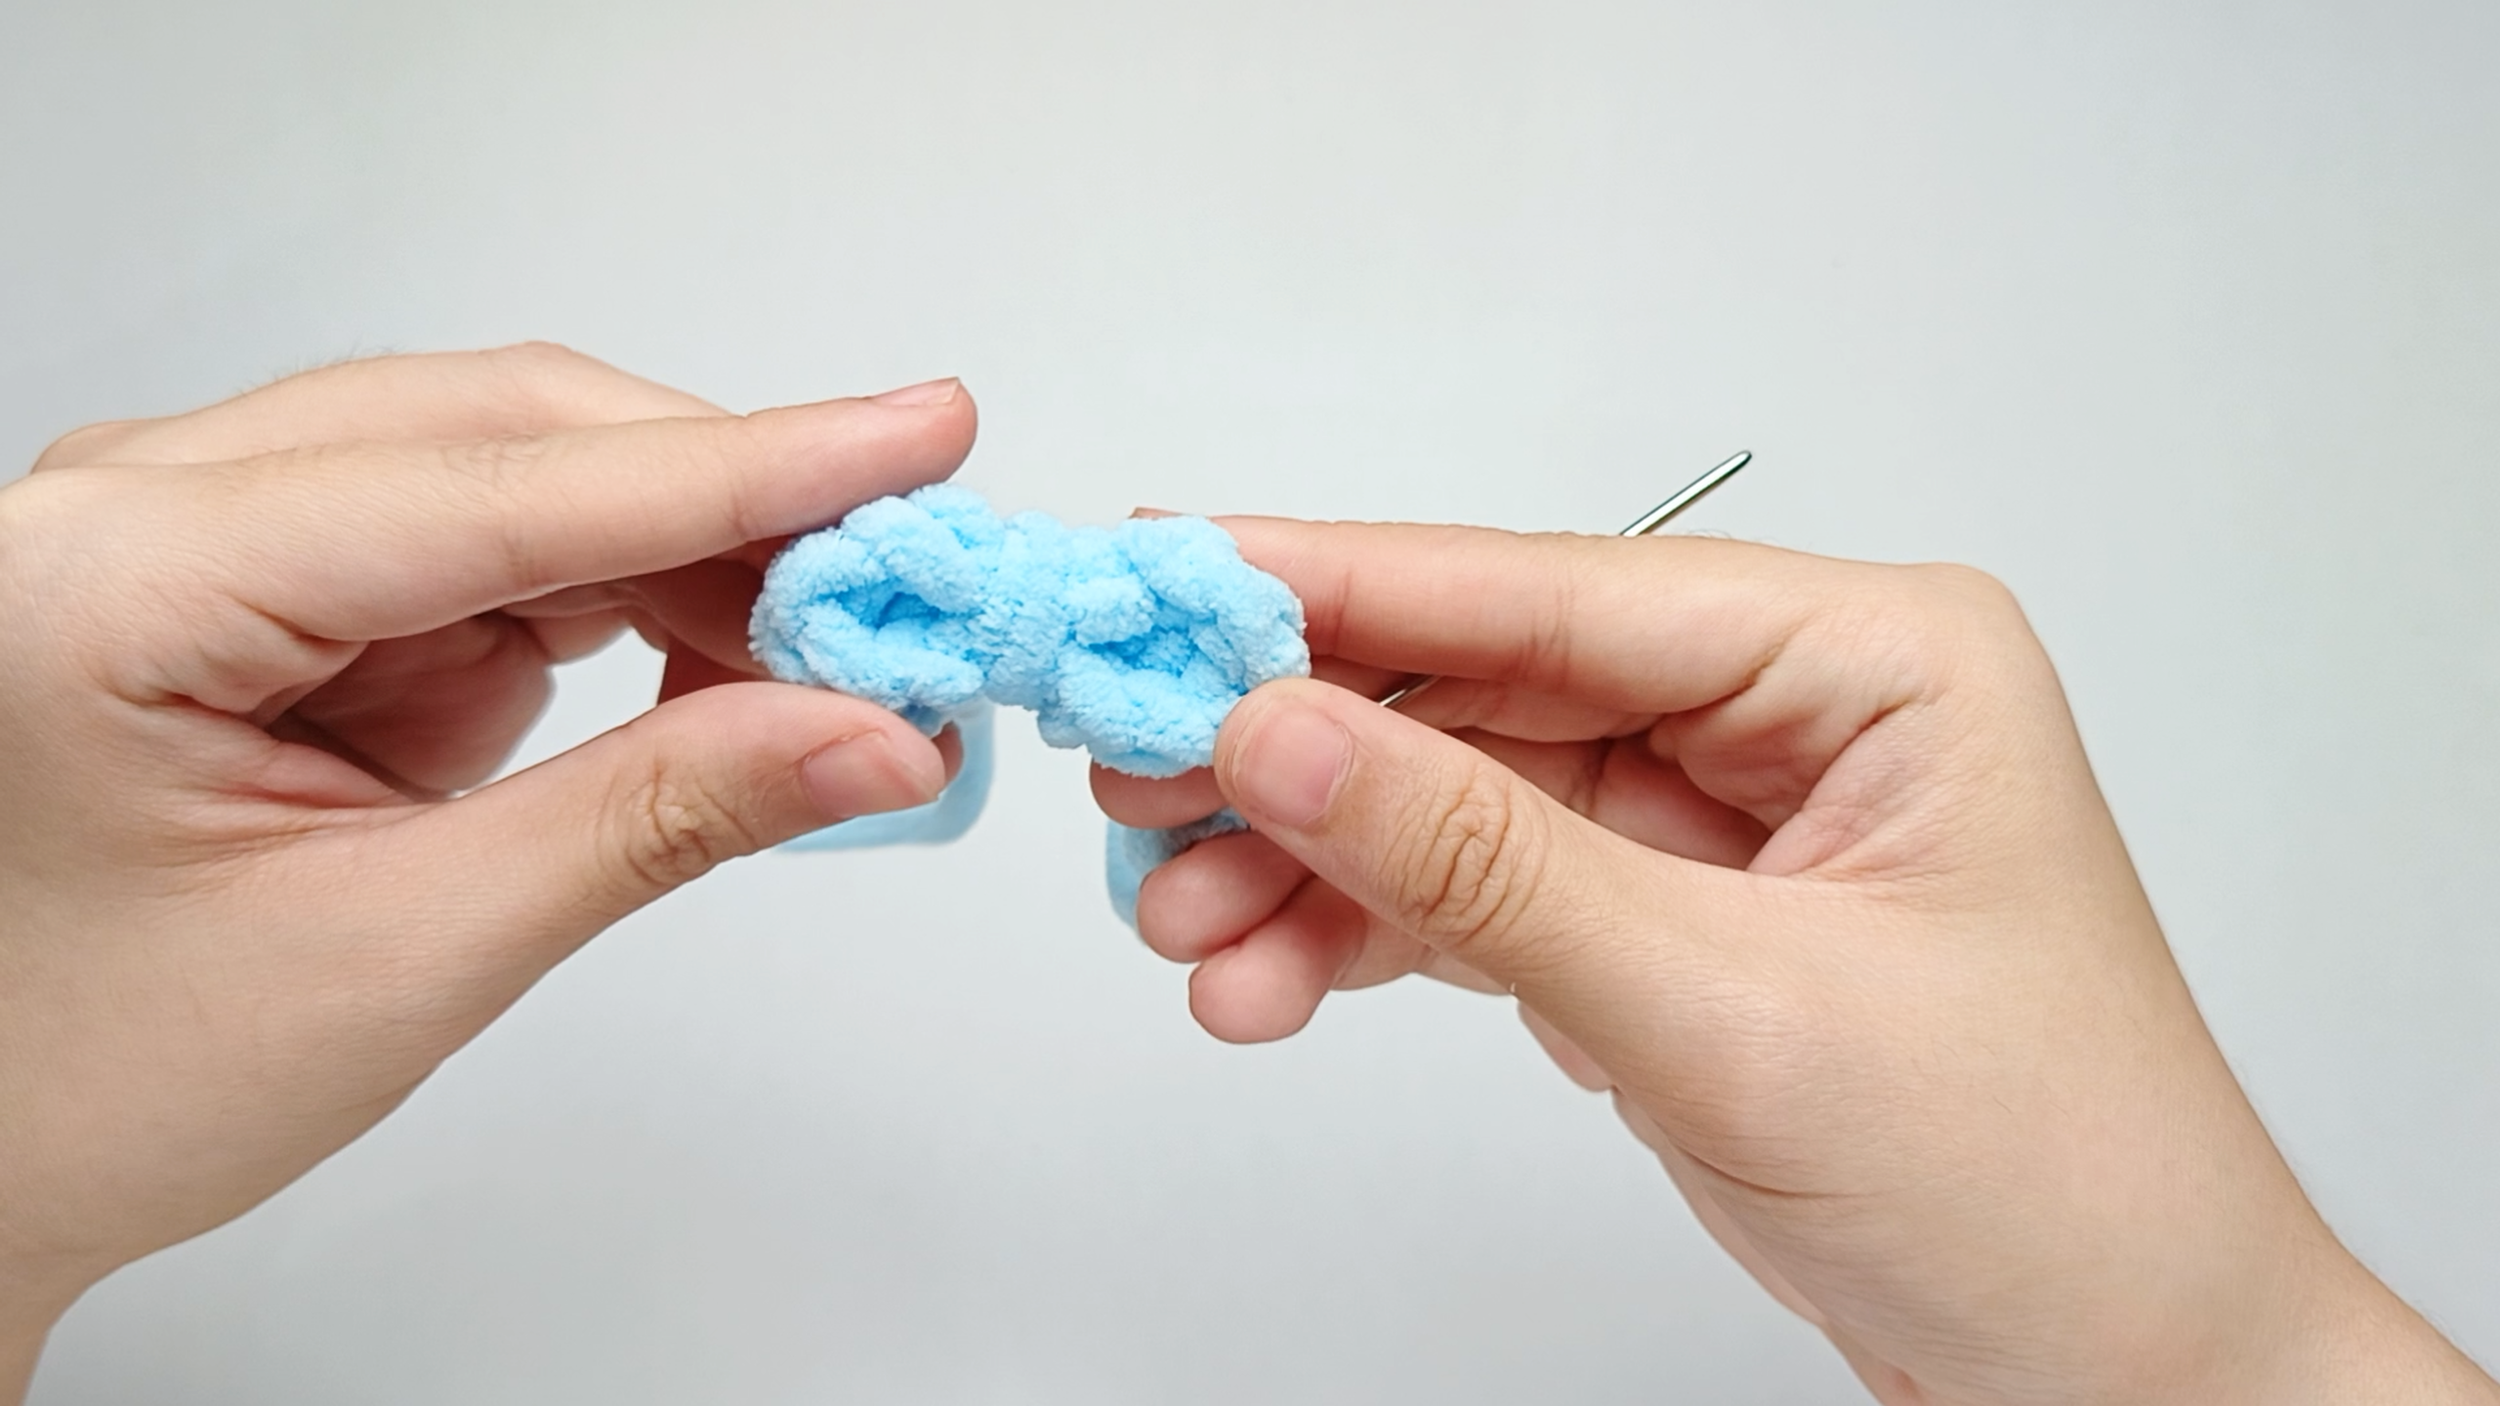
Completed Bow:
Set the Bow aside for now.